Quick answer
To replace Wraith transmission outputs on a Vanquish rig, remove the transmission from the chassis, open the case, and pull the old output shafts and their bearings. Clean the case, install fresh outputs with new bearings if needed, and shim for minimal end play. Reassemble, refill with grease, and test the drivetrain under light throttle before a full run.
Worn or bent transmission outputs will make a Vanquish rig noisy, bind under load, or leak grease at the case. Replacing them is a straightforward bench job that pays off in smoother power delivery and fewer trail-side surprises.
This guide walks through the replacement on a Wraith-style transmission in a Vanquish rig, with checkpoints for the mistakes that cause repeat failures. The same process applies whether you are doing a transmission output install for the first time or refreshing a high-mileage crawler.
What you need before you start
Gather the replacement output shafts, fresh bearings if the old ones feel gritty, a set of hex drivers, a small pick or flat blade, grease, and a clean tray for parts. A parts diagram for your specific transmission helps you keep shims and spacers in order.
Work on a clear bench with good light. Transmission internals are small, and a dropped shim or bearing can turn a 30-minute job into a parts-order delay.
- Photograph the case and gear stack before disassembly so you have a reference for reassembly.
Remove the transmission from the chassis
Disconnect the driveshafts, note which end goes to which output, and unbolt the transmission from the skid or mounts. Keep the hardware with the transmission so you do not mix it with other fasteners on the bench.
Check the driveshaft couplers and yokes while the transmission is out. If they are worn, replacing them now saves you from pulling the transmission again in a few weeks.
- Label the front and rear driveshafts if your rig uses different lengths.
Open the case and inspect the outputs
Remove the case screws and separate the halves carefully. Lift the gear stack out and set it aside, then pull the output shafts from their bearings. Look for bent shafts, worn splines, or a groove where the bearing rides.
Spin each bearing by hand. Any roughness, side play, or grease that looks like metal slurry means the bearing should be replaced along with the output.
- If only one output is worn, replacing both is still worth considering because they see similar loads.
Install the new outputs and set end play
Press or tap the new bearings into the case halves, then fit the new output shafts. Use the shims from your transmission to set minimal end play: the shaft should turn freely with no noticeable in-and-out movement.
Too much end play lets the gear walk and wears the case; too little preload makes the transmission run hot and drag. Add or remove shims in small increments and recheck with the case halves snugged together.
- Turn the output by hand after each shim change to feel for binding.
Reassemble, grease, and test
Apply a sensible amount of grease to the gears and bearings, close the case, and tighten the screws in a cross pattern. Reinstall the transmission in the chassis and reconnect the driveshafts.
Before a full run, spin the drivetrain by hand and then run the rig at low throttle on a stand or with the wheels off the ground. Listen for grinding and check for grease weeping at the outputs.
- Recheck the case screws after the first run, since they can settle as the transmission warms up.
Replacement steps at a glance
- Prep the bench: Lay out tools, new outputs, bearings, grease, and a parts tray; photograph the transmission before disassembly. Checkpoint: you should have a clear reference photo and no loose hardware on the bench.
- Pull the transmission: Disconnect driveshafts, unbolt the transmission from the chassis, and keep its hardware separate. Common mistake: mixing transmission screws with chassis screws and losing track of lengths.
- Open the case and remove outputs: Separate the case halves, lift out the gear stack, and pull the output shafts and bearings. Checkpoint: inspect bearings for roughness or metal-contaminated grease before reuse.
- Fit new outputs and shim: Install new bearings and outputs, then set end play with shims until the shaft turns freely with no in-and-out movement. Common mistake: leaving too much end play, which lets gears walk and wears the case.
- Reassemble and grease: Grease gears and bearings, close the case, and tighten screws in a cross pattern. Checkpoint: the case halves should meet evenly with no gap at the seam.
- Test under light load: Reinstall in the chassis, reconnect driveshafts, and run at low throttle before a full run. Next step: recheck case screws and look for grease weeping after the first run.
Parts that support this job
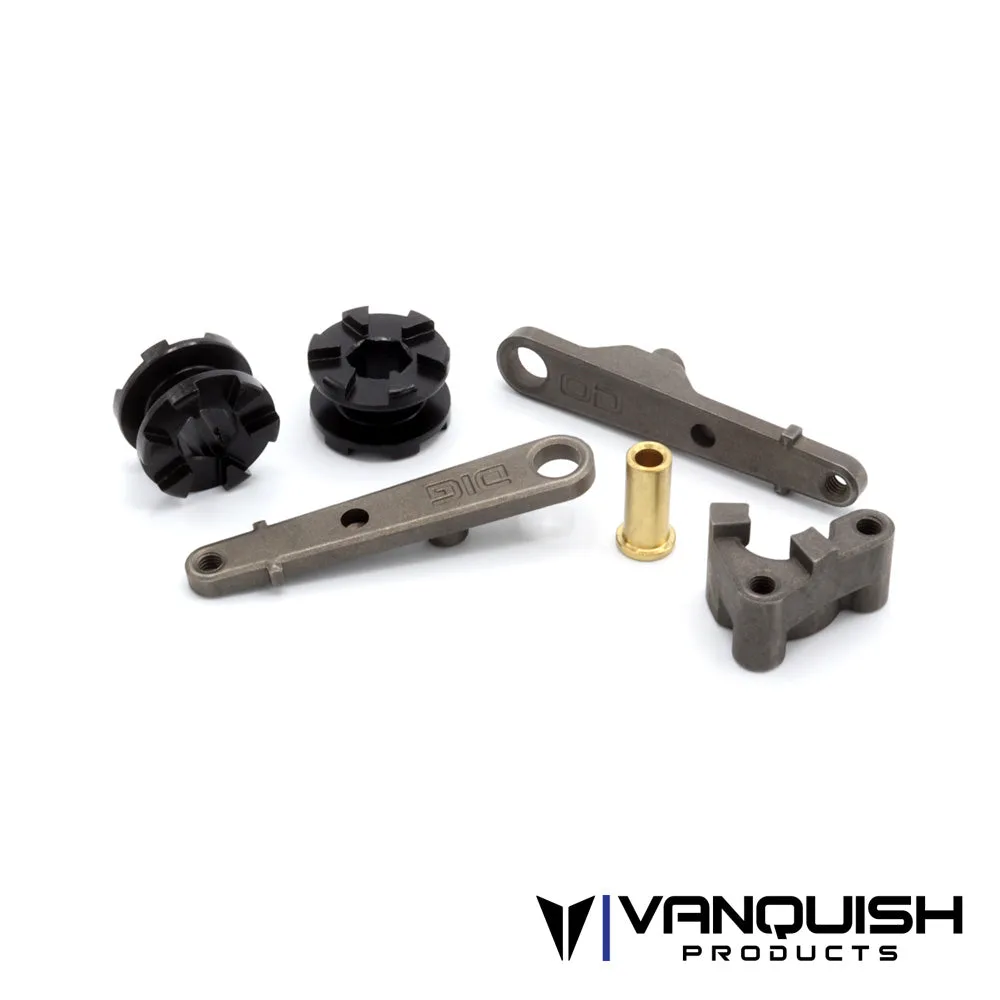
- VFD Twin Shifting Components Set: Replacement shifting components for Vanquish Products VFD Twin, including dig lever, overdrive lever, brass rotation pin, dig slide dog, overdrive slide dog, and dig lockout. If your transmission uses a VFD Twin and the shifting hardware is worn while you are already inside the case, this set restores the shift mechanism at the same time.
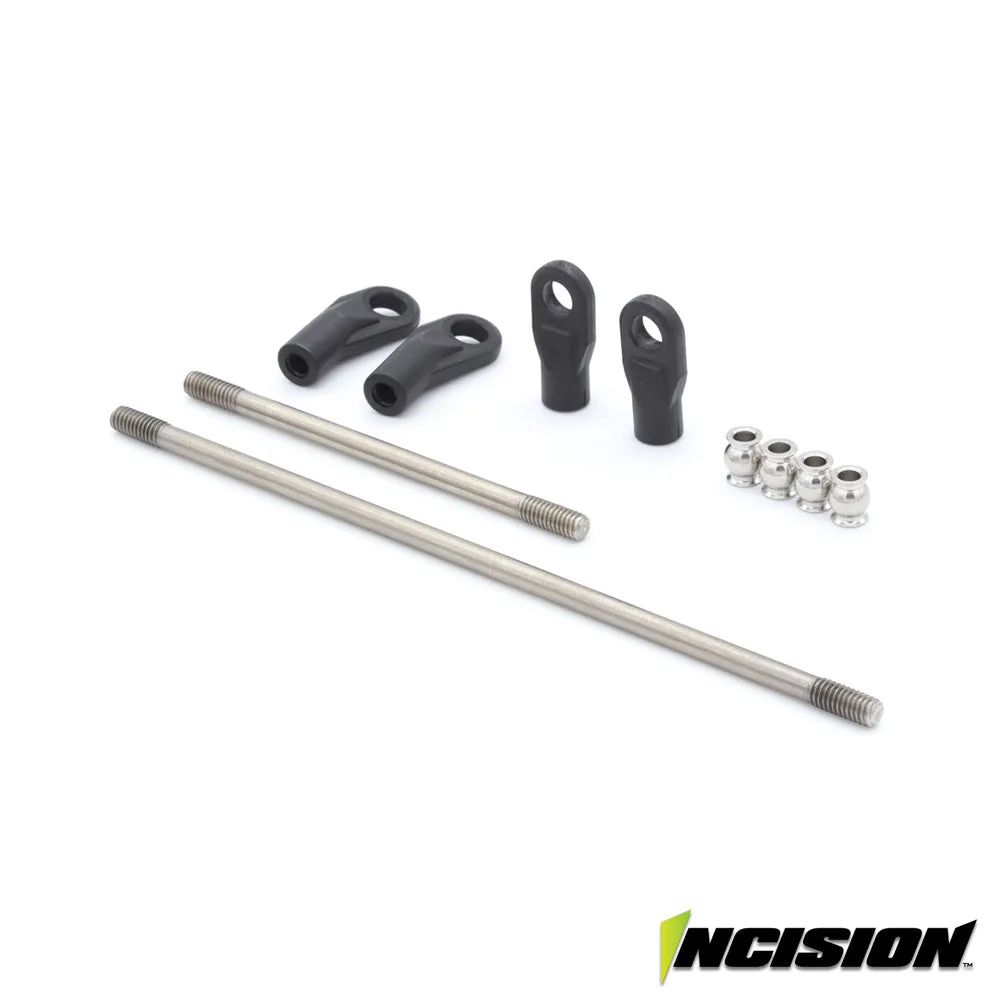
- Incision VRD Tie Rod and Drag Link Set: Stainless steel tie rod and drag link set with Incision rod ends and pivot balls, intended for F10 axles with a servo on top of axle mount; bent rod ends are used on the tie rod for clearance and straight rod ends on the drag link. When you pull the transmission for drivetrain repair, it is a good time to check steering links for play; this set is a direct fit for F10 servo-on-axle setups.
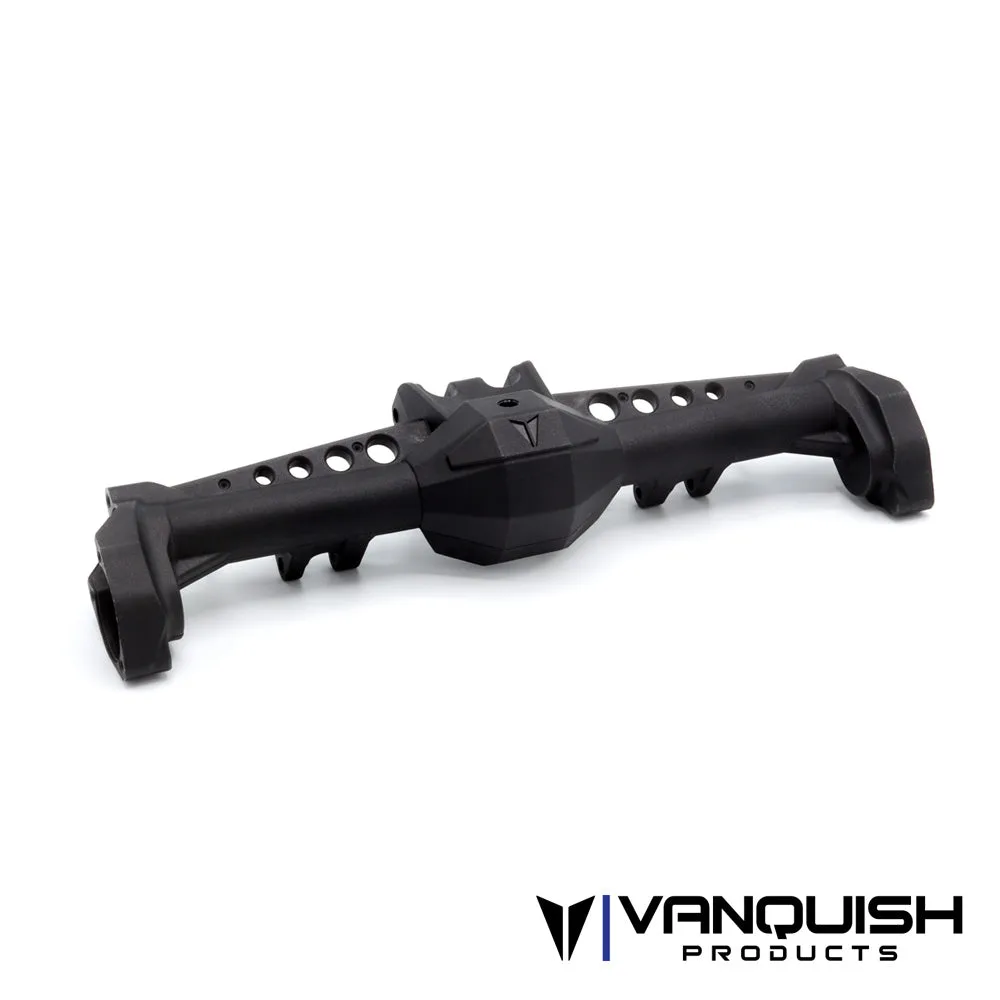
- F10 Portal Axle Rear Housing: F10 Portal Axle Rear Housing compatible with VRD Carbon, VRD Mullet, VS4-10 Portal Builder's Kit, VS4-10 Phoenix Portal RTR, and VRD Stance RTR. If your drivetrain inspection reveals a damaged rear housing, this replacement keeps the axle serviceable without replacing the whole assembly.
Replacing Wraith transmission outputs is a manageable drivetrain repair that restores smooth power delivery and protects the rest of your Vanquish rig. Take your time with shimming and bearing inspection, and the transmission will reward you with quieter, more reliable running.