Quick Answer
To request custom nail designs online, send a clear photo of your dream design, specify your size and any adjustments, and confirm the mockup before production.
Why Custom Press-Ons Are Worth the Effort
Custom press-on nails let you wear a design that matches your personal style, an outfit, or a special event exactly. Unlike ready-made sets, you control the artwork, colors, and details, so the result feels truly yours.
The trade-off is the back-and-forth: you need to communicate your vision clearly, and you may need to wait a little longer for the artisan to craft your set. Planning ahead and providing good reference photos make the process smooth.
Step-by-Step: Ordering Custom Nail Designs
- Gather Your Inspiration: Find a photo of a design you love—a pattern, a color scheme, or a full nail art idea. Make sure the image is clear and shows the details you want. Check that the photo is high-resolution so the artisan can see the fine details.
- Specify Your Size and Preferences: Indicate your nail size (from the available options) and note any changes like color swaps, length adjustments, or omitted elements. The more specific you are, the fewer revisions you'll need. Double-check your size against the store's size chart before submitting.
- Submit Your Request and Approve the Mockup: Send your photo and notes through the store's custom design service. Wait for the artisan to send a mockup or confirmation, then approve it before production begins. If you don't receive a mockup, ask for one—it prevents surprises later.
The Product Behind the Process
-
Custom Nail Design: Ersa Nails offers a Custom Design Service where you share a photo of your dream nail design and master artisans sculpt it into a bespoke masterpiece. This means you don't need to be a designer yourself—just bring a clear reference and the team handles the artwork.
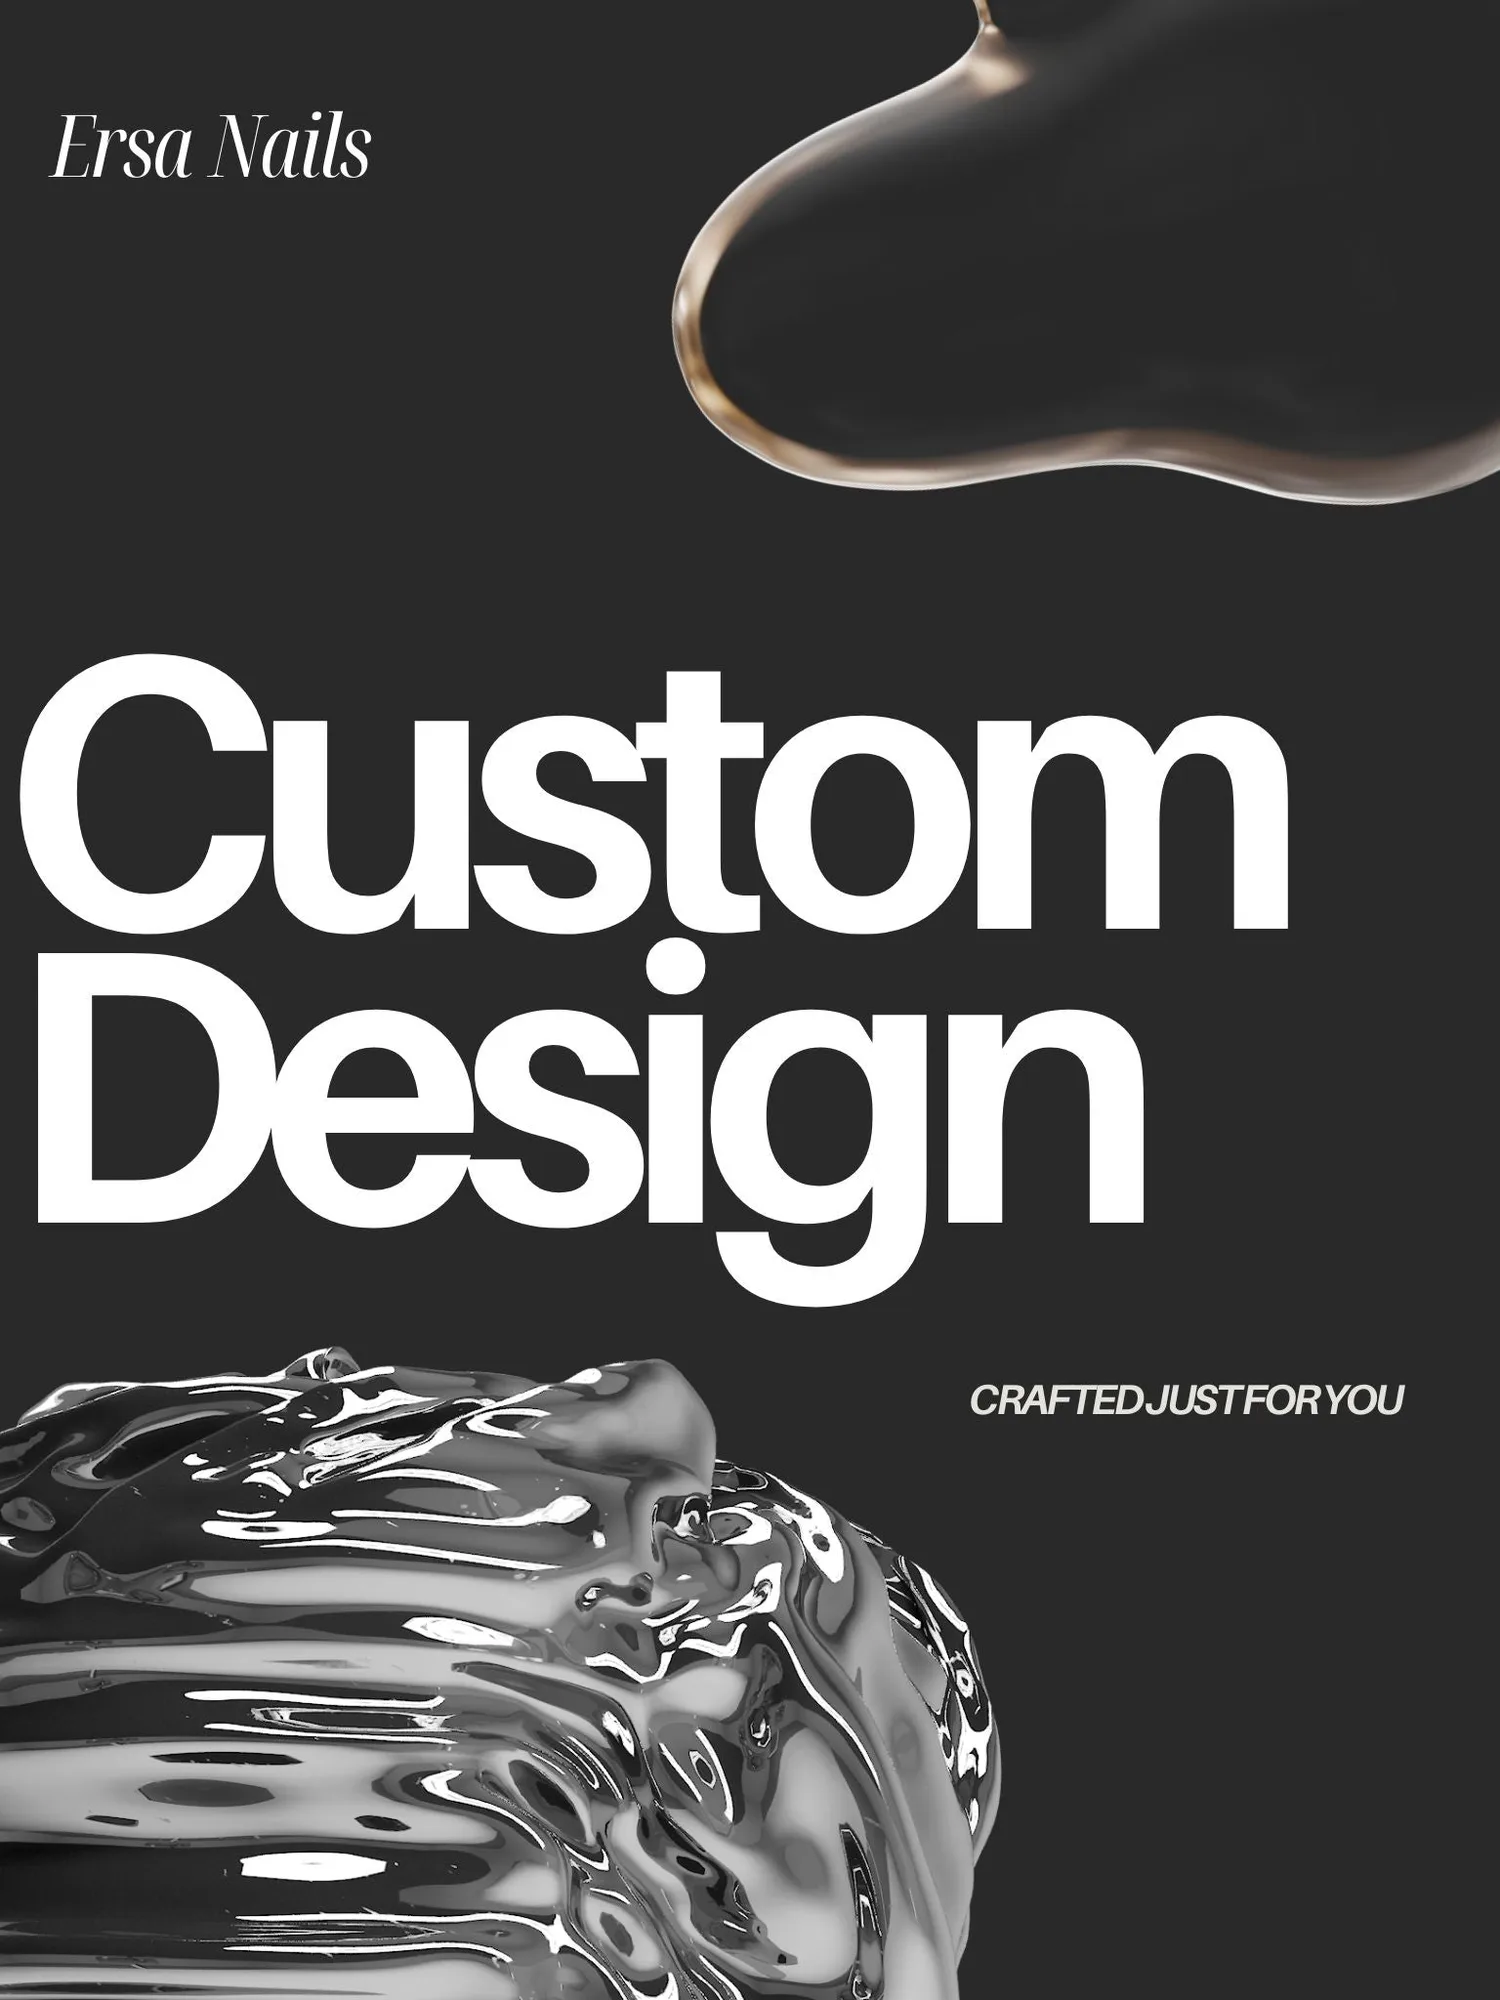
Custom Nail Design