Quick Answer
The stopper controls your reformer's carriage travel range. In a group class, a missing or worn stopper can cause sudden jolts or uneven movement, risking injury. Inspect every stopper before class, install the correct style for your machine, and keep spares on hand.
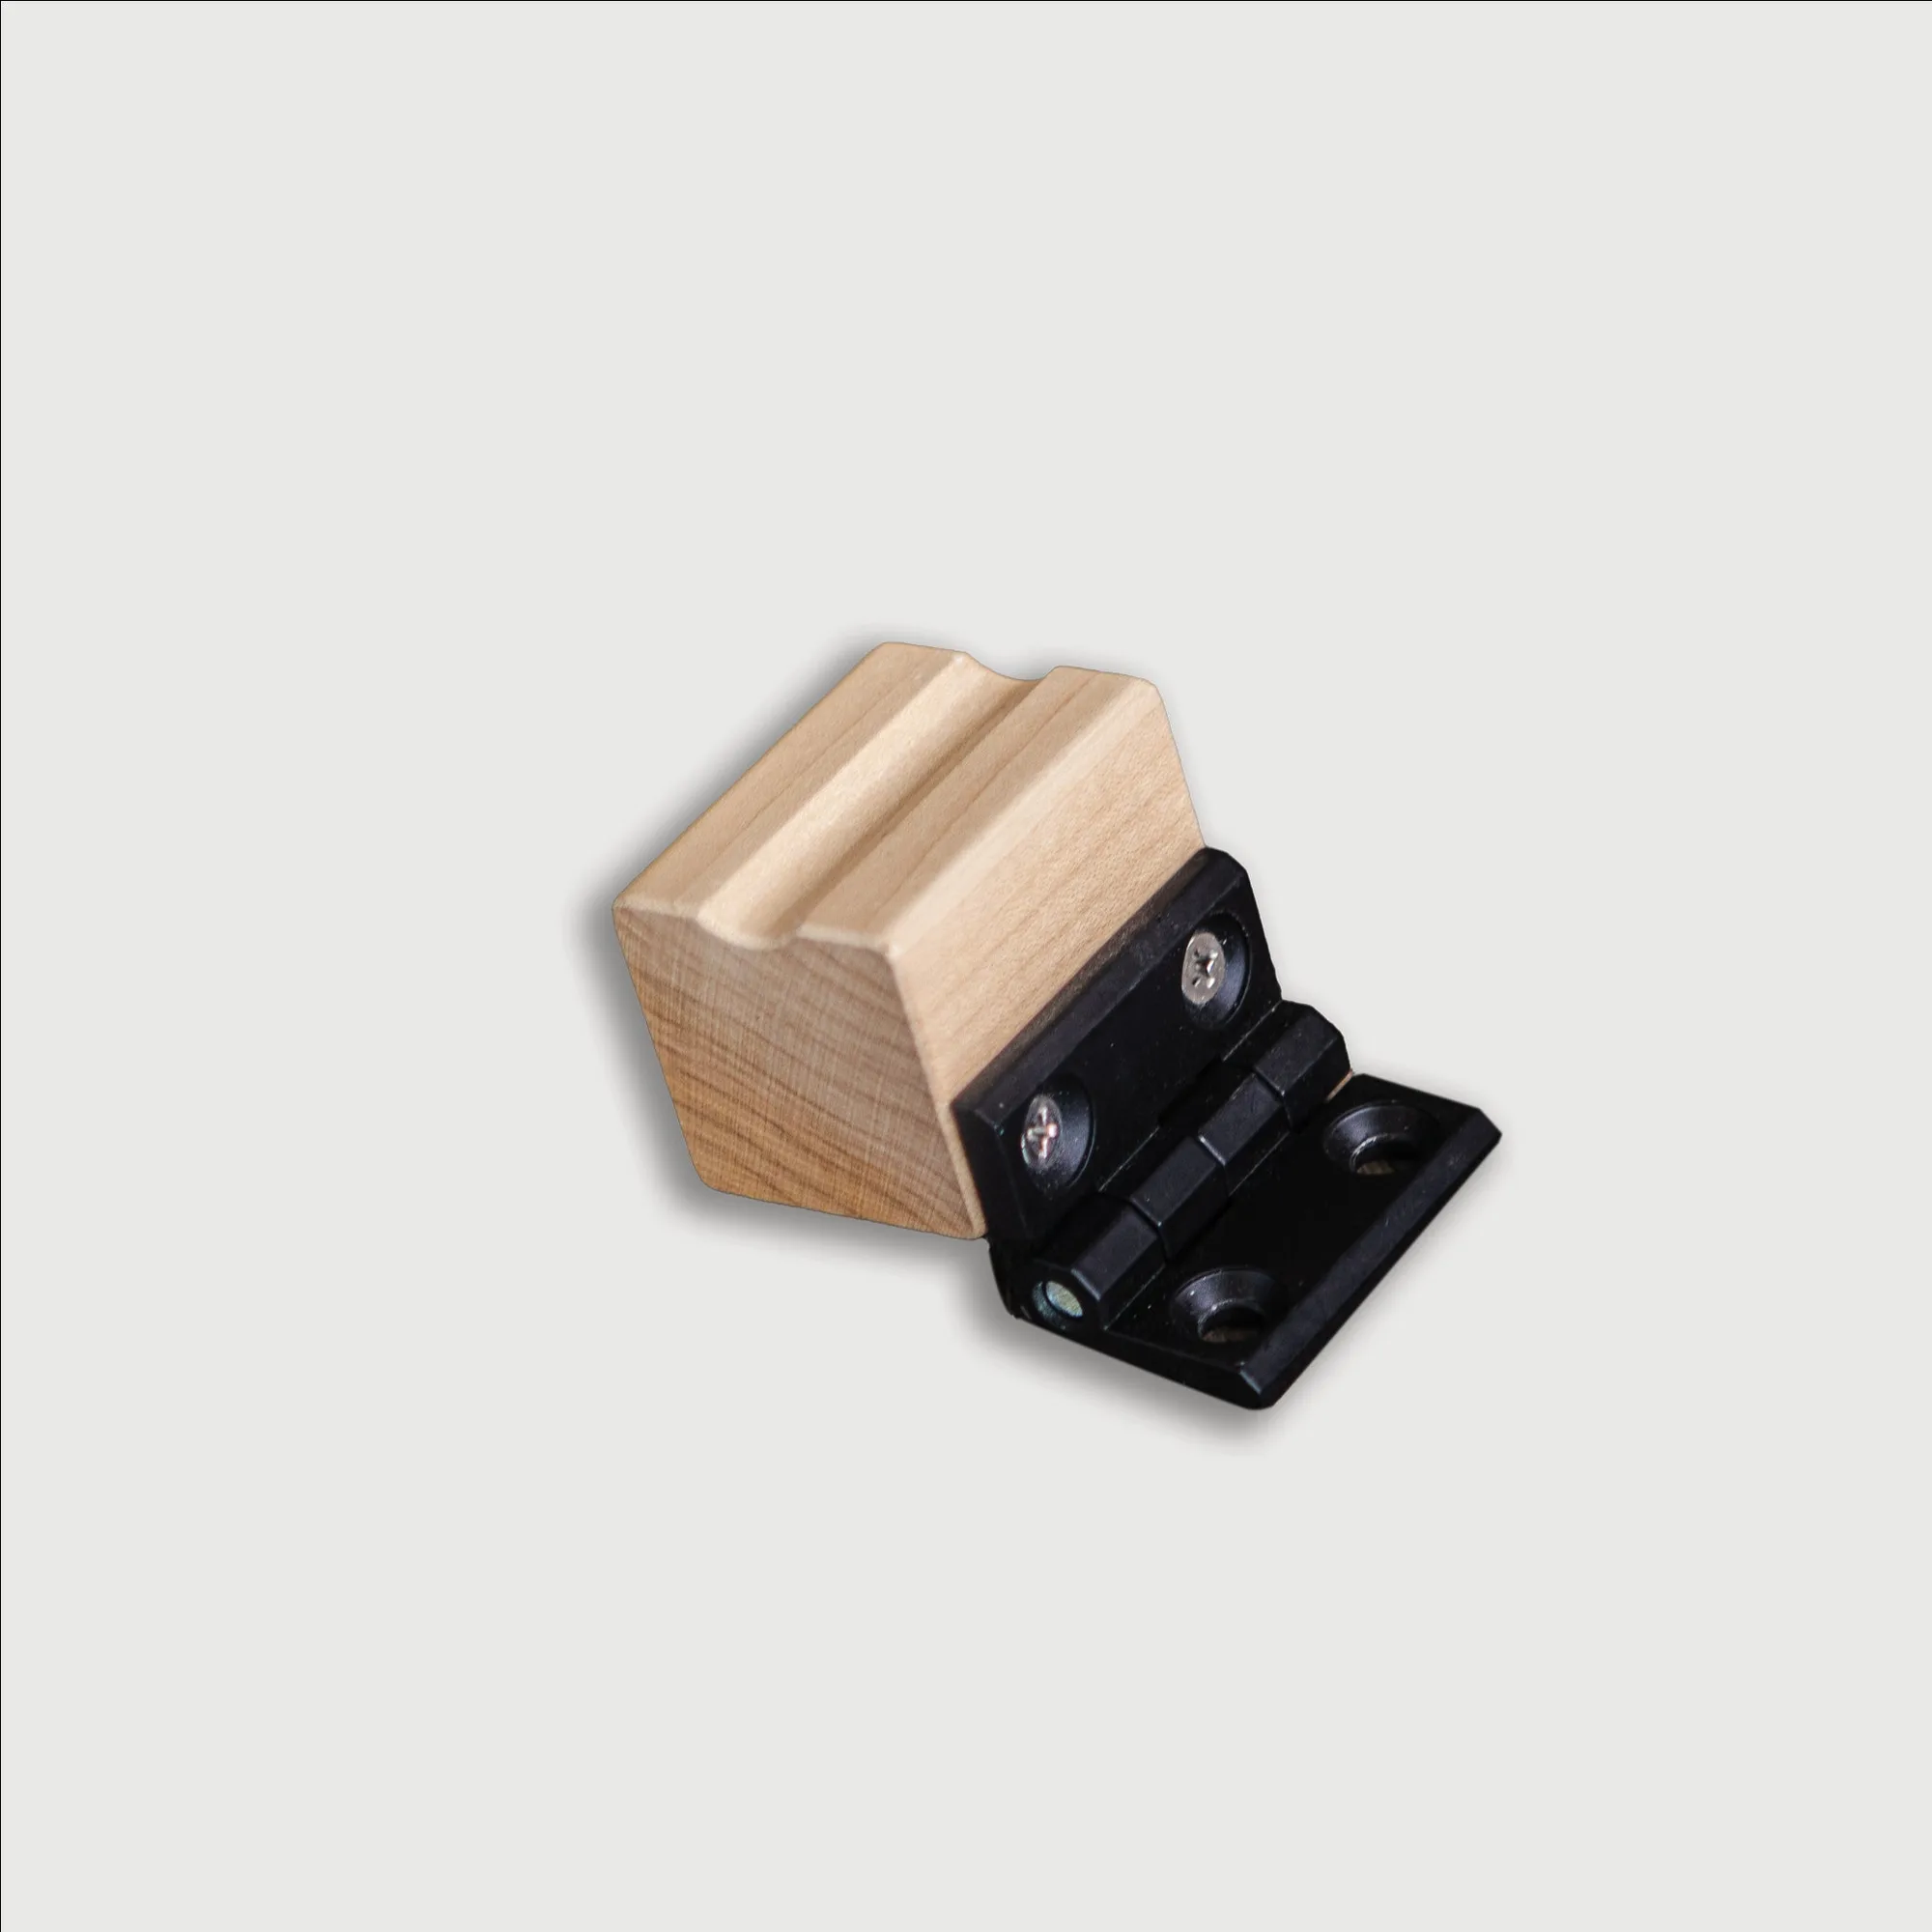
stopper
Group Pilates classes depend on every reformer working predictably. The stopper—a small rubber part that stops the carriage at the end of its slide—is easy to overlook but critical for safety. When a stopper wears down or goes missing, the carriage can travel too far or stop abruptly, throwing off the rhythm of the class and potentially causing strain.
This guide walks you through practical steps to check, install, and maintain stoppers across multiple reformers. Whether you teach at a studio or manage a home-turned-group space, these tips will help you avoid common equipment failures and keep every participant safe.
Why the Stopper Matters in Group Settings
In a group class, reformers are used by different people with varying body weights, footwork speeds, and movement ranges. A stopper that works for one person may fail under another. The stopper's job is to provide a consistent, controlled end point for the carriage, which is essential for exercises like footwork, lunges, and short box work. Without it, the carriage can slam into the frame or overshoot, causing jarring impacts that can injure wrists, ankles, or the lower back.
A worn stopper also affects alignment cues. When the carriage stops unevenly, participants may compensate by shifting their hips or gripping with their feet, leading to poor form. In a group setting, it's hard for the instructor to spot these compensations if the equipment itself is inconsistent. That's why a quick pre-class stopper check is a non-negotiable safety habit.
- Check stoppers daily if reformers are used in back-to-back classes.
How to Inspect Stoppers Before Class
Walk around each reformer and look at the stopper where the carriage meets the frame. It should be firmly seated in its slot, not cracked, flattened, or missing chunks. Press it with your thumb—if it feels hard or brittle, it's past its prime. A healthy stopper has a slight give and a clean surface. Also check that the stopper is the correct style for your reformer model; using the wrong style can cause it to pop out under load.
Common mistake: assuming all stoppers are the same. Reformers from different brands or even different generations within the same brand may require a specific stopper shape or thickness. For example, the Your Reformer Stopper is available in two styles: Original / Original Folding and Studio. Using the wrong one can create a gap or an overly tight fit, both of which compromise safety.
- If a stopper looks questionable, replace it before the first participant uses that machine.
Installing a Replacement Stopper Correctly
Replacing a stopper is simple but precise. First, remove the old stopper by pulling it straight out; it may require a bit of force. Clean the slot with a dry cloth to remove dust or debris. Then align the new stopper with the slot and push it in firmly until it sits flush with the frame. Do not use tools that could scratch the reformer. The stopper should not wobble or protrude.
After installation, manually slide the carriage to the end of the rail to confirm it contacts the stopper evenly. Listen for a solid, quiet thud—not a metallic clang. If the carriage hits the frame first, the stopper is too short or installed incorrectly. Repeat for every reformer in the class. A quick five-minute check can prevent a class disruption.
- Keep a spare stopper in your teaching bag for quick swaps between classes.
Educating Participants on Stopper Awareness
While the instructor is ultimately responsible, participants can help by reporting any unusual feel or sound from their reformer. At the start of a group class, briefly mention that if the carriage feels loose or makes a grinding noise, they should raise their hand. This creates a culture of shared safety and catches issues early.
Common mistake: participants ignoring a subtle change because they don't want to interrupt. Encourage them by saying that a quick fix takes 30 seconds and keeps everyone safe. You can even demonstrate how to check the stopper on one reformer as a teaching moment.
- Post a small sign near the reformers reminding users to report anything unusual.
When to Replace Stoppers in a Fleet
Stoppers wear out over time, especially in high-traffic studios. As a rule of thumb, inspect stoppers monthly and replace any that show visible wear. If you notice that a reformer's carriage stops with a metallic sound or the stopper leaves rubber marks on the frame, it's time for a new one. Keeping a small inventory of genuine replacement parts—like the Your Reformer Stopper—ensures you can swap them out immediately without mixing styles.
Budget tip: because stoppers are inexpensive (around $5 each), it's cost-effective to replace all stoppers in a fleet at once rather than patching them one by one. This guarantees consistent performance across every machine in the class.
- Mark a calendar reminder for monthly fleet-wide stopper checks.
Step-by-Step Stopper Safety Routine for Group Classes
- Inspect Every Reformer's Stopper Before Class: Walk the room and visually check each stopper for cracks, flattening, or missing pieces. Press it to confirm it's not brittle. Replace any questionable stopper immediately. Checkpoint: If a stopper looks worn, do not let that reformer be used until replaced.
- Install the Correct Stopper Style for Your Machine: Match the stopper to your reformer model—Original / Original Folding or Studio styles differ. Remove the old stopper, clean the slot, and press the new one in until flush. No tools needed. Common mistake: using the wrong style can cause the stopper to pop out under load.
- Test the Carriage Travel After Installation: Slide the carriage to the end of the rail. It should contact the stopper with a solid, quiet thud. If you hear metal-on-metal or the carriage overshoots, the stopper is incorrectly installed or the wrong size. Checkpoint: A correct installation means the carriage stops smoothly without jarring the frame.
- Educate Class Participants on Stopper Awareness: Briefly explain that any unusual feel or sound from the carriage should be reported. Encourage participants to speak up without hesitation. Common mistake: participants ignoring subtle changes. Foster a culture of shared safety.
- Keep Spare Stoppers On Hand: Stock a few genuine stoppers in your teaching bag or studio supply area. Because they are inexpensive, replace all stoppers in a fleet at once for consistent performance. Checkpoint: Monthly fleet-wide inspections prevent unexpected failures during class.
Product Facts
- Stopper: The Reformer Stopper is a genuine Your Reformer spare part designed to maintain the smooth, controlled movement your carriage relies on. When a stopper wears down or goes missing, the reformer's travel range becomes unpredictable. This is the fix. Available in two styles to fit your specific machine. Using the correct style stopper for your reformer model ensures a consistent stopping point, which is vital for safe group classes where multiple machines are in use.
The stopper is a small part with a big job in group Pilates. By incorporating a quick pre-class check, using the correct replacement, and educating participants, you keep every reformer running safely and consistently. A few minutes of preventive care saves time, prevents injuries, and lets everyone focus on the workout.