Quick answer
Use Jono Pandolfi Pro Shop square sided presentation plates for composed appetizers, small entrées, or tasting menus. The square shape guides geometric plating and portion control.
Why square plates change your plating approach
Square sided plates have a different visual weight than round plates. The straight edges and corners create natural lines for arranging components in rows, triangles, or offset stacks. This shape works best when you want a modern, structured look rather than a free-form swoosh.
The 4.5-inch size is small enough for single-bite appetizers or composed salads for tasting menus, but too small for a full entrée with multiple sides. If your dish needs more than three components, consider a larger coupe plate or a square sided bowl.
Work with the glaze and clay options
Pro Shop plates are made to order with your choice of clay and glaze. The glaze finish affects how food looks against the plate surface. A matte glaze reduces glare and keeps the focus on the food; a glossy glaze adds contrast and depth.
The square shape also means the plate surface is flat with low sides, so sauces and liquids can run off the edge if you overfill. Keep wet components centered or use a ring of sauce as a base rather than a puddle.
How to plate on a square sided presentation plate
- 1. Center your main component: Place the primary ingredient (protein, tart, or main bite) slightly off-center toward one corner. The square plate has a natural focal point where the eye travels from the corner inward. Avoid dead center, which can look static. Checkpoint: If the main item slides to the edge, the plate may be too glossy or the component too wet. Use a small dab of puree or sauce as an anchor.
- 2. Build a diagonal line with secondary elements: Arrange sauces, garnishes, or purees in a line from one corner to the opposite corner. Use a squeeze bottle or spoon to create a straight streak or dots that follow the plate's geometry. This reinforces the square shape without fighting it. Checkpoint: Avoid circular swoops or concentric rings—they clash with the straight edges and make the plate look confused.
- 3. Add height with a stack or skewer: Because the plate is only 1 inch tall and 4 inches wide, vertical elements help the dish read as substantial. Stack two or three small components (e.g., a crostini, a slice of cheese, a leaf) or use a short skewer to lift a bite off the surface. Checkpoint: Don't exceed 3 inches of height—tall stacks are unstable on a small flat surface and may tip over during service.
- 4. Finish with a single accent garnish: Add one microgreen, edible flower, or spice sprinkle near the main component. The square plate's clean lines mean every element is visible, so a single accent has more impact than a scatter of small garnishes. Checkpoint: If the plate looks busy, remove the smallest garnish first. Less is more on a 4.5-inch surface.
Product details
-
Pro Shop 4.5" Square Sided Presentation Plates: Pro Shop orders are made or glazed to order with a minimum of 24 pieces, increasing in lots of 6. Plan your order lead time and quantity early, especially if you need these plates for a specific event or menu launch.
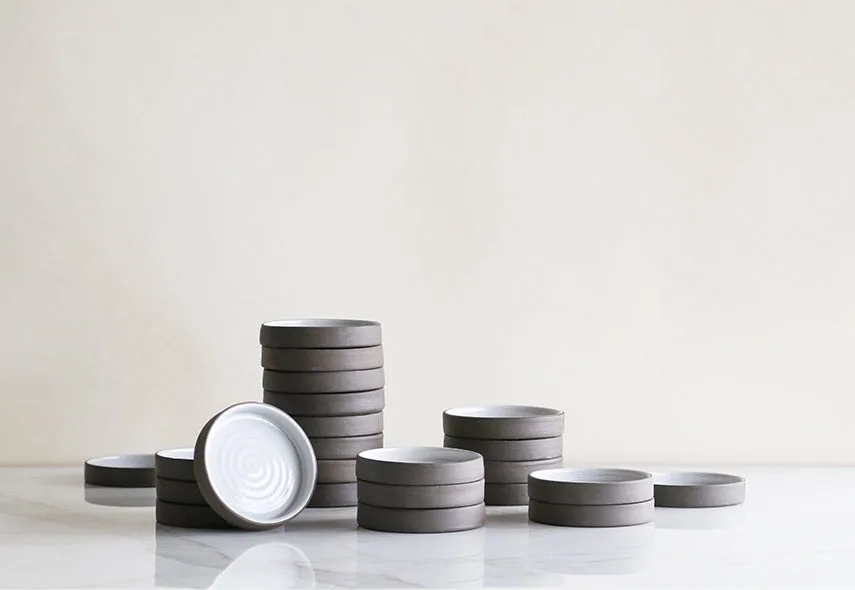
Pro Shop 4.5" Square Sided Presentation Plates