Quick Answer
Start with one chair you can sit in for an hour without shifting, add light that falls directly on your canvas, and keep your tools within arm's reach. A comfortable stitching setup doesn't need a dedicated room; it needs a repeatable corner where your body and your project both stay supported.
A needlepoint stitching space is less about decorating a craft room and more about removing the small frictions that make you stop early. If your neck aches, your thread keeps rolling off the table, or you have to squint at 18-mesh canvas, you'll stitch less often. The fix is usually a few deliberate choices, not a renovation.
This guide walks through setting up a needlepoint workspace step by step. You'll choose a chair and surface, position lighting, organize supplies, and adjust as you go. Each step includes one common mistake to avoid, so you can build a comfortable stitching setup that fits your home and your budget.
Start With the Chair, Not the Decor
Sit in the chair you plan to stitch in for at least ten minutes before committing to it. Your feet should rest flat on the floor or on a small footstool, and your elbows should bend comfortably when your hands are at canvas height. If the seat is too deep, add a firm cushion behind your lower back rather than slouching to reach the front edge.
A chair with armrests helps many stitchers because it supports the forearms while the hands work. If your current chair has no arms, try a lap desk or a firm pillow on your lap to bring the canvas closer. The goal is to avoid holding your work up with tired shoulders.
- Common mistake: choosing a chair for looks instead of testing it with your actual stitching posture.
- Checkpoint: after ten minutes, your lower back and neck should feel neutral, not compressed.
Set the Surface and Canvas Height
Your canvas should sit high enough that you aren't looking down at a steep angle. For many stitchers, that means resting the canvas on a table, a lap desk, or a frame that lifts it toward chest height. If you use stretcher bars, the frame itself becomes part of your setup because it holds the canvas tight and keeps both hands free.
Needlepoint Stretcher Bars 14 Inch (Set of 2) are sold as a pair and are used to make a frame that you attach your canvas to so it stays tight while you stitch. To make a frame you need four stretcher bars, or two units. For example, if your cut canvas is 8" x 8", you need four 8" bars, so match the bar length to your cut canvas size.
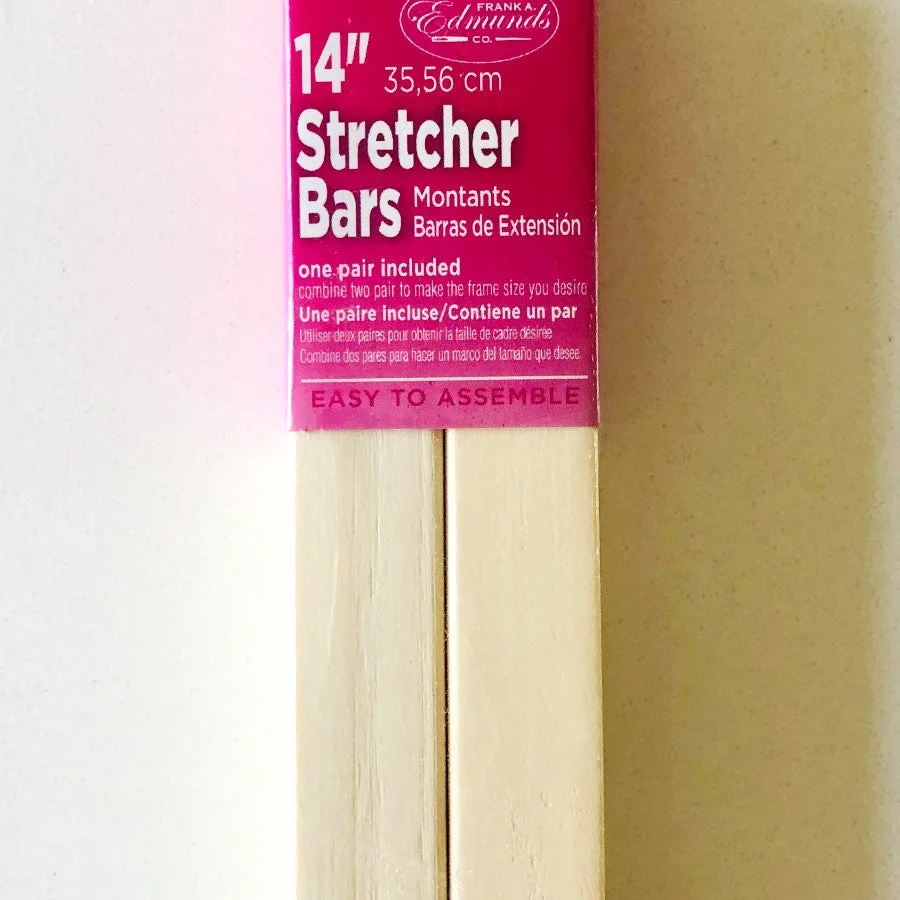
Needlepoint Stretcher Bars 14 Inch (Set of 2)
- Common mistake: buying one pair of bars and expecting a complete frame; remember that a frame needs four bars.
- Checkpoint: with the canvas in place, your hands should reach the center of the design without hunching.
Position Lighting for Needlepoint
Good lighting for needlepoint means light that falls on the canvas, not behind it or directly into your eyes. A floor lamp with an adjustable arm placed beside your stitching shoulder works well because you can angle it down onto the work. If you stitch in the evening, combine overhead room light with a focused task light so your eyes aren't adapting to two very different brightness levels.
The finer the canvas, the more light you'll want. A 10-count canvas with large holes is more forgiving than an 18-mesh mono canvas, where every thread and hole is smaller. If you find yourself leaning toward the lamp, that's a sign to raise the light or increase its brightness rather than move your body closer.
- Common mistake: placing the lamp behind your chair, which throws your own shadow across the canvas.
- Checkpoint: you should see individual canvas threads clearly without squinting or leaning forward.
Organize Tools and Thread Within Reach
Keep everything you touch during a stitching session inside a comfortable arm's reach: needles, scissors, thread, and your instructions. A small tray, basket, or project bag on the table beside you prevents the up-and-down motion that breaks your rhythm. If you stitch from a kit, the project bag that comes with it can serve as your station's core.
The WTF Needlepoint Kit includes a project bag to keep all your threads together, plus two high-quality needles and beginner instructions. That kind of all-in-one packaging is useful when you're setting up because you can place the bag beside your chair and start stitching without hunting for supplies.
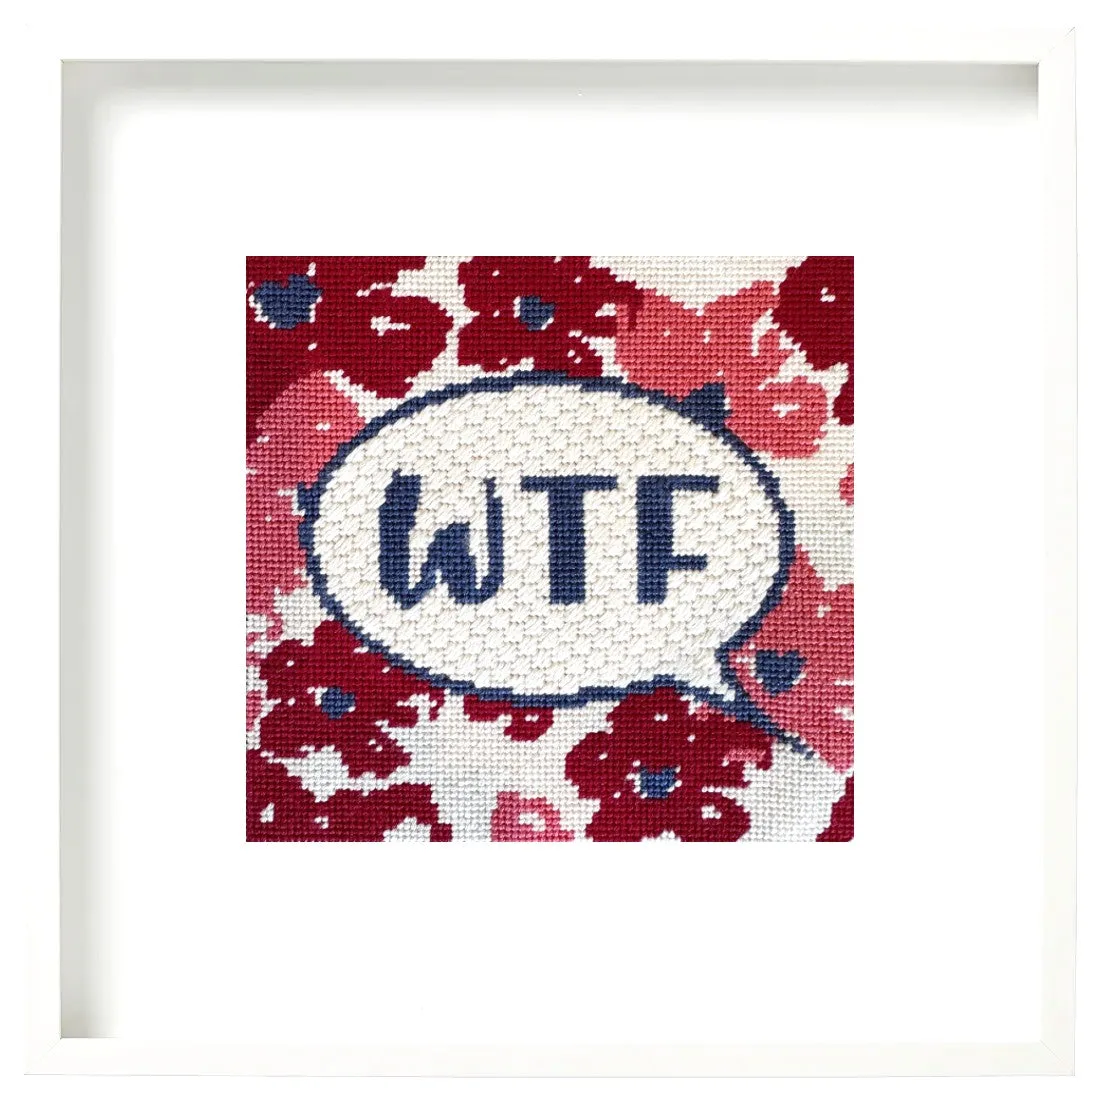
WTF Needlepoint Kit
- Common mistake: storing thread across the room, which encourages you to leave supplies out and create clutter.
- Checkpoint: you should be able to pick up a new strand of thread without standing up.
Choose a Project That Fits the Space
The size of your stitching space should influence the size of your project. A small corner works better with a compact design than with a large frame that has to be propped against furniture. If you're short on room, look for kits with smaller printed canvases, such as a 5" x 5" or 6" x 6" design, which are easier to manage in a tight setup.
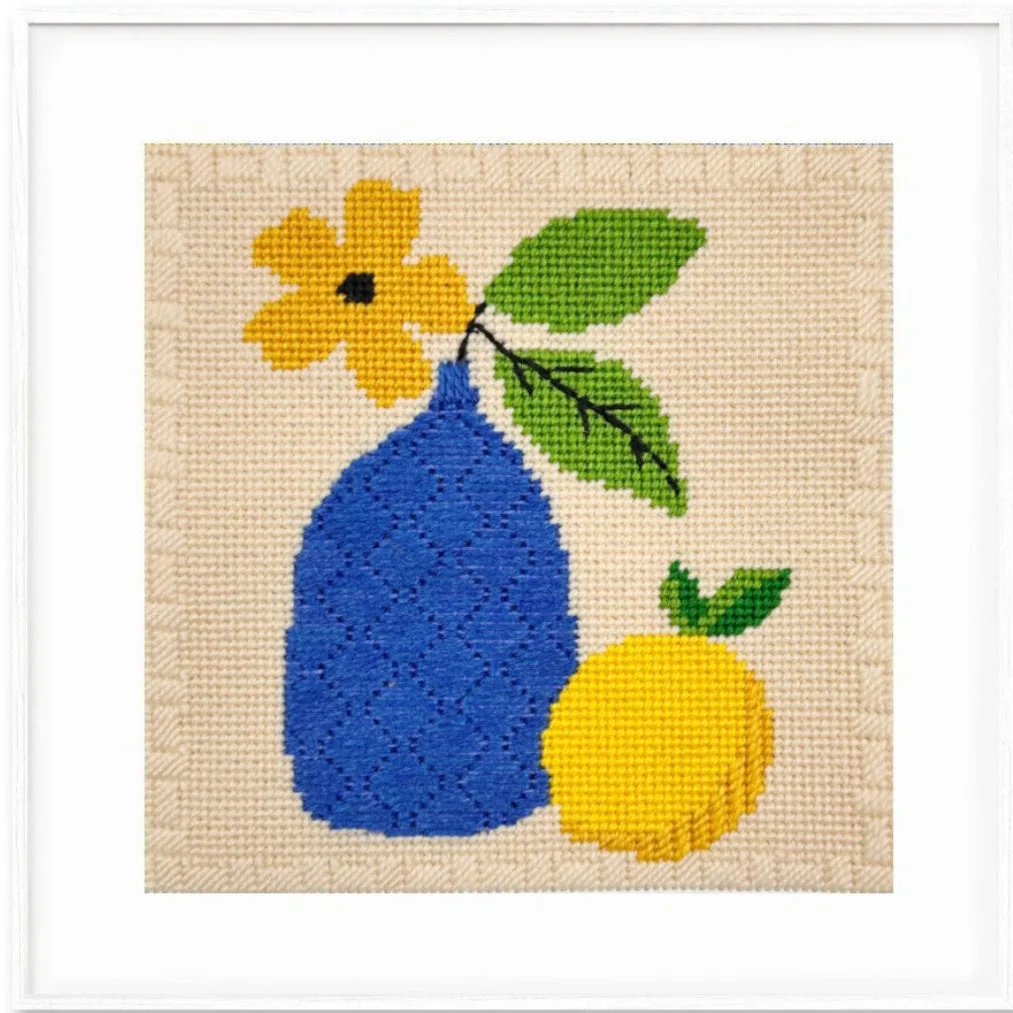
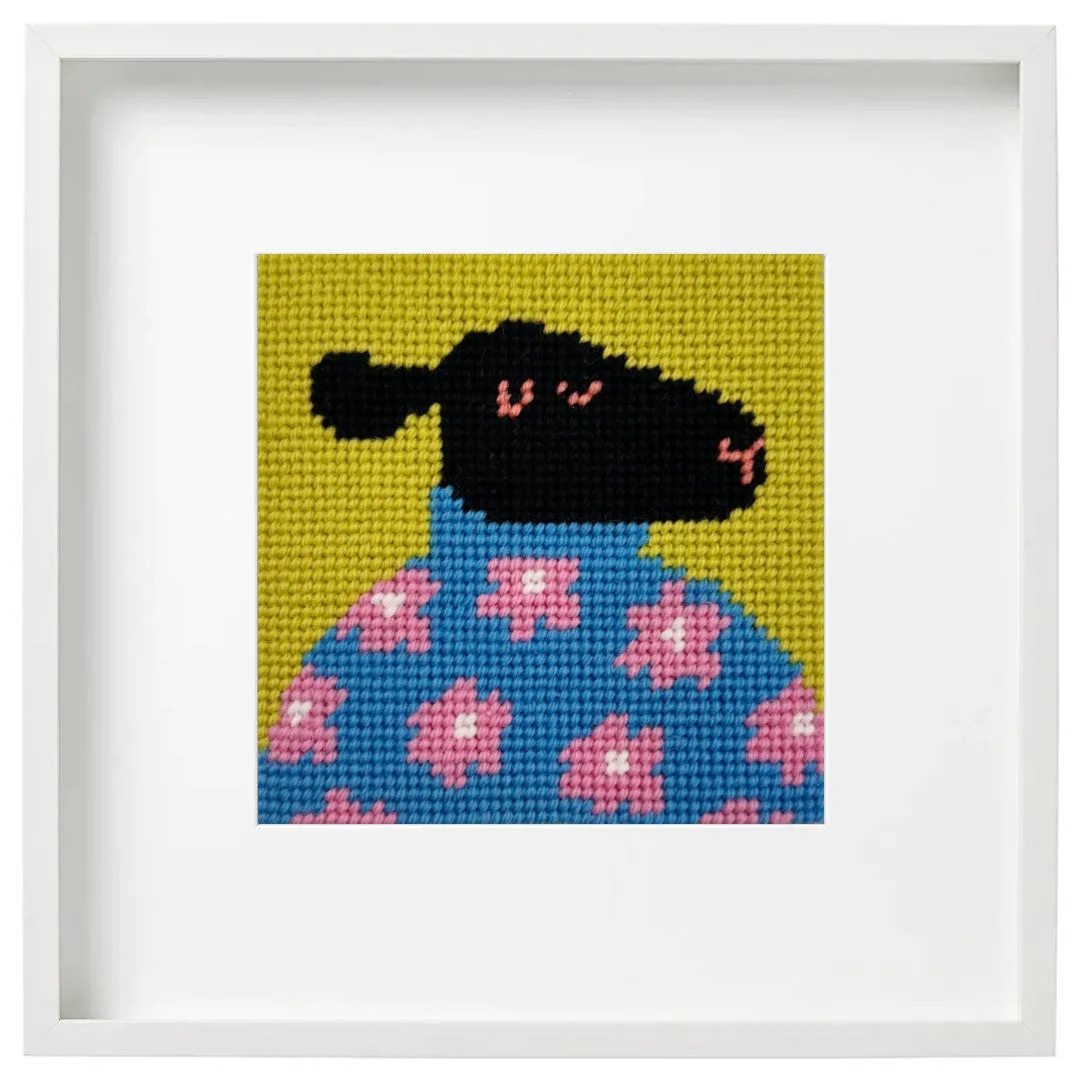
The Chic Sheep Needlepoint Beginner Kit uses a 5" x 5" design on 10-count canvas with large holes, printed and edge-taped for ease of stitching, and includes 100% Appleton's tapestry wool yarns. The Still Life Vase Needlepoint Kit uses a 6" x 6" design on 13-count canvas and is described as a low-stress, high-reward project. Both fit neatly on a lap desk or small table.
- Common mistake: starting a large project in a cramped space, then avoiding it because setup feels like work.
- Checkpoint: your current project should fit within your reach without moving furniture each session.
Adjust and Reset After Each Session
A stitching station stays comfortable only if you reset it. At the end of a session, put your needle in a safe place, close your scissors, and return thread to its bag or organizer. This takes a minute but prevents the next session from starting with untangling and searching. It also protects your threads from dust and pets.
Notice how your body feels after stitching. If your neck or wrists are sore, adjust one thing before the next session: raise the canvas, move the lamp, or change chairs. Small adjustments made early prevent the kind of discomfort that makes you stop stitching altogether.
- Common mistake: leaving loose thread and needles out, which creates clutter and makes the next start harder.
- Checkpoint: after resetting, your station should look ready for you to sit down and take the first stitch.
Your Step-by-Step Setup
- Test your chair for ten minutes: Sit with your feet flat and hands at canvas height. Add a lumbar cushion or footstool if needed. Checkpoint: no neck or lower back strain after ten minutes.
- Raise the canvas to chest height: Use a table, lap desk, or stretcher bar frame so you aren't looking down steeply. Match bar length to your cut canvas size. Checkpoint: you can reach the center of the design without hunching.
- Put light on the canvas, not behind you: Angle an adjustable lamp over your stitching shoulder and combine it with room light in the evening. Checkpoint: you can see individual threads without leaning in.
- Keep tools within arm's reach: Place needles, scissors, thread, and instructions on a tray or in a project bag beside you. Checkpoint: you can start a new strand without standing up.
- Match project size to your space: Choose a small or medium canvas if your station is a corner or lap desk rather than a full craft room. Checkpoint: your project fits your reach without rearranging furniture.
- Reset the station after every session: Secure your needle, close scissors, and return thread to its bag or organizer. Checkpoint: the station looks ready for your next stitch.
Products That Help Build the Setup
- Needlepoint Stretcher Bars 14 Inch (Set of 2): Sold as a pair; used to make a frame that holds canvas tight while you stitch. To make a frame you need four stretcher bars or two units. A tight frame keeps both hands free and reduces the need to hold the canvas, which makes your stitching space more comfortable.
- Chic Sheep Needlepoint Beginner Kit: Includes a 5" x 5" color-printed design on 10-count canvas with large holes, edge-taped, plus 100% Appleton's tapestry wool yarns. The large holes and small size suit a compact stitching station and are easier to see under task lighting.
- Still Life Vase Needlepoint Kit: A 6" x 6" design on 13-count canvas, described as a low-stress, high-reward project. A modest canvas size fits a lap desk or side table without dominating your space.
- WTF Needlepoint Kit: Includes a 5" x 5" design on 18-mesh mono canvas, two needles, instructions, and a project bag for threads. The project bag becomes the core of a tidy stitching station, and the 18-mesh canvas benefits from focused lighting.
A comfortable stitching setup is built from a few repeatable choices: a chair you can sit in, light that reaches the canvas, tools within reach, and a project that fits the space. Start with one step, adjust after each session, and your needlepoint workspace will become the corner you actually look forward to using.