Quick Answer
To set up a sensory swing at home, choose a sturdy ceiling mount point, use a swing rated for your child's weight, and ensure at least 2 feet of clearance on all sides and 3 feet above the child. Always follow the manufacturer's instructions and check hardware regularly.
Installing a sensory swing at home can provide calming proprioceptive and vestibular input for children who crave movement. But a safe setup requires more than just hanging it from the nearest hook. This guide walks you through the key decisions: where to mount, which hardware to use, and how to create a safe zone around the swing.
Whether you're mounting to a ceiling joist, a beam, or using a freestanding frame, the principles are the same: secure anchor, appropriate hardware, and clear space. Let's get your swing up without the guesswork.
Choosing the Right Location
Start by identifying a spot with enough room for the swing's full range of motion. You'll need at least 2 feet of clearance on every side, and ideally 3 feet if the swing moves in a wide arc. Also consider ceiling height: a swing typically needs at least 2 feet of vertical clearance above the child's head when seated, so low ceilings can be a problem.
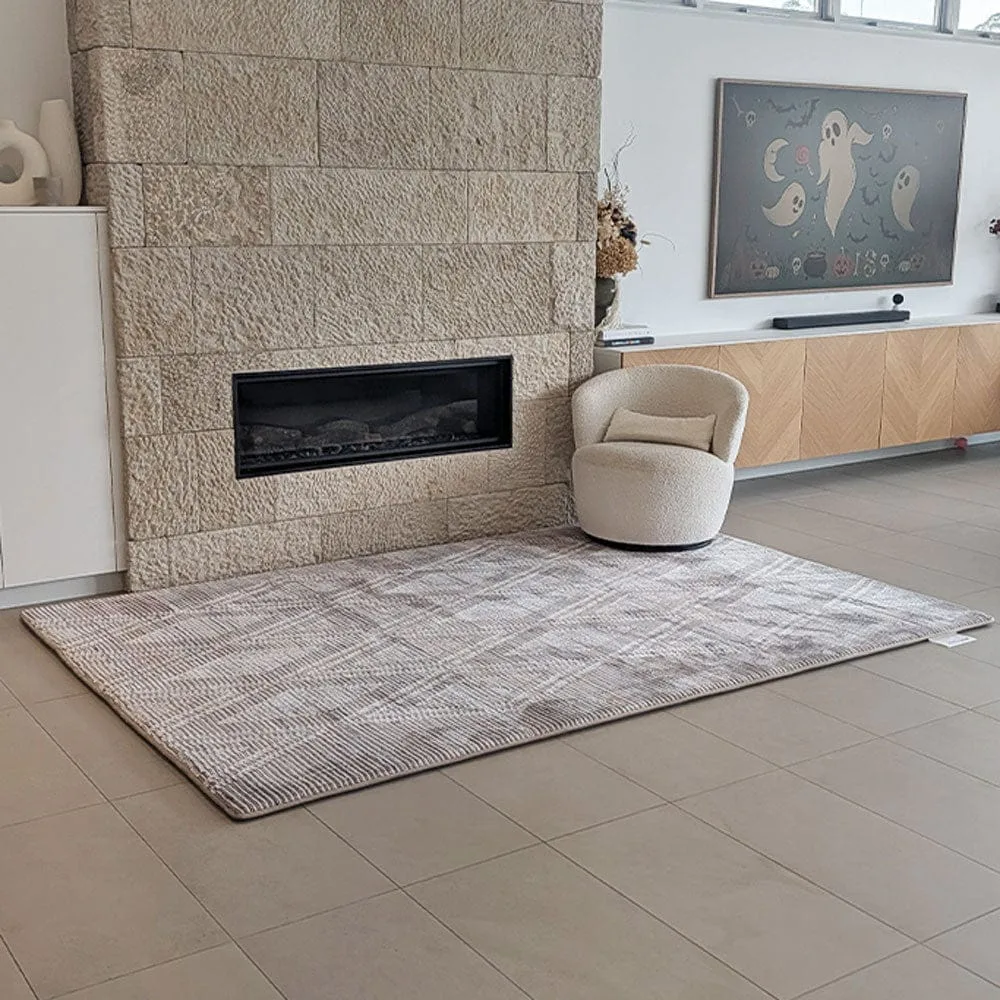
Think about what's beneath the swing. A bare floor can be hard and slippery, while a rug or mat can cushion falls and define the swing zone. For example, a soft, thick mat like the Mellow Mat v2® Designer Print | Mystique adds a comfortable landing surface and a calming visual anchor. Its 35mm slow-rebound memory foam provides extra cushioning compared to standard rugs.
- Avoid mounting over furniture or hard edges.
- Keep the swing away from windows, doors, and radiators.
- If using a mat, ensure it is non-slip and extends beyond the swing's reach.
Selecting the Mounting Hardware
The most secure mount is a ceiling joist or structural beam. Use a heavy-duty eye bolt or a swing hook rated for at least the weight of the child plus a safety margin. Avoid drywall anchors unless they are rated for dynamic loads. If you cannot mount to a joist, a freestanding sensory swing frame is a safer alternative.
When mounting to a ceiling, drill a pilot hole slightly smaller than the bolt diameter, then thread the eye bolt into the joist. For metal beams, use a beam clamp. Always use a locking carabiner to attach the swing strap to the eye bolt, and ensure all hardware is rated for the intended load.
- Check the weight rating on all hardware and the swing itself.
- Use a washer between the bolt head and the strap to avoid wear.
- Consider using a swivel to prevent twisting of the straps.
Space and Clearance Requirements
A sensory swing needs a clear zone that accounts for its movement. For a standard cuddle swing, allow at least 2 feet of clearance on each side and 3 feet in front and back. If the swing is used for spinning, increase clearance to 4 feet or more. Also ensure there is at least 3 feet of open space above the child's head when seated.
Measure the swing's straps and adjust the mounting height so the child's feet just touch the floor when seated, or allow them to tuck their legs. For younger children, a lower seat is easier to access and safer. Always follow the manufacturer's guidelines for age and weight limits.
- Use a tape measure to mark the swing zone on the floor.
- If the swing swings side-to-side, clear the area of toys and obstacles.
- For outdoor setups, avoid trees with weak branches and use a sturdy frame.
Step-by-Step Installation
Once you have your location and hardware, follow these steps: 1) Locate the ceiling joist with a stud finder. 2) Drill a pilot hole and install the eye bolt. 3) Attach the swing strap to the eye bolt with a locking carabiner. 4) Adjust the strap length to the desired height. 5) Test the swing with gradual weight before allowing a child to use it.
- Always read the swing's manual for specific installation instructions.
- If unsure about your ceiling's structure, consult a professional.
Installation Steps at a Glance
- Find a secure mounting point: Use a stud finder to locate a ceiling joist or use a freestanding frame rated for the swing's weight. Never mount to drywall alone; always anchor to a structural beam.
- Install the ceiling mount: Drill a pilot hole and thread a heavy-duty eye bolt into the joist. For metal beams, use a beam clamp. Use a washer and locking carabiner to secure the strap.
- Attach the swing and adjust height: Hang the swing so the child's feet just touch the floor when seated. Adjust straps evenly. Test with gradual weight before allowing a child to use it.
- Create a safe zone: Clear the area of obstacles, and consider placing a soft mat or rug underneath to cushion falls. Ensure at least 2 feet of clearance on all sides and 3 feet above the child.
- Regularly inspect and maintain: Check all hardware and straps monthly for wear or loosening. Replace any damaged parts immediately. Safety first: never leave a child unattended.
Recommended Products for Your Sensory Space
- The Mellow Mat v2® Designer Print | Mystique (Soft Touch Sensory Tatami Rug) PR06 {CLEARANCE}: This 35mm thick slow rebound memory foam mat/rug features a bold, elegant design with a white medallion on a smoky grey background. Placing a soft, thick mat under your sensory swing provides a comfortable landing surface and helps define the play area, reducing the risk of injury from falls.
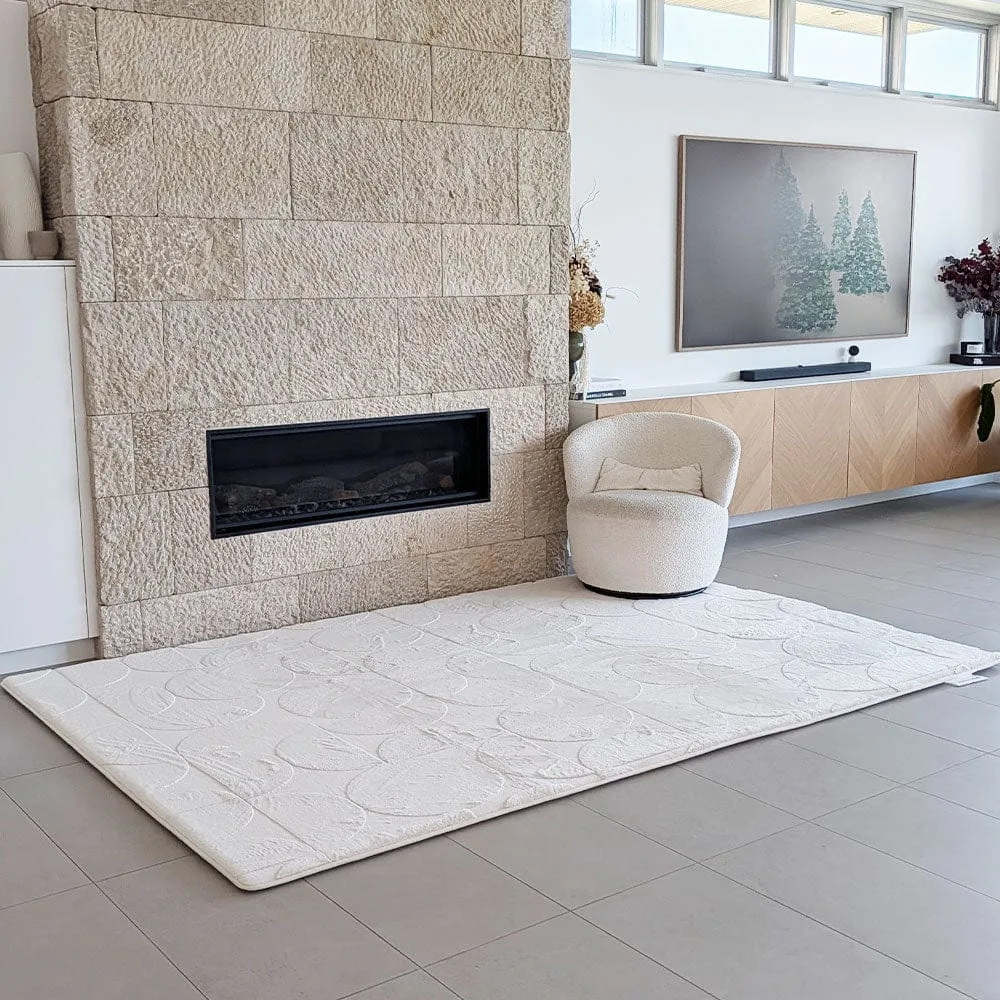
- The Mellow Mat® Soft Orbit 3D (Soft Touch Sensory Tatami Rug) 3D06: This rug features raised circular patterns in a warm ivory tone, adding depth and movement underfoot. The raised texture offers tactile input that can enhance the sensory experience, making the area around the swing more inviting and calming.
Setting up a sensory swing at home doesn't have to be daunting. By choosing a secure mounting point, using the right hardware, and creating a safe, open space, you can provide hours of calming sensory input for your child. Always follow the manufacturer's instructions and prioritize safety at every step.