Quick answer
Set up an anesthesia breathing circuit by connecting the inspiratory and expiratory limbs to the machine, attaching the Y-piece, and testing for leaks before patient use.
Why proper setup matters
A correctly assembled anesthesia breathing circuit ensures consistent gas delivery and patient safety. Mistakes like loose connections or incorrect bag attachment can lead to leaks or inadequate ventilation.
The expandable design of many adult circuits, such as the 96-inch dual limb type, allows flexibility in positioning but requires careful routing to avoid kinks or obstructions.
Step-by-step setup instructions
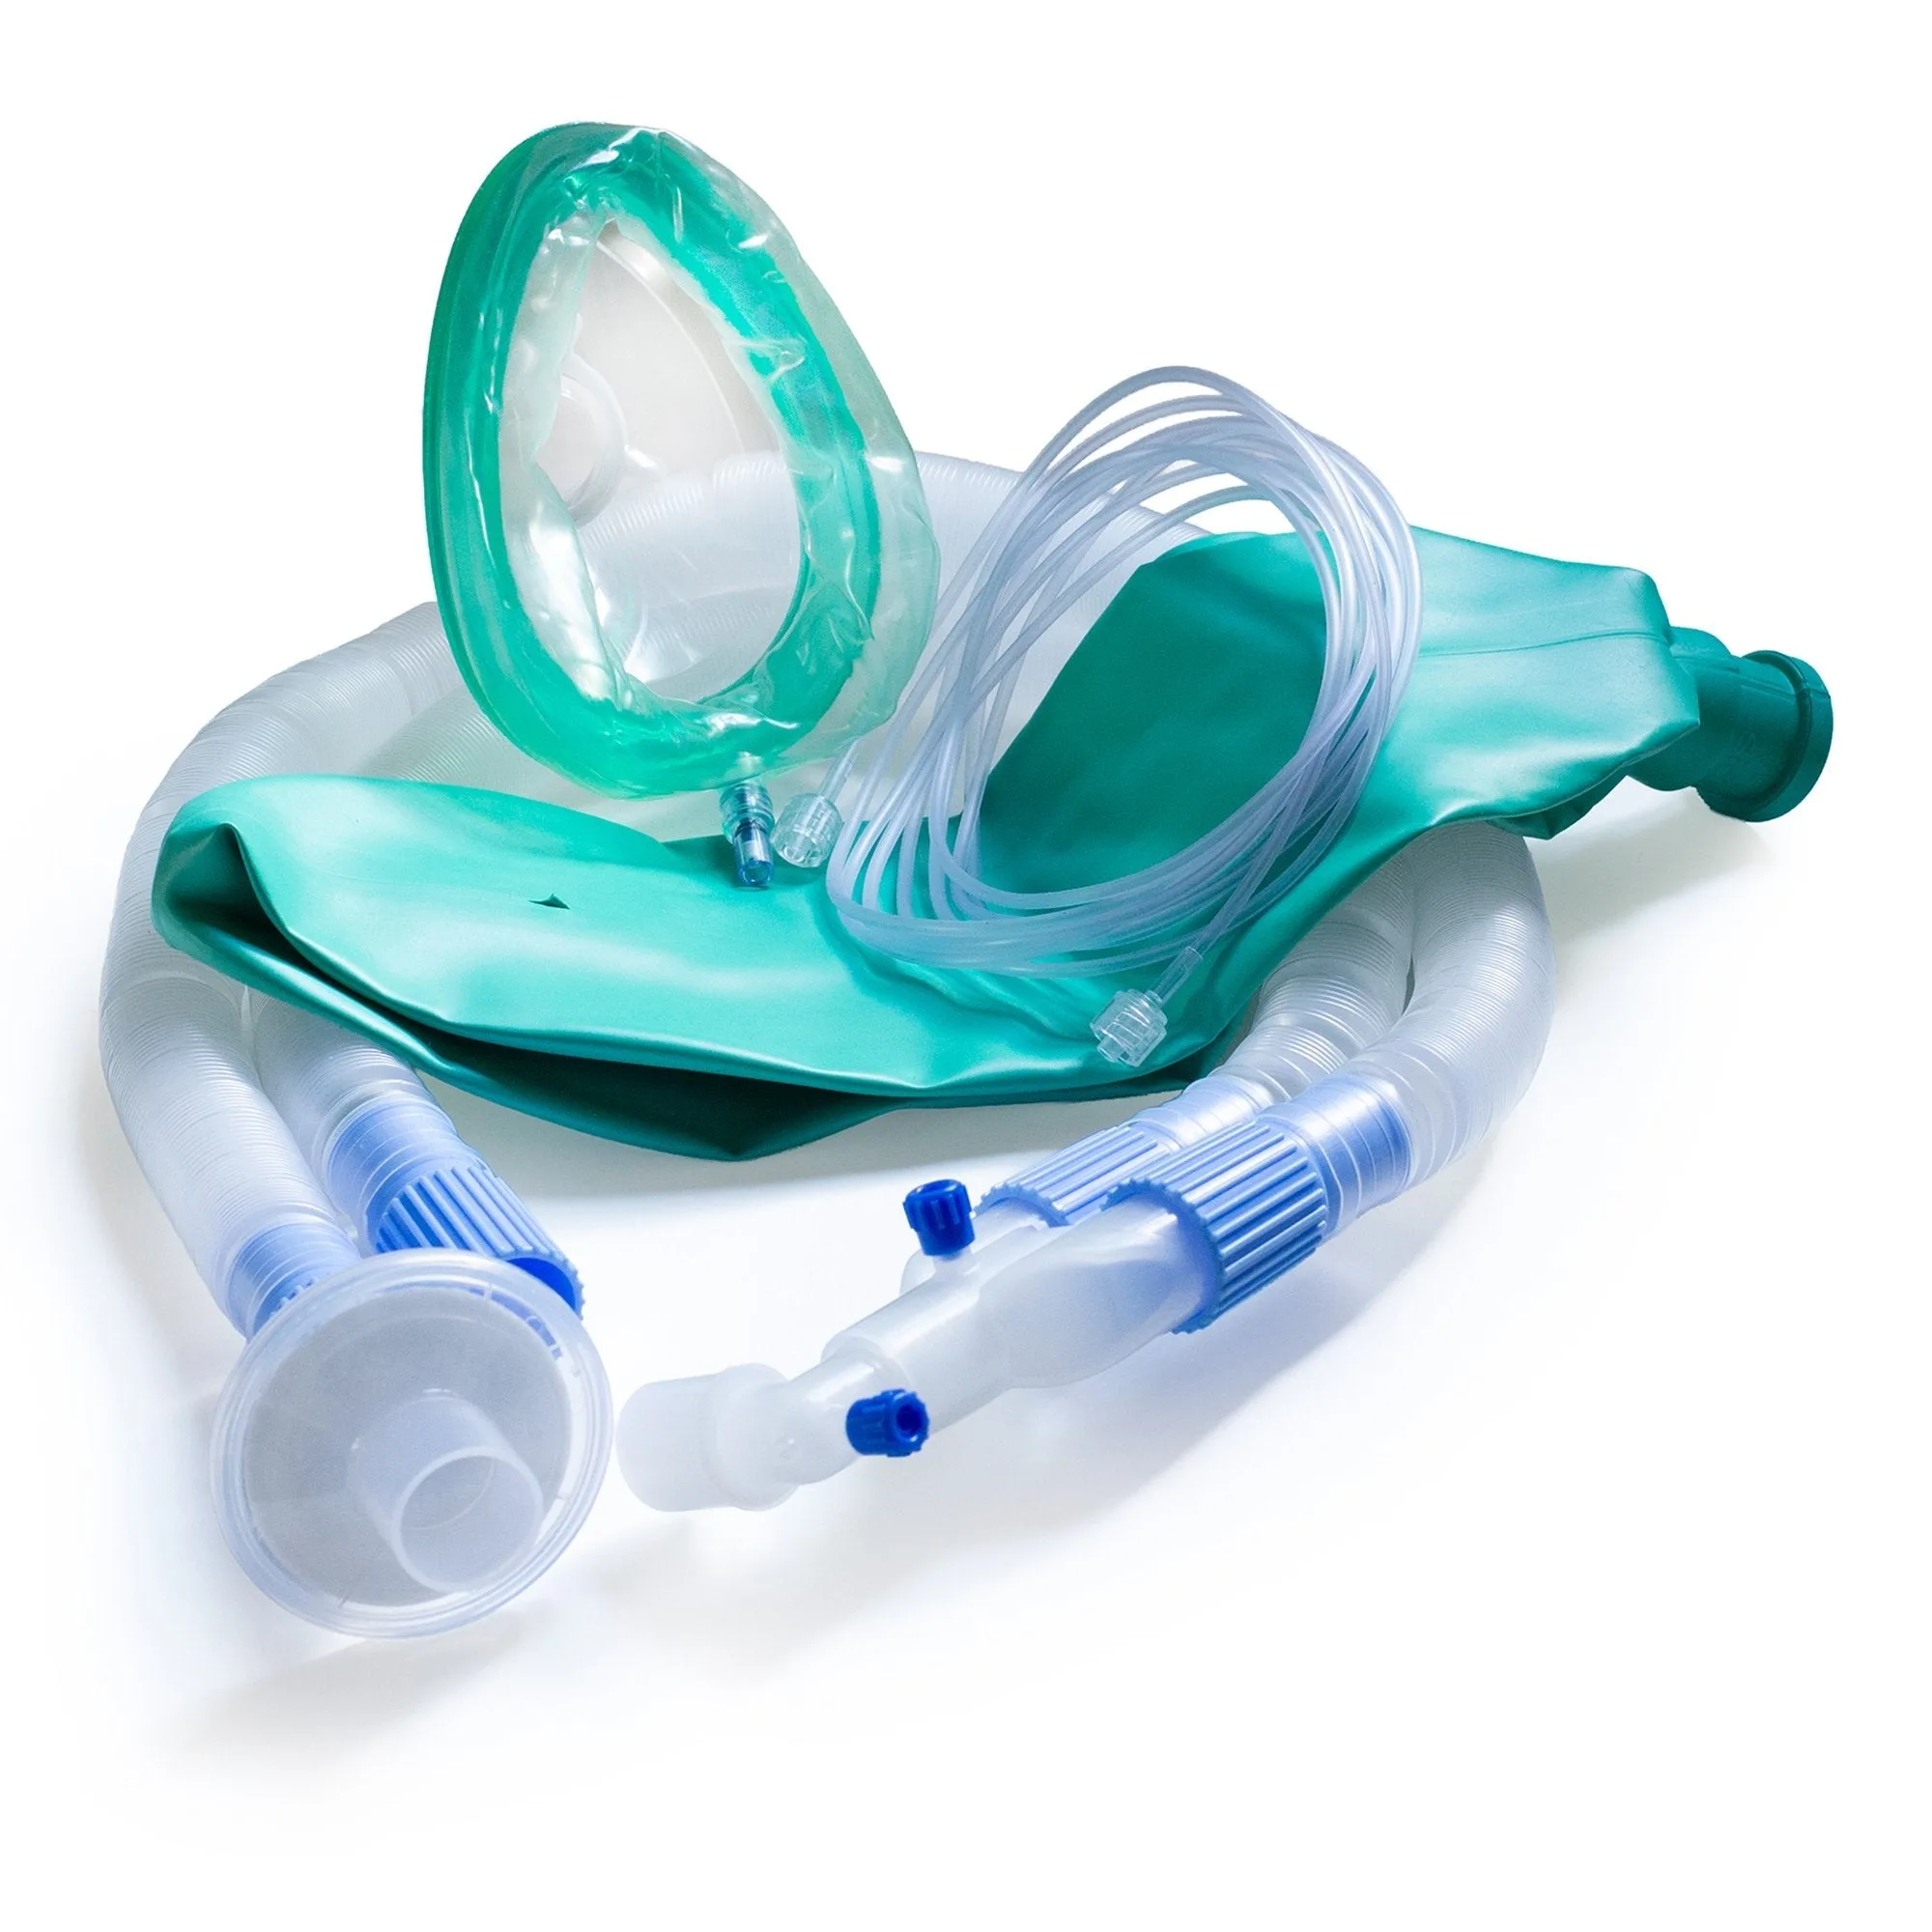
- Step 1: Inspect the circuit components: Remove the circuit from its packaging and verify you have the inspiratory limb, expiratory limb, Y-piece, and 3-liter reservoir bag. Check for any visible damage or debris. Common mistake: using a circuit with cracked connectors or torn tubing can cause leaks. Discard any damaged components.
- Step 2: Attach the inspiratory limb to the machine: Connect the inspiratory limb (usually marked with an arrow or color code) to the fresh gas outlet on the anesthesia machine. Ensure the connection is snug but not overtightened. Checkpoint: confirm the limb is fully seated to prevent gas escape at the machine interface.
- Step 3: Connect the expiratory limb to the scavenger system: Attach the expiratory limb to the scavenger port on the machine. This limb carries exhaled gases away from the patient. Common mistake: swapping inspiratory and expiratory limbs can cause rebreathing of carbon dioxide. Double-check markings.
- Step 4: Assemble the Y-piece and reservoir bag: Attach the Y-piece to the patient end of both limbs. Then connect the 3-liter reservoir bag to the bag port on the machine or circuit, depending on your model. Checkpoint: ensure the bag is not twisted or kinked, as this can restrict gas flow.
- Step 5: Perform a leak test: Close the pop-off valve, occlude the patient end of the Y-piece, and press the oxygen flush button to pressurize the circuit to about 30 cmH2O. Observe the pressure gauge; if it drops quickly, there is a leak. Common mistake: skipping the leak test can lead to undetected leaks that compromise tidal volume delivery.
- Step 6: Verify the expandable feature (if applicable): If using an expandable circuit like the 96-inch model, extend the tubing to the desired length and ensure it does not kink or contact hot surfaces. The expandable design should move freely without resistance. Checkpoint: a kinked tube can cause obstruction; route the circuit away from equipment that could compress it.
- Step 7: Final system check: Reconnect the patient end of the Y-piece to a test lung or breathing bag. Set the ventilator to a test mode and observe that the bag inflates and deflates normally. Adjust the pop-off valve as needed. Common mistake: forgetting to open the pop-off valve after testing can cause excessive pressure. Always reset it before patient use.
Product used in this guide
-
Anesthesia Breathing Circuit Expandable Adult Tube 96 Inch Tube Dual Limb ,3 Liter Bag: McKesson's expandable anesthesia breathing circuit features a 96-inch dual limb design with a 3-liter bag for adult patients. The 96-inch length provides flexibility in positioning the circuit away from the patient, while the 3-liter bag offers adequate reservoir volume for adult tidal volumes.
Anesthesia Breathing Circuit Expandable Adult Tube 96 Inch Tube Dual Limb ,3 Liter Bag