Quick Answer
Set up a crystal grid with pyramids and towers by choosing one intention, placing a tower at the center as the anchor, arranging pyramids at the four compass points to amplify direction, and filling the ring with smaller stones. Keep the layout simple, cleanse each piece first, and leave the grid undisturbed for at least a week.
A crystal grid with pyramids and towers works because the shapes do different jobs. Towers draw energy upward and act as a steady anchor, while pyramids concentrate and direct energy outward. Together they give a grid both a center and a sense of movement.
This crystal grid setup guide walks through eight ordered steps, from picking your intention to closing the grid. It is written for beginners, so you will not need a large stone collection or a permanent altar. A flat surface, a few pieces, and a quiet ten minutes are enough.
Why Shape Matters in a Pyramid Crystal Grid Layout
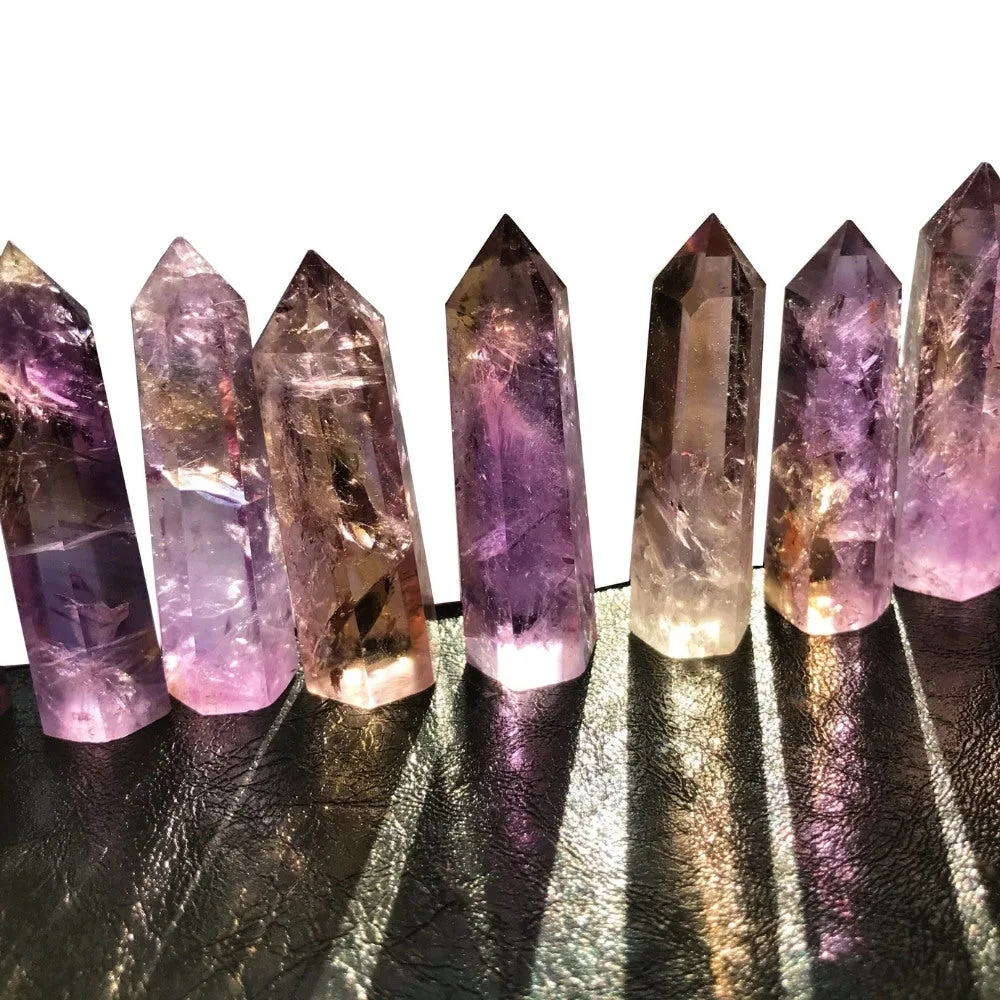
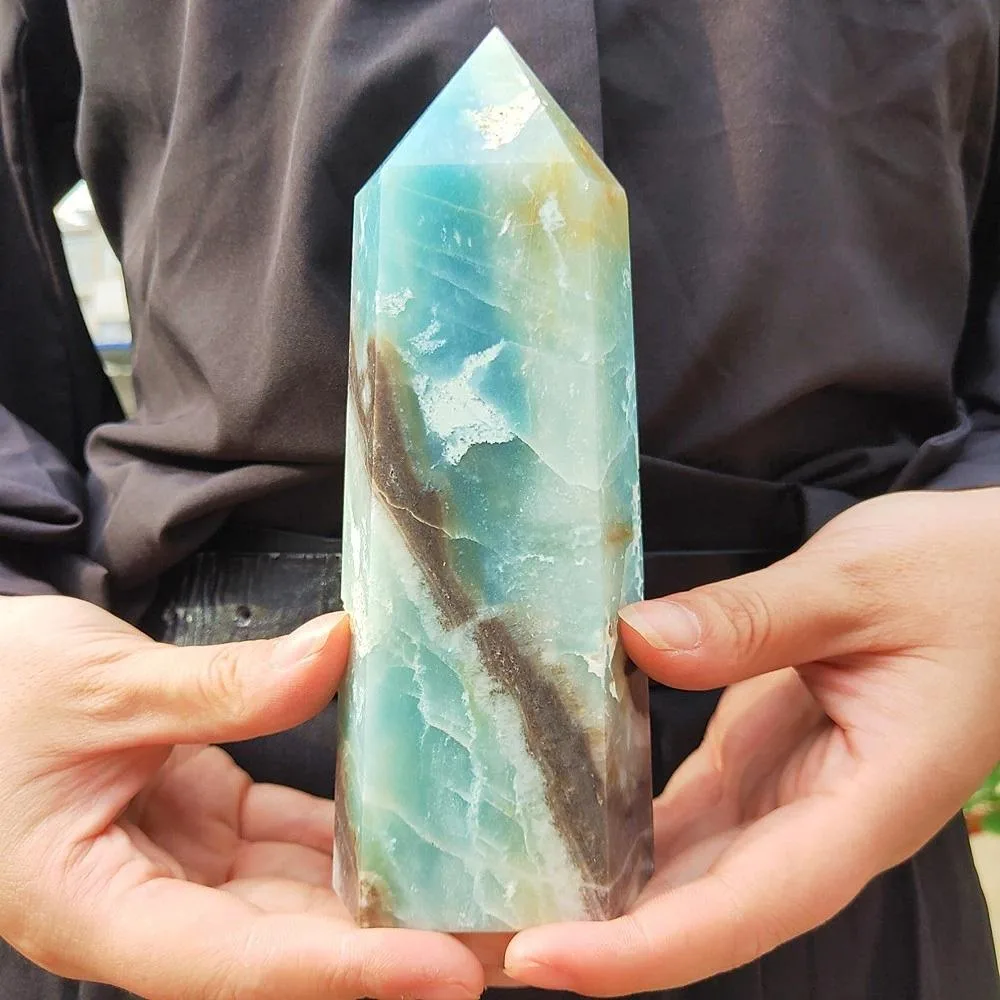
Most beginner grids use tumbled stones in a circle. Adding towers and pyramids changes how the layout reads visually and symbolically. A tower is tall and narrow, so it naturally becomes the focal point, the piece your eye returns to. Pyramids are stable and directional, which makes them useful for marking the four directions or the outer edge of your pattern.
You do not need matching stones. In fact, mixing shapes often makes the grid easier to read because each piece has a clear role. The one rule worth keeping is that the center piece should be the largest or tallest, so the layout has an obvious anchor.
- Use one tower as the center anchor and save additional towers for corners.
- Place pyramids point-up for outward energy or point-down for grounding work.
- Keep the grid on a flat surface so nothing rolls out of place.
Choosing Grid Crystals for Beginners
Start with five to nine pieces. A center tower, four pyramids, and a few small stones are plenty. More pieces do not make a stronger grid; they usually make it harder to keep clean and harder to interpret when you check in on it.
If you already own a Fluorite Octahedron Crystal, it can sit near the center as a clarity piece. Its catalog description notes it is used for clearing negative energies and bringing balance, which pairs well with a grid focused on decision-making. If you are working on grounding instead, a Galena Crystal Tree can sit beside the grid as a steadying reminder rather than as a grid stone itself.
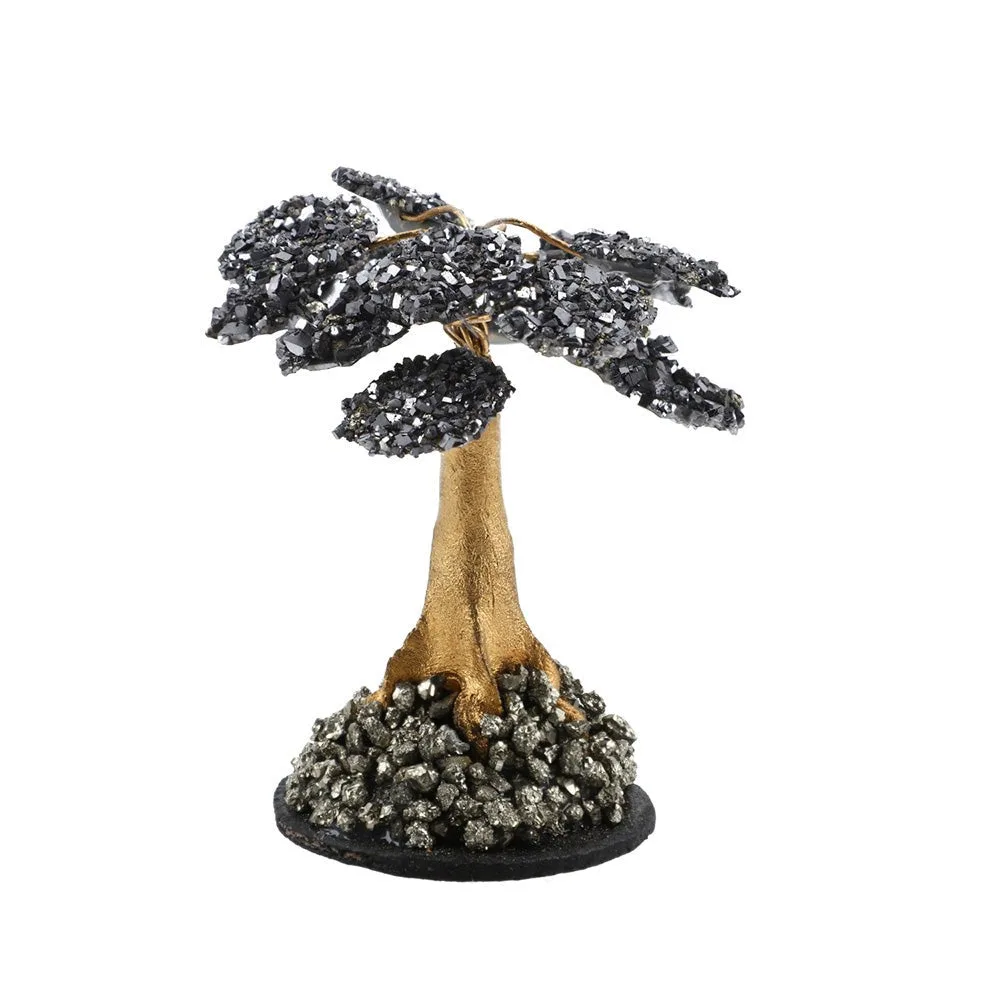
Galena Crystal Tree
- Match stone count to your patience, not to photos you saw online.
- Write your intention on paper and place it under the center tower.
- Avoid mixing more than three stone types in your first grid.
Eight Steps to Build Your Grid
- Step 1: Name one intention: Write a single sentence such as 'I make clear decisions at work' and place it under where the center tower will go. One intention keeps the layout focused and makes it easier to tell whether the grid is still working for you. Checkpoint: if your sentence contains the word 'and', split it into two grids.
- Step 2: Cleanse every piece: Wipe stones with a dry cloth or leave them in moonlight overnight. Skip water for soft or raw stones unless you know they can handle it. Cleansing is about starting fresh, not about a fixed ritual. Mistake to avoid: cleansing only the center piece and forgetting the outer stones.
- Step 3: Place the center tower: Set your tallest tower in the middle, on top of the written intention. This is the anchor of the grid. If you own a Fluorite Octahedron Crystal, place it just to the side of the tower as a clarity companion. Checkpoint: the center should be the tallest piece on the surface.
- Step 4: Mark the four directions with pyramids: Place one pyramid above, below, left, and right of the tower, evenly spaced. These are your amplification points. Point them outward for energy you want to send into the world, or inward for energy you want to draw in. Mistake to avoid: mixing point-up and point-down pyramids without deciding why.
- Step 5: Fill the ring with smaller stones: Add tumbled stones or palm stones between the pyramids to complete the circle. Four to eight small stones is enough. This ring is where most beginners overdo it, so leave visible space between pieces. Checkpoint: you should still see the surface underneath the grid.
- Step 6: Connect the layout with your hand or a wand: Slowly trace a line from the center tower to each pyramid, then around the ring. This is a common way to 'activate' a grid, but it is optional. If it feels performative, skip it and simply sit with the layout for a minute. Mistake to avoid: rushing this step while distracted.
- Step 7: Leave it undisturbed: Give the grid at least a week before you judge it. Dust it gently, but do not rearrange pieces daily. If you need the surface, move the whole grid onto a tray rather than rebuilding it. Checkpoint: note the date you built it so you know when to review.
Stones That Work Well in This Layout
- Fluorite Octahedron Crystal – Energy Clarity and Healing: Catalog notes describe it as a protective and healing crystal used for clearing negative energies, enhancing intuition, and bringing balance. It suits a grid focused on mental clarity or decision-making, and its octahedron shape reads clearly as a secondary focal point near the center.
- Galena Crystal Tree: Catalog notes describe Galena as known for steady, grounding energy and mindful decor. Placed beside a grid rather than inside it, it reinforces a grounding intention without crowding the layout.
- Retro Pentagram Crystals Display Stand: Catalog notes describe it as a display piece that combines pentagram symbolism with crystal energy and provides a focal point for spiritual practice. Useful if you want a dedicated spot for your grid stones between sessions instead of leaving them loose on a shelf.
A grid built from one tower, four pyramids, and a small ring of stones is easier to read, easier to maintain, and easier to learn from than a crowded layout. Start with a single clear intention, keep the center tall, and give the grid a week before you change anything.