Quick answer
Set up the Dedolight Lightstream Kit by placing the 50cm x 50cm reflector where you want the light to appear, aiming a focusable fixture into it from a safe off-camera angle, and shaping the bounce with diffusion or flags. For most interviews, start with the reflector slightly above eye level and about 1.5 to 2 meters from the subject, then adjust distance before adding diffusion.
Why the reflector changes your interview lighting approach
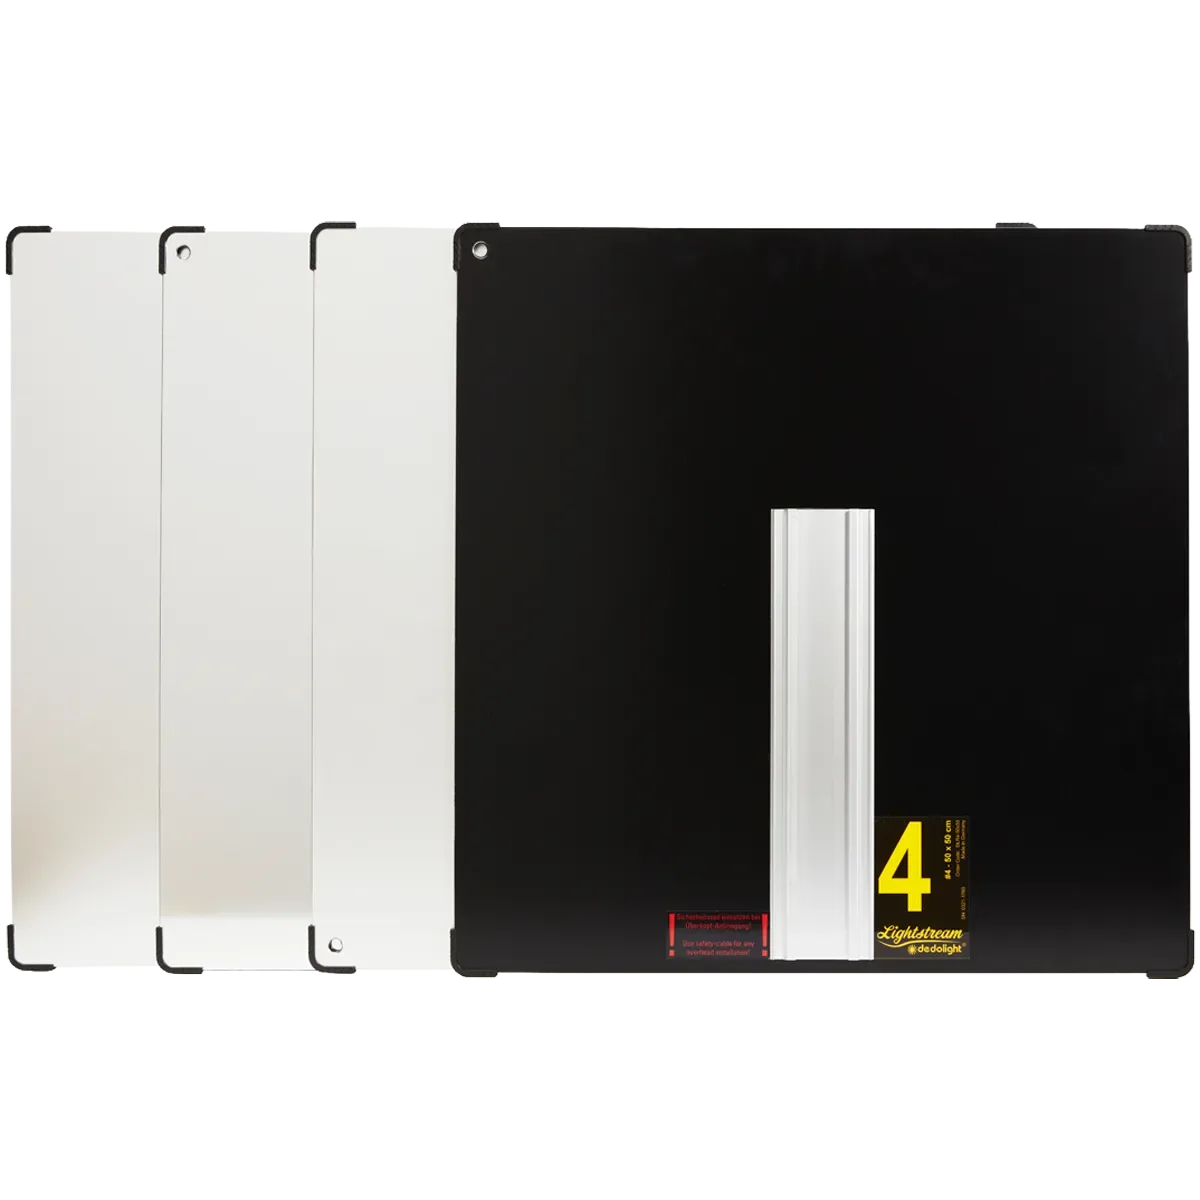
The Dedolight Lightstream Kit is a rental lighting reflector, not a softbox or LED panel. It works by catching light from a separate fixture and redirecting it toward your subject. That means your key light position is really two positions: where the fixture sits and where the reflector sits. This is useful in tight interview rooms because you can keep the bright fixture out of the shot and place the reflector close to the subject for a softer, more controllable source.
Because the kit is listed under the DEDOLIGHT and LUMIERE tags in Matphoto's rental catalog, you can pair it with a focusable fixture you already have or rent alongside it. The 50cm x 50cm size is small enough for a medium close-up but large enough to wrap light gently across a face when placed correctly.
What to prepare before you rig the reflector
You need a stand or grip arm that can hold the reflector securely, a focusable light source, and a way to control spill. Check that your fixture's beam angle can cover the reflector surface from your chosen distance. If the beam is too narrow, you will see a hot spot on the reflector and uneven light on the subject. If it is too wide, you waste output and risk flare.
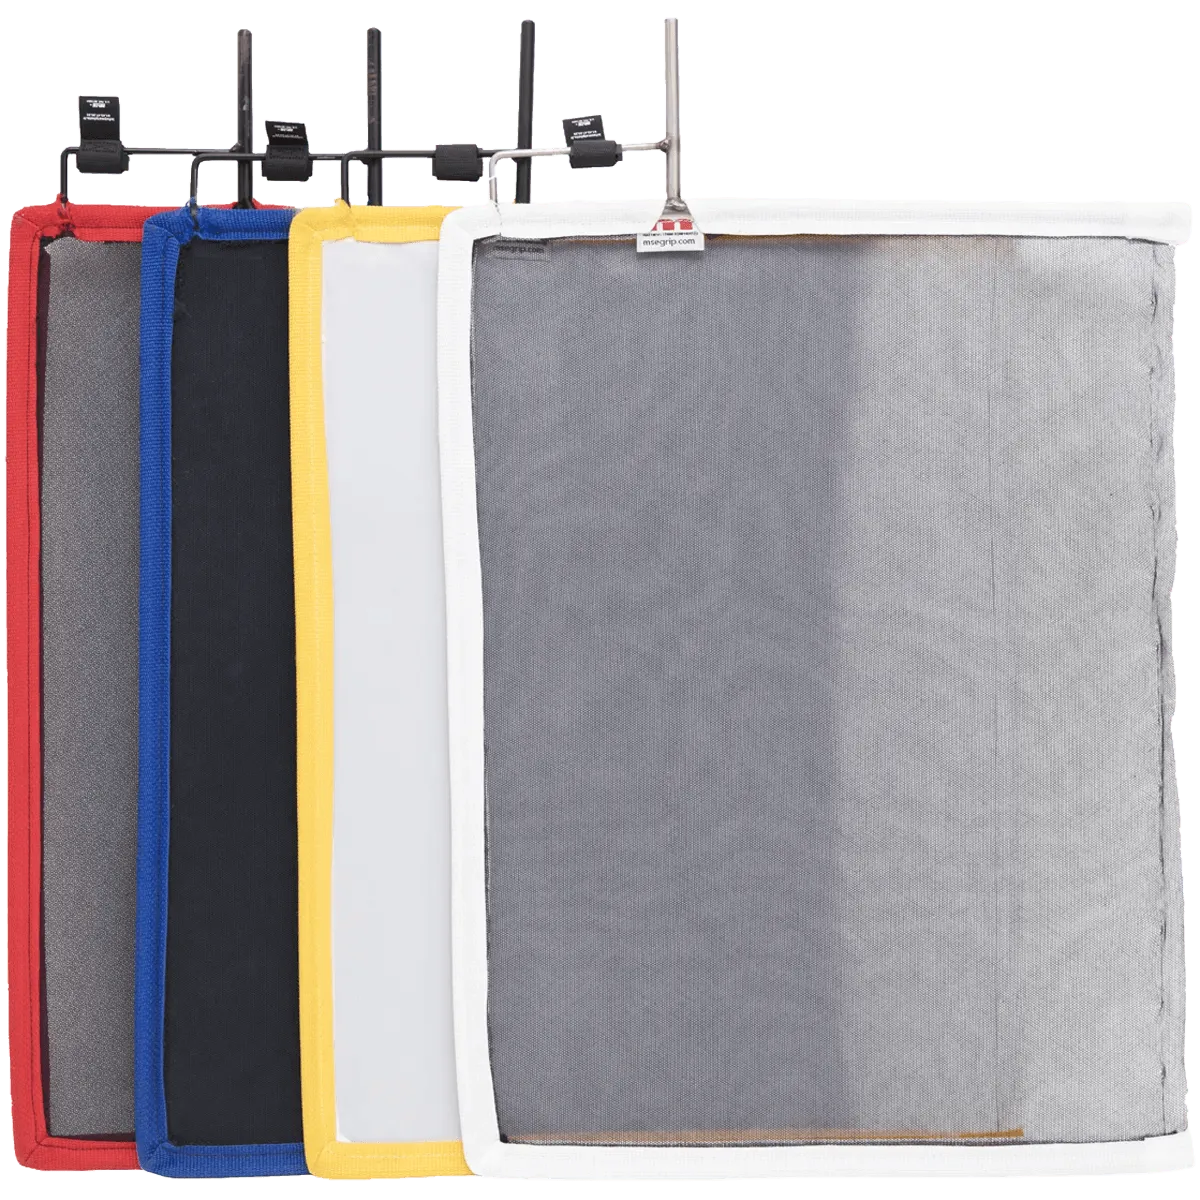
For diffusion, the KIT MAMA S is a 45cm x 60cm rental lighting kit tagged for diffuseur and lumiere use. It can be used near the reflector or between the reflector and subject to soften the bounce further. Keep in mind that adding diffusion reduces output, so you may need to move the fixture closer or increase power.
Positioning the reflector for a natural interview key
Place the reflector on the side of the subject you want the key to come from, typically 30 to 45 degrees off the camera axis. Raise it slightly above eye level and tilt it down toward the face. The exact height depends on the subject's height and the look you want; a lower reflector fills shadows under the eyes, while a higher one creates more definition.
Distance matters more than angle for softness. Moving the reflector closer makes the light softer and falls off faster across the background. Moving it farther makes the light harder and more even. For a standard interview, start at 1.5 to 2 meters and adjust from there.
Aiming the fixture into the reflector
Once the reflector is in place, aim your fixture into it from an off-camera position. The fixture should be far enough away that its beam covers the reflector evenly, but not so far that you lose too much output. Use a stand or boom to keep the fixture out of the frame and away from the subject's line of sight.
A common mistake is aiming the fixture directly at the subject and using the reflector as an afterthought. That defeats the purpose. Treat the reflector as your key light and the fixture as its power source. Check the reflector surface from the camera position to confirm the beam is centered and not spilling past the edges.
Shaping and controlling the bounce
After you have a clean bounce, shape it with flags or black wrap to keep light off the background and avoid lens flare. If the reflector is visible in a wide shot, flag it from the camera side or reposition it slightly out of frame. For interviews, you often want a subtle falloff on the background, so control spill early rather than fixing it in post.
If you need more fill, add a second reflector or a white card opposite the key. The KIT MAMA S diffusion can also be placed between the reflector and subject to take the edge off specular highlights. Test with a monitor or false color to confirm exposure across the face.
Step-by-step Dedolight Lightstream interview setup
- 1. Secure the reflector on a stand: Mount the 50cm x 50cm reflector on a sturdy stand or grip arm at roughly chest to eye height, angled slightly down toward where the subject will sit. Checkpoint: the reflector should not wobble when you tap the stand. If it does, tighten the knuckle or add sandbags.
- 2. Place your fixture off-camera: Position a focusable light source 2 to 3 meters from the reflector, aimed at its center from an angle that keeps the fixture out of frame. Common mistake: placing the fixture too close, which creates a small hot spot on the reflector and uneven light on the subject.
- 3. Aim and focus the beam: Adjust the fixture's beam angle until it covers the reflector surface evenly without spilling past the edges. Check from the camera position. Checkpoint: if you see the reflector's edges glowing brighter than the center, widen the beam or move the fixture farther back.
- 4. Set the reflector distance for softness: Start with the reflector 1.5 to 2 meters from the subject. Move it closer for softer light with faster falloff, or farther for harder, more even light. Common mistake: judging softness by the fixture's distance instead of the reflector's distance. The reflector is your key light.
- 5. Add diffusion if needed: If the bounce is too crisp, place KIT MAMA S diffusion between the reflector and the subject, or drape it near the reflector to soften the source. Checkpoint: adding diffusion lowers output. Compensate by moving the fixture closer or increasing power before you adjust exposure.
- 6. Flag spill and check the frame: Use flags or black wrap to keep light off the background and prevent flare. Look through the camera to confirm the reflector is not visible in a wide shot. Common mistake: flagging only the fixture and forgetting the reflector can also bounce light into the lens.
Rental gear that supports this setup
- DEDOLIGHT LIGHTSTREAM KIT - 50CM X 50CM: The DEDOLIGHT LIGHTSTREAM KIT - 50CM X 50CM is a rental lighting reflector listed under the DEDOLIGHT and LUMIERE tags. It gives you a controllable bounce surface that can be placed close to the subject without putting a bright fixture in the shot.
- KIT MAMA S: KIT MAMA S is a 45cm x 60cm rental lighting kit tagged for diffusion and lighting use, SKU DRAKITMAMAS. It provides a diffusion option to soften the reflector's output when the bounce is too crisp for close-up interview framing.