Quick answer
Set the canister below tank level, run the inlet and outlet tubes without kinks, fill the canister body with water before switching on, then prime until the return line flows steadily. Add biological media after the mechanical stage, and clean sponges in tank water rather than under the tap. Most new setups turn cloudy for a few days while bacteria establish, so judge clarity after the first week, not the first hour.
Choose the right spot before you touch a tube
An external filter works on gravity and a small pump, so the canister must sit below the aquarium water line. A cabinet floor or a low shelf beside the tank works; a shelf above the tank does not. Leave at least a hand's width of clearance around the unit so you can open the lid and reach the tap connectors without lifting the whole canister.
Keep the inlet and outlet on opposite ends of the tank where possible. That gives the returning water a longer path across the display, which helps push debris toward the intake instead of letting it settle in a dead corner. Check that both tubes reach their positions with slack to spare, because a tube stretched tight will eventually pull the canister off square and leak at the seal.
Prime the canister properly, not by guesswork
Priming is the step most new owners rush, and it is the one that decides whether the filter starts on the first attempt. Fill the canister body with aquarium water before you close it, then use the primer button or the siphon action of the inlet line until water reaches the outlet. You are looking for a steady, uninterrupted flow, not a sputter.
If the flow stops halfway, the usual cause is air trapped at the top of the canister or a tube joint that is not fully pushed home. Tilt the canister gently to move the air pocket toward the outlet, and re-check every connection. Running a pump dry for more than a few seconds is the one thing to avoid, so switch off immediately if you hear it labouring.
Get the media order right the first time
Water should meet mechanical filtration first, biological media second, and any fine polishing last. Coarse sponges catch the debris that would otherwise clog the biological stage, and biological media needs that debris-free water to work well. Putting bio balls before a sponge means they collect waste and lose the surface area that makes them useful.
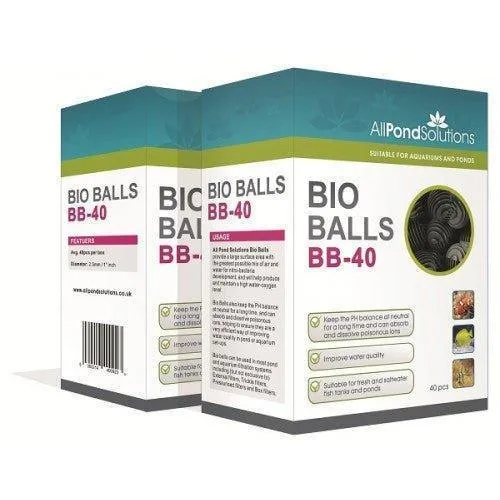
Biological media is what turns a filter box into a working filter, and the large surface area of bio balls supports nitro-bacteria development while helping maintain a high water-oxygen level. That makes them a sensible top-up or replacement choice when a canister arrives with sparse media, and they suit the AllPondSolutions Aquarium & Pond Filter Range.
Match the filter to the job you actually need
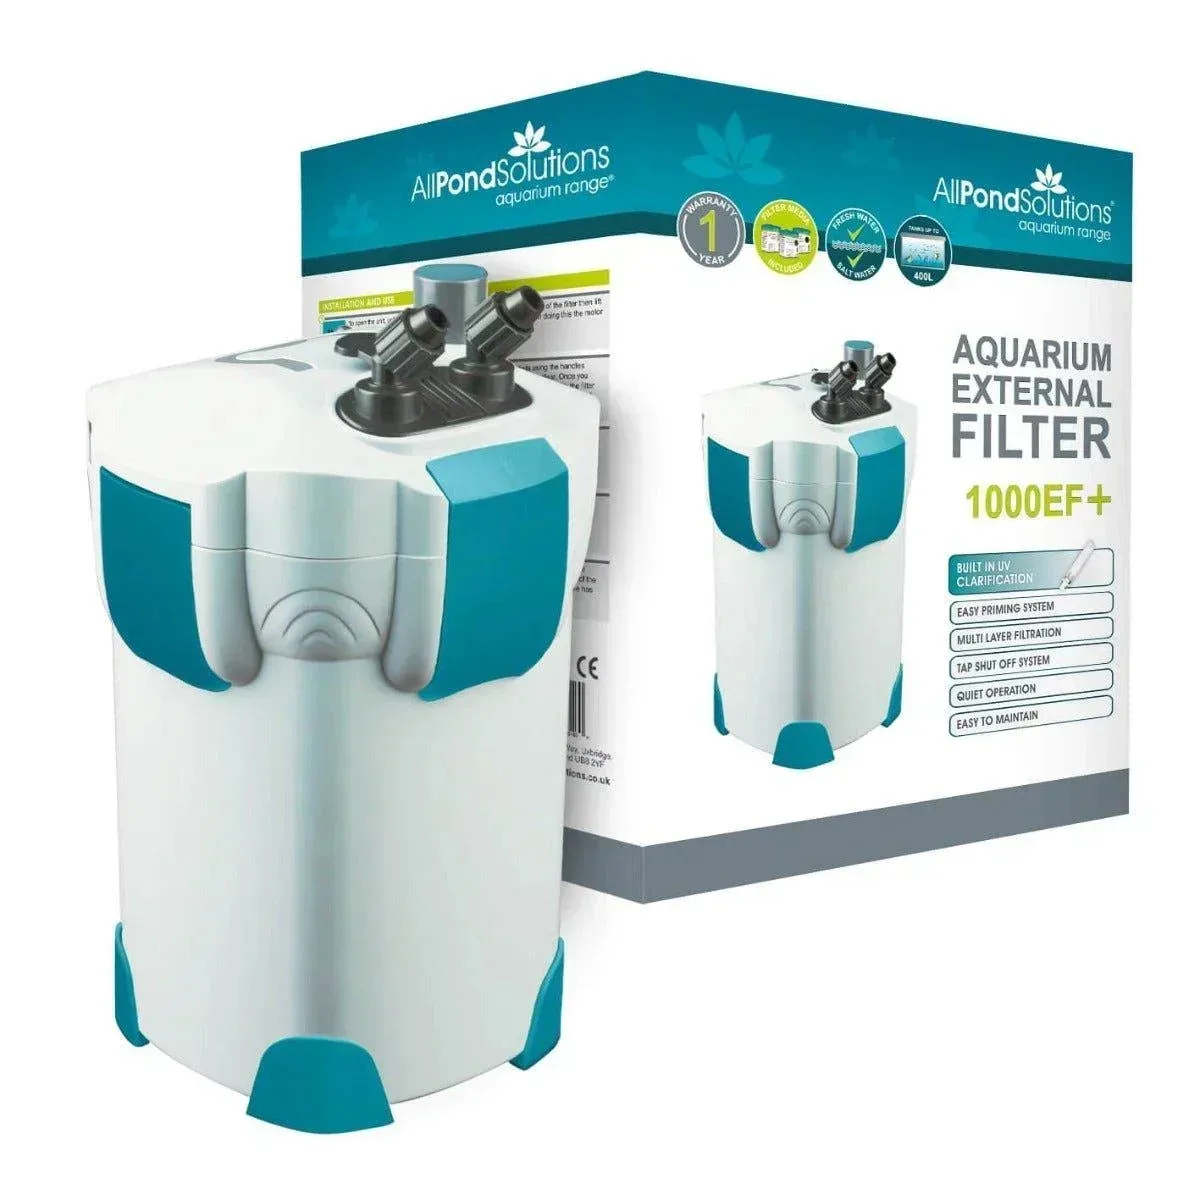
Two tanks of the same volume can need different hardware. A lightly stocked tank with no algae problem may only need mechanical and biological filtration. A tank that turns green in bright light, or one where you want the display free of internal equipment, benefits from UV built into the same canister. Decide which problem you are solving before you buy, because adding UV later usually means buying a second unit rather than upgrading the first.
Keep it clear after the first week
Clear water is a maintenance habit, not a one-off setup result. Rinse sponges in a bucket of tank water during water changes, because tap water kills the bacteria you spent weeks growing. Leave biological media alone unless flow drops noticeably, and when you do rinse it, use tank water and a light squeeze only.
Check the outlet flow monthly. A return that has slowed usually means a clogged sponge or an air lock, not a failing pump. If the flow is fine but the water is still hazy, look at feeding volume and stocking before you change equipment, since overfeeding clouds water faster than most filters can clear it.
Setup steps, in order
- Position the canister below the tank: Place it on a level surface under the aquarium with clearance to open the lid and reach the connectors. Route the inlet and outlet on opposite ends of the tank with slack in both tubes. Checkpoint: if a tube is stretched tight, move the canister before you fill anything.
- Fit and secure both tube runs: Push every joint fully home and fit any supplied clips. A joint that is only partway on will draw air and stall the prime. Mistake to avoid: leaving a kink behind the cabinet, which mimics a weak pump.
- Fill the canister and prime it: Fill the body with aquarium water, close it, then prime until the outlet flows steadily rather than sputtering. Tilt gently to release trapped air. Switch off at once if the pump sounds like it is running dry.
- Load media in the right order: Mechanical sponge first, biological media such as bio balls second, fine polishing last. Do not put biological media upstream of a sponge. Checkpoint: water should pass through the sponge before it reaches the bio balls.
- Start the filter and watch the return: Power on and confirm a steady return flow across the tank. Expect some cloudiness for the first few days while bacteria establish. Judge clarity after a week, not after an hour.
- Set a simple maintenance rhythm: Rinse sponges in tank water during water changes, leave biological media undisturbed, and check outlet flow monthly for clogs or air locks. Next step: if flow drops, clean the sponge before you suspect the pump.
Products that fit this setup
- AllPondSolutions 1000L/H + 9W UV Aquarium External Filter 1000EF+: The 1000EF+ keeps the same compact footprint as the standard 1000EF, sits entirely outside the aquarium, and adds a built-in 9w UV to hold suspended algae in check. Suits keepers who want to solve green water and clutter in one purchase instead of adding a separate UV unit later.
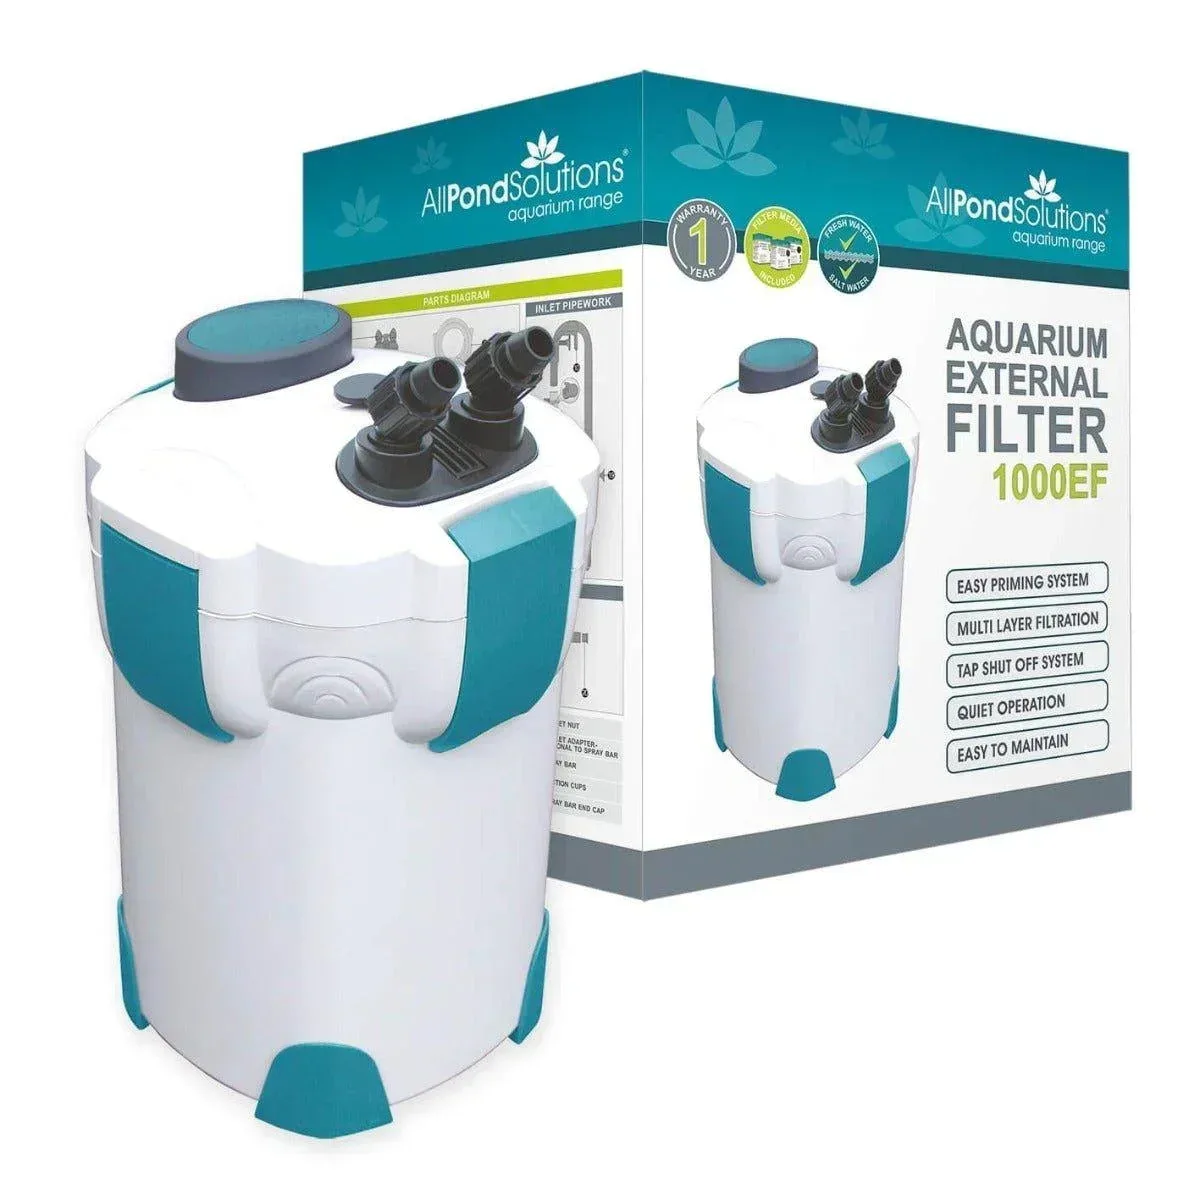
- AllPondSolutions 1000L/H Aquarium External Filter 1000EF: The 1000EF runs at 1000 litres per hour, sits outside the tank, and is supplied with both the inlet and outlet tubes. A straightforward mechanical and biological setup for tanks that do not have an algae problem and just need the equipment out of the display.
- Bio Balls Biological Filter Media 40 - 1200 Balls: Bio balls serve as replacement or top-up filter media for the AllPondSolutions Aquarium & Pond Filter Range and provide a large colonisable surface area. Useful when a new canister arrives with only sponges, so you can build the biological stage before adding livestock.