Quick answer
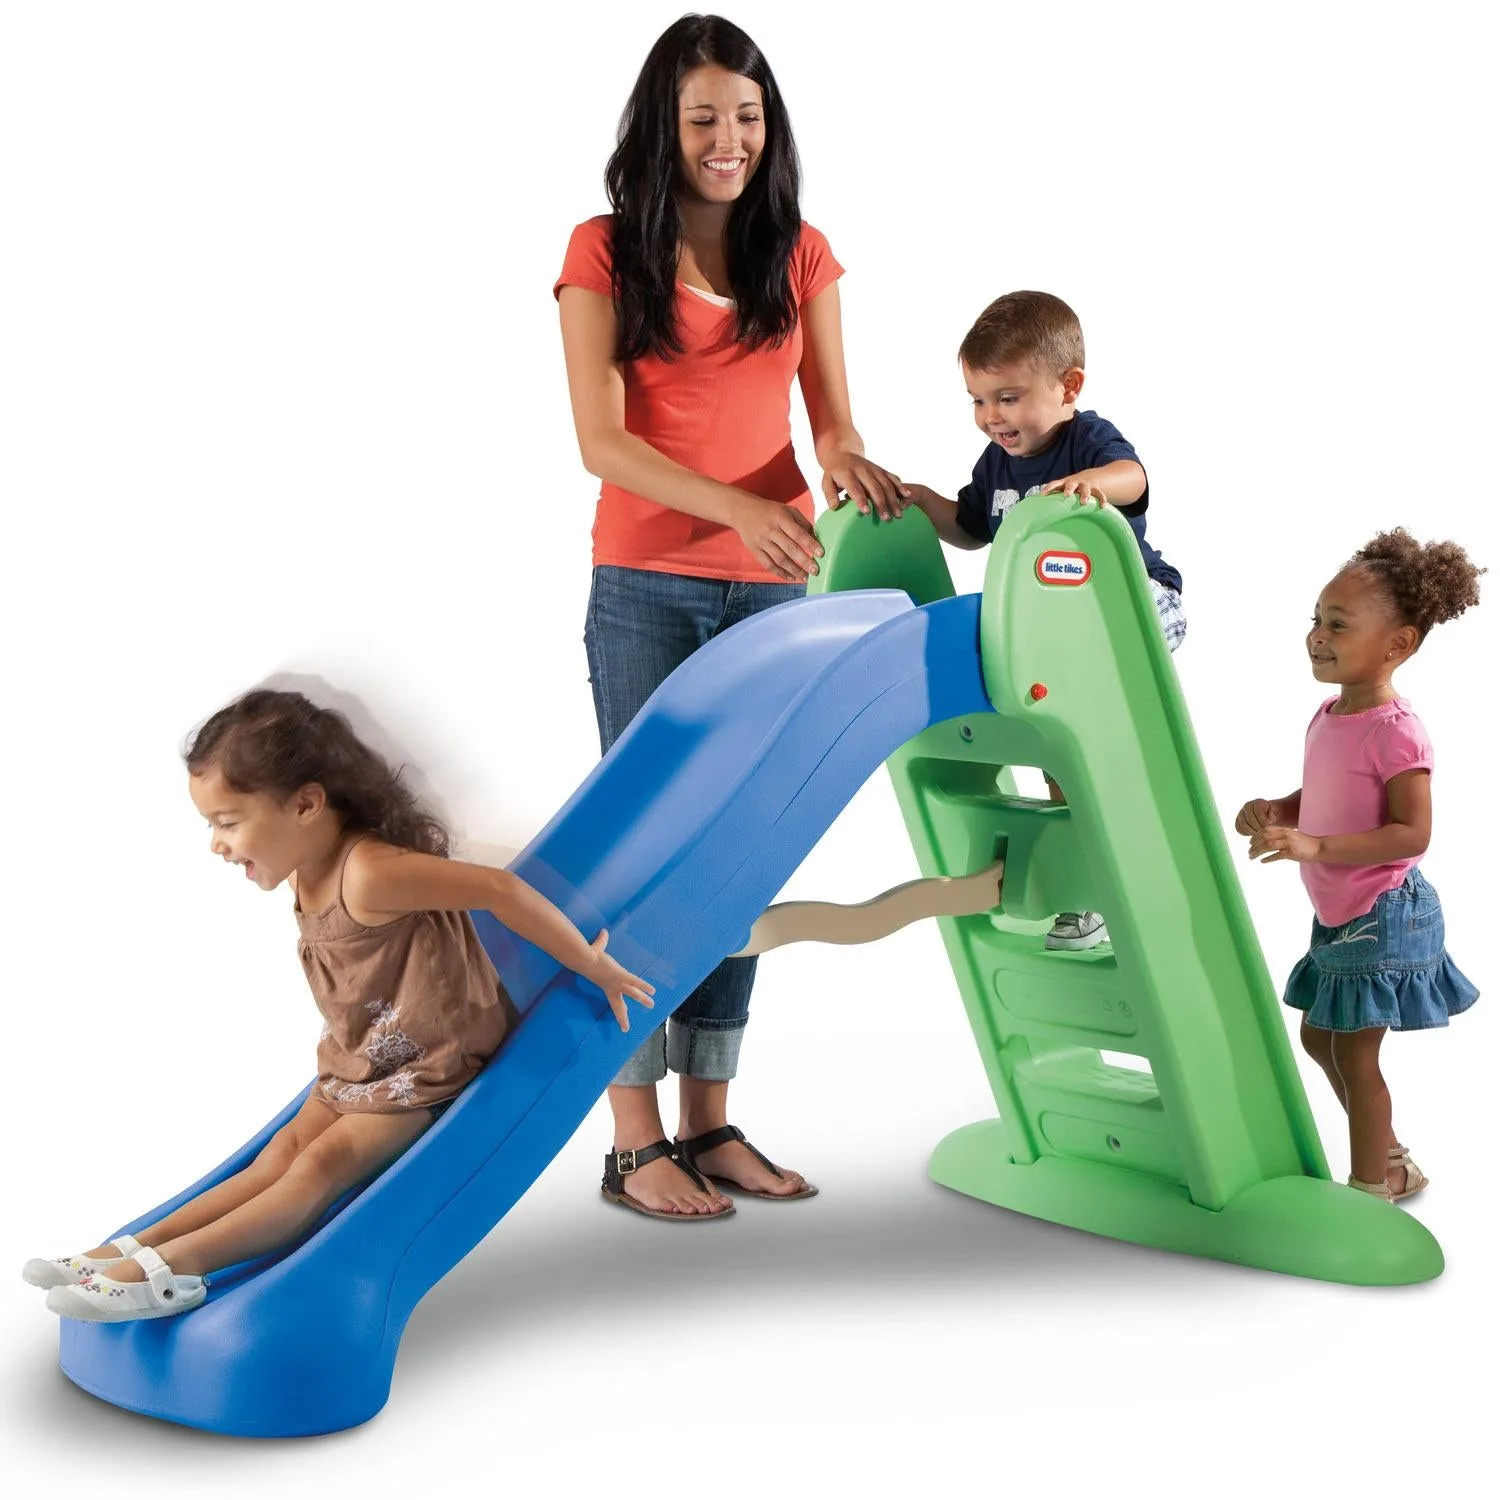
Set up a first slide on a flat, level surface with at least three feet of clear space at the bottom and no hard edges or furniture in the landing zone. For the Little Tikes First Slide, no tools are needed—just snap the pieces together, check that the slide is stable, and supervise your toddler every time.
Choose the right spot indoors or outside
Indoors, pick a room with soft flooring such as carpet or a play mat, and move furniture, toys, and cords out of the landing area. Avoid placing the slide near stairs, glass doors, or sharp table corners. Outdoors, choose a flat patch of grass or a rubberized play surface; avoid concrete, deck edges, and slopes. The Little Tikes First Slide works both indoors and outdoors, so you can move it as needed—but always recheck the surface and clearance each time you relocate it.
Assemble and check stability
The First Slide features no-tool assembly, so you can set it up in minutes without hardware. Push all connections firmly together until they lock. Once assembled, set the slide on its base and press down on the top step and the slide surface to confirm it doesn’t wobble or tip. If it feels unstable, disassemble and reassemble, making sure every joint is fully seated.
Teach the slide rules before the first ride
Before your toddler tries the slide, show them how to sit at the top, feet first, and slide down on their bottom. Explain that they should never climb up the sliding surface or go down headfirst. Practice together a few times, holding their hand if needed. Keep the rules simple and repeat them each session—consistency helps toddlers learn what to expect.
Step-by-step first slide setup
- Pick a flat, clear location: Choose a level spot indoors on carpet or a play mat, or outdoors on grass or a soft play surface. Clear at least three feet of space at the bottom of the slide and remove hard toys, furniture, or garden tools. Checkpoint: the landing zone should be completely clear and soft.
- Assemble without tools: Snap the slide together following the included instructions. Press each connection until it clicks or seats fully. Do not force pieces or leave any gap. Mistake to avoid: skipping the final push that locks the joints.
- Test stability: Place the assembled slide on its base and press down firmly on the top step and the slide surface. It should not wobble, tip, or slide. If it does, take it apart and reassemble. Checkpoint: a stable slide stays put when your child climbs on.
- Set ground rules: Show your toddler how to sit at the top, feet first, and slide down on their bottom. Remind them not to climb up the sliding surface or go down headfirst. Practice together. Mistake to avoid: assuming toddlers remember the rules—repeat them each time.
- Supervise every slide: Stay within arm’s reach and actively watch your toddler during play. Keep other children from crowding the bottom or climbing the slide the wrong way. Checkpoint: active supervision is the most important safety step.
Product facts
- First Slide™ - Blue/Green: No-tool assembly—set up in minutes without any hassle or hardware. You can assemble and disassemble quickly, making it easy to move the slide between indoor and outdoor spaces.
- First Slide™ - Blue/Green: Indoor/outdoor versatility. You can use the slide in a carpeted playroom or a grassy backyard, giving toddlers year-round active play options.