Quick answer
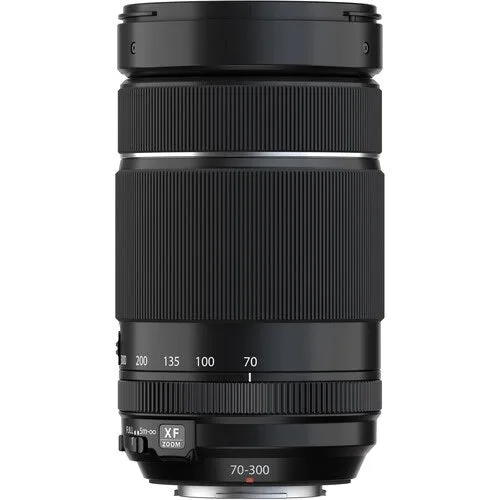
Start with the Fujifilm XF 70-300mm f/4-5.6 R LM OIS WR on a body with the latest firmware, set OIS to continuous or shooting-only depending on how steady you are, and use a fast shutter speed to freeze animal motion. Shoot in short bursts, keep the lens hood on, and use a tripod or monopod when you are waiting in one spot. The lens is compact and weather resistant, so it is built for real field conditions.
Match the lens to the wildlife you actually shoot
The XF 70-300mm gives you a 70-300mm range, and Fujifilm teleconverters can extend the focal length further. That reach suits animals that tolerate some distance, such as deer, birds at feeders, or mammals across a field. If your subjects are small and consistently far away, you will rely more on cropping or a longer lens. The tradeoff is that the 70-300mm is lightweight and compact enough to carry all day, which matters more than maximum reach on long walks.
Set up the camera before you leave
Update the camera and lens firmware first, then decide how you want autofocus to behave. For most wildlife, use continuous autofocus with a small or zone AF area so the camera does not grab a branch behind the animal. Set the drive mode to low or high burst so you can capture a head turn or a takeoff. If your body has animal detection, enable it but keep an eye on the focus point. A common mistake is leaving face or eye detection on for a subject that is partly hidden, which can make the camera hunt.
Use OIS and shutter speed together
The lens has optical image stabilization, which helps you handhold at slower shutter speeds than you could without it. For perched or slow-moving animals, try 1/250s or faster and adjust from there. For running or flying animals, push toward 1/1000s or higher. The exact number depends on your steadiness and the animal's speed, so check your first shots at 100 percent and raise the shutter speed if you see motion blur. OIS does not freeze subject movement, so do not rely on it alone.
Choose the right support for the situation
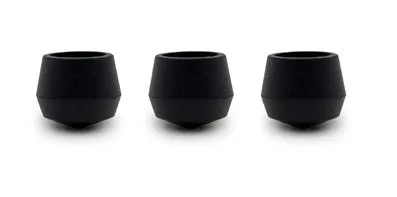
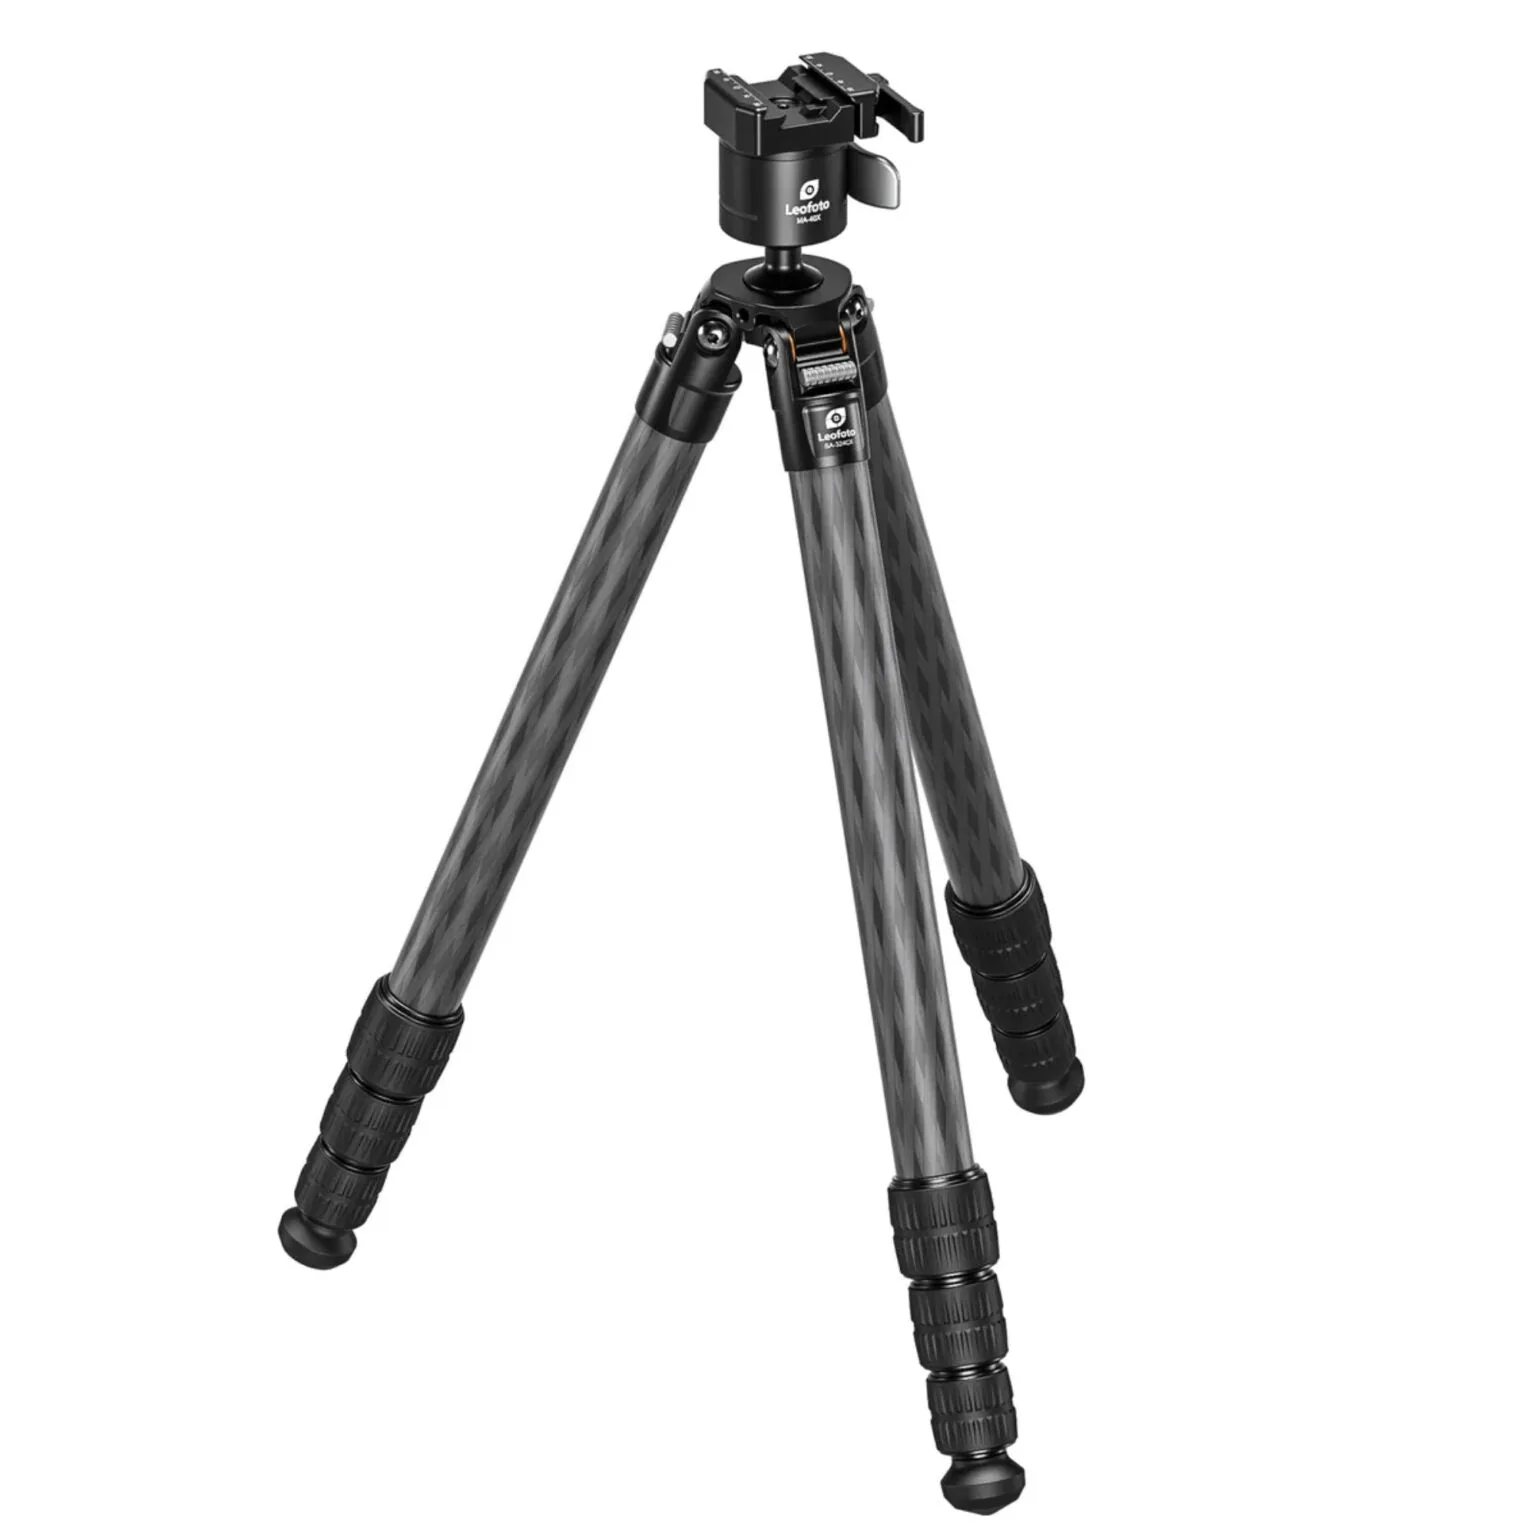
Handholding is often best when you are moving, but a monopod or tripod helps when you are waiting at a den, nest, or water source. If you use a tripod, a replacement set of rubber feet can keep the legs from slipping on smooth surfaces. The PM XC-M 522 Replacement Rubber Feet are a direct replacement for that tripod model and are inexpensive insurance against a lost or worn foot. If you shoot from a vehicle, a beanbag or window mount may be more practical than a tripod.
Protect the front element in rough conditions
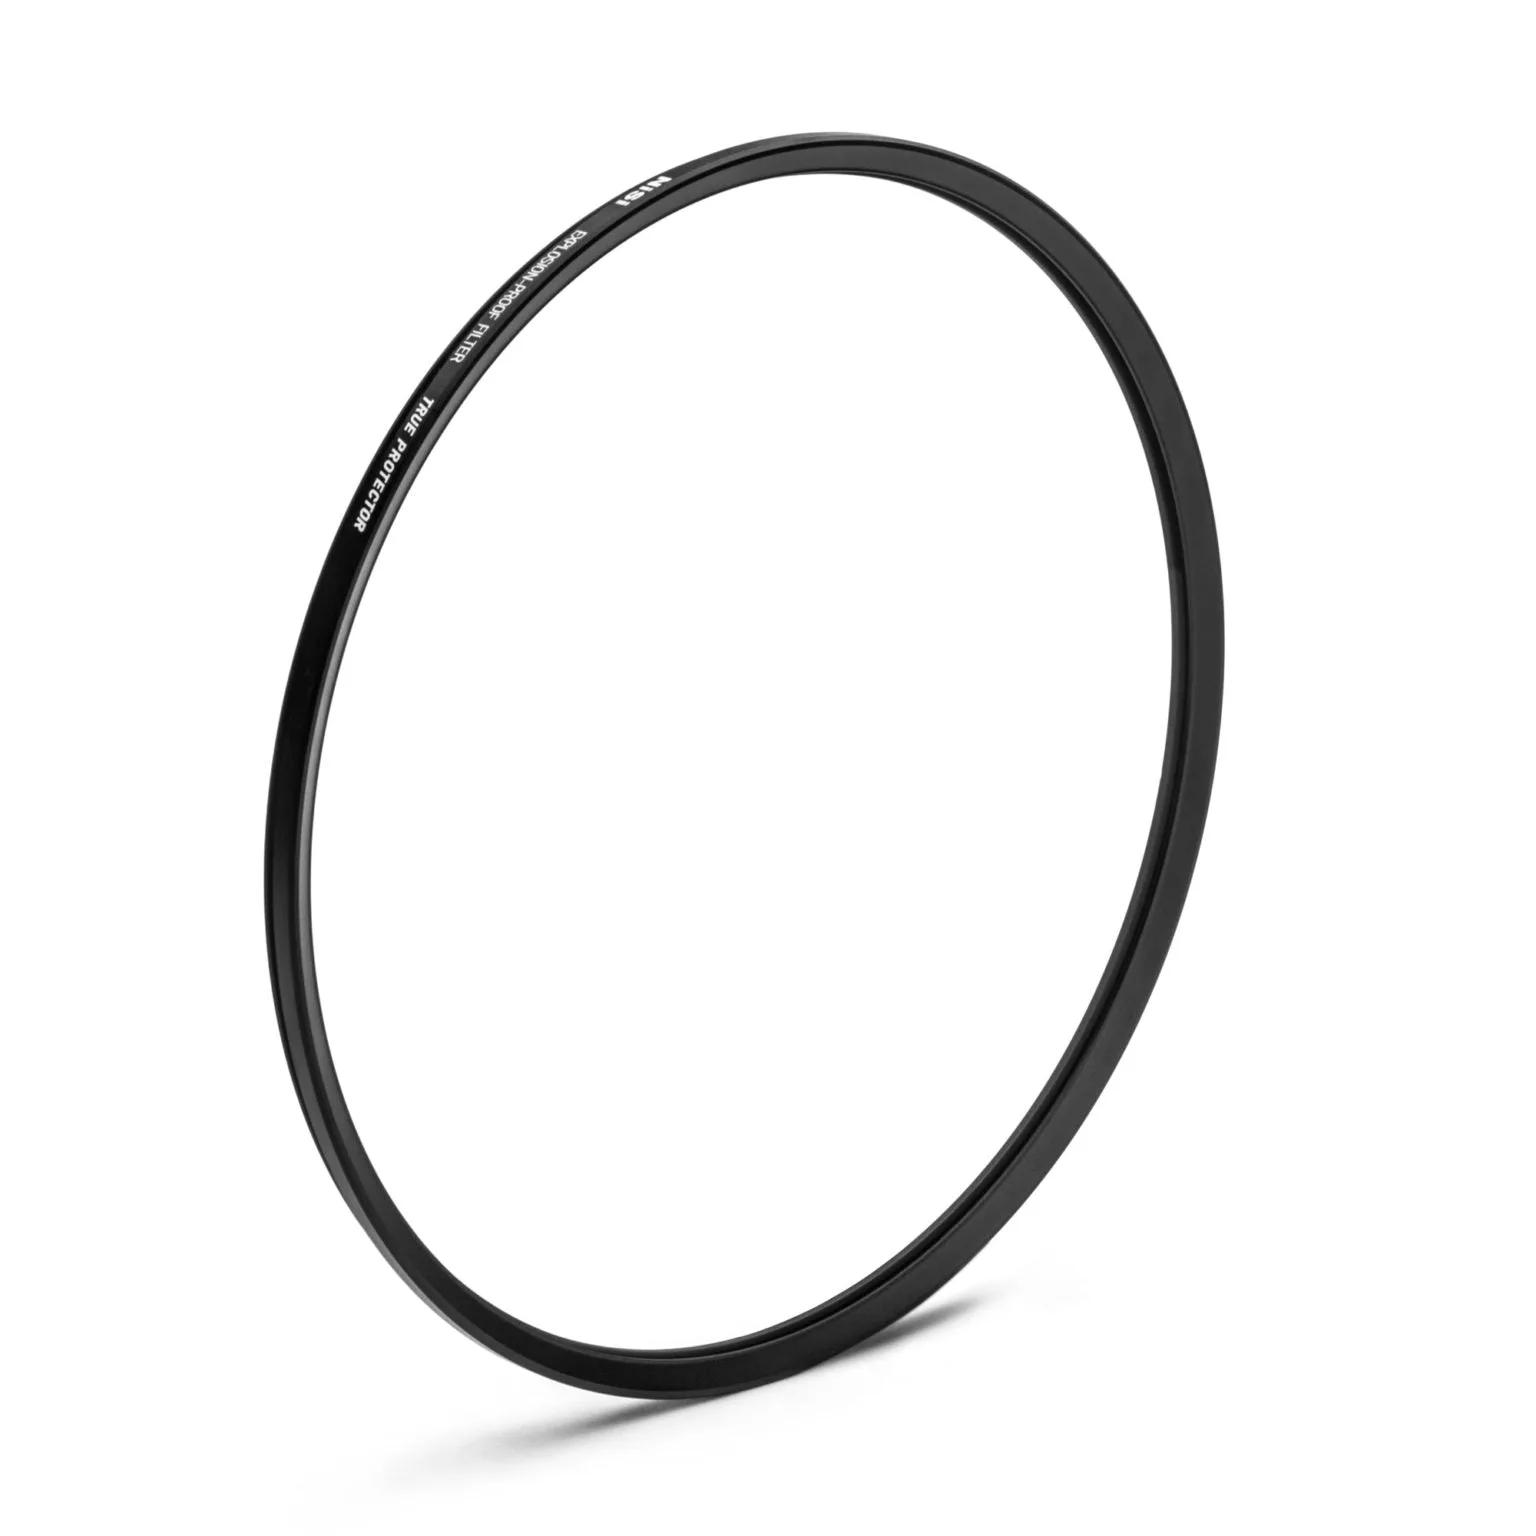
Dust, salt spray, and branches are real risks when you are moving through brush. A clear protective filter lets you clean the filter instead of the front element. The NiSi Cinema True Protector Explosion-Proof Filter for Leitz (LP-9210) is designed for high-risk shoots and challenging environments. Check that the filter size matches your lens before buying, because a poorly fitting filter can cause vignetting or fall off. The lens itself is weather resistant, but a filter adds a sacrificial layer.
Practice field technique before the shot matters
Wildlife rarely waits for you to get ready. Practice raising the camera, finding the animal in the viewfinder, and focusing while you are still at home or in a local park. Use the lens hood to cut flare and protect the front element. Keep your elbows in and use a smooth shutter press rather than a jab. If you are shooting through heat haze, get lower or move closer rather than zooming in more. The best setup is the one you can operate without thinking.
Step-by-step wildlife setup
- 1. Update firmware and set autofocus: Update the camera and lens firmware, then set continuous autofocus with a small or zone AF area. Enable animal detection only if your camera has it and your subject is likely to be unobstructed. Checkpoint: confirm the camera focuses on the animal's eye or head, not the background.
- 2. Choose OIS mode and shutter speed: Set OIS to continuous or shooting-only. Start at 1/250s for perched animals and 1/1000s or faster for moving animals, then adjust based on your first shots. Checkpoint: review at 100 percent and raise shutter speed if you see motion blur.
- 3. Pick your support and stabilize the lens: Handhold when moving, or use a monopod or tripod when waiting. If you use an XC-M 522 tripod, check the rubber feet before the trip and replace them if they are worn or missing. Checkpoint: a stable base lets you use slower shutter speeds without blur.
- 4. Add front-element protection if conditions demand it: Use a protective filter in dust, salt spray, or brush. Verify the filter thread size matches your lens before mounting it. Checkpoint: a filter should not vignette or loosen easily.
- 5. Practice the raise-and-focus motion: Before your trip, practice finding a subject in the viewfinder and focusing quickly. Keep the lens hood on and use a smooth shutter press. Checkpoint: you should be able to raise, frame, and focus without looking at the camera controls.
Gear that supports this setup
- Fujifilm XF 70-300mm f/4-5.6 R LM OIS WR Lens: The Fujifilm XF 70-300mm f/4-5.6 R LM OIS WR is a compact, lightweight telephoto zoom with high focal length that can be expanded further with teleconverters, fast autofocus, image stabilization, and weather resistance. This combination makes it a practical travel and field lens for wildlife when you need reach without a heavy bag.
- PM XC-M 522 Replacement Rubber Feet - Set of 3: The PM XC-M 522 Replacement Rubber Feet are a set of three standard feet for any XC-M 522 aluminum or carbon fiber tripod, designed to be removable and expose a 3/8"-16 threaded port. If you use an XC-M 522 tripod for a blind or waiting setup, fresh feet keep the legs stable and prevent slipping on smooth ground.
- NiSi Cinema True Protector Explosion-Proof Filter for Leitz (LP-9210): The NiSi Cinema True Protector Explosion-Proof Filter for Leitz (LP-9210) is a premium protective solution designed to shield your Leitz lens during high-risk shoots or challenging environments. A protective filter is worth considering when you shoot in dust, brush, or salt spray, but confirm the thread size matches your lens before buying.