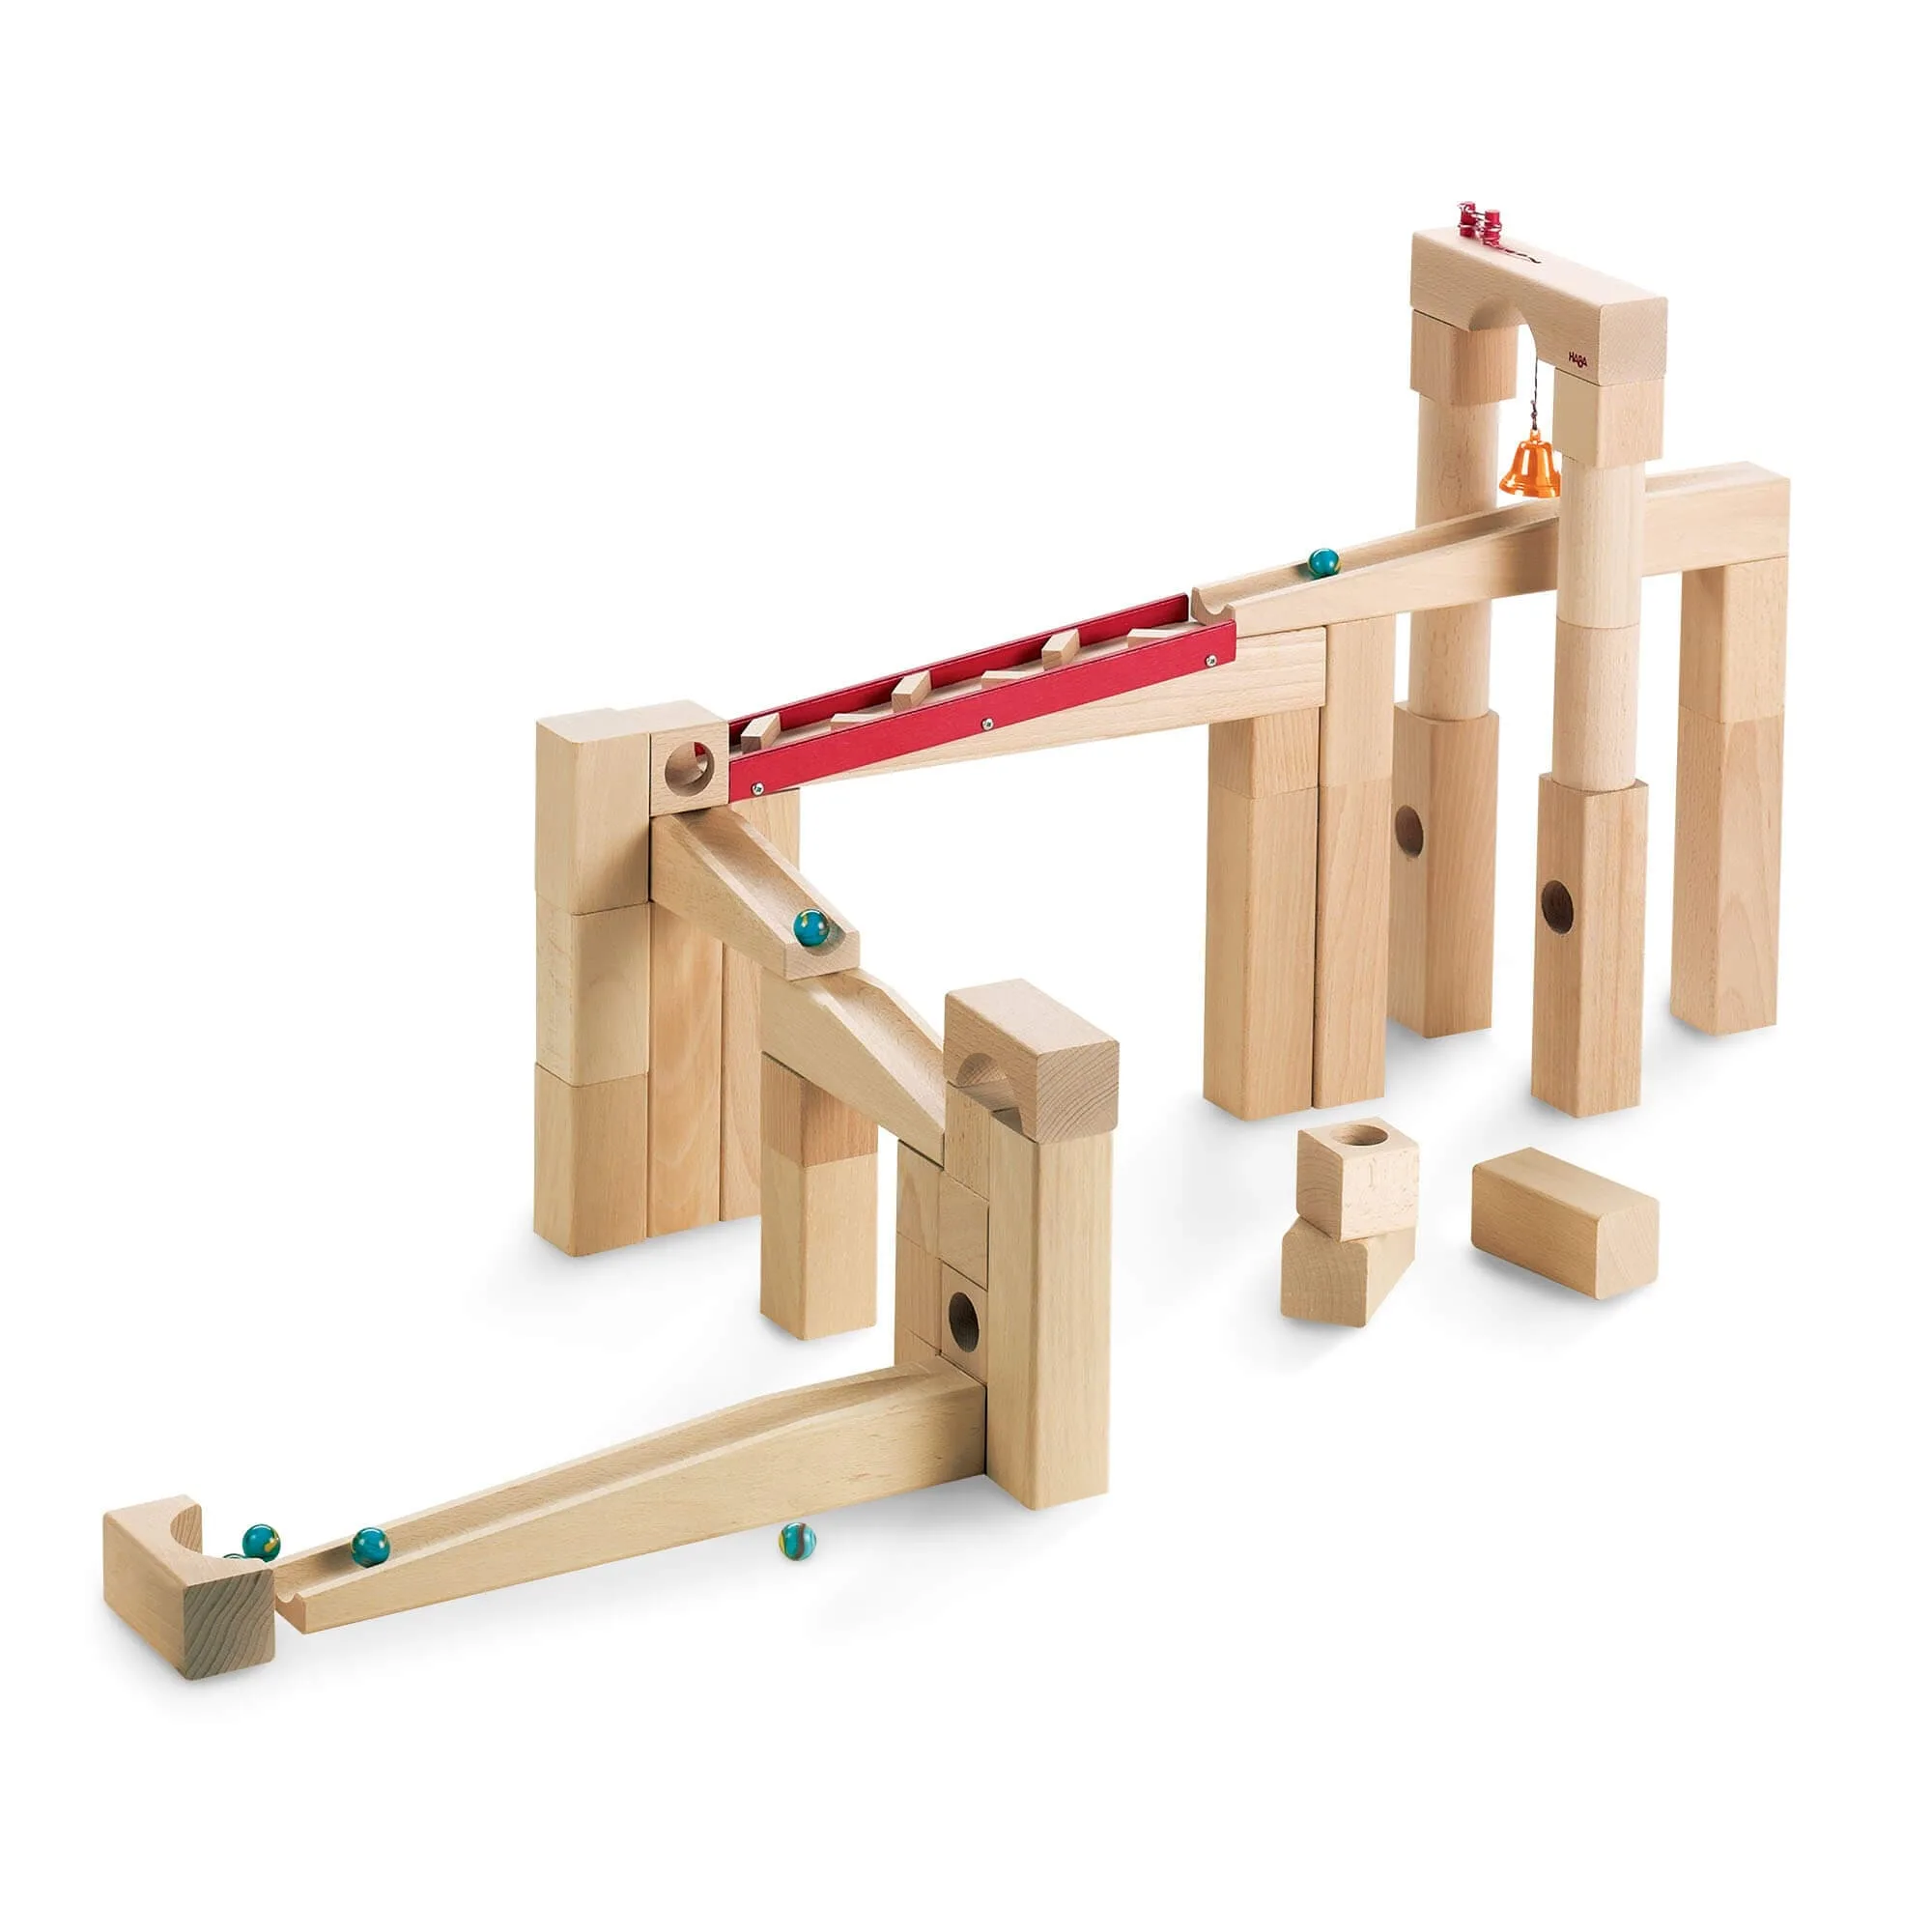
Quick answer
Set up your HABA marble run on a flat, stable surface and build from the bottom up, testing each section with a marble before adding the next. Keep the base wide for stability, align grooved blocks and ramps so joints are flush, and avoid overloading tall towers. This approach minimizes frustration and helps marbles roll smoothly from start to finish.
Why setup order matters for smooth rolling
A marble run works best when each piece sits level and connects tightly. Starting with a stable base and working upward lets you check alignment as you go. If you build the whole structure first, a single misaligned block can stop marbles and force you to rebuild large sections. Testing with a marble after each addition catches problems early.
- Build on a hard, flat surface like a table or floor—carpet can cause wobbling.
- Keep the base wider than the top to prevent tipping.
- Test each new section with a marble before moving on.
Choosing a good location and preparing pieces
Pick a spot away from foot traffic and pets so the run doesn't get bumped. Sort the grooved blocks, ramps, and tunnels by type before you start—this saves time and makes it easier to find the piece you need. If you have multiple marble runs, keep pieces separated to avoid mixing incompatible parts.
- Clear a space at least 2 feet by 2 feet for a medium-sized layout.
- Sort pieces by shape and size before building.
- Keep the marble collection nearby in a small bowl or tray.
Building for stability: base and lower levels
Start with a wide footprint using the largest blocks. Connect them firmly so the base doesn't shift. Add ramps and tunnels at gentle angles—steeper isn't better; a slight slope keeps marbles moving without flying off. Check that all pieces sit flush against each other; gaps or ledges will stop marbles.
- Use the largest blocks for the bottom layer.
- Aim for a gentle slope—about 15–20 degrees works well for most setups.
- Press pieces together firmly but don't force them.
Adding height and complex sections
As you build upward, keep the tower balanced. If you add a tall column, support it with adjacent blocks or a wider base. When adding curves or switchbacks, test with a marble immediately—marbles need a clear path without sharp turns that cause them to jump the track. If a section fails, adjust the angle or replace the piece rather than adding more height.
- Add height in small increments and test after each addition.
- Avoid unsupported tall towers; brace them with nearby blocks.
- For curves, ensure the outer edge is slightly higher than the inner edge.
Final checks and troubleshooting common issues
Once the run is complete, send a marble through from the top. If it stops, check for misaligned joints, debris, or a slope that's too flat. If it derails, look for gaps or a turn that's too sharp. Most problems are solved by pressing pieces together, adjusting a ramp angle, or removing a block that creates a bump.
- Marble stops: check for gaps between blocks and flatten any bumps.
- Marble derails: reduce the slope or adjust the curve.
- Marble rolls too fast: lower the starting point or add a gentle curve to slow it down.
Step-by-step setup for a smooth HABA marble run
- Prepare a flat, stable surface: Choose a hard, level surface like a table or floor. Clear the area of obstacles and sort all pieces by type. Checkpoint: The surface should not wobble when you press on it.
- Build a wide base: Start with the largest blocks to create a broad foundation. Connect them firmly so they don't shift. Common mistake: Building a narrow base that tips over when you add height.
- Add lower-level ramps and tunnels: Attach ramps and tunnels at gentle angles, keeping joints flush. Test with a marble after each addition. Checkpoint: The marble should roll smoothly without stopping or jumping.
- Build upward in small sections: Add height gradually, supporting tall columns with adjacent blocks. Test each new section with a marble. Common mistake: Building too high too fast, causing instability and misalignment.
- Adjust curves and switchbacks: Ensure curves have a slight bank (outer edge higher) and no sharp turns. Test with a marble. Checkpoint: Marble stays on track through the entire curve.
- Run a full test and troubleshoot: Send a marble from the top. If it stops, check for gaps or flat spots. If it derails, adjust slope or curve. Most issues are fixed by pressing pieces together or tweaking an angle.
Product facts
- Marble Run Large Set: The HABA Marble Run Large Set includes a mix of grooved blocks, ramps, and tunnels for endless creative layouts. This variety lets you build complex runs with different paths, but it also means setup requires thoughtful planning to keep marbles flowing smoothly.