Quick answer
Build the kit in three moves: key light first, fill second, backlight last. Place the key at roughly 45 degrees to the subject and slightly above eye level, set the fill to a lower output on the opposite side, then add the backlight behind and above to separate the subject from the background. Keep all three fixtures on the same colour temperature before you adjust brightness, because mixing colour temperatures is the fastest way to make a clean three-light setup look wrong.
Why this kit suits small studios and portrait corners
A 20W bi-colour LED Fresnel is a focusable light, not a soft panel. The Fresnel lens lets you narrow the beam for a harder, more directional look or widen it for broader coverage, and the bi-colour control lets you match daylight or tungsten without gels. Three of them give you the classic key, fill and backlight arrangement in a footprint small enough for a spare room, a shop counter or a product table.
The trade-off is output. At 20W per head these are not designed to overpower bright windows or light a large group at distance. Work in a room you can darken, keep the subject within a few metres of the lights, and use the focus control rather than raw power to shape the beam. If you need to shoot in a bright retail space, plan to shoot close and accept a more ambient look.
Set the colour temperature before you set the power
Bi-colour fixtures let you dial between warm and cool white, and the single most common mistake is adjusting brightness first and colour second. Set all three heads to the same Kelvin value at the start, then balance output. If you are matching existing room light, match the ambient first; if you are working in a dark room, pick a neutral value and stay consistent across all three.
Once the colour is locked, use the dimming to create the lighting ratio. The key light should be the brightest, the fill noticeably lower, and the backlight somewhere between. Write down the settings for each head so you can repeat the setup next session instead of guessing.
Position the three lights in order, not all at once
Move one light at a time and check the result on camera or on a monitor before adding the next. Start with the key at about 45 degrees to the subject and slightly above eye level, aimed at the face or the front of the product. Add the fill on the opposite side, lower and further back, and watch the shadow under the nose and chin soften without disappearing. Finally, place the backlight behind and above the subject, angled down towards the shoulders or the top edge of the product.
The checkpoint at each stage is a single clear shadow direction. If you can see two competing shadow directions, one of your lights is doing too much. Reduce the fill or move it further off-axis before you touch the key.
Focus the beam before you add diffusion
Fresnel lights respond well to small adjustments in beam angle. Narrow the beam when you want the light to fall only on the subject and leave the background dark, and widen it when you need even coverage across a small group or a wide product. Add diffusion only after the beam is aimed correctly, because diffusion cannot fix a badly placed light.
If you are shooting reflective products, watch for a hot spot where the beam centre hits the surface. Rotating the fixture slightly or widening the beam usually removes it faster than moving the whole stand.
Check power, cabling and heat before the shoot
Run all three heads for ten minutes before the subject arrives. Confirm each fixture is on a stable stand, that cables are taped or routed so nobody trips, and that nothing is resting against the housing. LED Fresnels run cooler than tungsten, but the rear housing and any accessory still get warm, so leave ventilation space.
Label or number the stands so you can reset the same positions quickly. This matters most if you shoot the same product or the same person repeatedly, because small position changes are the main reason a previously good setup stops looking consistent.
Step-by-step NanLite Fresnel 3-light setup
- 1. Set all three heads to the same colour temperature: Dial each bi-colour fixture to one Kelvin value before you change any brightness setting. Match the room light if you cannot darken the space. Checkpoint: all three heads read the same colour value on their displays.
- 2. Place the key light at roughly 45 degrees: Position the key slightly above eye level and aim it at the subject. Narrow the Fresnel beam until the light falls mainly on the subject. Common mistake: starting with the beam too wide, which spills onto the background and flattens the look.
- 3. Add the fill on the opposite side at lower output: Move the fill further off-axis and dim it below the key. Watch the shadow under the nose or chin soften without vanishing. Checkpoint: one clear shadow direction, not two.
- 4. Add the backlight behind and above the subject: Angle the third head down towards the shoulders or the top edge of the product to separate it from the background. Common mistake: placing the backlight too low, which creates a bright rim on the wrong part of the subject.
- 5. Balance the three outputs and note the settings: Key brightest, fill lowest, backlight in between. Record the dimming values and stand positions so the setup is repeatable. Next step: run the lights for ten minutes and check cabling and ventilation before the subject arrives.
Useful kit facts for this setup
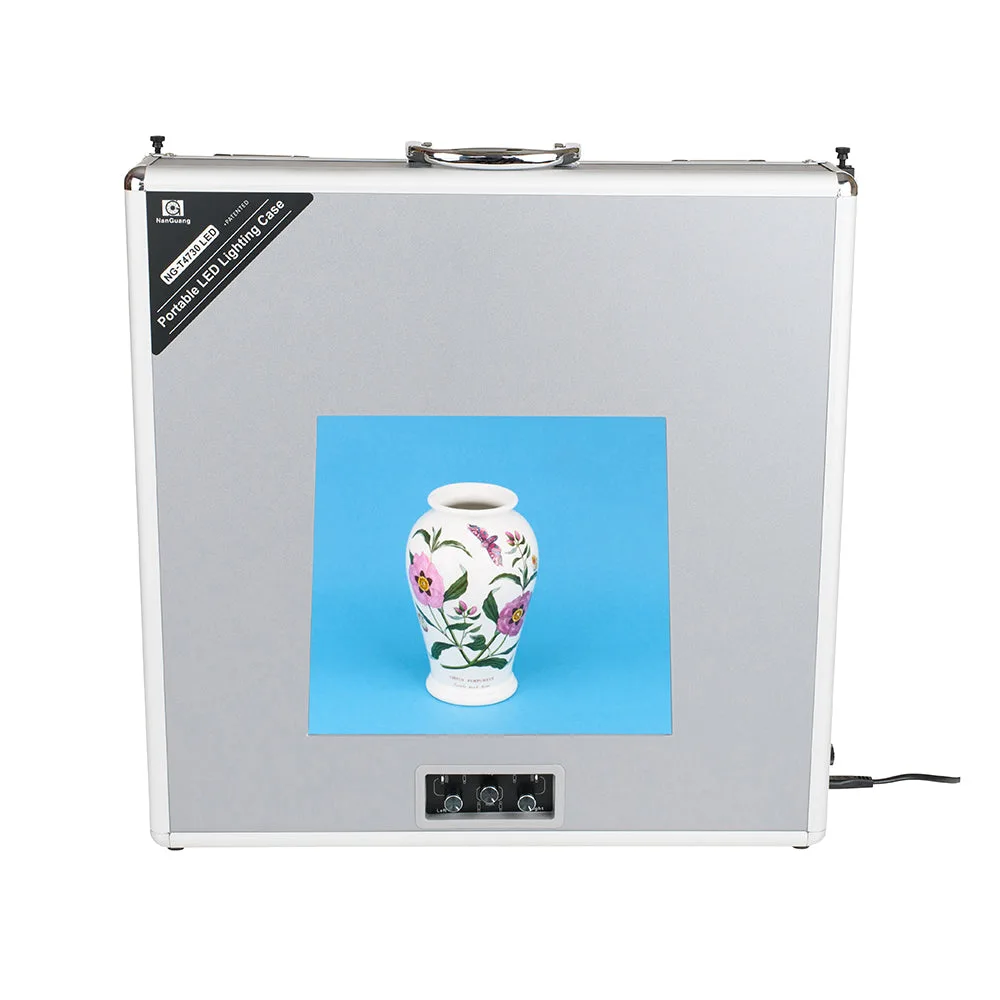
- NanGuang Portable LED Lighting Case (Small): The NanGuang NGT4730 portable light box uses high efficiency LEDs and is supplied ready to use with six backgrounds (blue, grey, yellow, white, pink and black) with built-in soft LED lighting that can be individually dimmed. If your Fresnel kit is tied up on a portrait or video shoot, this is a quick alternative for small product shots where you need shadowless light and a controlled background rather than directional shaping.
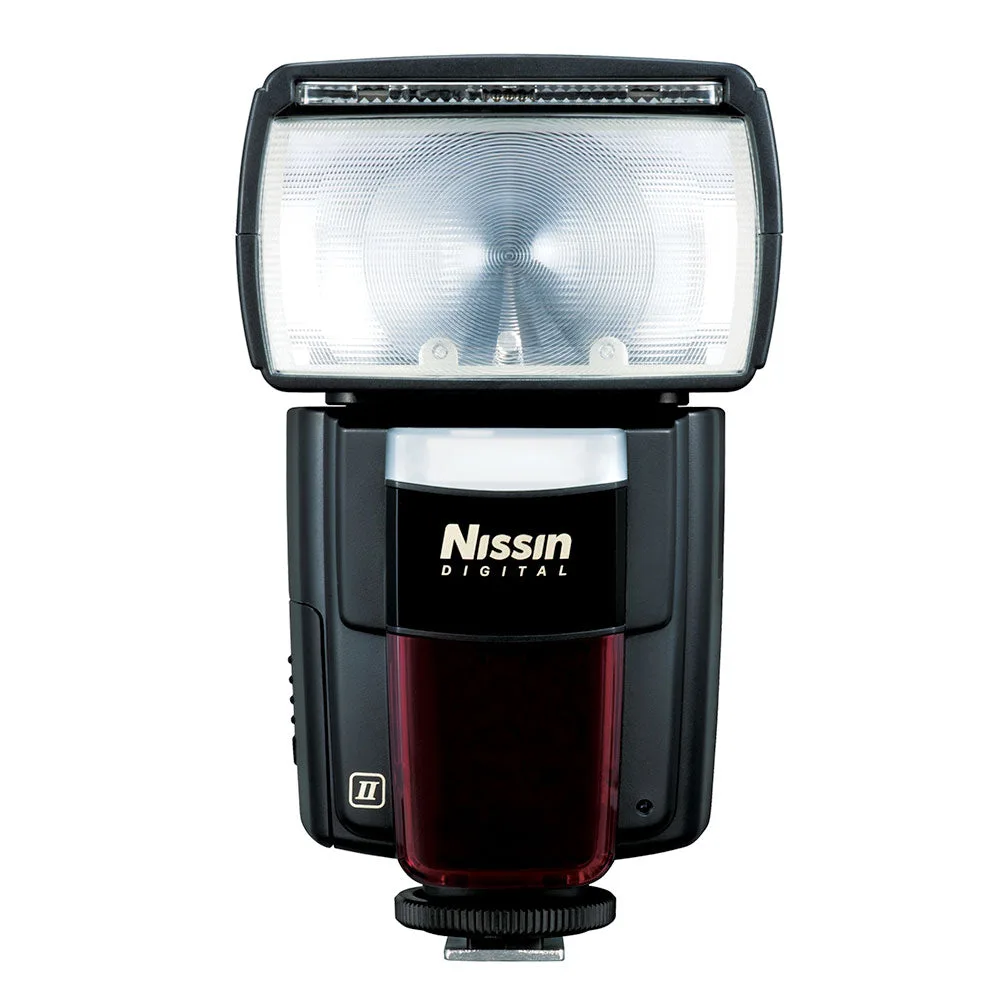
- (B-Stock) Nissin Di866 Flashgun (Mk2) - Nikon Fit: The Nissin Di866 Mk2 is a B-Stock Speedlite with a 60m guide number, wireless TTL, fill-in flash and user firmware upgrades. A hot-shoe flash is a practical add-on when you want a harder, more portable accent light than a 20W Fresnel can provide, especially for events or location work where mains power and stands are impractical.