Quick answer
Set your portable electric sewing machine on a stable, well-lit surface, plug it in, and thread it with the presser foot up. Choose a straight stitch with a medium length, test on a scrap of your quilt sandwich, then sew slowly with a walking foot or even-feed guide. Always unplug the machine before changing needles or feet.
Portable electric sewing machines are a practical choice for quilters who need to move between rooms, classes, or a small sewing corner. They run on standard power, are lightweight enough to carry, and handle the straight stitches most quilt piecing and quilting require. The trick is knowing the setup order so you don't skip a step that causes skipped stitches or broken needles later.
This guide walks through the full process: preparing your workspace, threading the machine, selecting the right stitch, and quilting your first layers. It also covers common mistakes at each stage and the small tools that make the job easier, including a quilting pin set and a machine light you can add to almost any setup.
Prepare your workspace and machine
Place the machine on a table that does not wobble. A wobbly table makes it hard to guide fabric evenly, which shows up as uneven stitches. Sit so the needle area is at about elbow height, and keep the power cord out of your foot path. If your machine has a carry handle, fold it down before sewing so it does not vibrate.
Good lighting matters more than most beginners expect. A small clip-on or magnetic LED light, such as the Sewing Machine Light, can brighten the needle area so you can see the fabric edge and the stitch line. USB-powered lights are convenient because they plug into a laptop, power bank, or wall adapter.
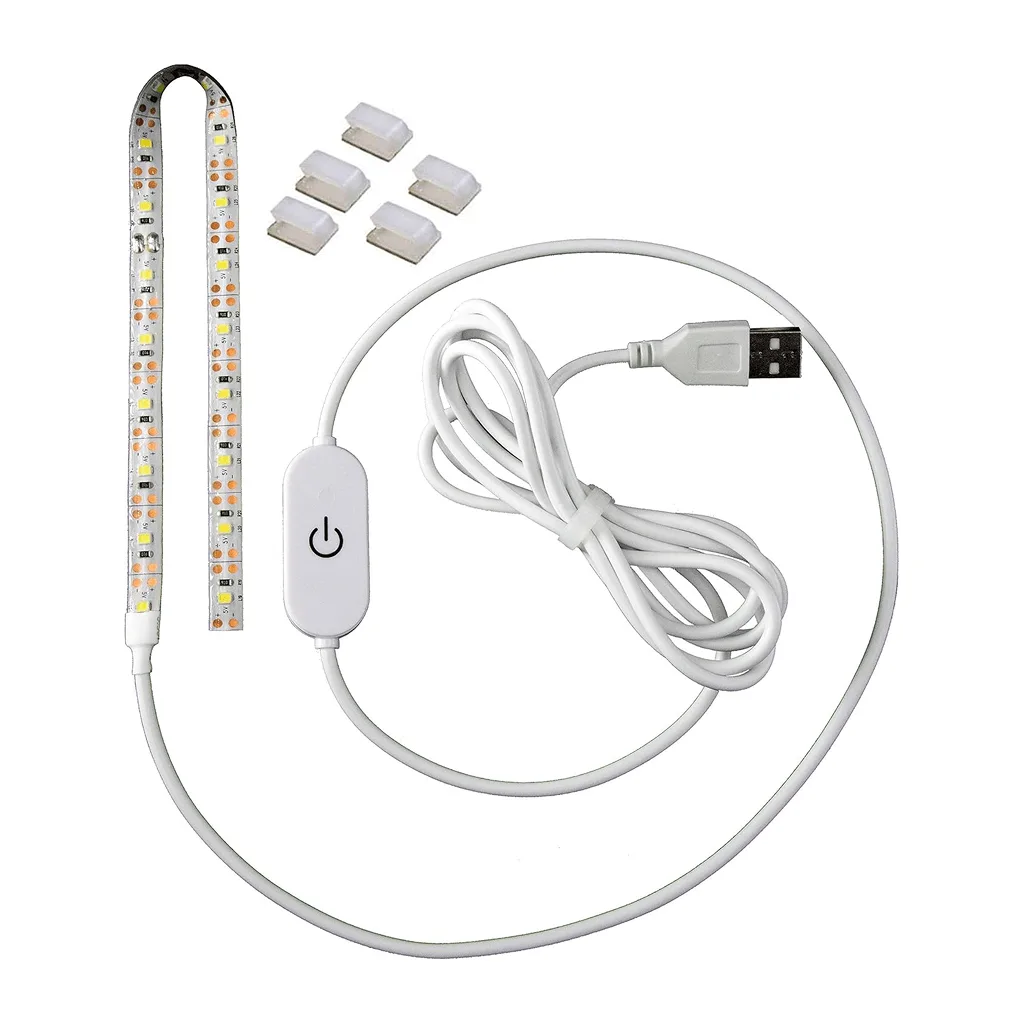
Sewing Machine Light
- Checkpoint: Press down on the table with one hand. If it rocks, move to a solid surface before you thread the machine.
- Common mistake: Setting up on a bed or sofa. The machine sinks slightly and your seam allowance drifts.
Thread the machine and load the bobbin
Raise the presser foot before threading. This opens the tension discs so the thread seats properly. Follow the numbered path on your machine from the spool pin through the take-up lever and down to the needle. If your machine has an automatic needle threader, use it, but check that the thread actually passed through the needle eye before you sew.
Wind the bobbin according to your manual, then drop it into the bobbin case with the thread running in the direction shown on the case. Bring the bobbin thread up by turning the handwheel toward you one full rotation while holding the needle thread. Both threads should now be under the presser foot and pulled to the back.
- Checkpoint: Pull both threads gently. They should move smoothly, not snap or jam.
- Common mistake: Threading with the presser foot down. The thread will not sit in the tension discs and you will get loose, looping stitches.
Choose the right stitch and settings
For piecing quilt blocks, use a straight stitch with a length of about 2.0 to 2.5 mm. For quilting through a sandwich of top, batting, and backing, lengthen slightly to 2.5 to 3.0 mm. If your machine has a 12 stitch sewing machine guide or a stitch chart printed on the body, use it to find the straight stitch and any stretch or zigzag options you may want later for appliqué or finishing edges.
Set the tension at the middle mark to start. Test on a scrap of the same fabrics and batting you plan to use. If the top thread loops underneath, lower the tension number slightly. If the bobbin thread pulls up to the top, raise it. Make one change at a time and re-test.
- Checkpoint: Your test scrap should show balanced stitches with no loops on either side.
- Common mistake: Adjusting tension before checking that the machine is threaded correctly. Fix threading first.
Set up your quilt layers and start sewing
Layer your backing, batting, and quilt top, then baste them so they do not shift. Quilting pins with flat pearl heads, like the Quilting Pins Color Pearl Head, are easy to see and remove as you sew. Place pins no more than a hand-width apart and keep them away from the needle path. If you are quilting a large piece, roll the sides to fit the machine's throat space.
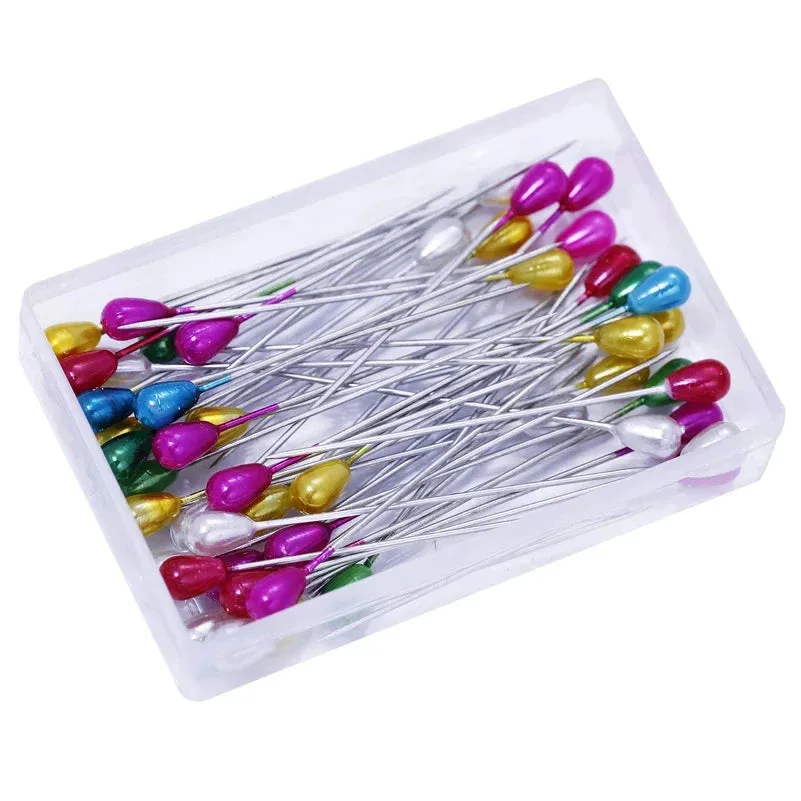
Quilting Pins Color Pearl Head
Lower the presser foot and turn the handwheel toward you to take one stitch, then press the pedal gently. Let the machine feed the fabric; do not pull it. For straight-line quilting, a walking foot or even-feed foot helps all three layers move together. Stop with the needle down when you need to reposition your hands.
- Checkpoint: After the first few inches, flip the piece over. If the backing has puckers, your layers were not basted tightly enough.
- Common mistake: Sewing over pins. It can break a needle and damage the machine.
Practice, then build a small project
Before starting a full quilt, sew a few practice pieces. Make a small quilt sandwich about 12 inches square and quilt parallel lines. This teaches you how your machine feeds fabric and how fast you can comfortably sew. Once the lines look even, move to a simple project like a mug rug or a baby quilt.
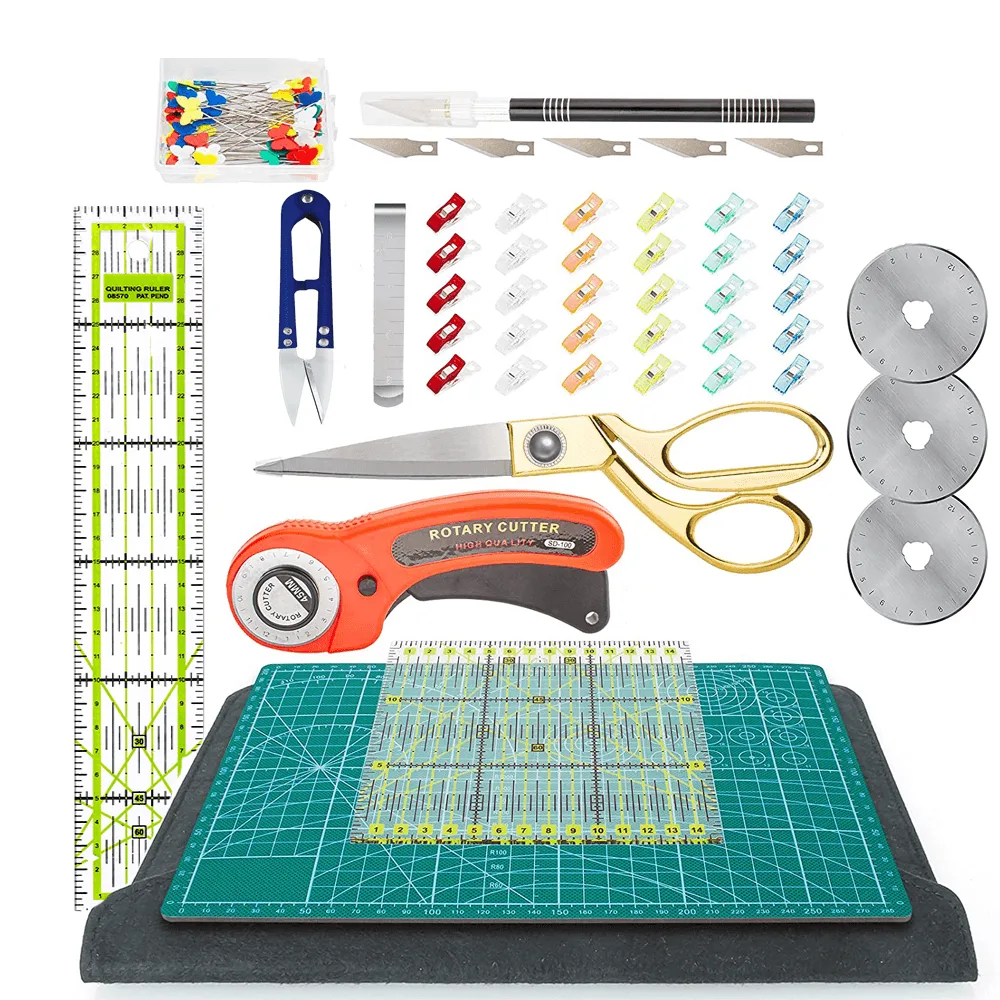
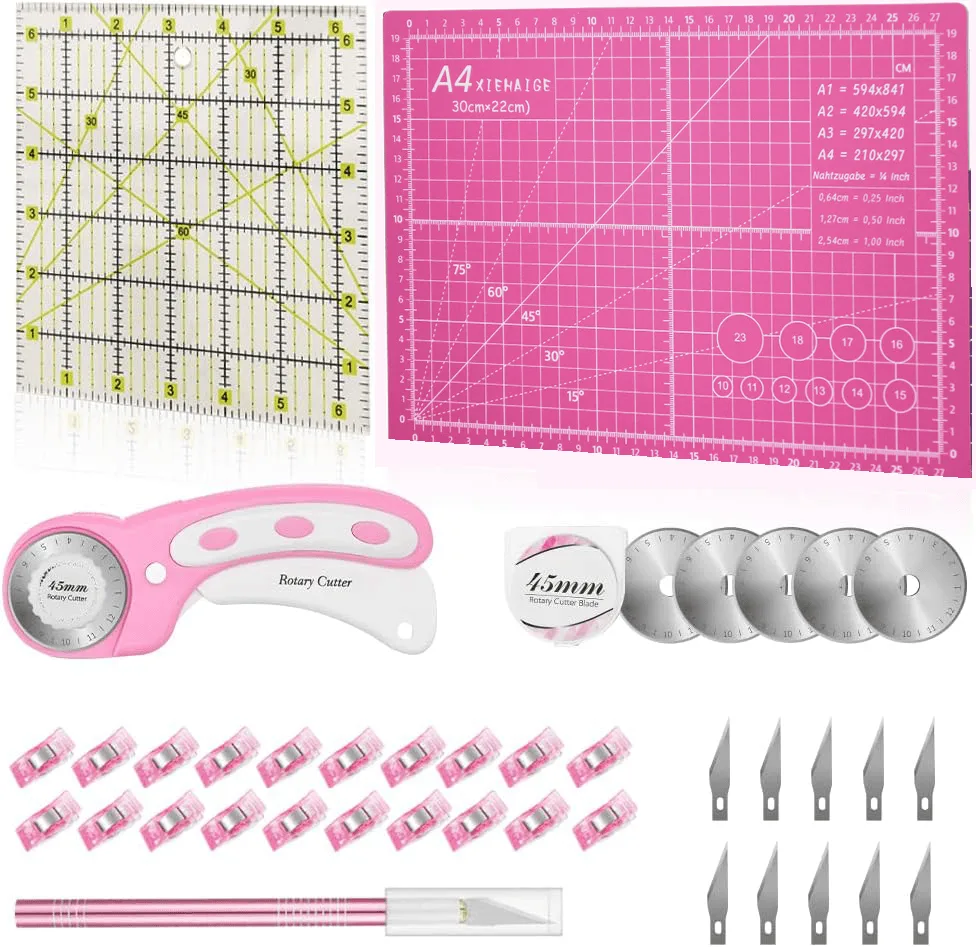
Keep your tools within reach. A 39-Piece Quilting Kit: Perfect for Beginners includes basic cutting and measuring tools, and the 42-Piece Quilting Kit: Perfect for Beginners (bundle) adds a 45mm rotary fabric cutter for trimming blocks. If you cut a lot of fabric or batting, the Electric Scissors for Cutting Fabric USB Rechargeable (Images50) can speed up long cuts on materials like denim or canvas, though a rotary cutter is still better for accurate quilt pieces.
- Checkpoint: If your practice lines are wavy, slow down and let the machine feed the fabric.
- Common mistake: Skipping practice and jumping straight to a large quilt. Small tests save fabric and frustration.
Portable machine setup steps at a glance
- Set up a stable, well-lit station: Place the machine on a solid table at elbow height, plug it in, and add a clip-on or magnetic light if the room is dim. Checkpoint: the table should not rock when you press on it.
- Thread with the presser foot up: Follow the machine's thread path, wind and insert the bobbin, and bring the bobbin thread up before sewing. Checkpoint: both threads pull smoothly under the foot.
- Select a straight stitch and test tension: Use a 2.0–2.5 mm straight stitch for piecing and 2.5–3.0 mm for quilting. Start at mid tension and test on a scrap of your actual layers. Checkpoint: balanced stitches with no loops on either side.
- Baste your quilt sandwich: Layer backing, batting, and top, then pin or baste every hand-width. Roll the sides if the quilt is larger than the machine's throat. Common mistake: pinning too sparsely, which causes puckers.
- Sew slowly and let the machine feed: Lower the presser foot, take one stitch by hand, then use the pedal gently. Do not pull the fabric. Stop with the needle down to reposition. Checkpoint: flip the piece over after a few inches to check for puckers.
- Practice on a small sandwich first: Quilt parallel lines on a 12-inch square before starting a full quilt. Adjust speed and hand position until lines are even. Next step: move to a mug rug or baby quilt.
Tools that support portable machine quilting
- Sewing Machine Light: Bright LED strip provides even, clear light for every project; USB-powered with adjustable positioning. Better visibility helps you follow seam lines and see the needle area, which reduces mistakes when quilting on a portable machine.
- Quilting Pins Color Pearl Head: Pearl-head pins come in a handy plastic storage box and are designed for easy storage and use. Visible pin heads make basting quicker and safer because you can spot and remove pins before they reach the needle.
- 42-Piece Quilting Kit: Perfect for Beginners (bundle): Includes a 45mm rotary fabric cutter for precise cutting. Accurate cutting before you sew means your quilt pieces line up better, so your portable machine stitches stay straight.
- 39-Piece Quilting Kit: Perfect for Beginners: A set of precision-crafted tools for a smoother quilting experience, suitable for novices and seasoned quilters. Having the basic measuring and marking tools on hand keeps you from pausing mid-project to hunt for supplies.
A portable electric sewing machine can handle quilting well when you set it up in the right order: stable surface, correct threading, a tested straight stitch, and well-basted layers. Practice on a small sandwich, keep your pins and light within reach, and you will spend less time troubleshooting and more time quilting.