Quick Answer
To maximize play value from a wooden railway set, start with a simple loop and gradually expand the layout using accessories like bridges, switches, and cranes to encourage creative problem-solving and storytelling.
Why Layout Variety Matters
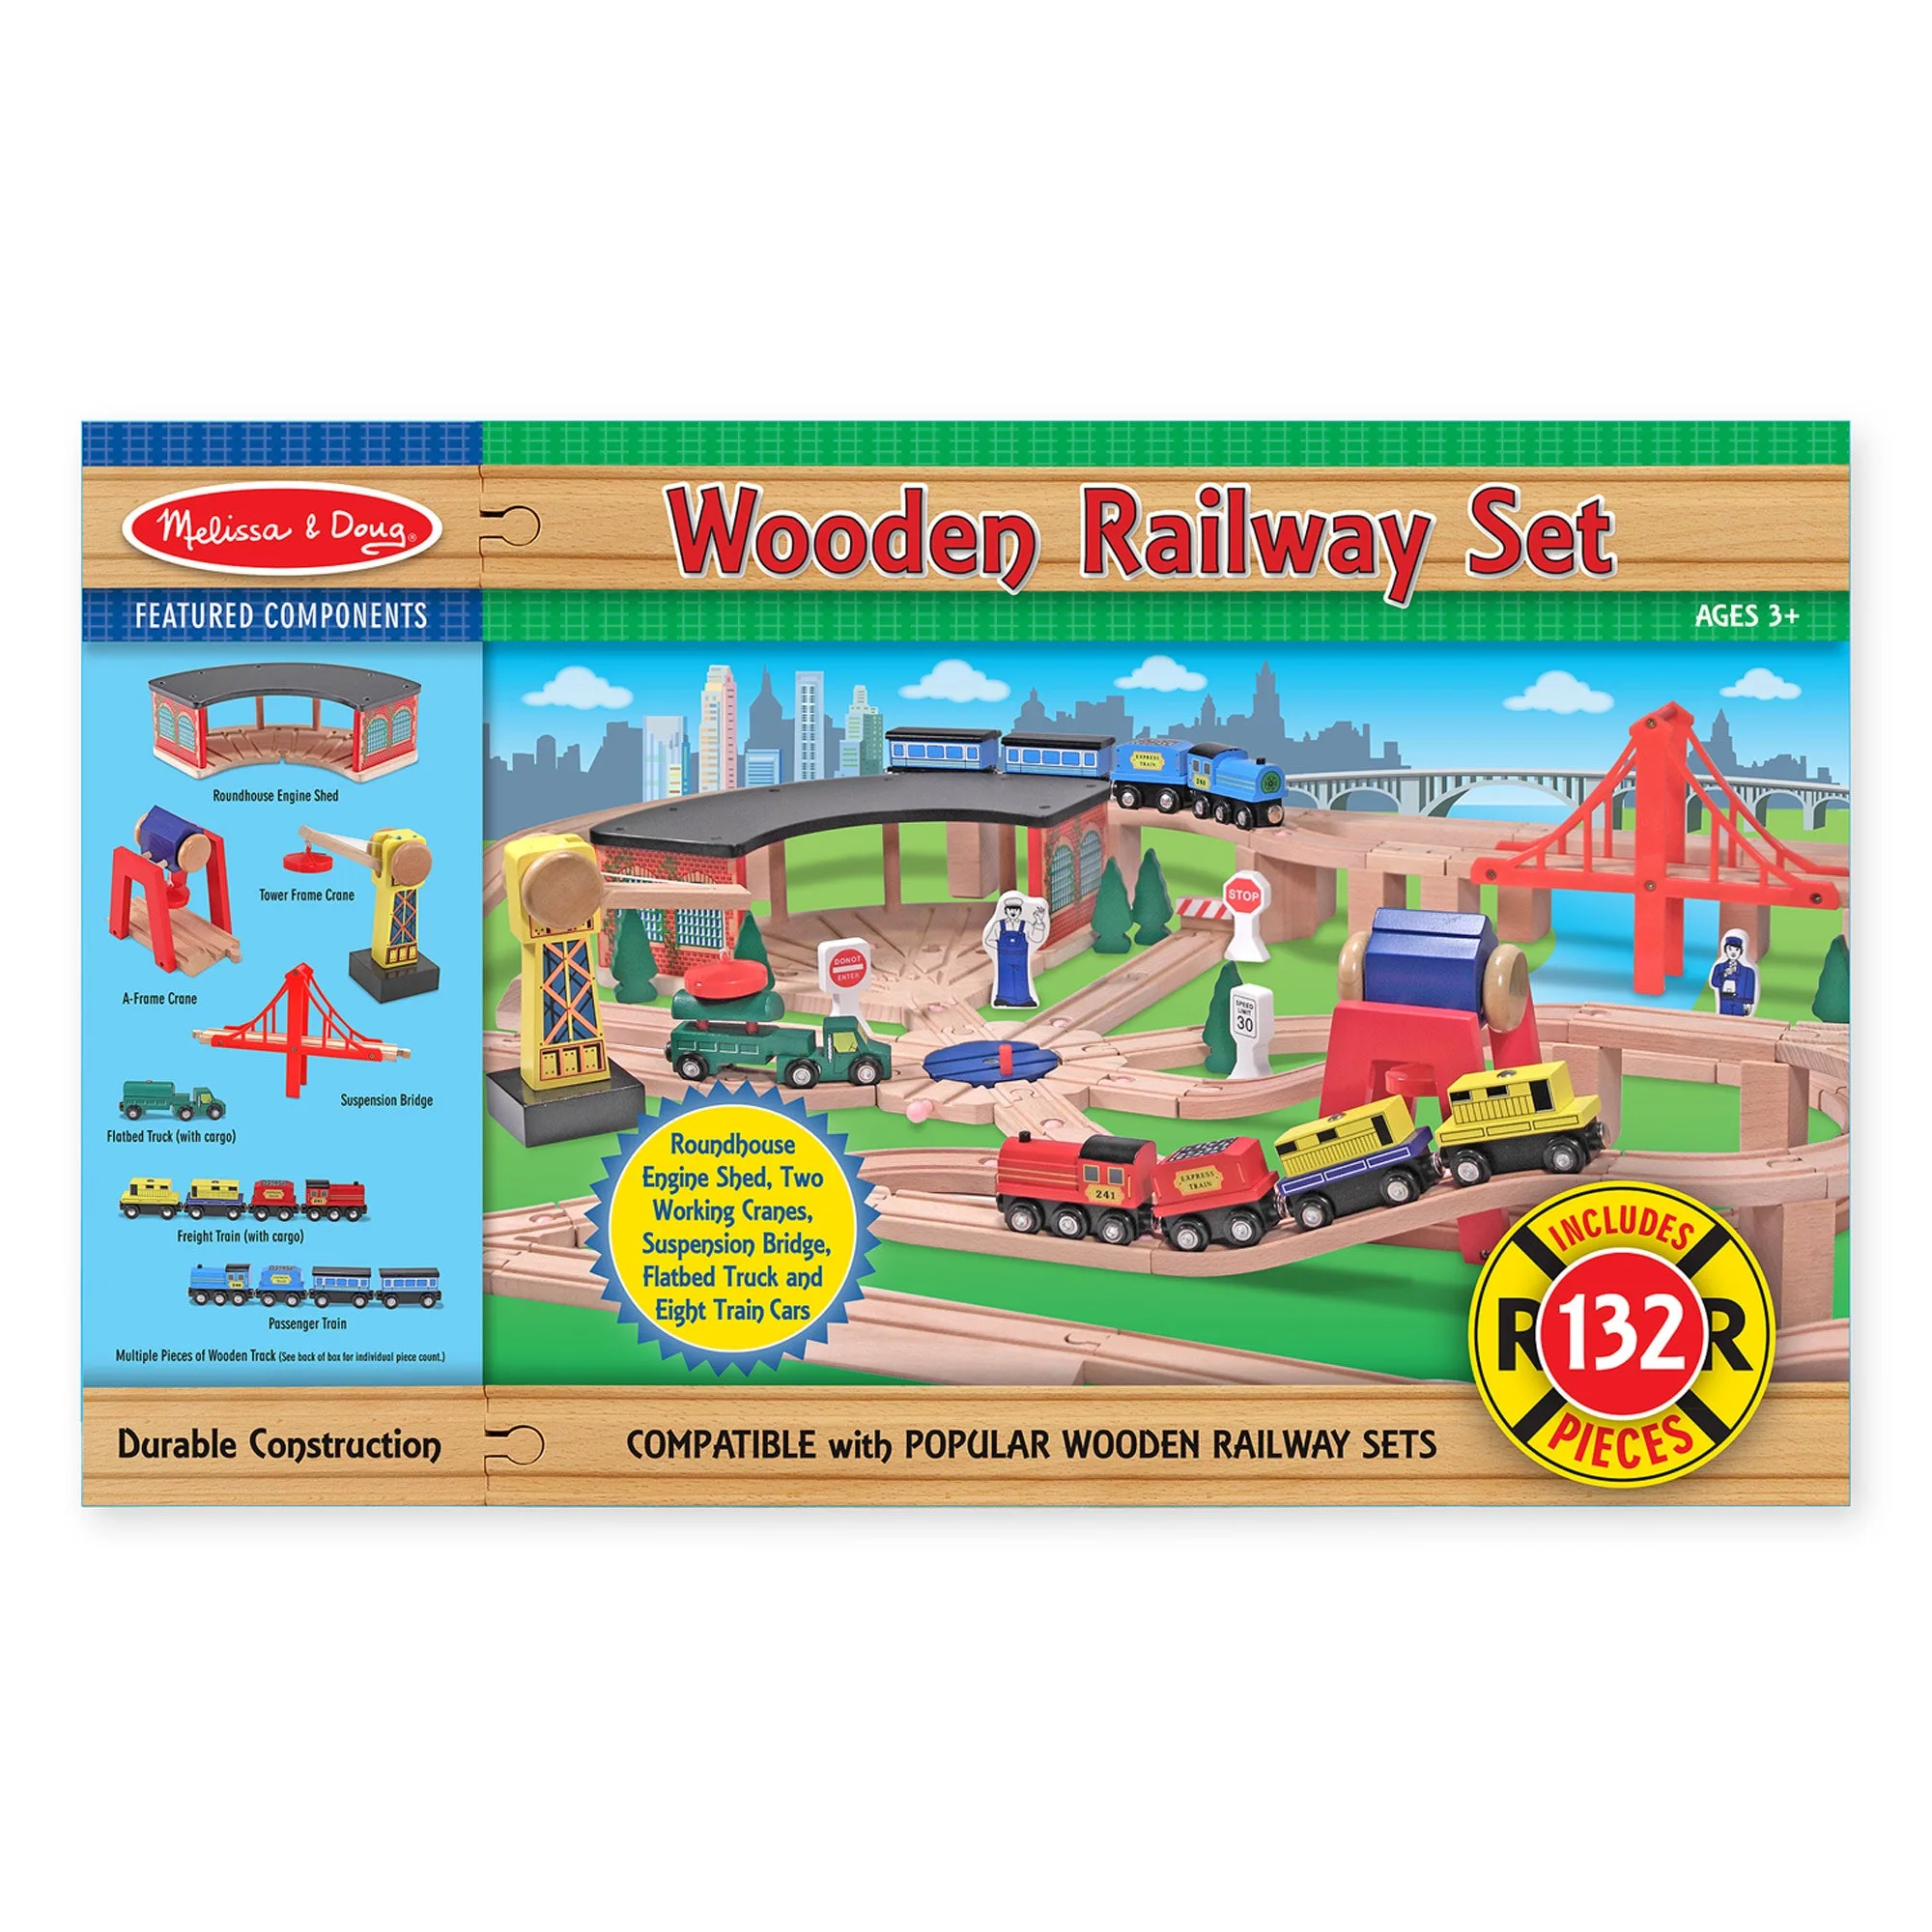
A single oval track can keep a toddler entertained for a while, but older preschoolers need more complexity to stay engaged. Adding curves, switches, and elevation changes turns a basic train track into a world of cause-and-effect experiments. The Melissa & Doug Wooden Railway Set, with its suspension bridge, trestle bridge, and roundtable, gives you these options right out of the box.
The trade-off: more pieces mean more setup time and a bigger cleanup. If your child is still under three, keep the first few sessions simple with just the engine shed and a small loop. You can always add the crane and switches later as their attention span grows.
Step-by-Step Setup for Maximum Play
- Start with a Simple Loop: Lay a basic oval or figure-eight using straight and curved track pieces. Place the roundhouse at one end so trains can 'park' overnight. Common mistake: using every track piece at once creates a confusing tangle; a simple loop helps your child understand how trains move before adding complexity. Resist the urge to use all pieces immediately.
- Add Elevation and Bridges: Insert the suspension bridge and trestle bridge into the loop. Elevate one section using the bridge supports so trains climb and descend. This teaches cause and effect—a train that's too fast may derail. Common mistake: placing bridges at the very start of the track; save them for later to avoid frustration. Let your child discover that trains need enough speed to cross a bridge.
- Introduce Switches and Junctions: Add the T-junction and switches to create branch lines. Now the train can go to the roundhouse or take a detour. Common mistake: setting switches in the middle of a curve, which causes derailments; place them on straight sections for reliable operation. Switches turn a single route into a decision-making game.
- Incorporate the Crane and Accessories: Use the magnetic-tipped crane to load and unload cargo from flatbed cars. Place trees, workers, and traffic signs along the track to create a town. Common mistake: ignoring the crane's magnetic tip; demonstrate that it picks up metal-ended train cars, not the wooden ones. The crane adds a fine-motor challenge that extends play beyond just running trains.
- Rotate Layouts Weekly: Every week, dismantle the current layout and build a different one using the same pieces. Try a mountain route, a city scene, or a simple shuttle between two stations. Common mistake: keeping the same layout for months; children lose interest when the setup becomes predictable. A new layout every 5–7 days keeps the toy fresh without buying more pieces.
Product Facts
-
Wooden Railway Set: This set includes a spacious roundhouse engine shed, dozens of track pieces in curves and straights, trees, workers, traffic signs, multi-piece trains, magnetic-tipped cranes, switches, a T-junction, suspension bridge, trestle bridge, and roundtable. These components let you build several distinct layouts without buying extra parts, making it easier to rotate play scenarios and keep the toy feeling new.
Wooden Railway Set