Quick answer
Set up your My Babiie changing and bath unit by assembling the frame, fitting the concealed bath underneath the changing mat, and arranging the storage trays for easy access to nappies and wipes.
Before you start
Make sure you have a clear, flat workspace and check that all parts are included in the box. The unit is designed to be easy to assemble, but it helps to have a second person for the first few steps to hold the frame steady.
The changing mat sits on top, and the concealed bath slides underneath. The storage trays clip into the lower shelf. Keep the drainage tube handy — you’ll attach it after the bath is in place.
Step-by-step assembly
- Assemble the main frame: Attach the four legs to the side panels using the provided screws. Ensure all joints are snug but not overtightened — you’ll adjust later. A common mistake is forcing screws at an angle, which can strip the threads. Hand-tighten first, then use the tool to finish. Check that the frame stands level before moving on.
- Fit the lower shelf and storage trays: Slide the lower shelf into the pre-drilled holes on the legs. Clip the storage trays onto the shelf rails. Position the trays so they are evenly spaced — this keeps nappies, wipes, and bubble bath within reach. A common mistake is clipping trays too close together, which limits storage space. Leave a gap between trays for larger items like a tub of wipes.
- Install the concealed bath and drainage tube: Place the bath unit onto the lower shelf, aligning it under the top opening. Attach the drainage tube to the bath outlet and route it out the back or side of the unit. A common mistake is forgetting to attach the tube before the bath is fully seated — you’ll have to remove it again. Test the tube connection by pouring a small amount of water through the bath before adding the changing mat.
- Secure the padded changing mat: Lay the padded changing mat on top of the unit, ensuring it covers the bath opening completely. Press down gently to seat it. The mat should feel firm and not slide around. A common mistake is leaving the mat loose, which can shift during use. If the mat moves, check that the bath is fully pushed back and the mat’s edges align with the frame.
- Final check and adjustments: Tighten all screws fully. Give the unit a gentle shake — it should feel solid. Place a few items on the trays to confirm they are stable. A common mistake is skipping this check, which can lead to wobbly shelves later. Re-tighten any loose screws after 24 hours of use, as wood can settle.
What you’ll be working with
-
Baby Changing and Bath Unit - Herringbone: The unit includes a concealed bath under the changing mat with a handy drainage tube for easy bath time. You won’t need a separate baby bath — the built-in bath saves space and makes bath time just as convenient as changing.
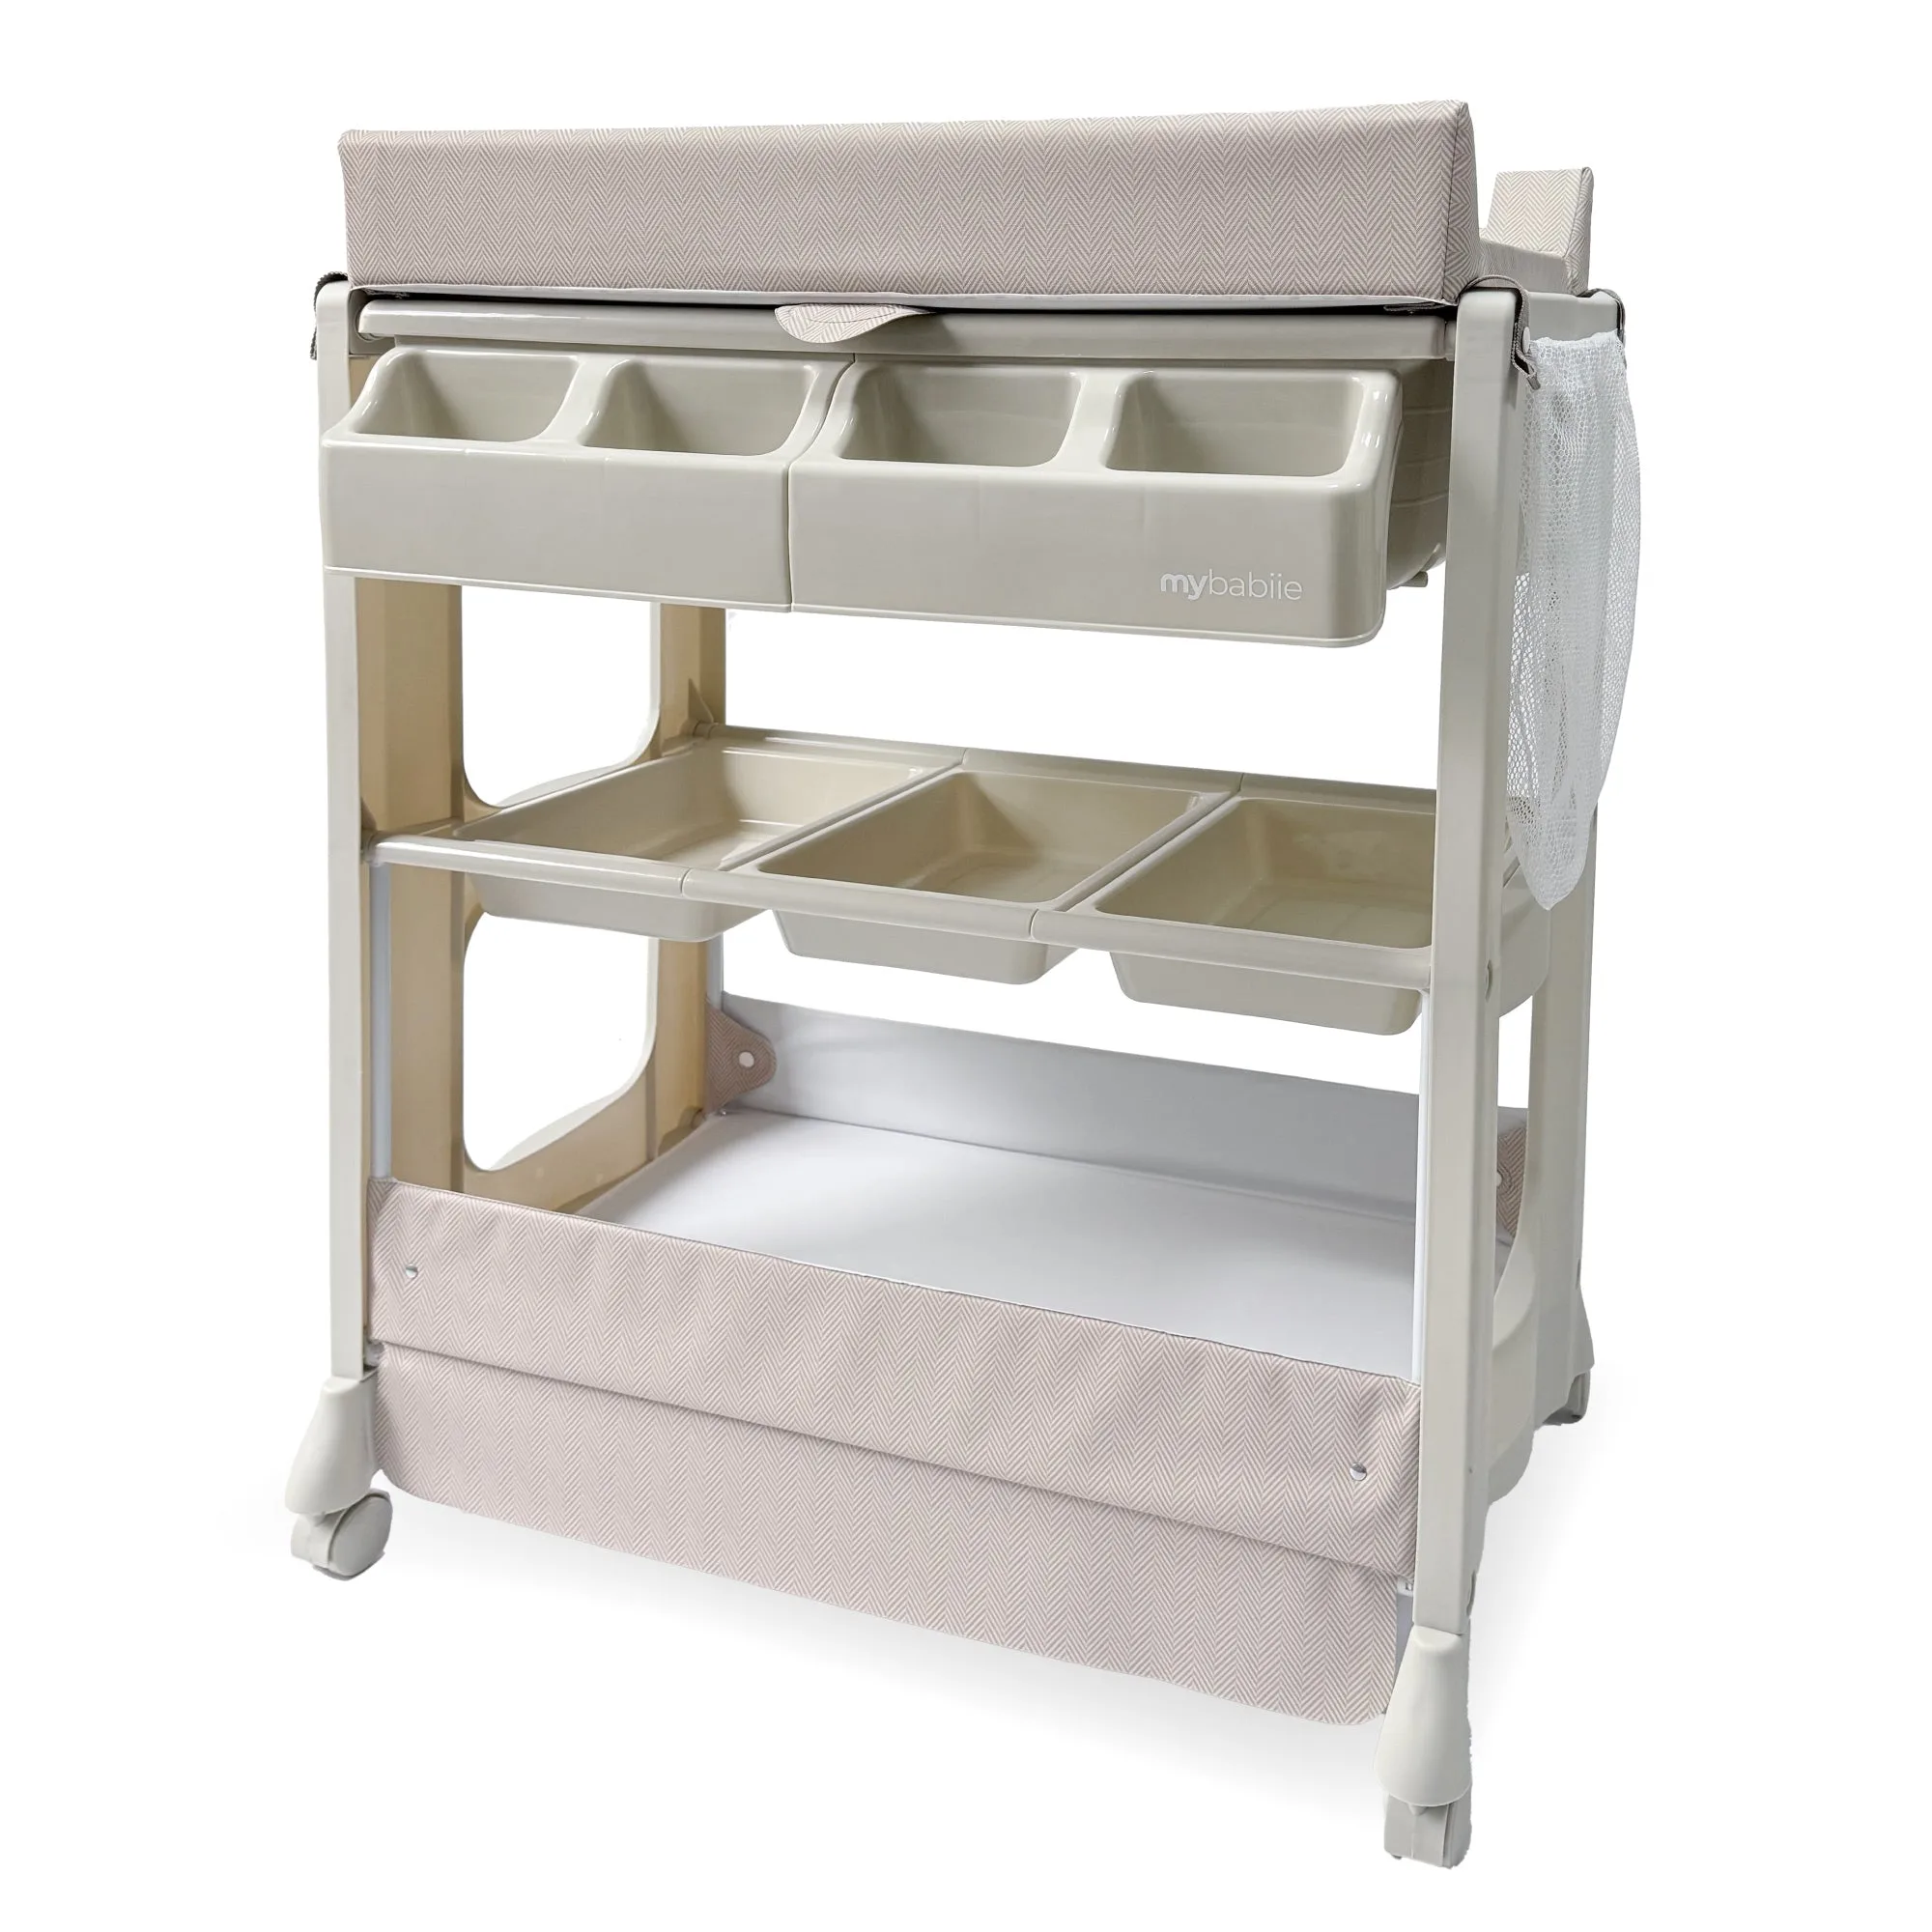
Baby Changing and Bath Unit - Herringbone