Quick answer
To sew canvas successfully, switch to a 100/16 or 110/18 denim needle, use a 40-weight polyester thread, and lengthen your stitch to 3.0–3.5 mm. Press every seam flat as you go, and finish raw edges with a zigzag or overcast stitch. Canvas is not difficult—it just needs the right needle, thread, and a little patience.
Canvas has a reputation for being tough to sew, but most problems come from using the wrong needle and thread, not from the fabric itself. If you have ever heard your machine strain or seen skipped stitches on a heavy cotton, you were probably fighting a needle that was too fine for the job.
This guide walks you through the exact steps for working with canvas, from pre-washing to finishing seams. You will also learn which canvas fabrics behave best for bags, aprons, and home projects, and where a lighter canvas can save you frustration.
Choose the right canvas for your project
Not all canvas is the same. A medium-weight canvas, like the Kantha Cloth Dark Grey Organic Canvas from Roam by Emmie K for Paintbrush Studio Fabric, is versatile and lightweight enough for garments, aprons, and soft home goods. Heavier canvas (10–12 oz) is better for tote bags and upholstery, but it can be harder to sew on a standard machine. If you are new to canvas, start with a medium-weight option.
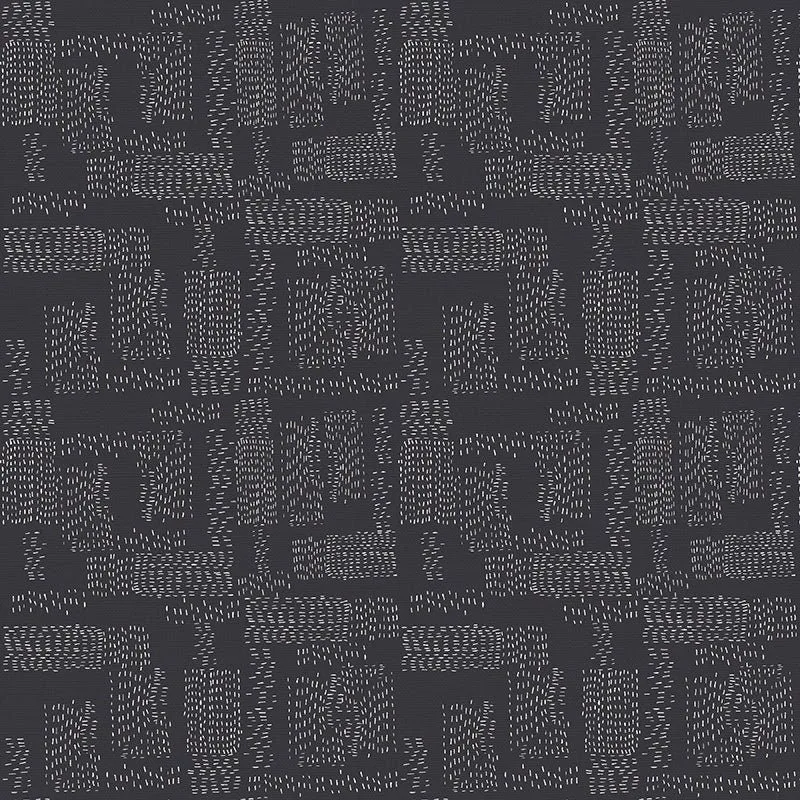
Kantha Cloth Dark Grey Organic Canvas from Roam by Emmie K for Paintbrush Studio Fabric
For projects that need a bit of sparkle or a lighter hand, consider a quilting cotton with a canvas-like weight. The Raspberry Sparkle from Sparkler Basics by Melissa Mortenson for Riley Blake is a 100% cotton with scattered plus signs and gold sparkle—it is not canvas, but it works well for accents, linings, or small pouches where you want the look of canvas without the bulk.
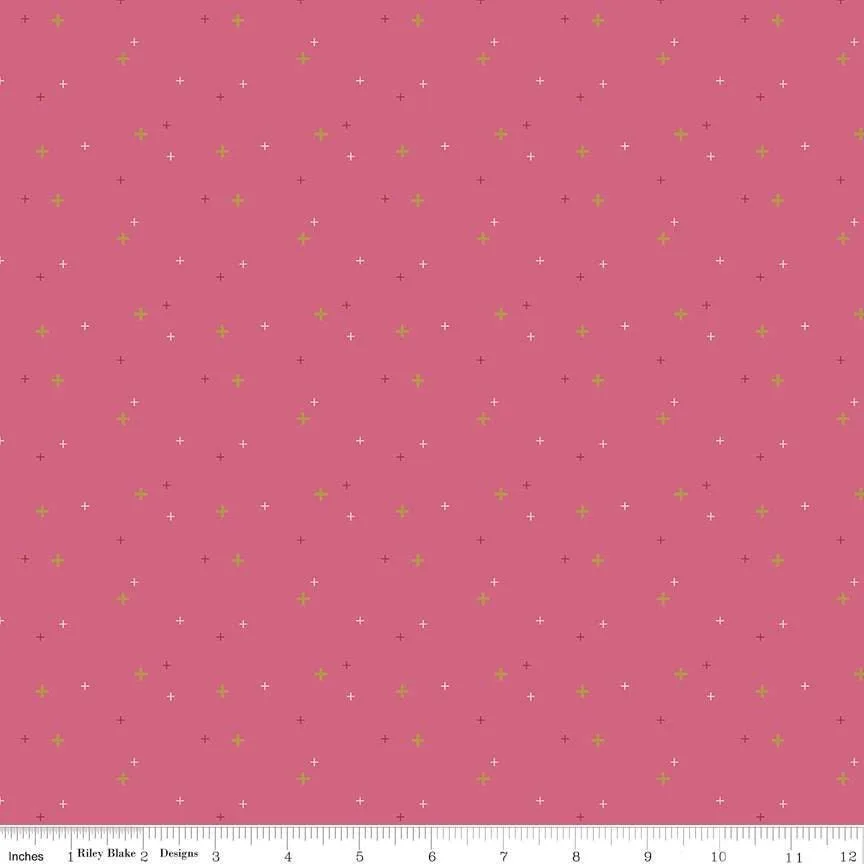
Raspberry Sparkle from Sparkler Basics by Melissa Mortenson for Riley Blake
- Pre-wash and dry your canvas before cutting to avoid shrinkage later.
- If the canvas is very stiff, soak it in warm water and tumble dry low to soften it.
Set up your machine for canvas
The single most important change is your needle. Use a denim needle in size 100/16 or 110/18. A universal needle will skip stitches and may break. Next, thread your machine with a 40-weight polyester thread—it has a little stretch and strength. Cotton thread can work, but polyester is more durable for canvas seams.
Increase your stitch length to 3.0–3.5 mm. A longer stitch prevents the fabric from perforating and makes the seam less likely to pucker. If your machine has adjustable presser foot pressure, reduce it slightly so the foot does not squash the canvas. Always test on a scrap of the same canvas before sewing your project.
- Use a fresh needle—a dull needle will cause skipped stitches and fabric damage.
- If your machine struggles, try a walking foot or a roller foot to feed the canvas evenly.
Cut and mark canvas accurately
Canvas can fray, so cut with sharp fabric shears or a rotary cutter. If you use a rotary cutter, a fresh blade will glide through without pulling the weave. Mark your seam allowances with tailor's chalk or a washable marker—do not use pins in the seam allowance if you plan to sew over them, as they can bend your needle.
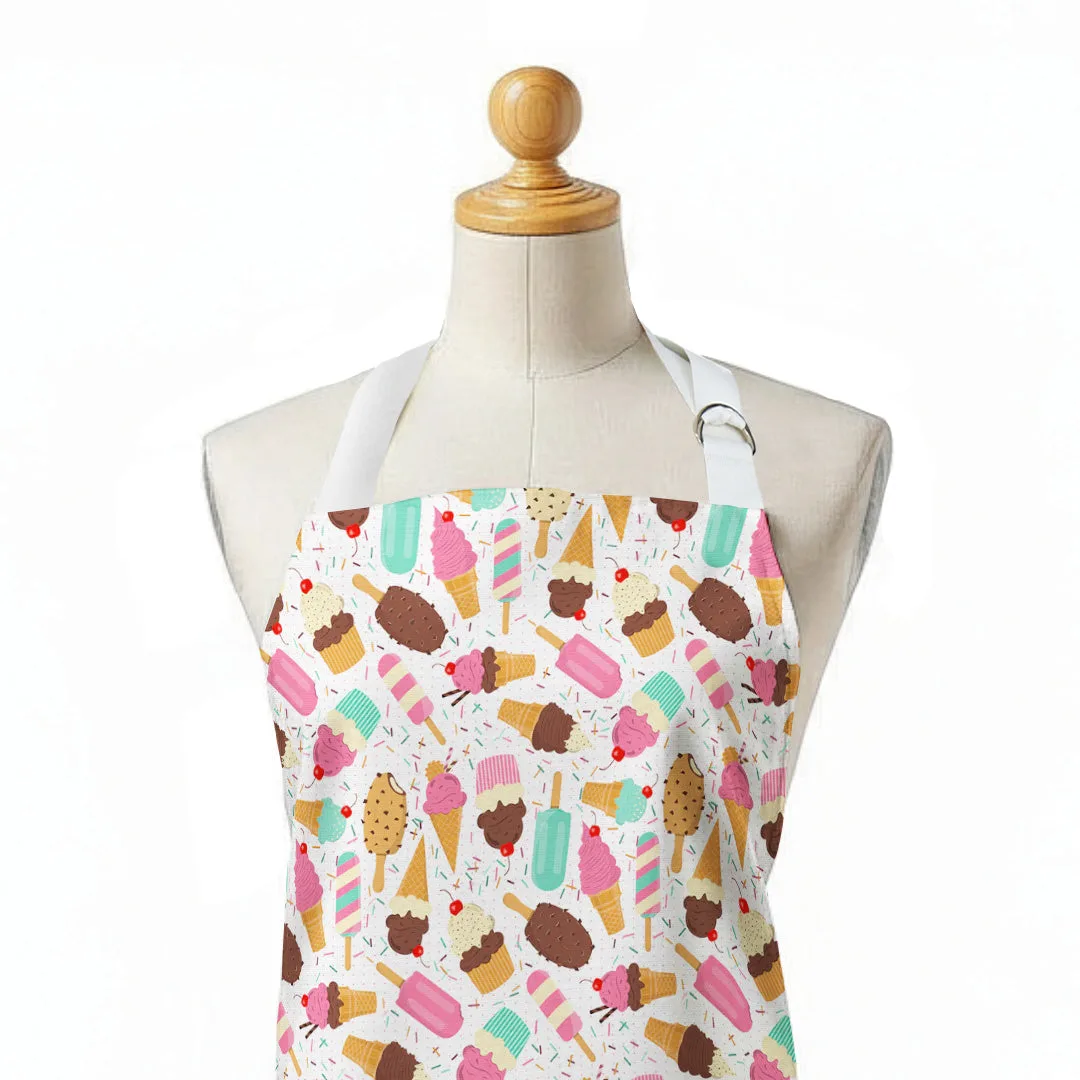
For projects with many pieces, like the Reversible Apron Sewing Kit, the pattern pieces are already cut and marked. That kit includes fabric, pattern pieces, twill straps, D-rings, and step-by-step instructions, so you can focus on sewing rather than prep. If you are cutting your own canvas, consider pinking shears for edges that will not be enclosed in a seam.
- Cut canvas on a single layer to avoid shifting.
- Use pattern weights instead of pins on thick canvas to prevent holes.
Sew seams with control
Sew slowly. Canvas is thick, and speed causes skipped stitches and broken needles. Use a 1/2-inch seam allowance for most projects. If your machine has a needle-down position, use it—it keeps the fabric from shifting when you pivot. For bulky intersections, like where straps meet a bag body, stop with the needle down, lift the presser foot, and gently turn the fabric.
If the canvas is very thick, you can reduce bulk by trimming seam allowances to 1/4 inch after sewing, then pressing them open. A clapper or a heavy book can help press seams flat while the fabric cools. Do not press with a hot iron directly on canvas that has a coating or sparkle—use a pressing cloth.
- If your machine jams, stop immediately and check for a bent needle.
- For curves, shorten your stitch length slightly to 2.5 mm for better control.
Finish seams and edges
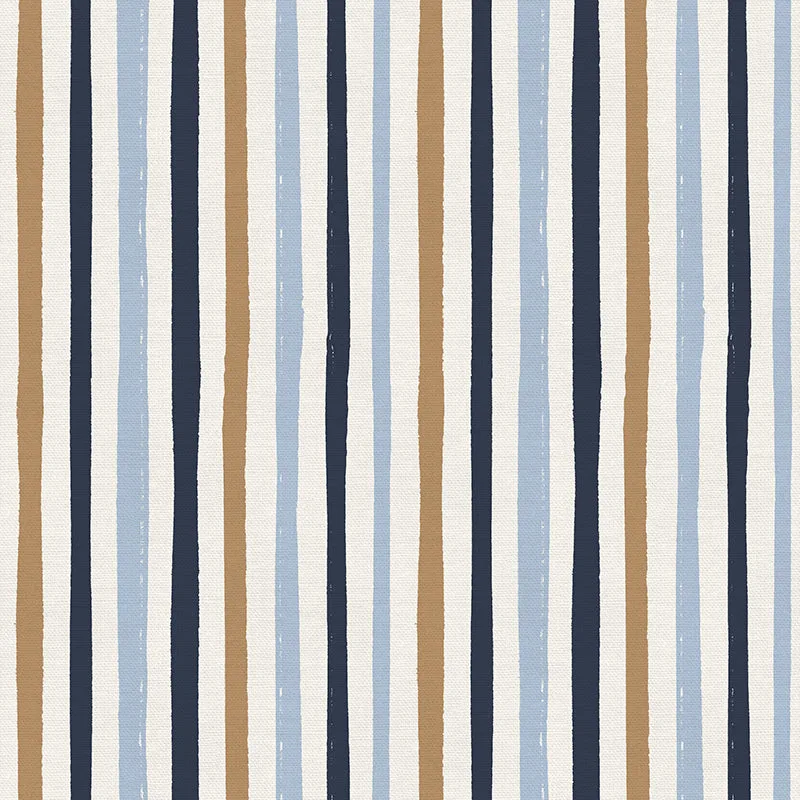
Canvas frays, so finish raw edges. A zigzag stitch or overcast stitch works well. If you have a serger, use it—but test on a scrap first. For a clean look, you can bind seams with bias tape or fold them under and topstitch. The Rough Stripe - Light Blue/Navy from By The Sea by Fleur Crawford for Paintbrush Studio Fabric is a 100% cotton that can be cut into bias strips for binding. It is not canvas, but its 44/45-inch width gives you enough length for several projects.
For bags and aprons, consider flat-felled seams for extra strength. Sew the seam with wrong sides together, trim one side to 1/4 inch, fold the other side over it, and topstitch. This encloses the raw edges and adds durability.
- Always press seams after finishing to set the stitches.
- If you do not have a serger, a simple zigzag with a short stitch length is enough.
Step-by-step canvas sewing checklist
- Pre-wash and press: Wash canvas in cold water and tumble dry low to shrink it before cutting. Press while slightly damp. Skipping this step can cause your finished project to shrink unevenly.
- Switch to a denim needle: Install a 100/16 or 110/18 denim needle and thread with 40-weight polyester. A universal needle will skip stitches or break on canvas.
- Adjust stitch length: Set your machine to 3.0–3.5 mm and reduce presser foot pressure if possible. Short stitches perforate canvas and cause puckering.
- Sew slowly and evenly: Guide the fabric without pulling. Use a walking foot for thick layers. Let the machine feed the fabric—do not push or pull.
- Finish raw edges: Zigzag, overcast, or bind seams to prevent fraying. Unfinished canvas edges will shed and unravel over time.
Canvas and project picks from our catalog
- Kantha Cloth Dark Grey Organic Canvas from Roam by Emmie K for Paintbrush Studio Fabric: A medium-weight canvas that's versatile and lightweight enough for garments, aprons, and home projects. This is a good canvas for beginners because it feeds smoothly and does not require a industrial machine.
- Reversible Apron Sewing Kit: Each kit includes everything you need to make one apron – fabric, pattern pieces, twill straps, D-rings, a sew-on label, step-by-step instructions and a full video tutorial. The kit removes the cutting and sourcing steps, so you can practice sewing canvas with guided instructions.
- Rough Stripe - Light Blue/Navy from By The Sea by Fleur Crawford for Paintbrush Studio Fabric: 100% cotton, 44/45 inches wide, 143 GSM. Machine wash cold, delicate, tumble dry low. This lightweight cotton is not canvas, but it works well for bias binding or lining canvas projects where you want a contrasting print.
Sewing canvas is straightforward once you match your needle, thread, and stitch length to the fabric. Start with a medium-weight canvas like the Kantha Cloth Dark Grey Organic Canvas, practice on a small project like the Reversible Apron Sewing Kit, and you will build the confidence to tackle bags and home decor. Remember: slow and steady wins with canvas.