Quick answer
Sew on a button by creating a thread shank—a small column of thread between the button and fabric. This lets the button flex without stressing the stitches. Use four to six passes through the holes, then wrap the thread around the stitches under the button to build the shank. Finish with three tight knots on the back. This method works for flat buttons, novelty shapes, and heavy fabrics.
A button that pops off mid-day is more than annoying—it can ruin a garment's fit and leave you scrambling for a safety pin. Most buttons fail because they're sewn flat against the fabric, so every time the button pushes through a buttonhole, the threads grind against the fabric edge and weaken.
The fix is a thread shank: a short, sturdy column of thread that lifts the button slightly off the surface. This hand sewing tutorial walks through the exact steps, plus checkpoints to catch mistakes before they become loose buttons. You'll also see how button choice affects longevity—materials like cellulose acetate hold up well, but the stitching technique matters just as much.
Why buttons fall off (and how a shank prevents it)
Buttons fail for three main reasons: too few stitches, thread that's too short, or a flat attachment that doesn't allow movement. When a button sits flush against fabric, the buttonhole edge saws against the threads every time you fasten it. Over weeks, that friction cuts the thread. A thread shank solves this by creating a gap—usually 1/8 to 3/16 inch—so the button can flex without pulling the stitches tight against the fabric.
The shank also accommodates thicker fabrics like wool coating or quilted layers. Without it, the buttonhole can't close properly, and the button pulls away from the garment. Even lightweight cotton benefits because the shank absorbs tension. If you're using novelty buttons—like strawberry or heart shapes—the shank keeps uneven edges from catching on the buttonhole and twisting the thread.
- Checkpoint: After sewing, slide a toothpick under the button. If it won't fit, your shank is too tight.
- Common mistake: Sewing through the fabric too many times without building the shank, which creates a stiff, breakable knot.
Choose the right thread and needle
Use a strong, all-purpose polyester or polyester-cotton blend thread. Cotton thread weakens over time with friction, while polyester holds up to repeated flexing. Match the thread color to the button or garment—if you can't decide, go slightly darker than the fabric. For heavy buttons (like large cellulose acetate shapes), use a double strand of thread. For delicate fabrics, a single strand with more passes is gentler.
Needle size matters too. A sharp, medium-sized hand sewing needle (size 7 to 9) works for most buttons. For thick shanks or heavy fabric, switch to a larger needle (size 5 to 6) to avoid bending. If the button has small holes, use a thinner needle (size 10 to 12) and a single strand to avoid overcrowding.
- Checkpoint: Thread should glide through the button holes without forcing. If it sticks, your needle or thread is too thick.
- Common mistake: Using a thread length longer than 18 inches, which tangles and weakens as you sew.
Step-by-step: secure button stitching with a shank
Start by marking the button position with a pin or fabric marker. Bring the needle up from the back at the mark, leaving a 4-inch tail. Thread through one button hole, then down through the opposite hole. Place a toothpick or matchstick across the top of the button between the holes—this creates the gap for your shank. Sew through the holes four to six times, keeping the toothpick in place. Don't pull tight; leave the loops slightly loose over the toothpick.
After the final pass, bring the needle to the front but not through the button. Remove the toothpick. Wrap the thread around the stitches under the button five or six times to build the shank. Then push the needle to the back and tie three tight knots against the fabric. Trim the tail. Test the button: it should lift slightly and snap back without exposing thread gaps.
- Checkpoint: The shank should be firm but not rigid. If it collapses when you pull, add more wraps.
- Common mistake: Wrapping the shank too tightly, which prevents the button from flexing and defeats the purpose.
Making buttons stay on: extra security for heavy use
For coats, bags, or kids' clothing, reinforce the back with a small button or fabric square. Sew through both buttons at once, creating a sandwich that distributes stress. If you're using a large statement button—like the Strawberry Large 1" Buttons—this backing prevents the button from tearing through the fabric. Another trick: after knotting, run a tiny dot of clear fabric glue over the knots on the back. Let it dry before wearing.
If the button is purely decorative and won't pass through a buttonhole, you can skip the shank and sew it flat. But for functional buttons, the shank is non-negotiable. Also consider the button material: cellulose acetate buttons are durable but can crack if sewn too tightly. A proper shank gives them room to move without stress.
- Checkpoint: Tug the button gently—it should move a little but not expose the fabric underneath.
- Common mistake: Gluing the button itself instead of just the knots, which makes future repairs difficult.
Button sewing steps at a glance
- Mark and anchor: Mark the button position, then bring the needle up from the back, leaving a 4-inch tail. Take one small stitch to anchor the thread without knotting. Checkpoint: The thread should be secure but not pulling the fabric.
- Create the gap: Place a toothpick or matchstick across the button between the holes. Sew through the holes four to six times, keeping the loops loose over the toothpick. Common mistake: Pulling tight and losing the gap—keep the toothpick in place until the shank is wrapped.
- Build the shank: Remove the toothpick. Wrap the thread around the stitches under the button five or six times, then push the needle to the back. Checkpoint: The shank should be firm enough to hold the button slightly above the fabric.
- Knot and finish: Tie three tight knots against the fabric on the back. Trim the tail. Test the button by fastening and unfastening it a few times. If the button wobbles too much, add another wrap to the shank.
Button options that work well with this technique
- Strawberry Large 1" Buttons: Crafted from eco-friendly cellulose acetate with a strawberry shape, pearly red finish, white embossed seeds, and green leaves. Sold in packs of 6 buttons. The 1-inch size and raised shape benefit from a slightly taller shank (3/16 inch) so the button clears thick buttonholes without stressing the stitches.
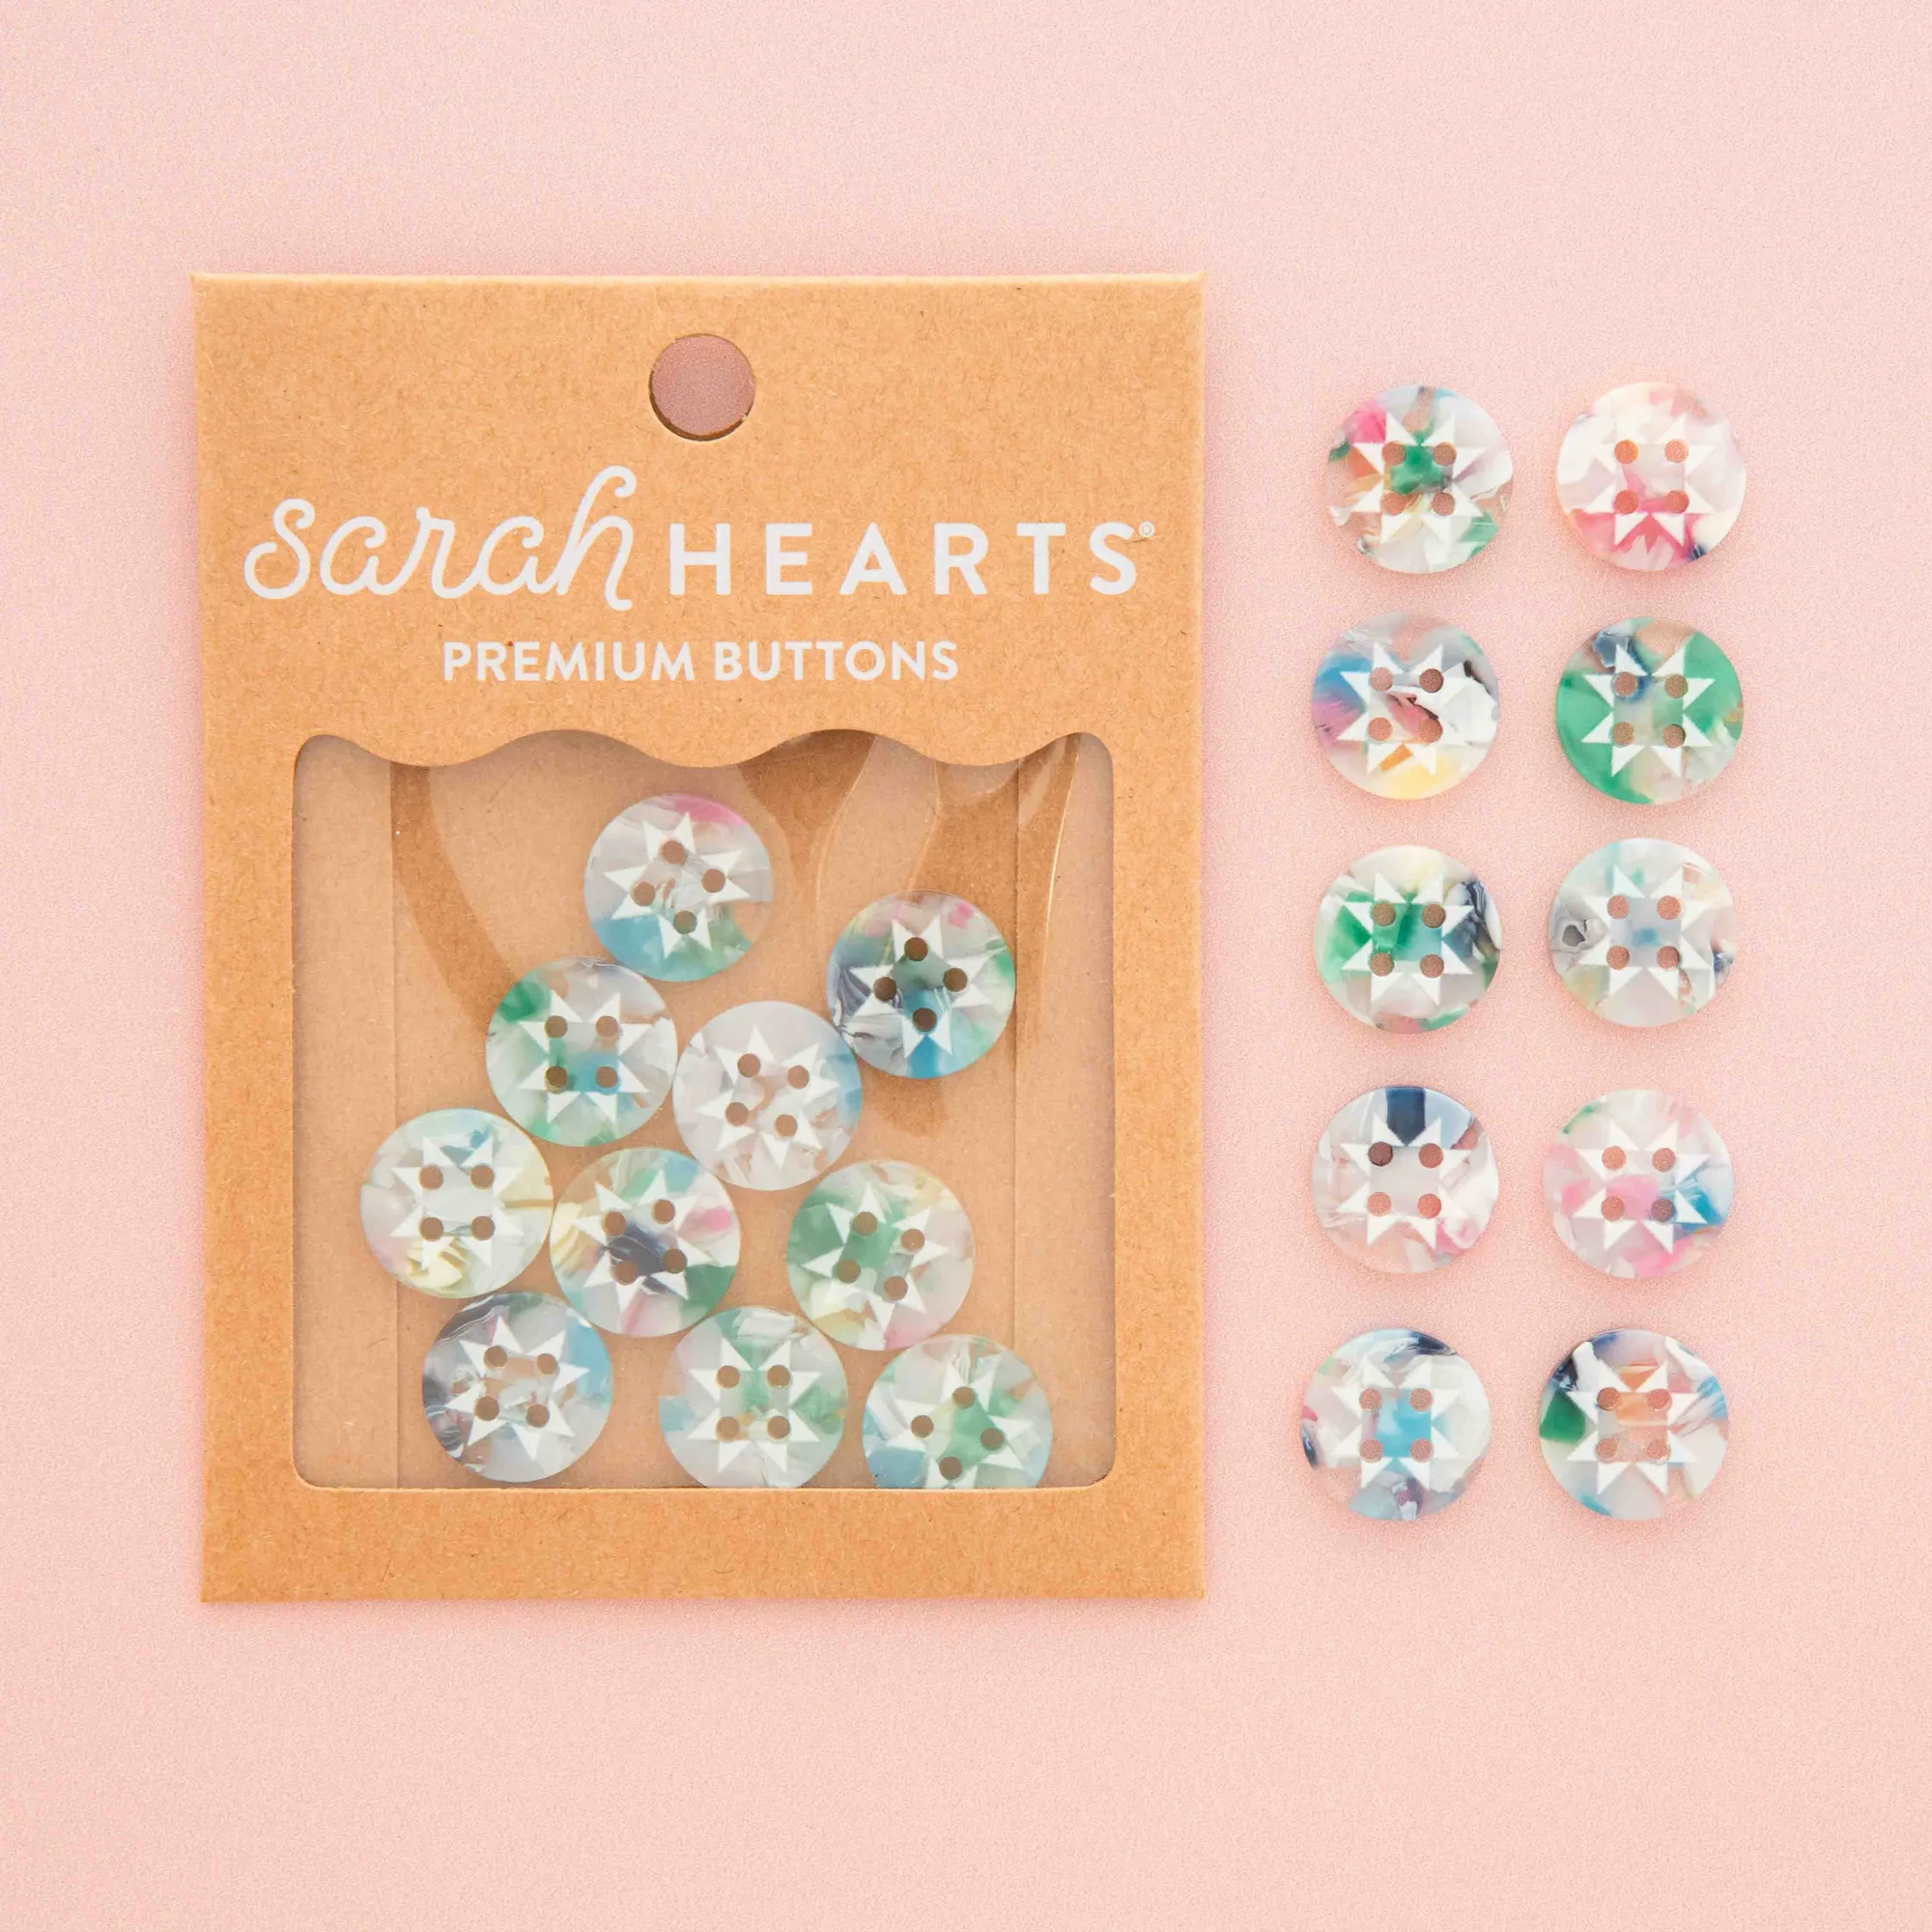
- Small Confetti Quilt Star Buttons: Made from eco-friendly cellulose acetate, each button features a round multicolor confetti design topped with a cream printed quilt star. Sold in packs of 10 buttons; also available in larger 1" size. The smaller size works well for lightweight fabrics, and the flat back makes it easy to build a standard 1/8-inch shank. The pack of 10 gives you extras for matching projects.
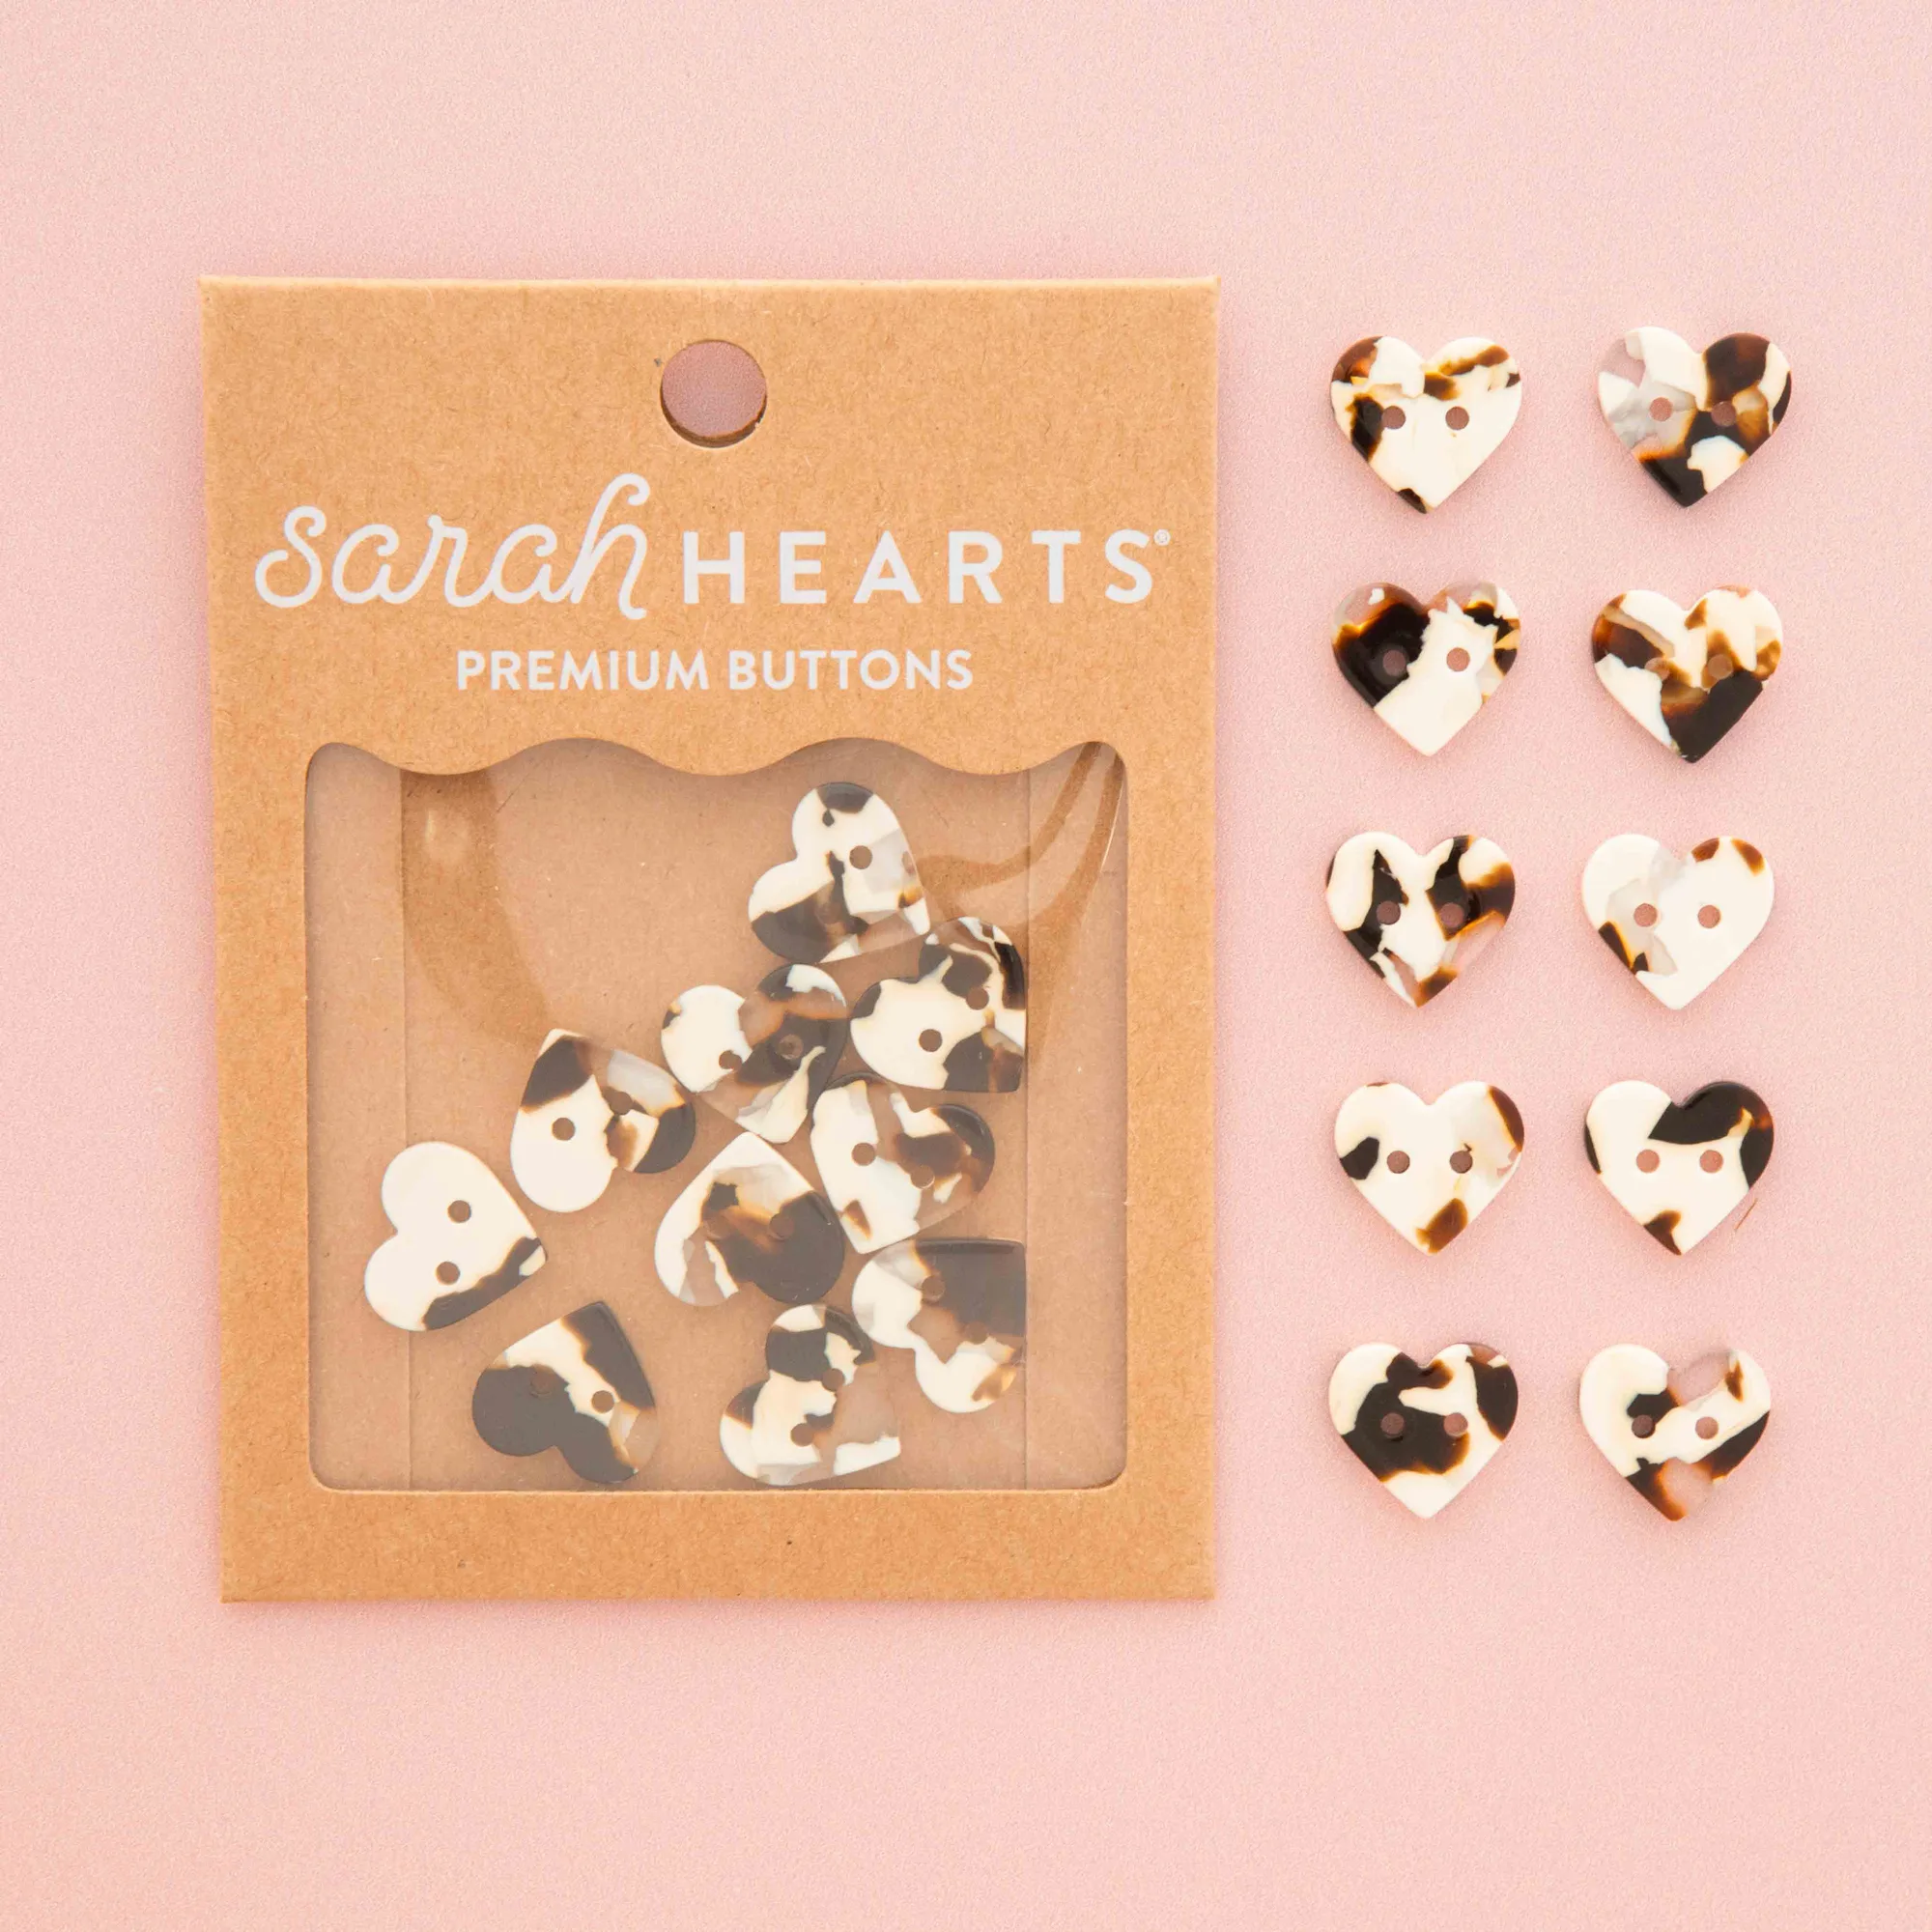
- Small Black + Cream Tortoise Heart Buttons: Small Heart 5/8" Black + Cream Tortoise Shell Buttons made from eco-friendly cellulose acetate with a speckled tortoise heart design. Sold in packs of 10 buttons; also available in a larger 1" size. The 5/8-inch size is ideal for shirts and blouses where a low-profile shank keeps the button from catching. The neutral tortoise pattern hides thread color mismatches.
A secure button comes down to one habit: always build a thread shank. It takes an extra thirty seconds and saves you from mid-day wardrobe malfunctions. Whether you're using novelty shapes or classic tortoise hearts, the technique is the same. Pick a strong thread, leave a gap, and wrap the shank. Your buttons will stay put through washing, wearing, and everything in between.