Quick Answer
To sew the Sew Square 8 quilt pattern, start by cutting your fabric accurately, then use the Quick Curve Ruler to piece curves, and follow the pattern's layout to assemble the quilt top. This guide walks you through each step, with tips to avoid common mistakes.
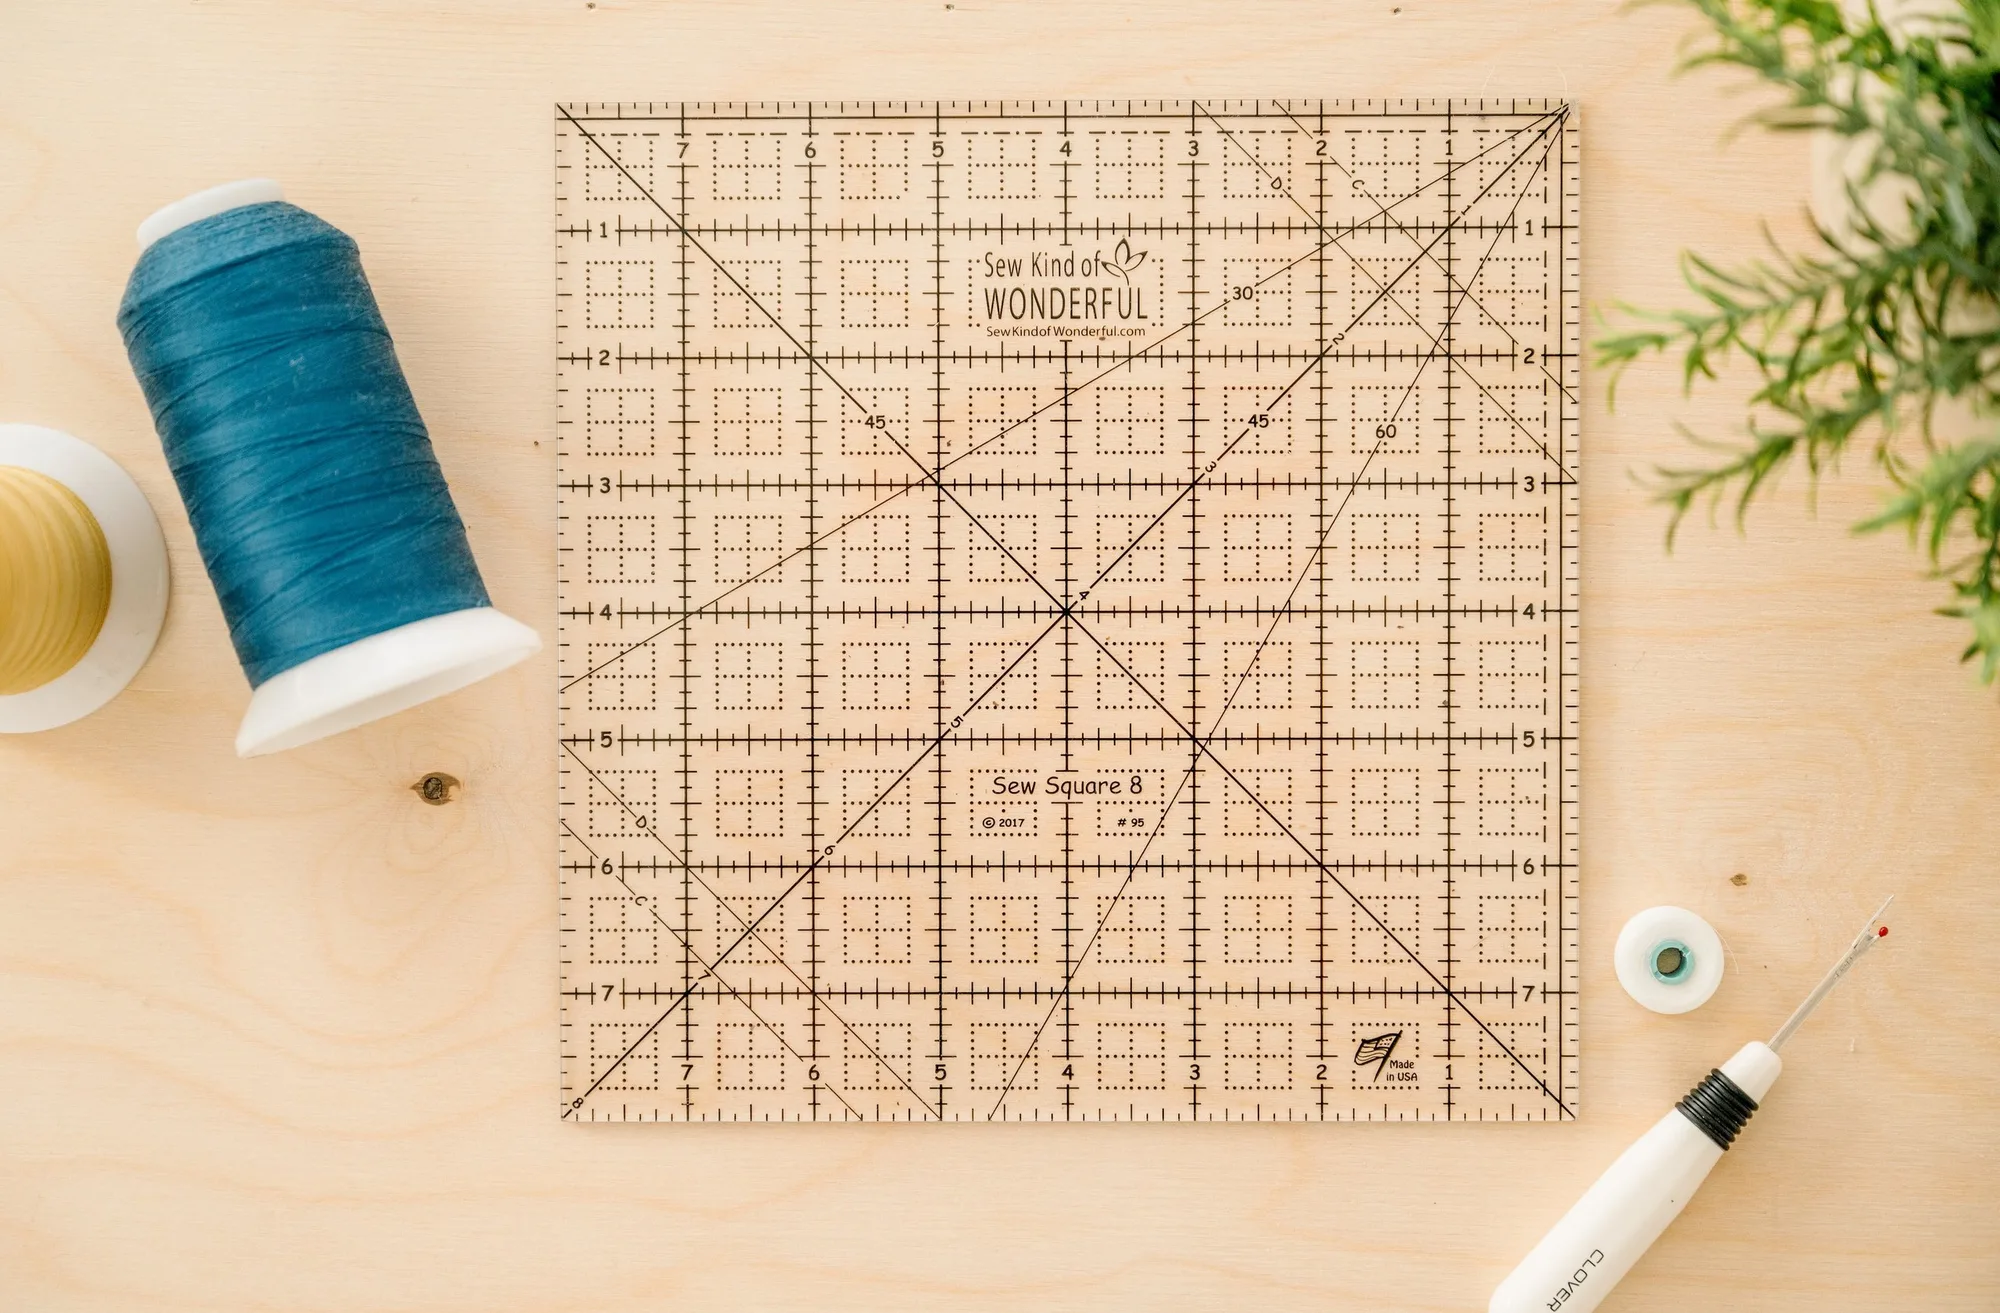
Sew Square 8
The Sew Square 8 quilt pattern is a favorite among quilters for its clean lines and modern appeal. Whether you're a beginner or have some experience, this step-by-step guide will help you create a beautiful quilt with confidence.
We'll cover everything from gathering materials to finishing your quilt top, including essential tips for using the Quick Curve Ruler and avoiding common pitfalls.
Gather Your Materials
Before you start, ensure you have all the necessary materials. The Sew Square 8 pattern typically requires assorted focus fabrics for the squares and a background fabric. Check your pattern for exact yardage, but a good rule is to have a variety of prints that coordinate well.
You'll also need the Quick Curve Ruler, which is essential for cutting the curved pieces accurately. If you don't have it, consider purchasing it along with the pattern. Having a rotary cutter, cutting mat, and quilting ruler will make the process smoother.
- Pre-wash your fabrics to prevent color bleeding.
- Press your fabrics before cutting to ensure accuracy.
Cut Your Fabric Pieces
Accurate cutting is crucial for a successful quilt. Follow the pattern's cutting instructions carefully. For the Sew Square 8, you'll likely need to cut squares and then use the Quick Curve Ruler to trim them into curved pieces.
One common mistake is cutting all pieces at once without double-checking measurements. Take your time, and use a sharp rotary blade for clean cuts. If you're new to curve piecing, practice on scrap fabric first.
- Label your cut pieces with sticky notes to stay organized.
Piece the Curved Seams
Using the Quick Curve Ruler, you'll create curved seams that give the quilt its distinctive look. Align the curved edges of two pieces right sides together, and pin at the center and ends to prevent shifting.
Sew slowly, using a scant 1/4-inch seam allowance, and press seams toward the darker fabric. A common mistake is stretching the fabric, so handle it gently. Check your seam allowance periodically to ensure consistency.
- Use a walking foot if your machine tends to shift layers.
Assemble the Quilt Top
Once your blocks are pieced, lay them out according to the pattern diagram. This is your chance to arrange colors for the best visual impact. Step back and look at the layout from a distance before sewing.
Sew the blocks into rows, pressing seams in alternating directions to reduce bulk. Then join the rows, matching seams carefully. A common mistake is misaligning seams, so pin at the intersections.
- Use a design wall or flat surface to arrange blocks.
Finish Your Quilt
After the quilt top is complete, layer it with batting and backing, then quilt as desired. You can quilt straight lines or follow the curves for a modern look. Finally, bind the edges to finish.
Take your time with the quilting and binding to ensure a professional finish. A common mistake is rushing the binding, which can lead to wavy edges. Measure and pin carefully.
- Consider using a walking foot for quilting to prevent puckering.
Step-by-Step Sewing Process
- Prepare Your Fabric: Wash, dry, and press your fabrics. Then cut them into the required squares per the pattern. Checkpoint: Ensure all cuts are accurate to avoid misaligned seams later.
- Cut Curved Pieces: Use the Quick Curve Ruler to trim the squares into curved pieces as per the pattern instructions. Checkpoint: Practice on scrap fabric first if you're new to curve cutting.
- Sew Curved Seams: Pin the curved edges together, right sides facing, and sew with a scant 1/4-inch seam. Press seams to one side. Checkpoint: Check seam allowance and avoid stretching fabric.
- Assemble Blocks: Lay out your pieced units to form blocks. Sew units together to create each block, pressing seams as directed. Checkpoint: Verify block sizes match the pattern dimensions.
- Join Blocks into Rows: Arrange blocks in the desired layout. Sew blocks into rows, then join rows to complete the quilt top. Checkpoint: Pin intersections to keep seams aligned.
- Layer and Quilt: Layer the quilt top with batting and backing. Baste, then quilt using your preferred method. Checkpoint: Ensure layers are smooth to avoid puckers.
- Bind the Edges: Prepare binding strips, attach to the quilt edge, and fold over to finish. Checkpoint: Measure binding carefully to prevent waviness.
Related Products
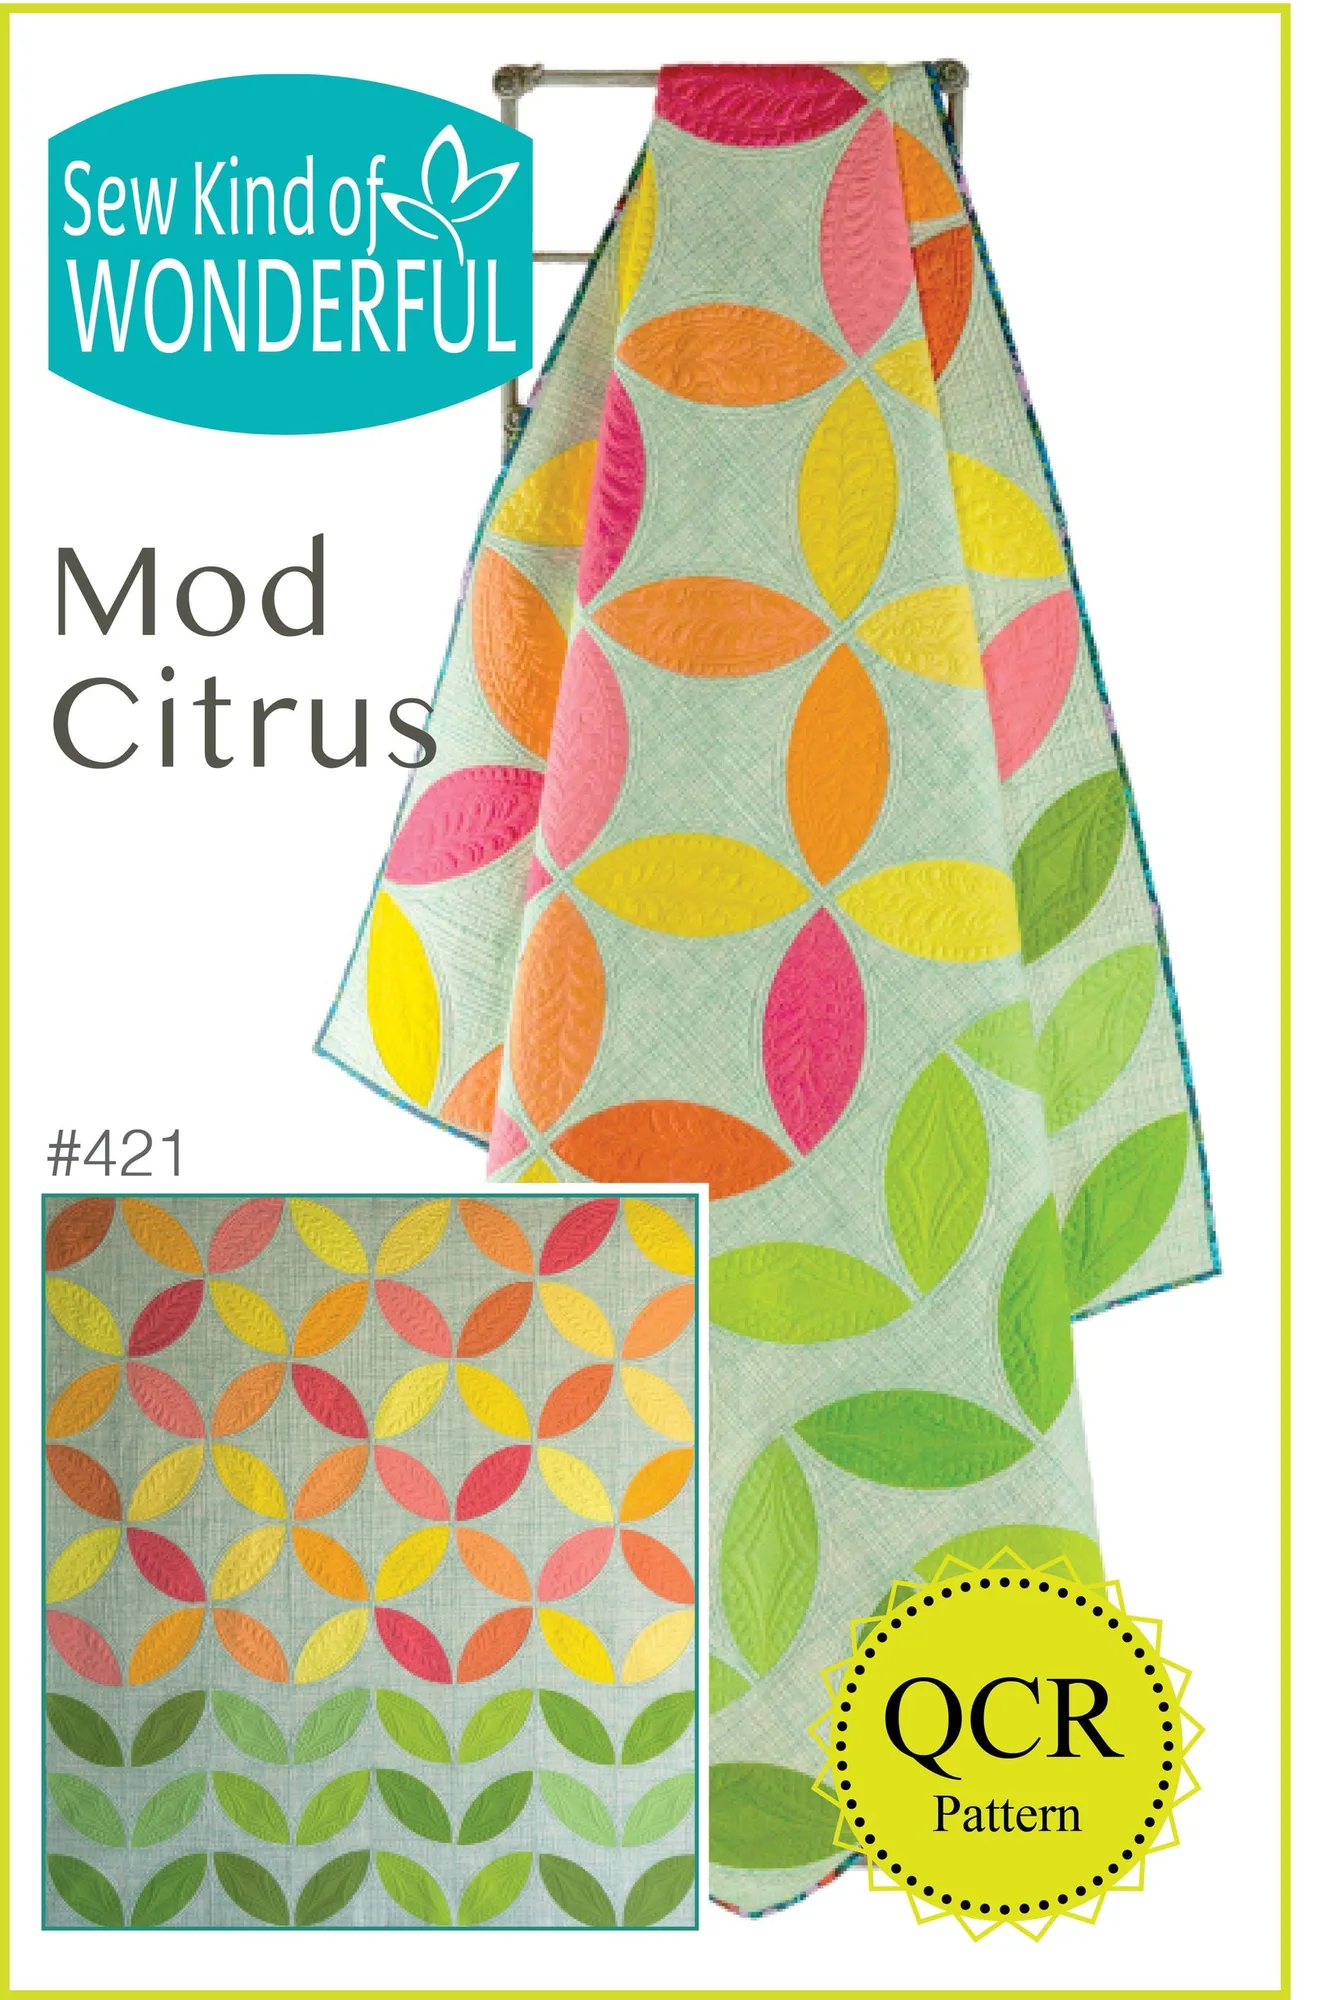
- Mod Citrus (Paper): Mod Citrus is our version of the traditional 'orange peel' quilt. It has pieced curves and works up quickly using the Quick Curve Ruler to cut the curved pieces. If you enjoy the curve piecing in Sew Square 8, Mod Citrus offers another quick project that uses the same ruler, making it a great next challenge.
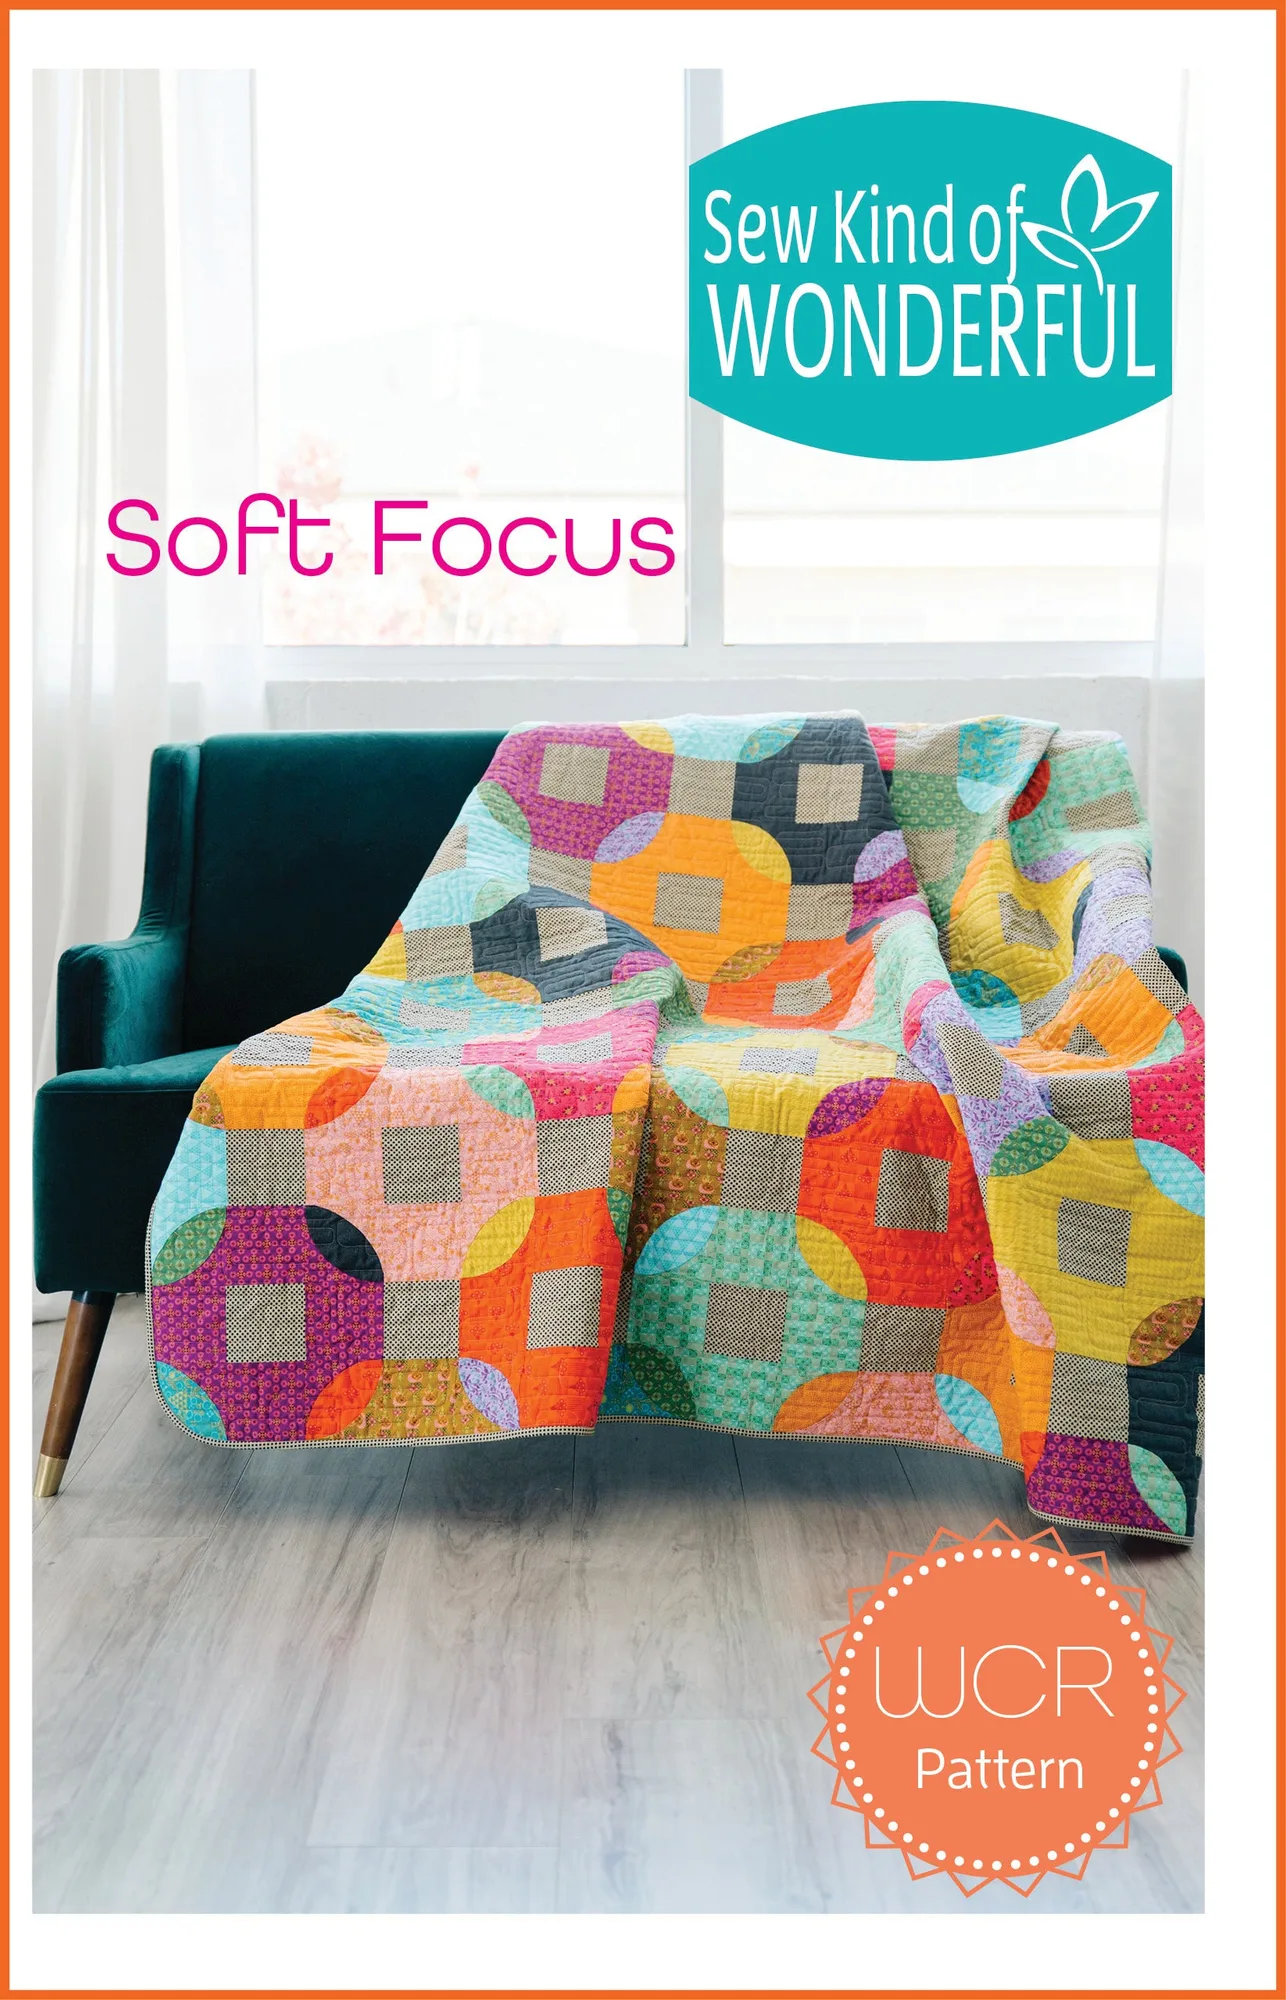
- Soft Focus (Paper): Soft Focus is made with the Wonder Curve Ruler, featuring flowing curved shapes that blend and overlap, producing a soft, modern look. Ideal for tonal fabrics or gradient palettes. For a different curve style, Soft Focus uses the Wonder Curve Ruler, expanding your skills and adding variety to your quilting projects.
With careful cutting and patient sewing, you'll have a beautiful Sew Square 8 quilt to enjoy or gift. Remember to practice curves on scrap fabric first, and don't hesitate to refer back to this guide as you work through each step.