Quick answer
Use a Microtex or sharp needle, lengthen your stitch to 3–4 mm, and test on a scrap of SewSmooth fabric before starting your project.
Why SewSmooth fabric needs special handling
SewSmooth fabric has a smooth vinyl face bonded to a canvas backing. The vinyl surface creates more friction against the presser foot than standard cotton, and the canvas backing adds structure that resists needle penetration. Beginners often struggle with skipped stitches or fabric sticking because they use a universal needle or a short stitch length designed for woven cotton.
Trade-off: vinyl surface vs. canvas backing
The smooth vinyl side is prone to needle marks and drag marks if the presser foot pressure is too high or the needle is dull. The canvas backing, on the other hand, can cause the fabric to feed unevenly if you use a walking foot. A Teflon or roller foot reduces drag on the vinyl, while a walking foot helps the canvas layers stay aligned. Choose based on which side faces up in your project: vinyl up needs a low-friction foot; canvas up benefits from even feed.
Step-by-step: Sewing SewSmooth fabric
- Choose the right needle: Fit a new Microtex (sharp) needle size 90/14 or 100/16. A sharp needle pierces the vinyl cleanly without stretching or tearing, and the larger size handles the canvas backing without bending. A dull or ballpoint needle will cause skipped stitches and visible holes. Change the needle after every 4–6 hours of sewing.
- Set stitch length to 3–4 mm: Dial your machine to a longer stitch (3–4 mm). Shorter stitches create too many perforations in the vinyl, weakening the material and causing it to tear. A longer stitch also helps the fabric feed smoothly. Test on a scrap: if the fabric puckers or the stitches look crowded, increase the stitch length by 0.5 mm.
- Reduce presser foot pressure: Lower your machine's presser foot pressure by one or two settings (if adjustable). Too much pressure pushes the vinyl into the feed dogs, causing drag and uneven stitching. If you cannot adjust pressure, place a layer of tissue paper between the vinyl and the presser foot, then tear it away after sewing.
- Use a Teflon or roller foot: Swap your standard presser foot for a Teflon (non-stick) or roller foot. These feet glide over the vinyl surface without sticking, preventing drag marks and skipped stitches. A walking foot works if the canvas backing is on top, but it may leave imprint marks on the vinyl side. Test on a scrap first.
- Sew slowly and guide gently: Run your machine at a moderate speed—not full throttle. Gently guide the fabric from the front and back without pulling. Pulling stretches the vinyl and causes wavy seams. If the fabric starts to shift, stop, lift the presser foot, and realign. Do not force it through.
Product used in this guide
-
Fit Check SewSmooth (Yard): Available in Regular Scale (2–2.5 inches) and Large Scale (3.5–4 inches). Choose the Large Scale if you want fewer seam lines on bigger projects like totes or outdoor cushions; Regular Scale works well for smaller pouches and accessories.
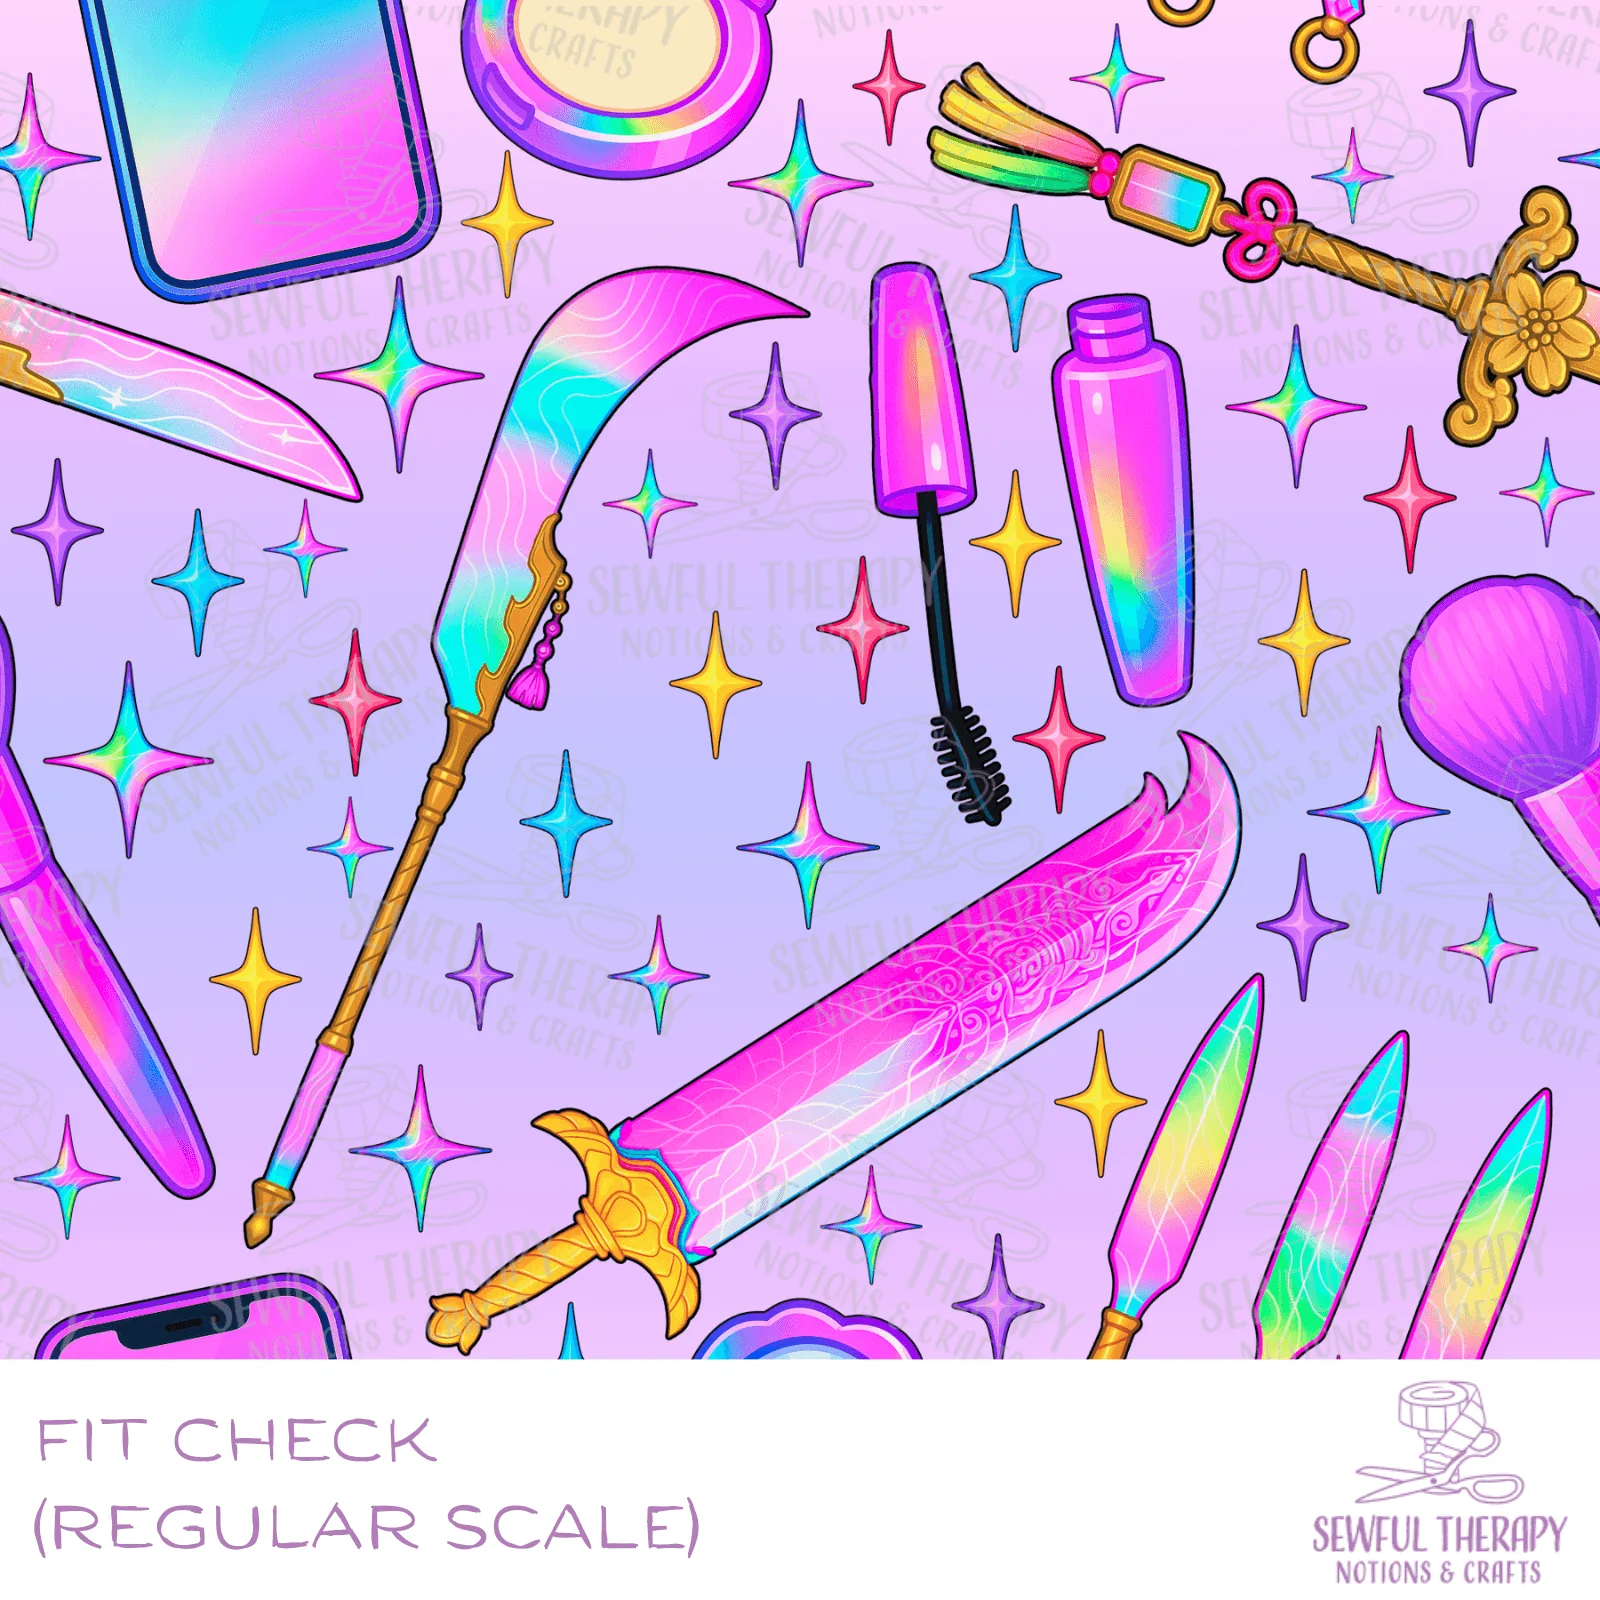
Fit Check SewSmooth (Yard)


