Quick answer
Sew 12oz waxed canvas with a size 100/16 or 110/18 denim or leather needle, a 3.5 to 4 mm stitch length, and a walking foot if you have one. Do not iron the waxed side, do not pin through the coating, and do not expect a standard presser foot to glide. Work in small sections, keep your seams pressed open with a seam roller, and accept that the wax will dull needles faster than quilting cotton.
Waxed canvas is not difficult to sew, but it is unforgiving of the habits you built on quilting cotton. The wax that makes it water-resistant also grabs your needle, holds creases where you fold it, and leaves marks if you press it wrong. Once you adjust your needle, stitch length, and seam handling, a 12oz waxed canvas bag becomes a straightforward weekend project.
This guide walks through the order that actually works: choose and prepare the fabric, set up your machine, sew the seams, reduce bulk, and finish with care that keeps the coating intact. If you are making a tote, backpack, or pouch, the same steps apply. The goal is a finished waxed canvas bag that still sheds light rain instead of one with shiny iron marks and skipped stitches.
Choose and prepare your waxed canvas
Start with a mid-weight canvas. 12oz waxed canvas is the sweet spot for bags because it holds shape without fighting your machine the way 18oz or heavier does. If you are buying by the yard, check whether the wax is applied on one side or both. Single-sided wax is easier to sew because you can mark and press the untreated back. Double-sided wax gives more weather protection but needs more care at the machine.
Do not prewash waxed canvas. Washing strips the wax and leaves you with limp, blotchy fabric. Instead, unroll it and let it relax overnight. If it arrives tightly folded, hang it in a warm room, not in direct sun, so the creases soften. Cut with sharp shears or a rotary cutter on a mat, and wipe your blade afterward because wax buildup will make the next cut drag.
- Mark on the untreated side with chalk or a fine marker, never with a heat-erase pen you plan to iron out.
- Cut one layer at a time if the wax makes the fabric stick to itself.
Set up your machine for waxed canvas
The single biggest cause of skipped stitches and broken thread on waxed canvas is the wrong needle. Use a size 100/16 or 110/18 denim or leather needle. These have a sharp point and a larger eye that punches through the coating instead of pushing it. Change the needle before you start, even if your current one looks fine, because wax dulls a needle quickly and a dull needle leaves visible holes.
Set your stitch length to 3.5 to 4 mm. Short stitches perforate the wax too densely and can cause the fabric to tear along the seam. Use a 40-weight polyester thread or a strong all-purpose thread; cotton thread can snap under the strain of thick seams. If you have a walking foot or a roller foot, use it. A standard presser foot drags on the wax, so your stitch length becomes inconsistent.
- Test on a scrap of the same canvas before you sew your project pieces.
- If your machine struggles, increase stitch length rather than pushing the fabric.
Sew the seams without fighting the fabric
Clip, do not pin. Pins leave permanent holes in waxed canvas, and the wax can seal around the pin, making it hard to remove. Use sewing clips or binder clips along the seam line. If you must pin, pin inside the seam allowance where the hole will be hidden. Sew slowly and let the feed dogs move the fabric. Pulling or pushing distorts the canvas and creates wavy seams that will not lie flat.
For a waxed canvas bag tutorial, the order matters. Sew the small pieces first, like pockets and strap tabs, then assemble the main body. Backstitch at the start and end of every structural seam, but avoid backstitching over bulky intersections where the needle may deflect. If a seam is too thick to start, place a small scrap of canvas under the back of the presser foot to level it.
- Use a 1/2 inch seam allowance for bags; it gives you room to trim and reduces bulk.
- If the needle sticks, stop, raise the presser foot, and restart rather than forcing it.
Reduce bulk at corners and straps
Waxed canvas does not press flat like cotton, so bulk reduction is physical rather than heat-based. Trim seam allowances at corners to about 1/4 inch and clip into the corners diagonally, close to but not through the stitching. For strap attachments and boxed corners, layer the seam allowances in opposite directions so the bulk distributes instead of stacking. A seam roller or the back of a heavy spoon works better than an iron here.
If you are attaching webbing or leather straps, sew them on before you close the bag. Once the bag is assembled, the tight space makes it hard to maneuver thick layers under the needle. Use a longer stitch length, 4 mm, for strap seams and go slowly. If your machine has a hand wheel, turn it by hand through the thickest part to avoid bending the needle.
- Never trim a seam allowance to less than 1/4 inch on a structural seam.
- A hump jumper or a folded scrap of canvas helps the presser foot climb over thick seams.
Finish and care for waxed canvas
After sewing, do not iron the waxed side. Heat melts the wax, and you will get a shiny patch or transfer wax to your ironing board. If you need to flatten a seam, press from the untreated side with a pressing cloth on low heat, or simply finger-press and use a seam roller. For a crisp edge on a flap, fold and weight it under a heavy book overnight instead of pressing.
Waxed canvas care is mostly about leaving it alone. Spot clean with a damp cloth and mild soap, then air dry away from direct heat. Do not machine wash, dry clean, or use detergent, because all three strip the wax. If the wax wears thin at corners over time, you can re-wax with a bar of waxed canvas wax, but most bags go years before that is needed. Store your bag loosely stuffed, not folded, so creases do not become permanent.
- Test any cleaner on an inside seam allowance first.
- A soft brush removes dust from the weave without pushing wax into the fabric.
Step-by-step: sewing a waxed canvas bag
- 1. Cut and mark on the untreated side: Lay out your pattern on the non-waxed back of the canvas. Cut with sharp shears or a rotary cutter, one layer at a time if the wax sticks. Mark seam lines with chalk. Common mistake: marking on the waxed face, which leaves permanent lines. Checkpoint: your cut pieces should lie flat without curling at the edges.
- 2. Install a new 100/16 or 110/18 needle: Fit a denim or leather needle, thread with 40-weight polyester, and set stitch length to 3.5 to 4 mm. Attach a walking foot if you have one. Common mistake: sewing with a universal needle, which causes skipped stitches and pulls the coating. Checkpoint: test on a scrap; if the needle pops or the thread frays, go up one needle size.
- 3. Clip, don't pin, and sew slowly: Use sewing clips along the seam. Sew at a moderate speed and let the feed dogs move the fabric. Backstitch at structural seam ends. Common mistake: pulling the fabric through, which stretches the canvas and creates wavy seams. Checkpoint: the seam should lie flat when you release it, with no puckers.
- 4. Reduce bulk with trims and rollers: Trim corners to 1/4 inch, clip diagonally, and alternate seam allowance directions at thick joins. Use a seam roller instead of an iron. Common mistake: trying to press waxed canvas flat with heat, which melts the wax and leaves shiny marks. Checkpoint: thick intersections should feed under the presser foot without forcing.
- 5. Finish with spot cleaning only: Wipe with a damp cloth and mild soap, air dry away from heat, and store loosely stuffed. Never machine wash or dry clean. Common mistake: washing the bag, which strips the wax and ruins the water resistance. Checkpoint: the surface should still feel waxy, not dry or fuzzy, after cleaning.
Materials that work with this method
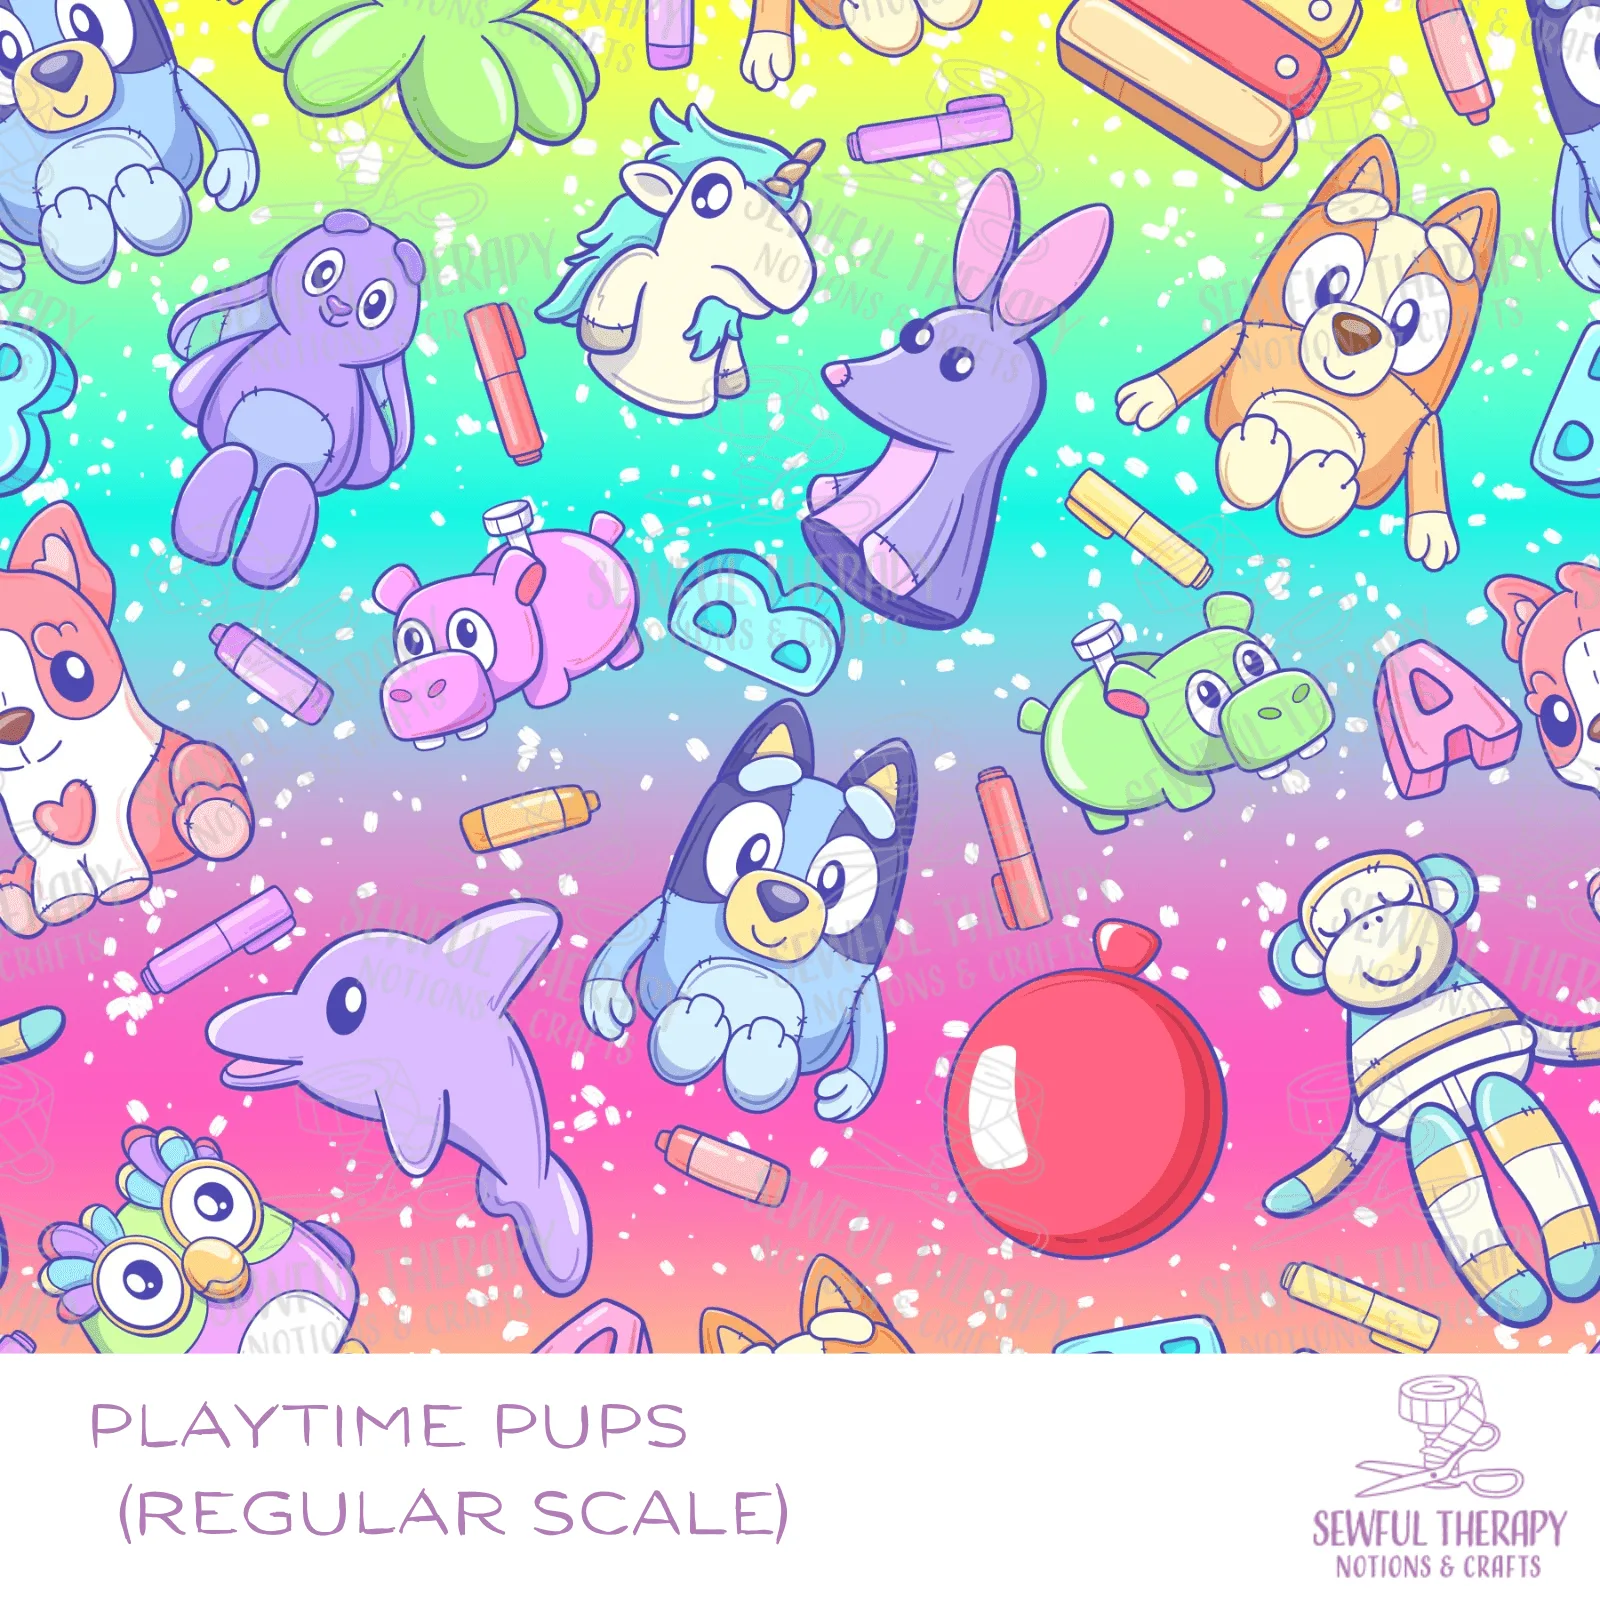
- SewSquish Cloud (HY) - PLAYTIME PUPS: Sold in half-yard cuts, approximately 18 by 56 to 57 inches, and made from 2 mm thick sandwich 3D air mesh in 100% polyester. This is a structured, breathable mesh, so it is a good candidate for padded straps and back panels on a waxed canvas bag where you want airflow without adding foam bulk.
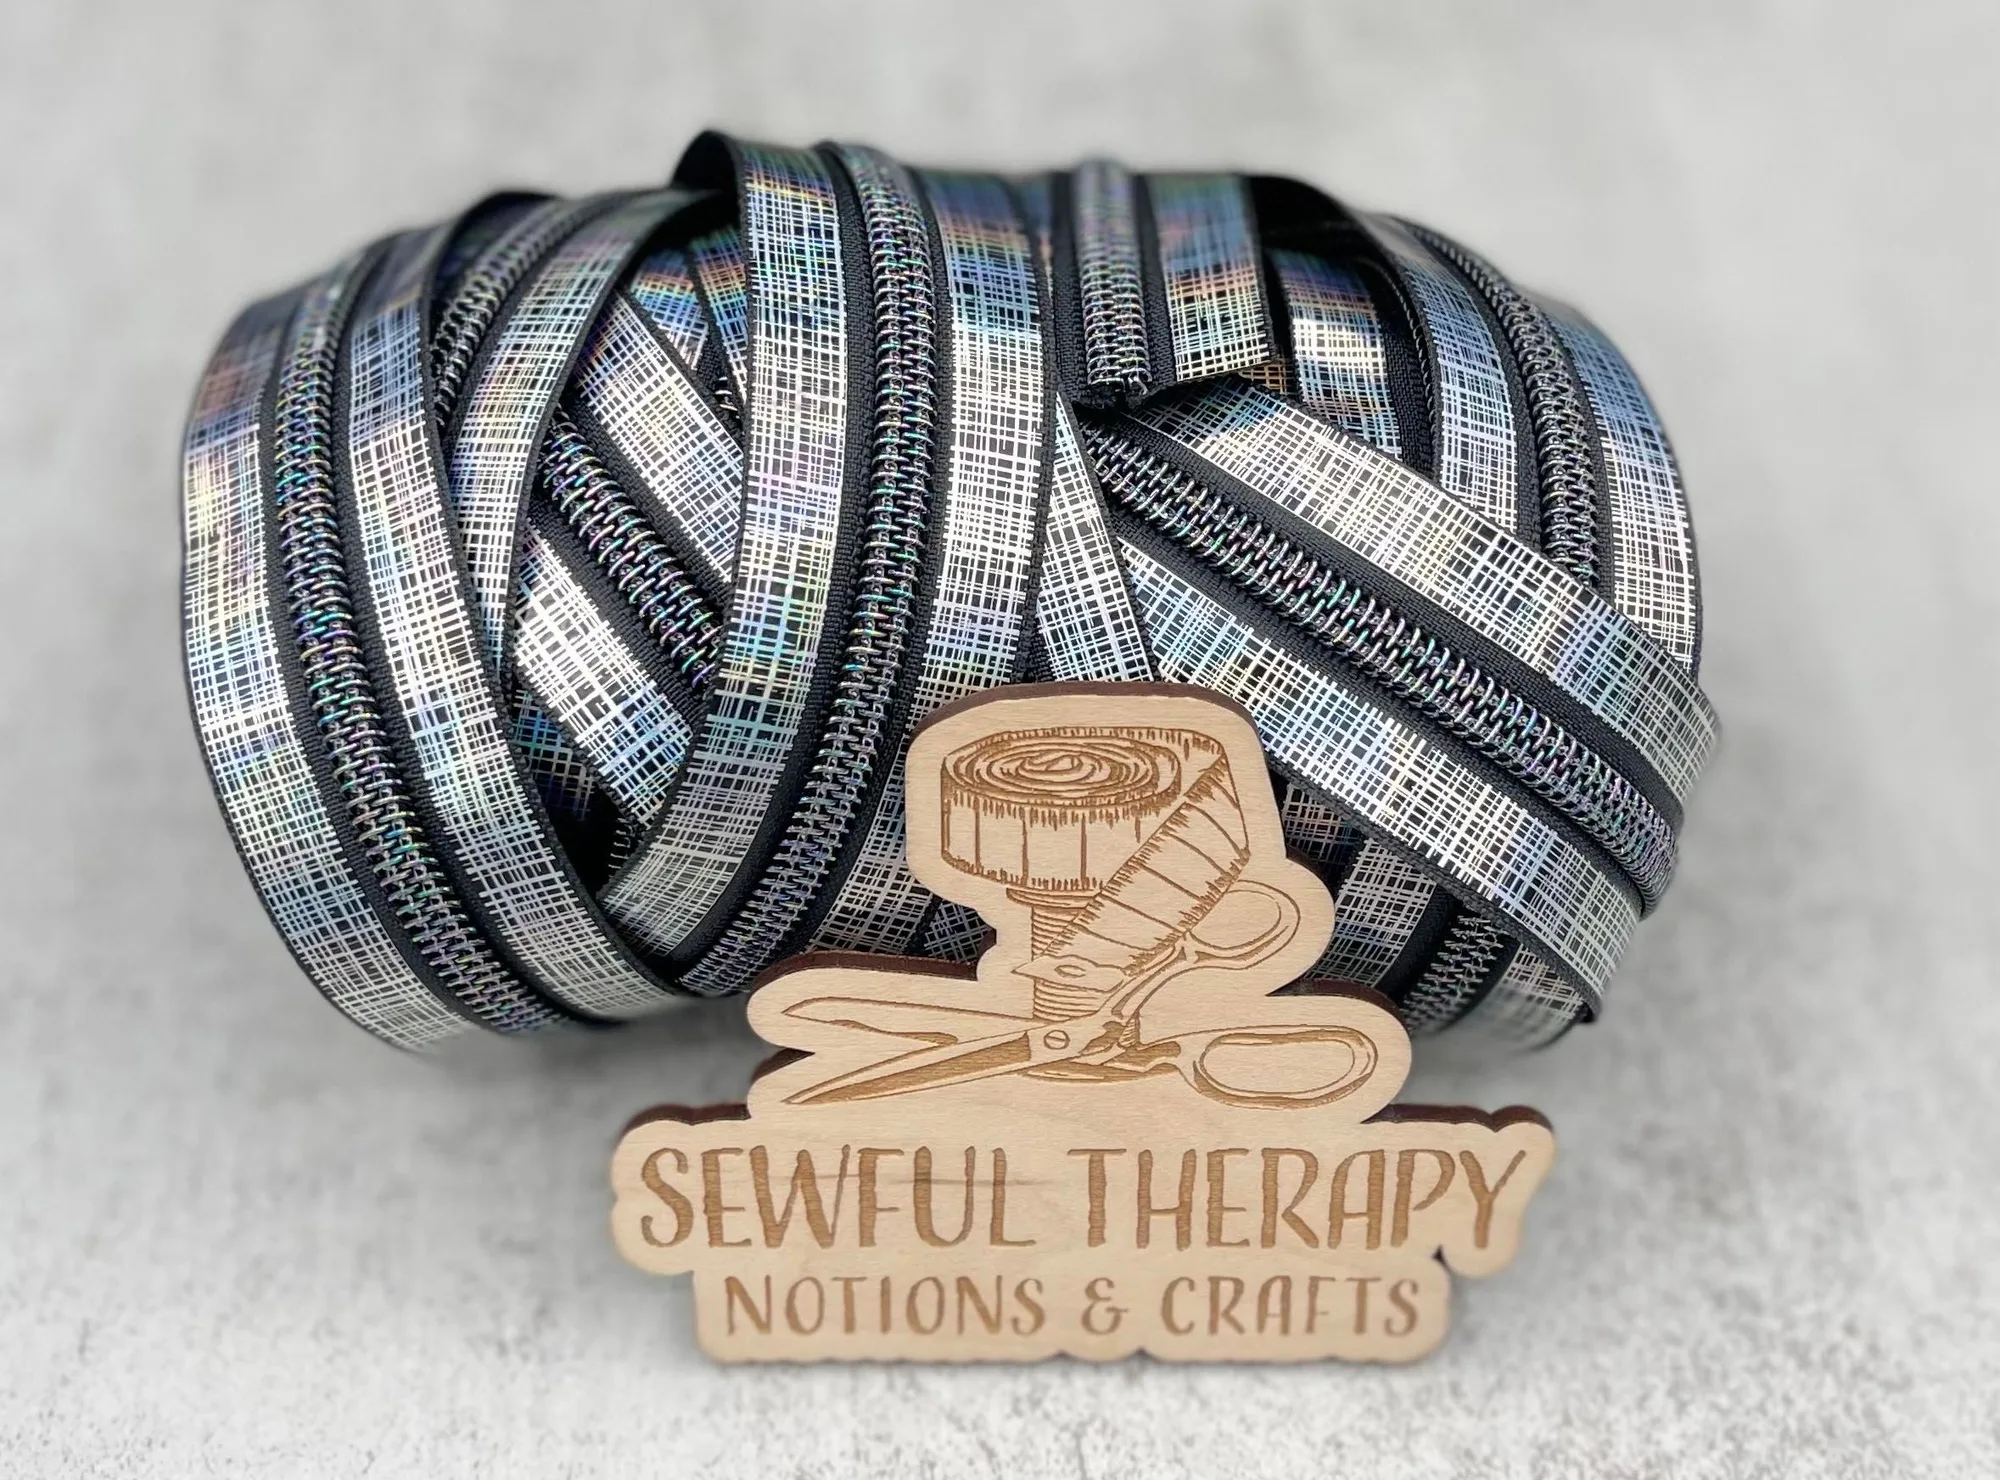
- #5 Plaid to the Bones Holo Laser Zipper Tape: This nylon zipper tape is size #5 and only compatible with #5 nylon pulls, which are sold separately, and it is sold in increments of 3 yards that will not be continuous. If you are adding a zipper to a waxed canvas pouch or bag, you need to buy the matching #5 pulls separately and plan your cuts around the non-continuous 3-yard increments.
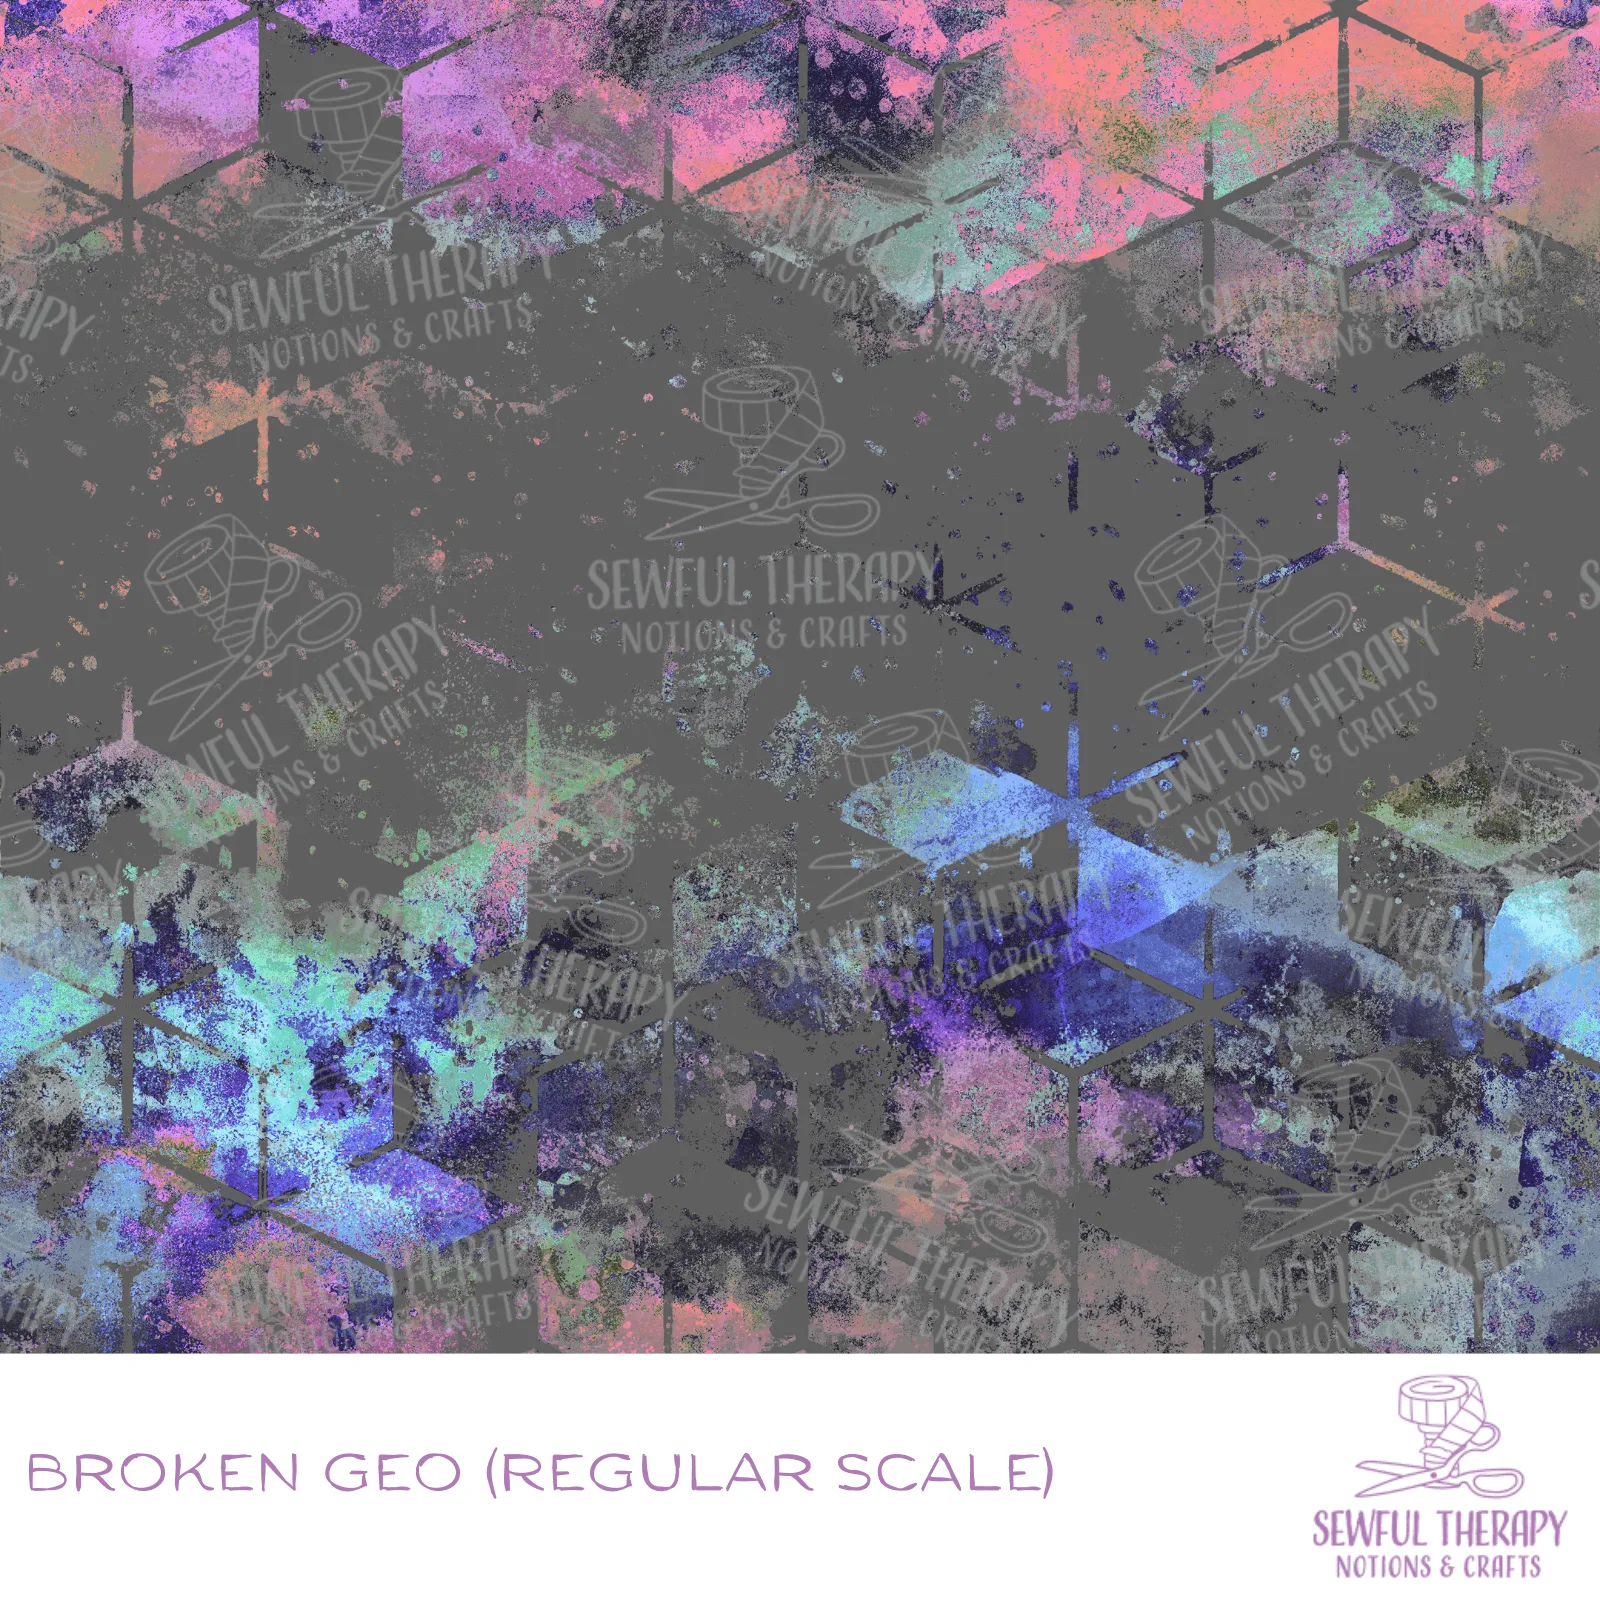
- Sewful NON-Adhesive Hexatex 420D (Yard): Broken Geo: Custom design ripstop 420D fabric made from 420 denier polyester, sold by the yard precut, and it is non-adhesive. This is a lightweight, durable ripstop that can serve as a lining or accent panel in a waxed canvas bag, and because it is non-adhesive you sew it like regular fabric rather than fusing it.
Sewing waxed canvas comes down to a few deliberate choices: the right needle, a longer stitch, clips instead of pins, and physical bulk reduction instead of ironing. Set up that way, 12oz waxed canvas sews like a heavy cotton with a grippy surface, and your finished bag will keep the weather out for years. Start with a small pouch to learn the feel of your machine, then move up to a full bag.