Quick answer
To steam milk like a barista with a 20oz pitcher, fill it one-third to one-half full with cold milk, submerge the steam wand tip just below the surface at a slight angle, open the steam for a few seconds of gentle stretching, then lower the tip to create a rolling vortex until the pitcher feels warm and the milk looks like wet paint. Stop before it gets too hot, swirl and tap, then pour immediately.
Why a 20oz pitcher changes your steaming approach
A 20oz pitcher is a mid-size workhorse: it holds enough milk for one large drink or two smaller ones, but it still fits comfortably under most home steam wands. That size gives you room to create a rolling vortex without the milk sloshing out, and the extra headspace lets you control the stretch phase more precisely than a tiny pitcher. If you are used to a 12oz pitcher, expect to use more milk per session and to adjust your wand depth slightly, because the larger volume takes a bit longer to heat and texturize.
Milk, temperature, and pitcher prep
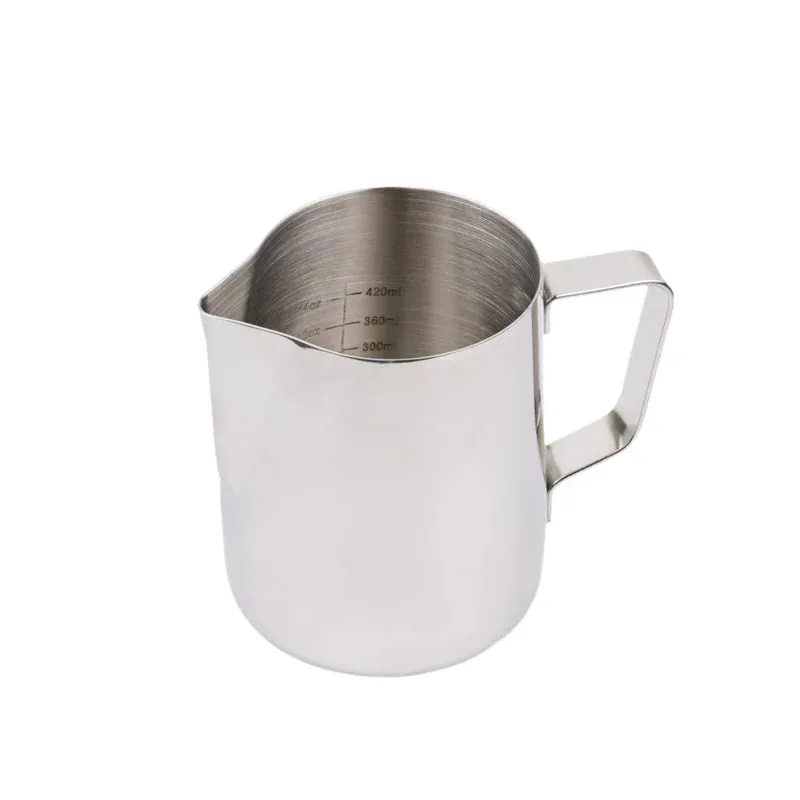
Start with cold milk straight from the fridge. Cold milk gives you more time to stretch before the proteins set, which means silkier microfoam. Fill your 20oz pitcher to about the one-third mark for a single 12oz drink, or halfway for two drinks. Do not overfill: you need room for the milk to expand and roll. A stainless steel pitcher like the Revolution Etched SS Steaming Pitcher (20oz) is a practical choice because it conducts heat evenly and the etched markings help you judge volume without guessing.
Steam wand position and the stretch phase
Purge your steam wand for a second to clear condensation. Then place the tip just below the surface of the milk, slightly off-center and angled so the steam creates a whirlpool. Open the steam valve fully and listen for a soft, steady hiss—not a loud screech. That hiss is the stretch: air is being drawn in to build foam. Keep the tip at the surface for only a few seconds, until the volume increases by about 20–30%. If you hear big bubbles, the tip is too high; if you hear nothing, it is too deep.
The texturing phase: create a rolling vortex
Once you have stretched enough air, lower the pitcher slightly so the tip is fully submerged. The goal now is to break up any large bubbles and incorporate the foam into the milk. Keep the milk spinning in a steady vortex. The sound should change to a lower, quieter rumble. Hold your hand on the pitcher’s side: when it becomes too warm to hold comfortably (about 140–150°F), stop. Overheating makes the milk taste cooked and the foam stiff. For a 20oz pitcher, this usually takes 15–25 seconds total, depending on your steam wand’s power.
Swirl, tap, and pour for latte art
Turn off the steam and immediately wipe the wand with a damp cloth. Swirl the pitcher in a circular motion for a few seconds to reincorporate the foam; it should look glossy, like melted ice cream. Tap the pitcher on the counter once or twice to pop any remaining surface bubbles. Then pour right away. For latte art, start pouring from a higher distance to mix the milk into the espresso, then lower the pitcher and move closer to the surface to draw your pattern. The foam should flow out smoothly, not plop.
Step-by-step milk steaming with a 20oz pitcher
- Fill with cold milk: Pour cold milk into your 20oz pitcher until it reaches one-third full for a single drink or halfway for two. Use a stainless steel pitcher with volume markings if you have one. Checkpoint: the milk should be cold and the pitcher no more than half full to leave room for expansion.
- Purge and position the steam wand: Briefly open the steam valve to clear condensation, then place the wand tip just below the milk’s surface, slightly off-center and angled to create a whirlpool. Mistake to avoid: burying the tip too deep—you will get hot milk with no foam.
- Stretch the milk: Open the steam fully and hold the tip at the surface for a few seconds. You should hear a soft, steady hiss as air is drawn in. Stop stretching when the volume increases by about 20–30%. Checkpoint: if you hear loud screeching or see big bubbles, raise the pitcher slightly or lower the tip to find the sweet spot.
- Texture and roll: Lower the pitcher so the tip is submerged. Keep the milk spinning in a steady vortex until the pitcher feels warm but not too hot to hold—about 140–150°F. This usually takes 15–25 seconds. Mistake to avoid: overheating. Stop before the pitcher becomes uncomfortable to touch.
- Swirl, tap, and pour: Turn off the steam, wipe the wand, and swirl the pitcher for a few seconds until the milk looks glossy. Tap once on the counter to break surface bubbles, then pour immediately into your espresso. Checkpoint: the milk should look like wet paint. If it is stiff or bubbly, you stretched too long or let it sit.
Barista gear that supports this technique
- Revolution Etched SS Steaming Pitcher (20oz): The Revolution Etched SS Steaming Pitcher (20oz) is a reusable stainless steel pitcher with a 20oz capacity suitable for steaming and serving milk-based drinks. It has an etched design and is built for everyday use in milk steaming and pouring. The 20oz size gives you enough room to stretch and roll milk for one large or two small drinks, and the stainless steel construction holds up to daily use. The etched markings can help you fill consistently without a measuring cup.
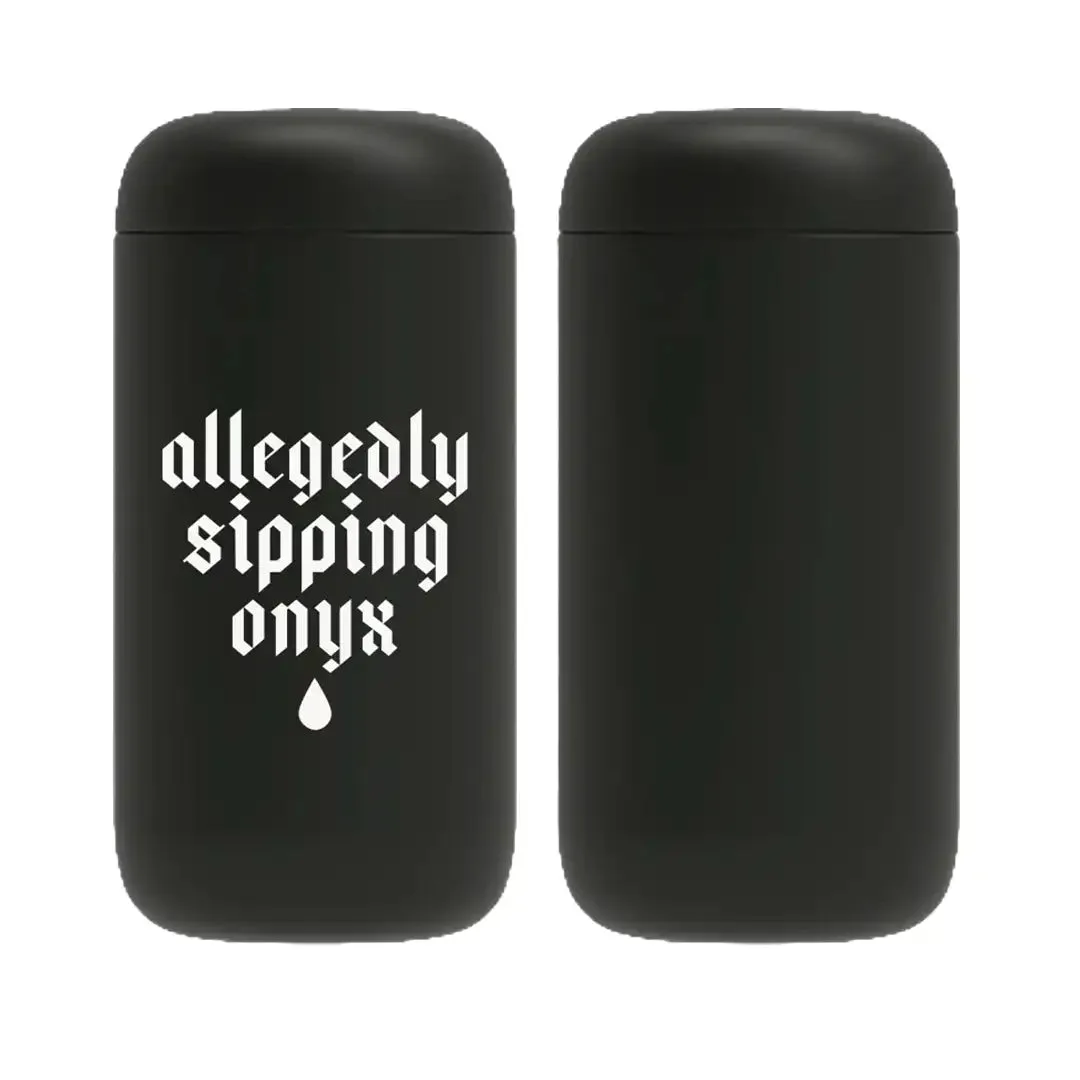
- Allegedly Sipping Carter Move: The Allegedly Sipping Carter Move is part of the Onyx Coffee Lab drinkware collection and is available in Black or White. It is ideal for use at home, in the office, or on the go. If you steam milk for a latte to take with you, a travel-friendly tumbler like this keeps your drink contained and comes in two classic colors to match your routine.