Quick Answer
To stitch a blue horse needlepoint canvas on 13 mesh, start with the right supplies, secure your edges, and follow a simple tent stitch pattern. Keep your tension even and check your work often to avoid common mistakes.
Why 13 Mesh Matters for Horse Designs
The 13 mesh count means 13 stitches per inch, giving you a balance between detail and speed. For a horse design with flowing mane and eye details, this mesh allows enough definition without being too fine for beginners.
Because the canvas is hand-painted, each one may vary slightly. That's part of the charm, but it also means you should follow the painted colors rather than a printed chart. Check your canvas for any color bleeds or irregularities before you start.
Choosing Thread and Needles
For 13 mesh, a size 22 tapestry needle works well with most yarns and threads. Use a thread that matches the painted areas—if the horse is blue, pick a blue that complements the canvas. Since the canvas doesn't come with thread, you'll need to select your own.
A common mistake is using too thick a thread, which can distort the canvas. Test a few stitches on the edge to see how the thread lies before committing to the full project.
Step-by-Step Stitching Guide
- Prepare your canvas: Tape the edges with masking tape or bind them with a zigzag stitch to prevent fraying. Mark the center with a temporary stitch or pencil dot to help with alignment. Check that your canvas is square and the design is centered before you begin.
- Thread your needle: Use a length of thread about 18-24 inches. Thread a size 22 tapestry needle with a single strand of yarn or thread that matches the painted areas. Knot the end securely. Avoid thread longer than 24 inches—it can tangle and wear thin.
- Start with the outline: Using a tent stitch (continental or basketweave), outline the main shapes of the horse, like the body and mane. This helps define the design and keeps your stitches even. Keep your tension consistent—too tight puckers the canvas, too loose leaves gaps.
- Fill in the large areas: Work from the outline inward, filling the larger color blocks first. Use basketweave for large areas to reduce canvas distortion. Check the back of your canvas—if you see long floats, you're carrying thread too far.
- Add details and highlights: Once the main areas are filled, add the finer details like the eye, nostril, and any highlights in the mane. Use smaller stitches or a different stitch direction for texture. Step back occasionally to see if the details read well from a distance.
- Finish and block: When stitching is complete, remove from the frame, trim excess canvas, and block the piece if needed. Steam or damp-block to straighten any distortion. Let the canvas dry completely before framing or finishing.
Product Spotlight
-
Blue "H" Coat Horse - Needlepoint Canvas: This hand-painted 13 mesh canvas measures 9 x 9 inches with a 5 x 5 inch design area. The compact size makes it a manageable project for a first horse canvas, while the 13 mesh gives you room for detail without being overwhelming.
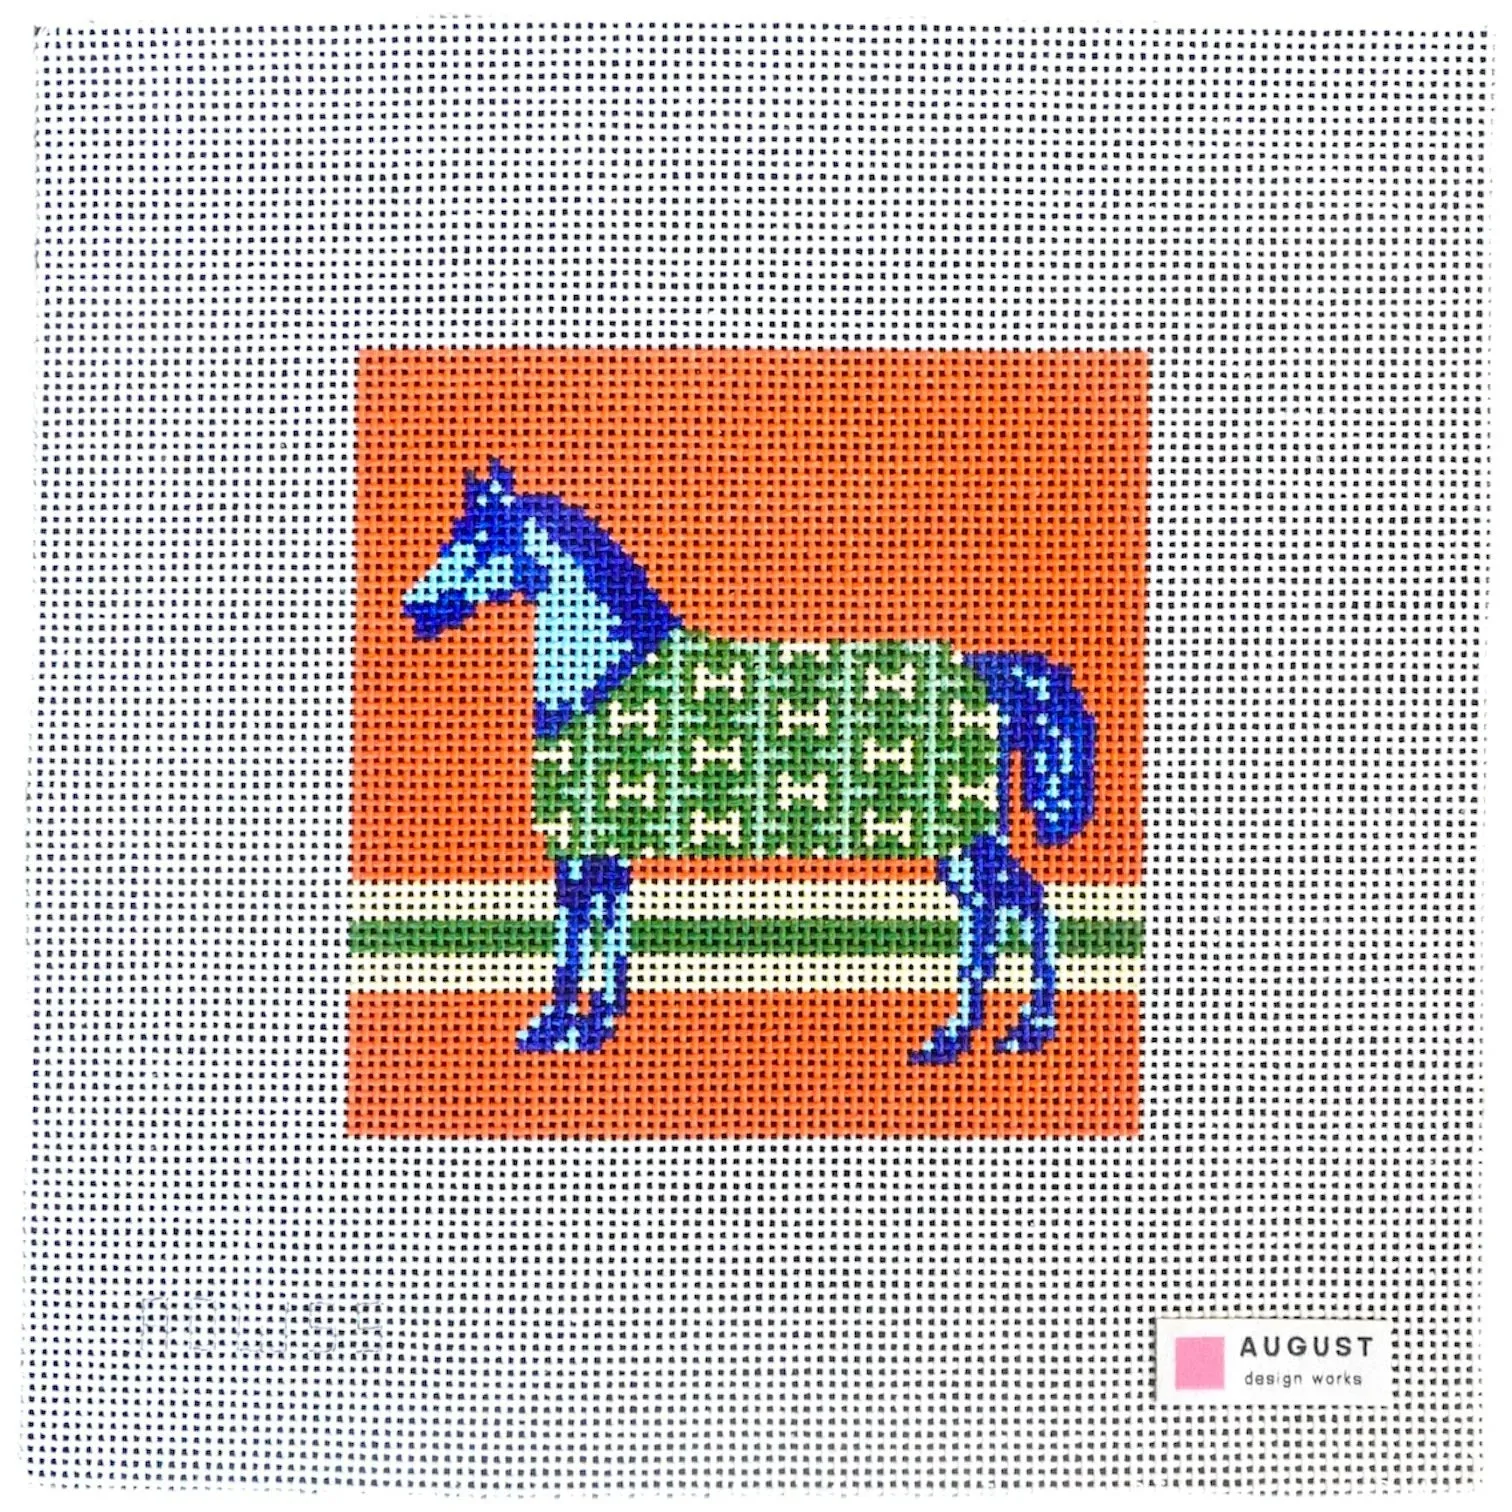
Blue "H" Coat Horse - Needlepoint Canvas