Quick answer
Start by organizing your thread kit and reviewing the stitch pamphlet, then stitch the flamingo and palm tree motifs first before filling the background.
Why stitch order matters on a hand-painted canvas
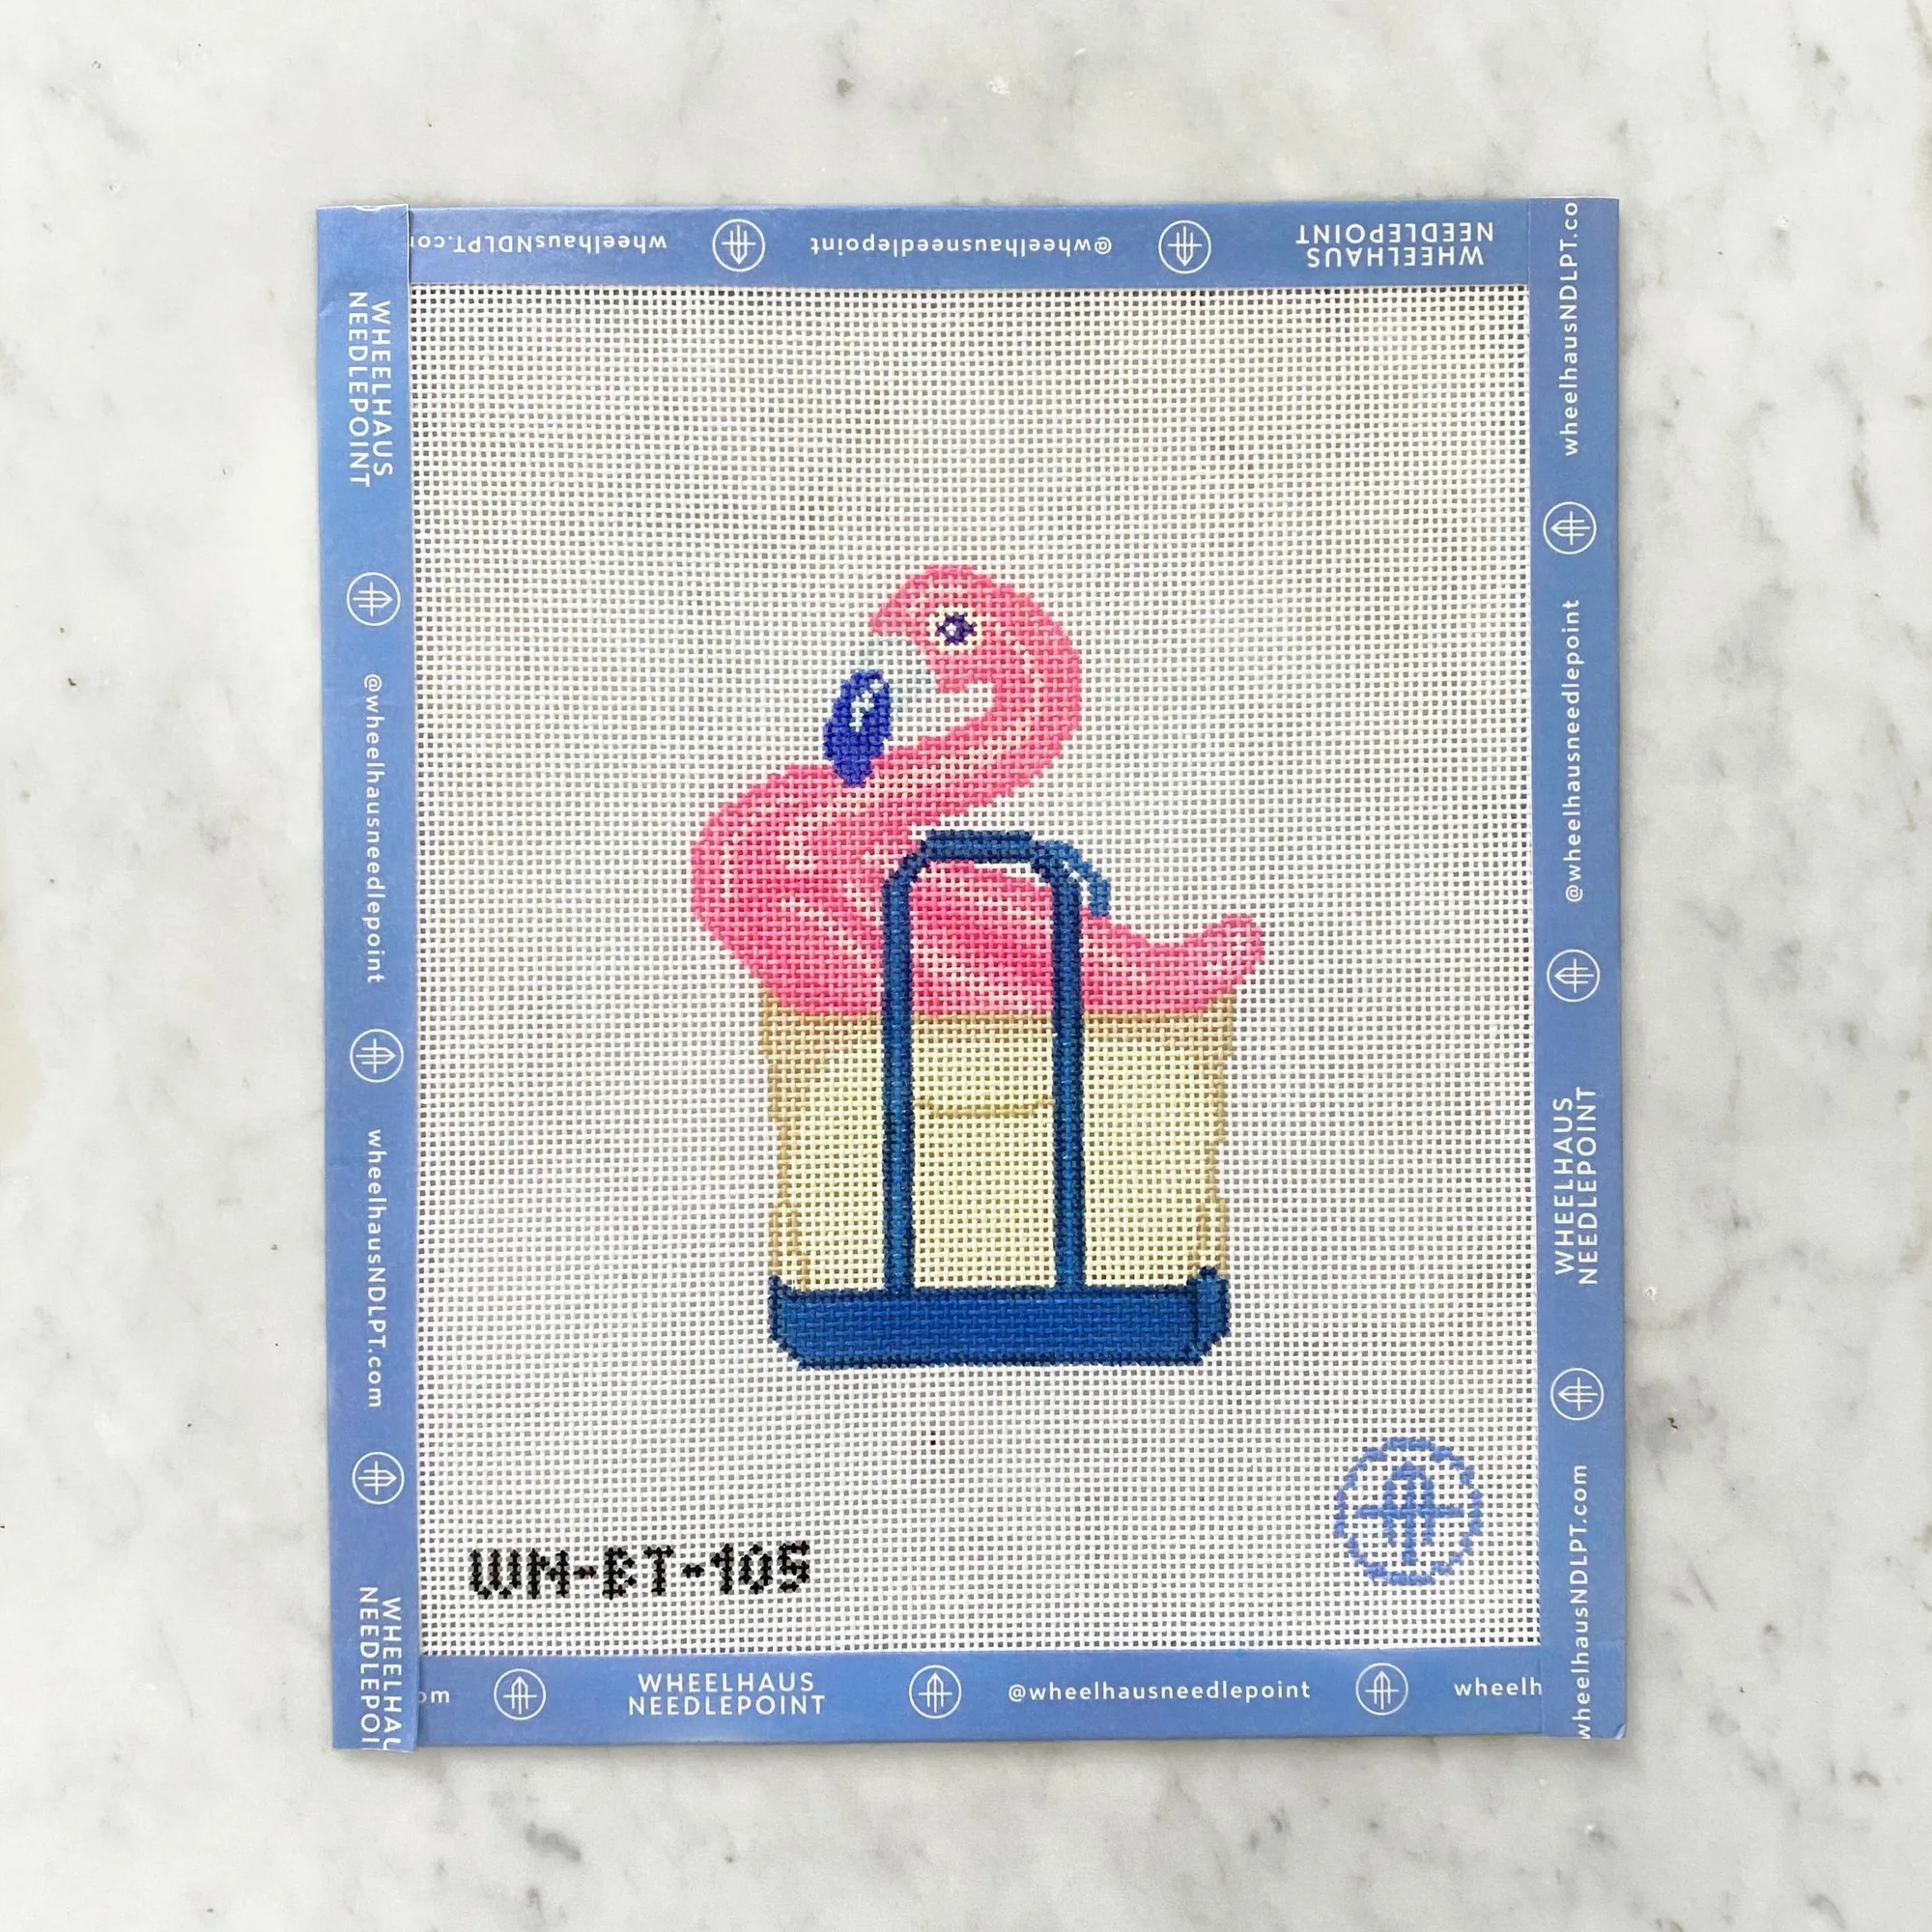
The Flamingo Float Tote canvas is hand-painted and stitch-painted, meaning each color area is clearly marked. Stitching the main motifs first—like the flamingo and palm tree—lets you anchor the design before adding the background. If you stitch the background first, you risk distorting the painted outlines or running out of room for the central elements.
Choosing your stitch for the background
The canvas is 18-mesh, so a simple basketweave or continental stitch works well for large background areas. A basketweave creates a more even tension and is less likely to distort the canvas. For the water or sky sections, consider a horizontal satin stitch or a brick stitch to add texture without overwhelming the flamingo and palm tree motifs.
Step-by-step stitching instructions
- Prepare your materials: Unpack the Flamingo Float Tote thread kit. Lay out the hand-painted canvas, the silk and wool fibers, the thread ring, and the tapestry needle. Read the stitch brochure to understand the suggested stitches for each color area. A common mistake is skipping the brochure—it saves you time by showing the stitch pattern for each section.
- Stitch the flamingo motif first: Start with the flamingo body using the pink silk and wool fibers. Use a tent stitch (basketweave or continental) for smooth coverage. Work from the center of the motif outward to keep the tension even. If you stitch the legs or beak first, you may misalign the body. Always stitch the largest shape of the motif first.
- Stitch the palm tree and background elements: After the flamingo, stitch the palm tree trunk and fronds using the green and brown fibers. Use a longer stitch (satin or brick) for the fronds to give them a leaf-like texture. Then fill in any remaining motifs like the float or water lines. Don't pull the thread too tight on the palm fronds—long stitches can pucker if over-tensioned.
- Fill the background last: Once all motifs are stitched, fill the remaining canvas with the background color using basketweave. Work in diagonal rows to maintain even tension across the entire canvas. Check that your background stitches cover the painted lines completely. A common error is leaving tiny gaps that show the painted canvas.
- Finish and block the canvas: After stitching, gently block the canvas by pinning it to a foam board, misting with water, and letting it dry flat. This corrects any warping from stitching tension. Do not iron the canvas—heat can damage the silk fibers. Always air-dry flat.
What comes in the kit
-
Flamingo Float Tote: The canvas is hand painted and stitch painted on 18 mesh, design size 3.5W x 4.25 inches. The thread kit includes a curation of silk and wool fibers, a thread ring, a tapestry needle, and a stitch brochure. You get everything needed to start stitching right away, and the stitch brochure helps you decide which stitch to use for each area.
Flamingo Float Tote