Quick answer
Store press-on nails flat, in a labeled container or nail binder, away from heat and direct sun. Sort by size and style first, then protect each set so it stays reusable. This simple routine keeps your collection organized and ready to wear.
Press-on nails are reusable, which is exactly why they pile up fast. A drawer full of loose sets makes it hard to find a match, and nails can warp or lose their adhesive if they are stored badly. The fix is a repeatable system, not more containers.
This guide walks through a simple press on nail storage routine you can set up in an afternoon. It covers sorting, labeling, protecting, and choosing a press on nail organizer that fits how you actually wear your nails.
Step 1: Gather and sort every set
Pull every press-on set out of drawers, bags, and boxes. Sort them into three piles: keep, repair, and retire. A set with a missing nail can still be kept if you have a spare or if the missing nail is a pinky you rarely use. A set with cracked or bent nails is usually not worth storing.
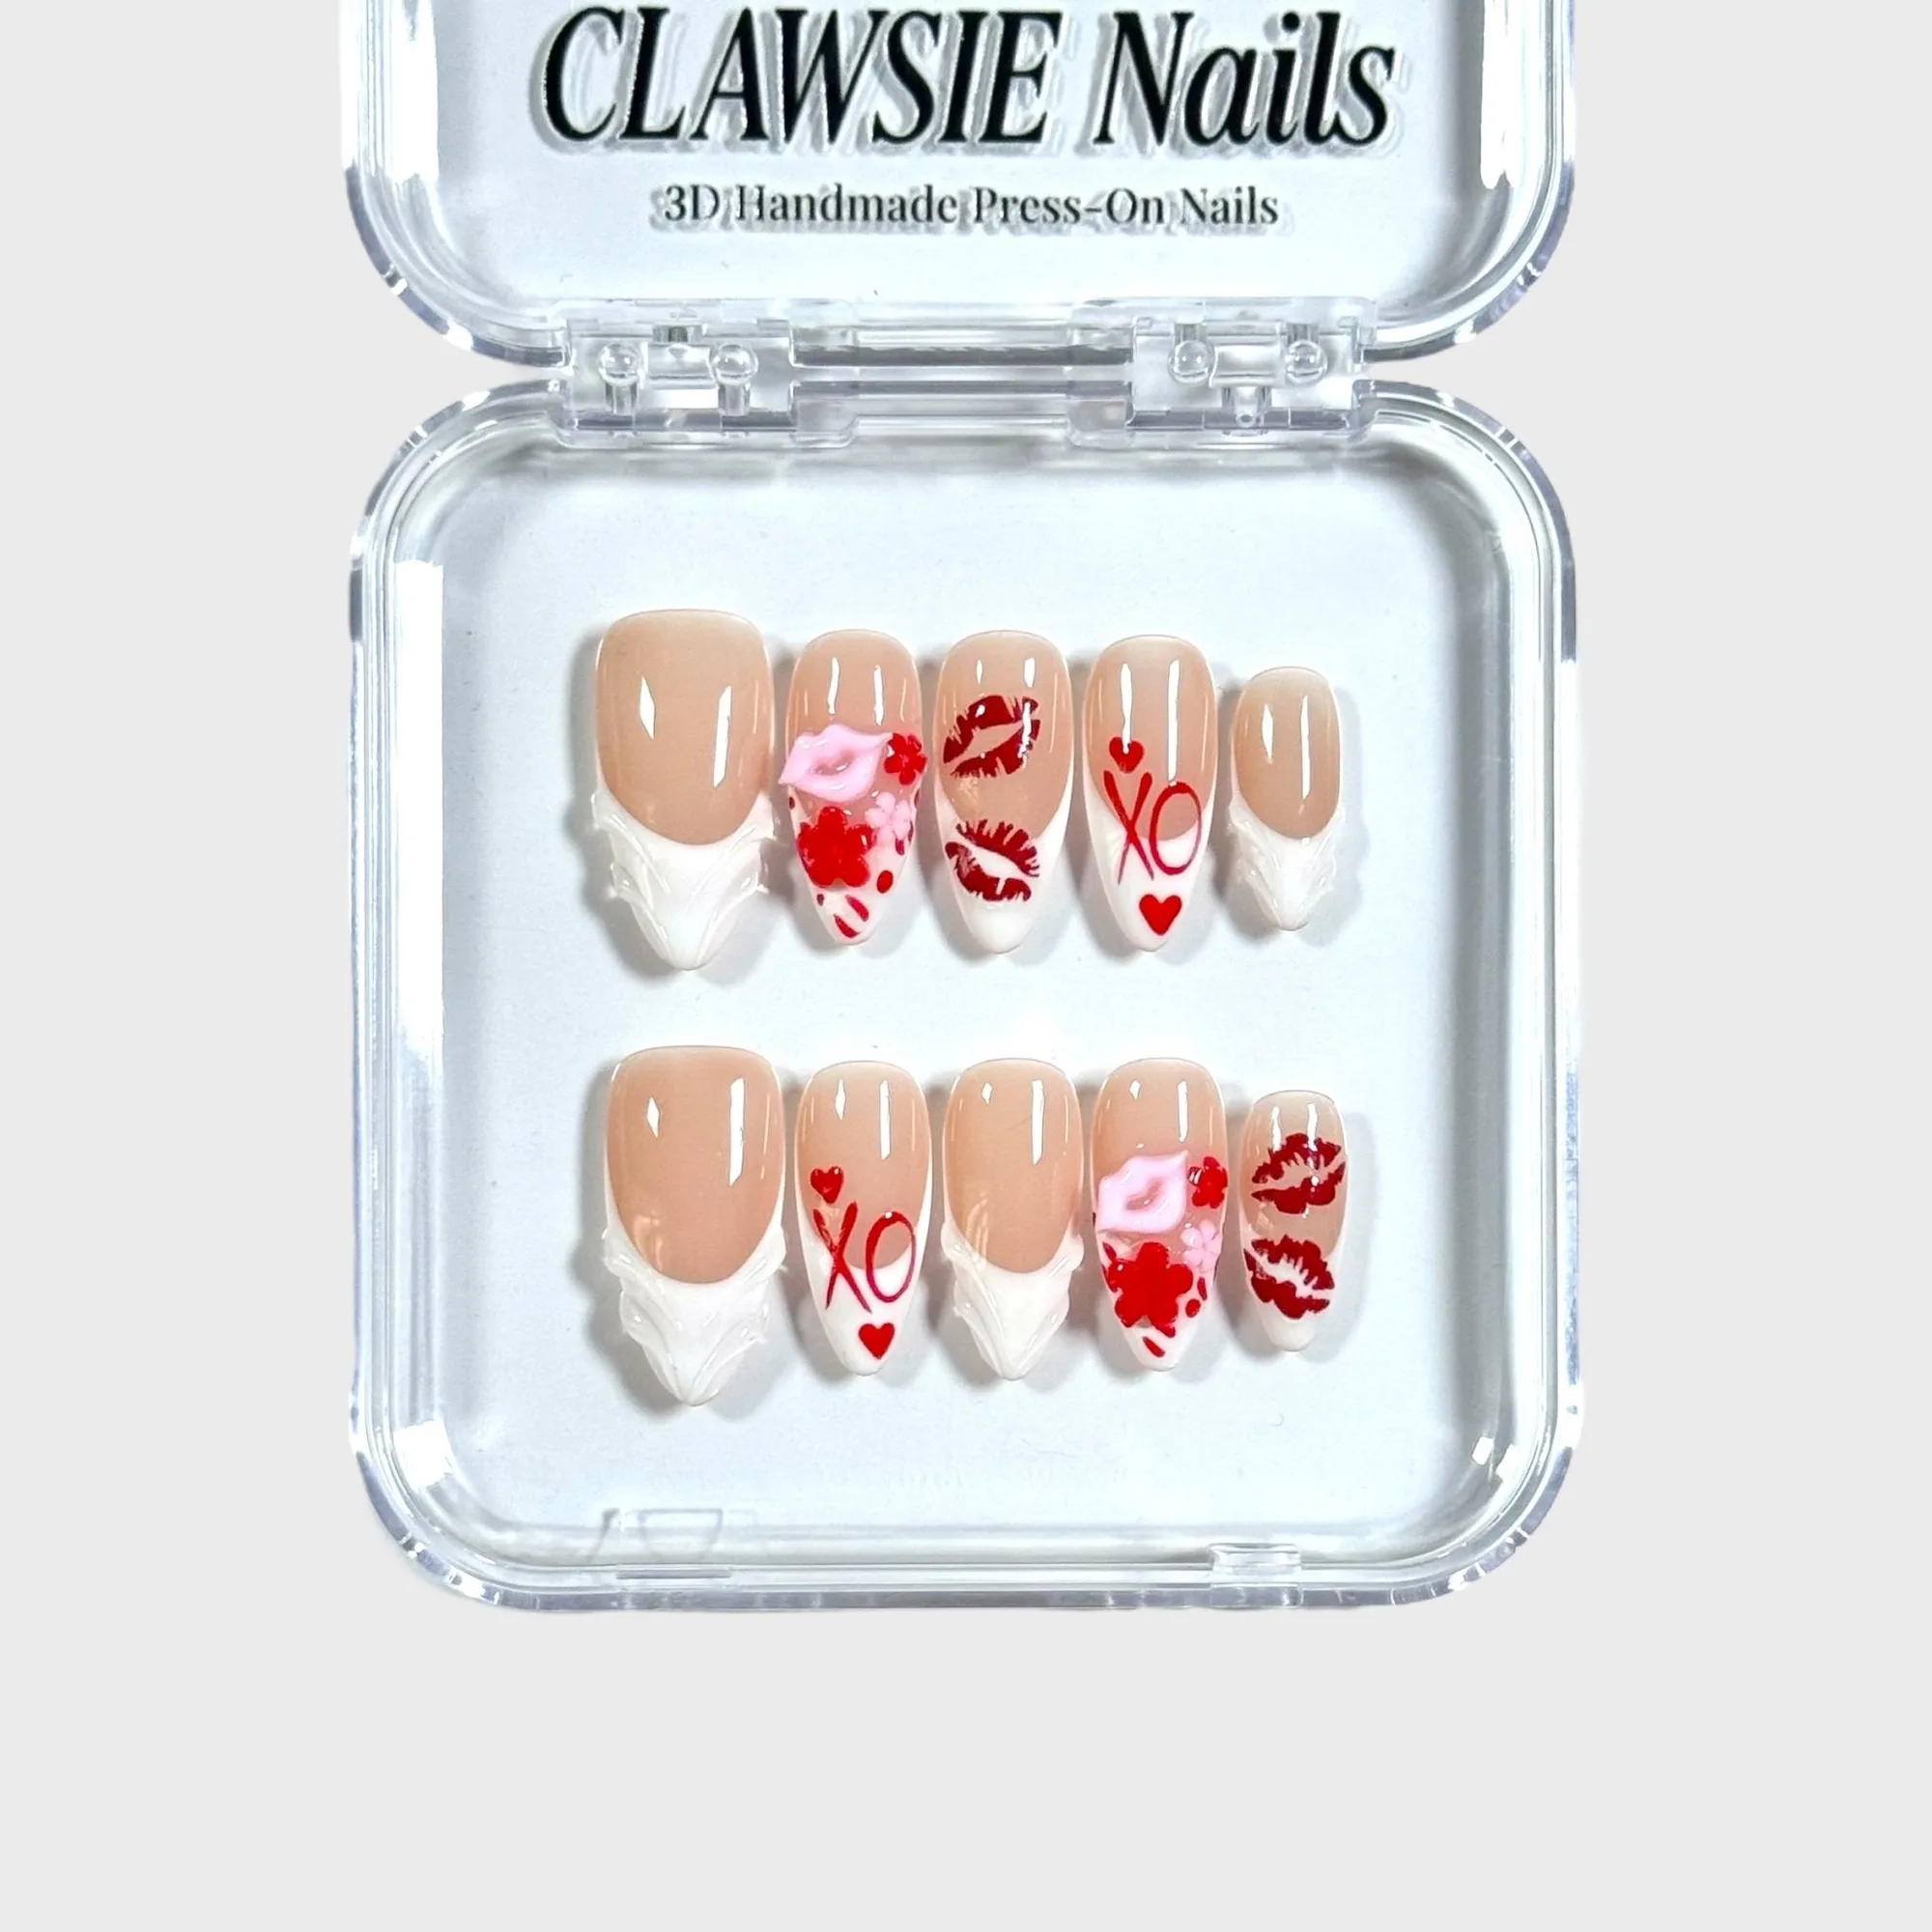
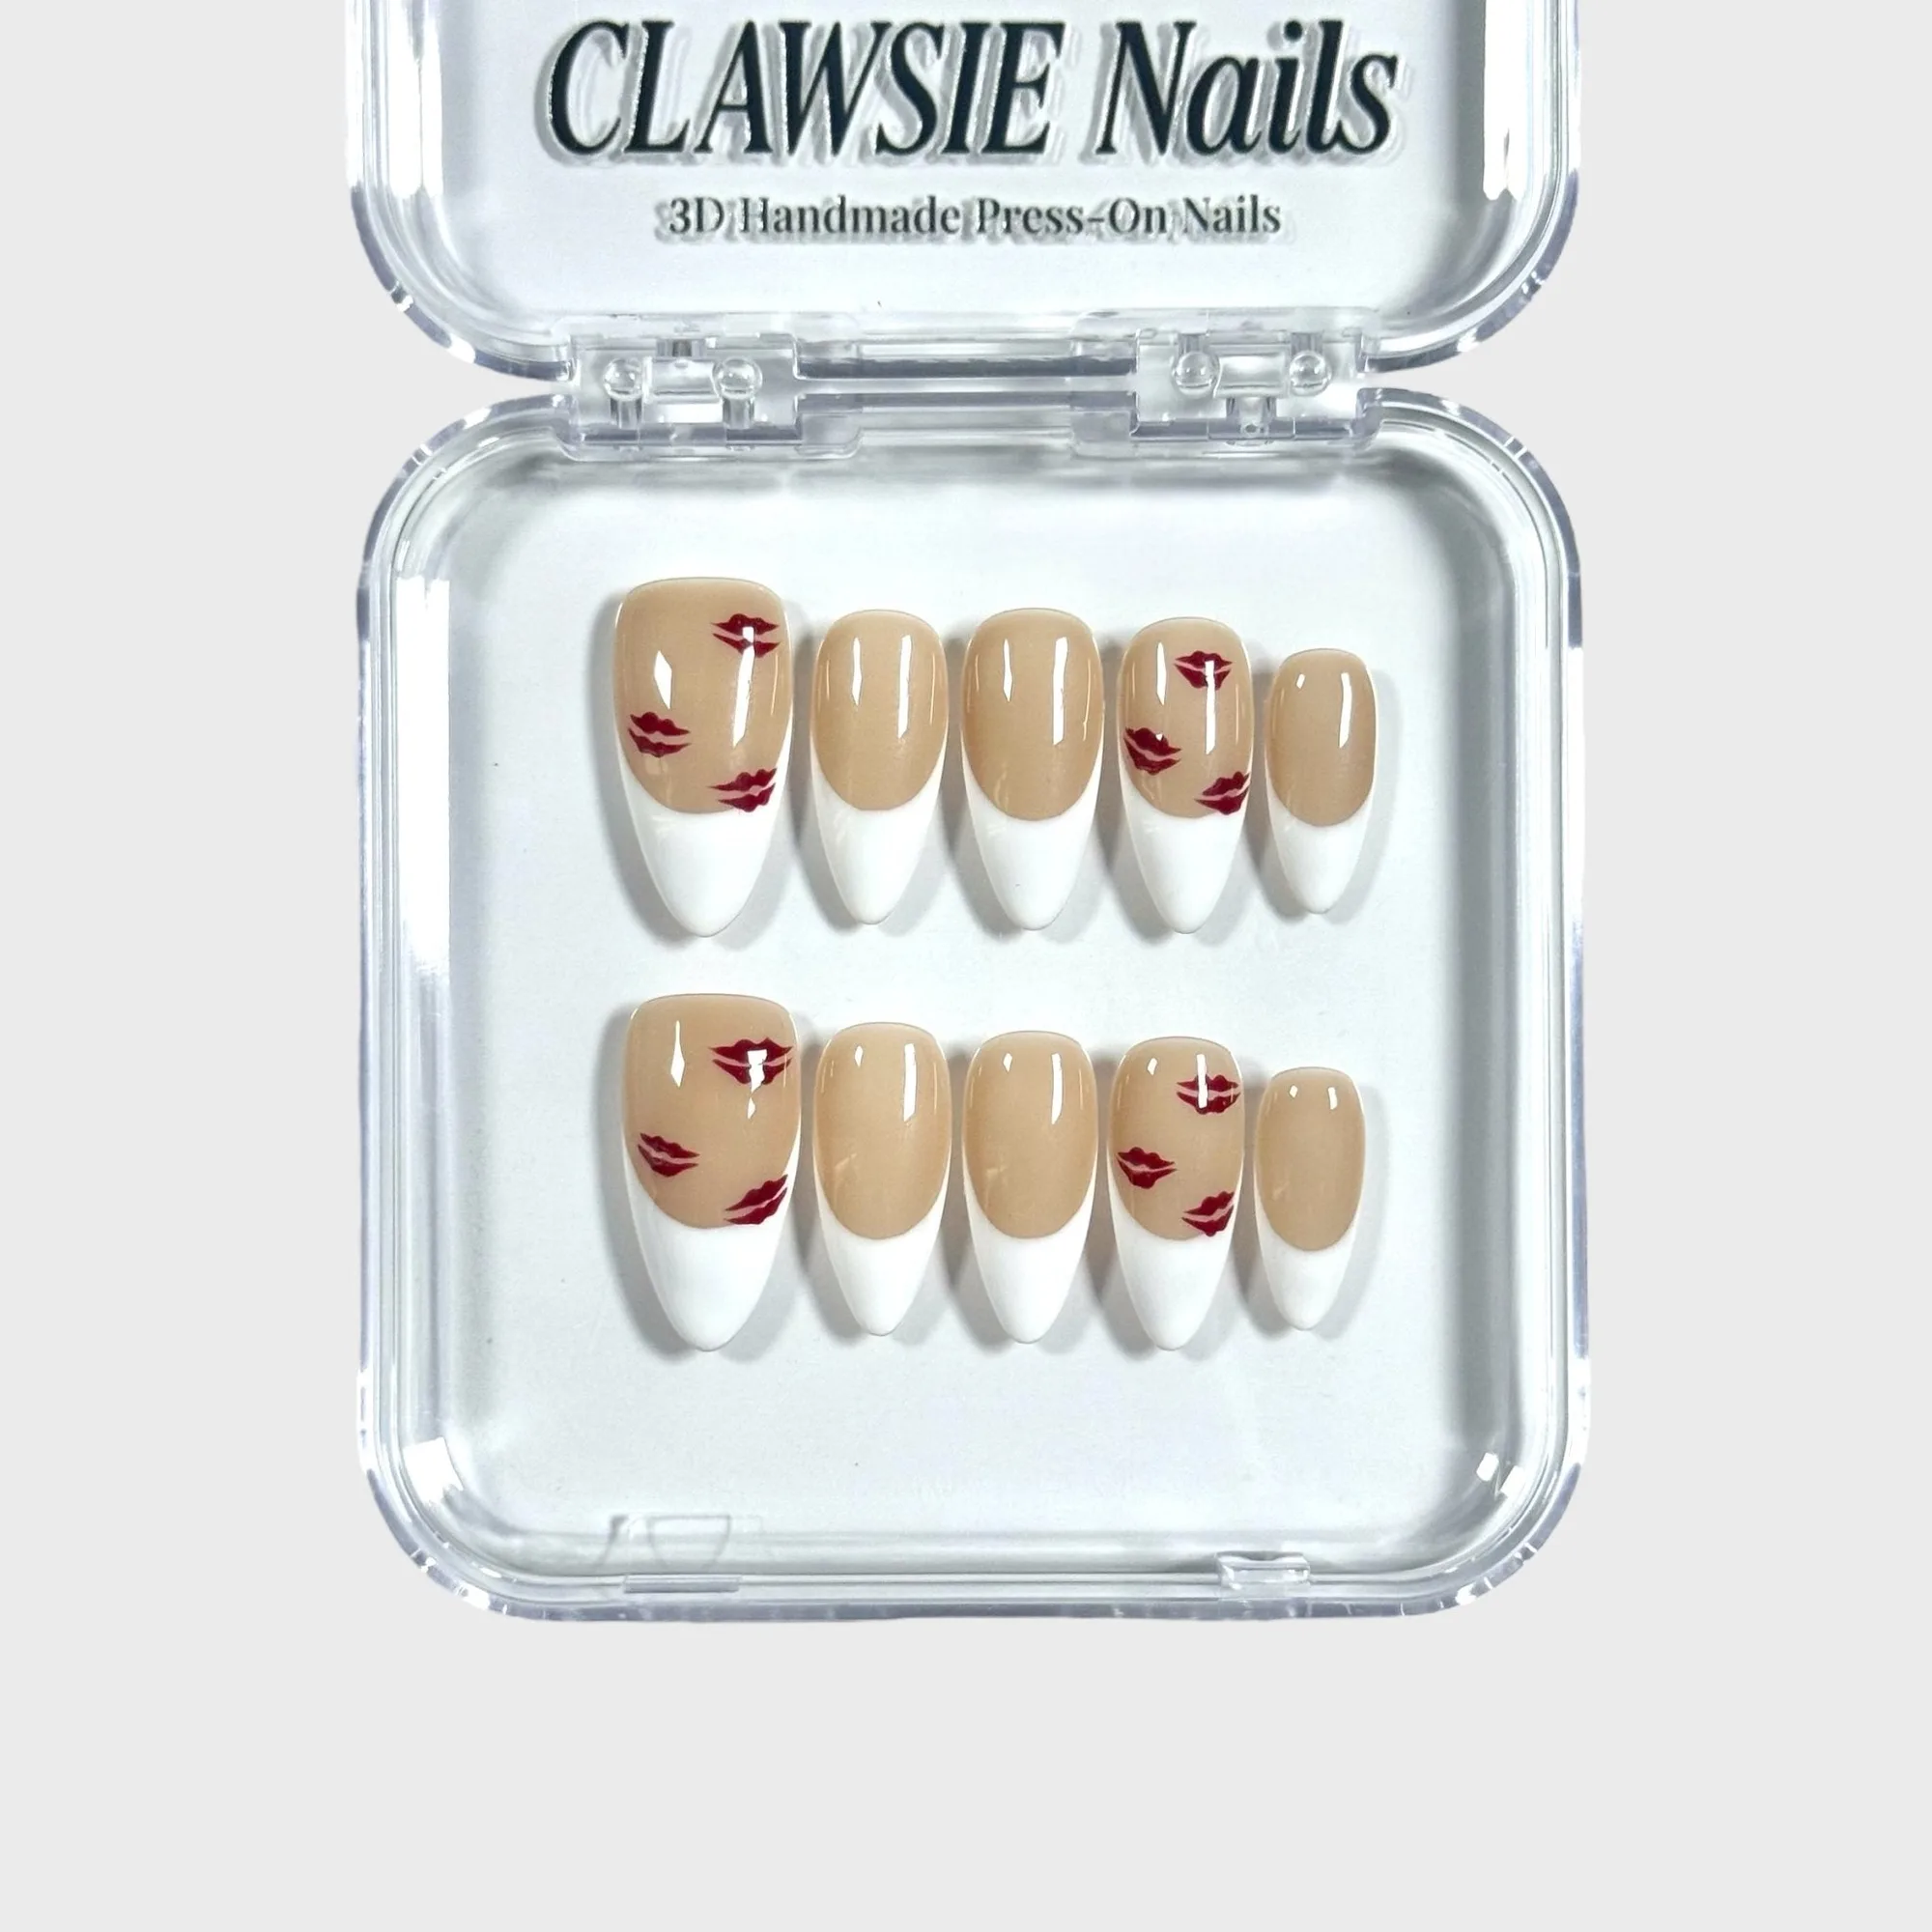
As you sort, check the size options you own. Sets like Hayley Dots come in XS, M, and L, while https://clawsie-nails.com/products/kiss-me-not-6cc79ed1d3df6c239b4740d8-2587859Kiss me not is offered in M and L. Grouping by size now saves you from digging later when you want a specific fit.
- Keep a small tray or bowl for loose nails you find during sorting.
- If a set has no size label, measure one nail against a known set before storing it.
Step 2: Choose a storage format that matches your routine
A nail binder with clear pockets works well if you like to flip through options and want everything visible. Small stackable boxes work better if you have limited shelf space or want to store sets by season. A press on nail organizer with individual compartments is best if you own many sets and want to grab one without sorting through the rest.
There is no single correct format. The right choice is the one you will actually put nails back into after wearing them. If a system is fussy, you will stop using it.
- Clear pockets or lids let you see the design without opening every container.
- Keep the format small enough to fit where you get ready, not in a closet.
Step 3: Label each set with size and style
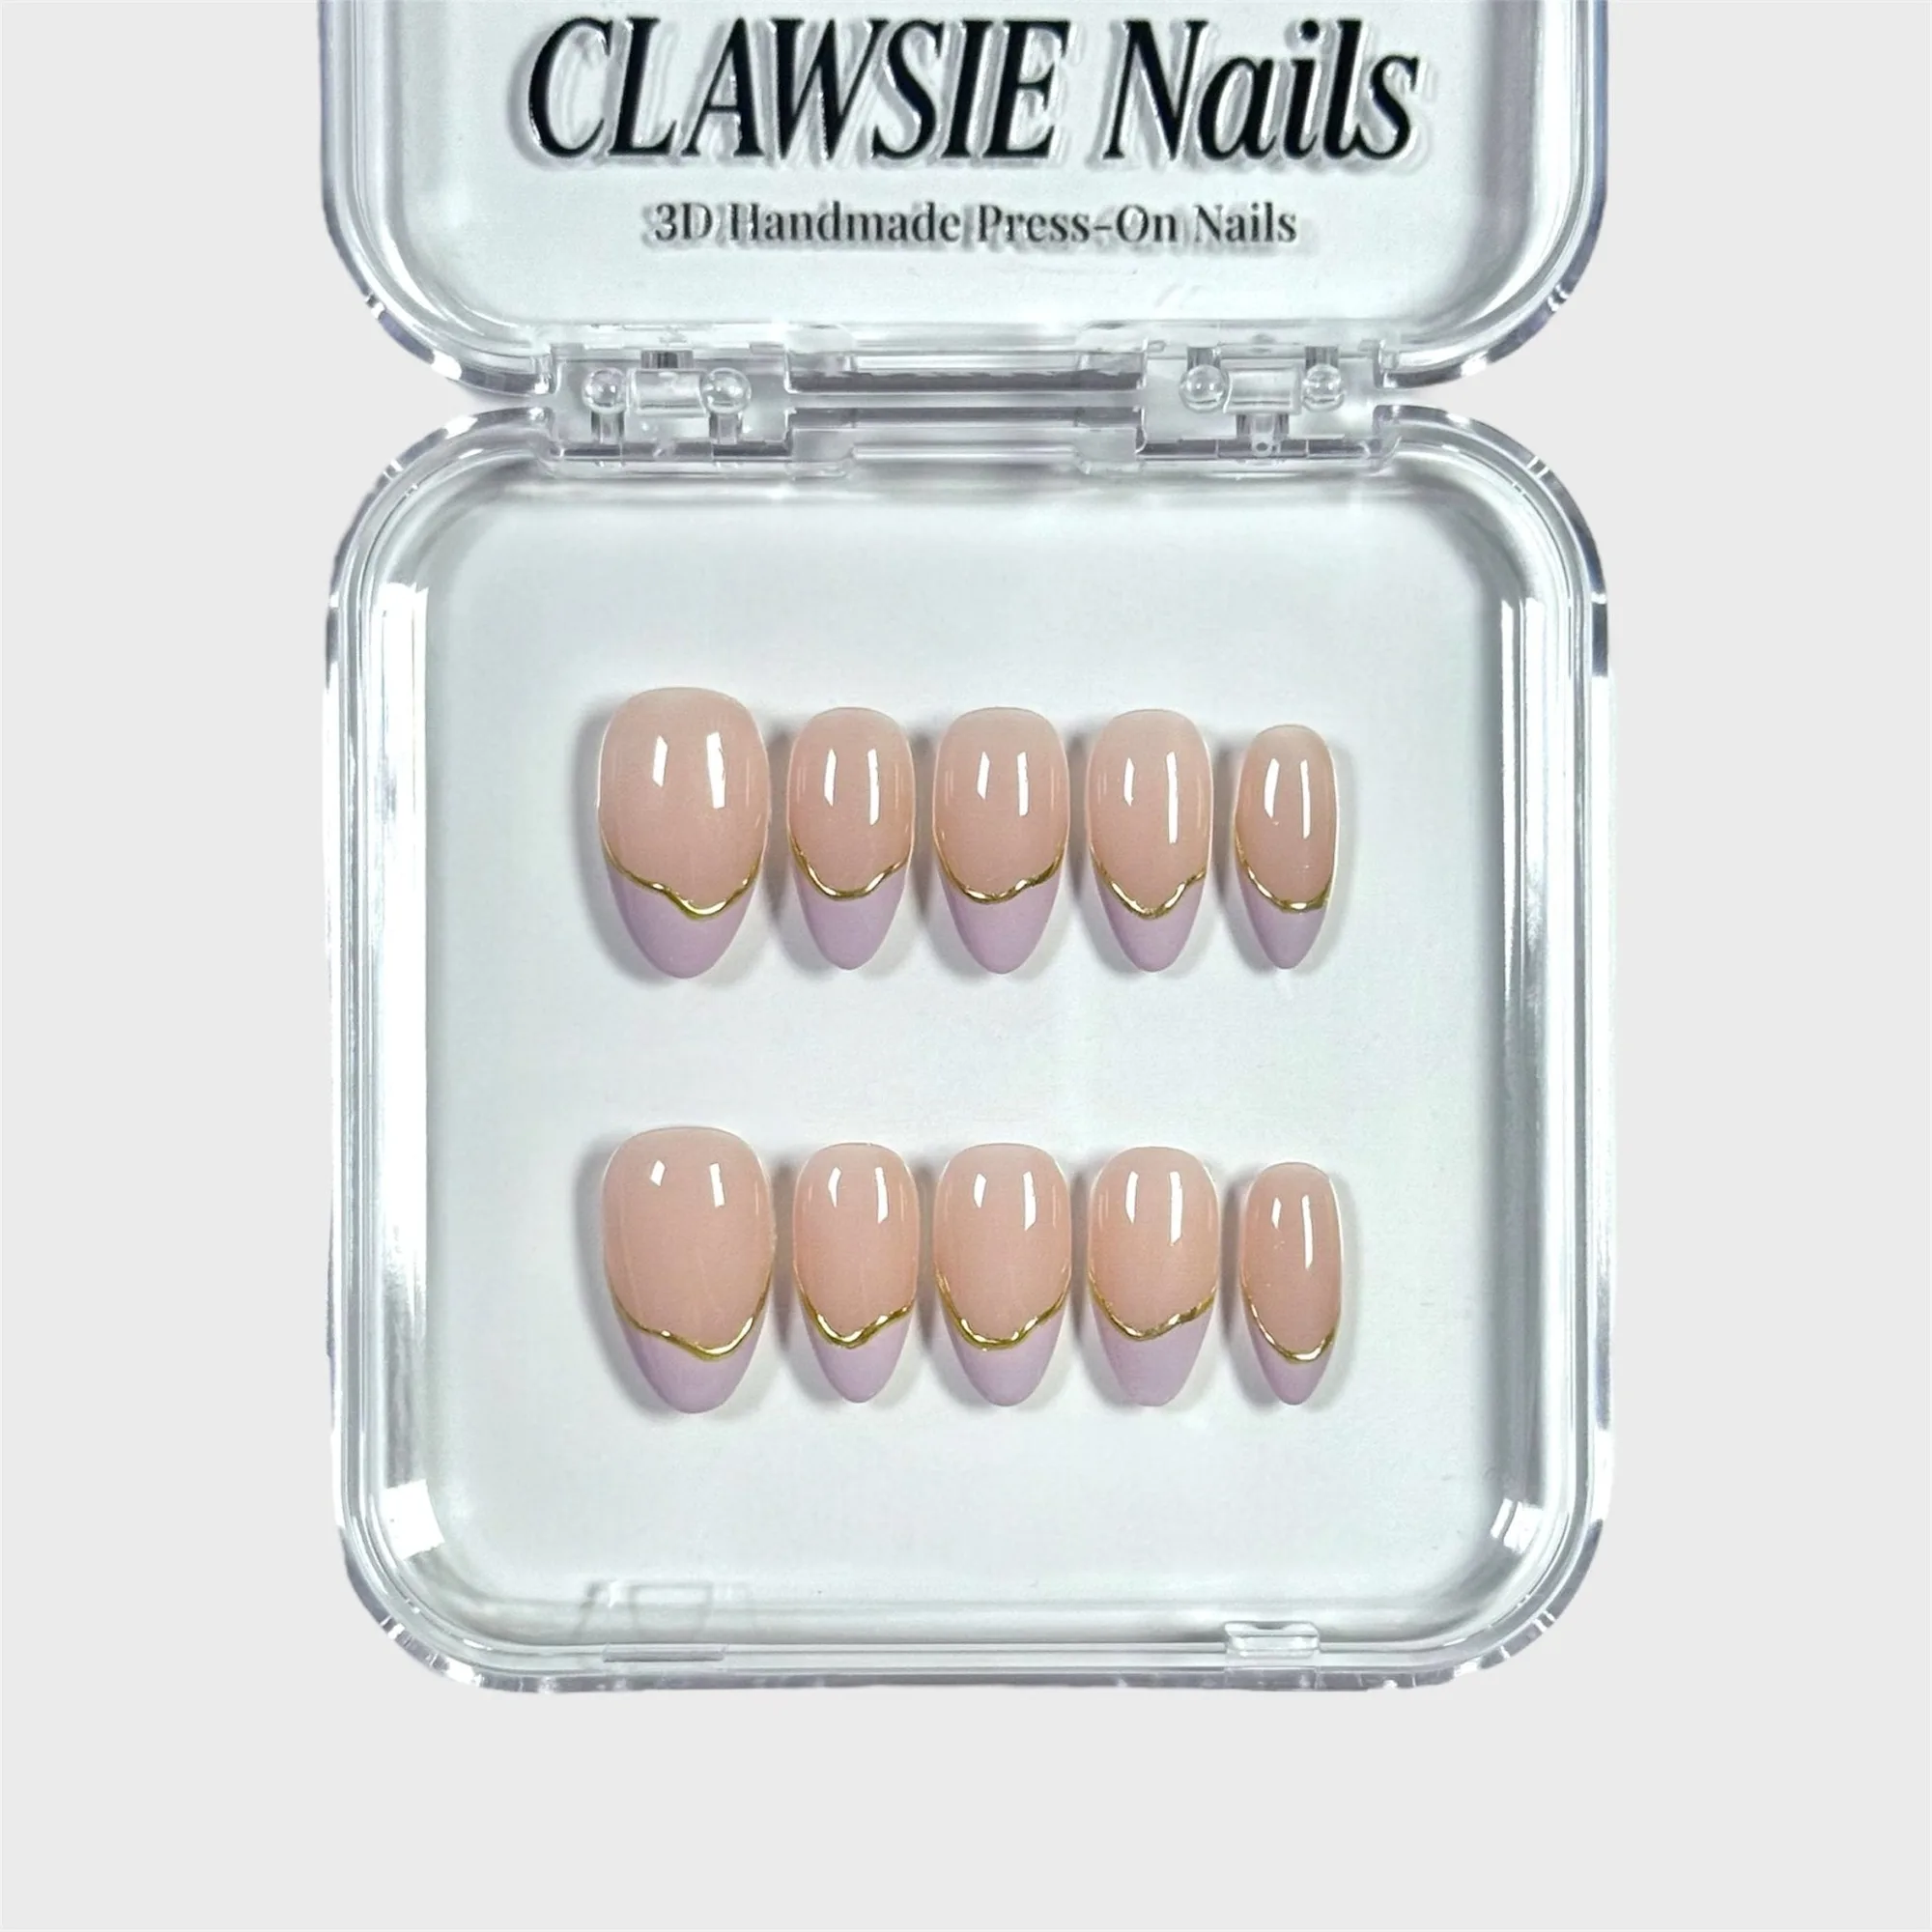
Write the product name and available size on a small label or slip of paper inside each pocket or box. Include the size option you selected, not just the style name. For example, Lavender veil is offered in XS and M, so noting which one you own prevents a wrong-fit surprise later.
If you reuse a set, add a small mark each time so you know how many wears it has had. This helps you decide when a set is ready to retire instead of guessing.
- Use a pencil or removable label so you can update the size if you reorder.
- Group by size first, then by color or occasion within each size group.
Step 4: Protect nails from heat, light, and pressure
Press-on nails can warp or lose their shape if they are stored in a hot car, near a radiator, or in direct sunlight. Keep your organizer in a cool, dry spot. Avoid stacking heavy items on top of loose nails, because pressure can bend the tips.
If you store nails in a binder, make sure the pockets are not overstuffed. A pocket that bulges can press the nails against each other and dull the finish over time.
- Keep adhesive tabs and glue in a separate small pouch so they do not stick to nails.
- Do not store nails in a bathroom where humidity changes frequently.
Step 5: Refill and review your collection regularly
Once a season, open your organizer and pull out any sets you have not worn in a year. Donate or retire them so your collection stays usable. This keeps your press on nail storage from becoming a storage problem again.
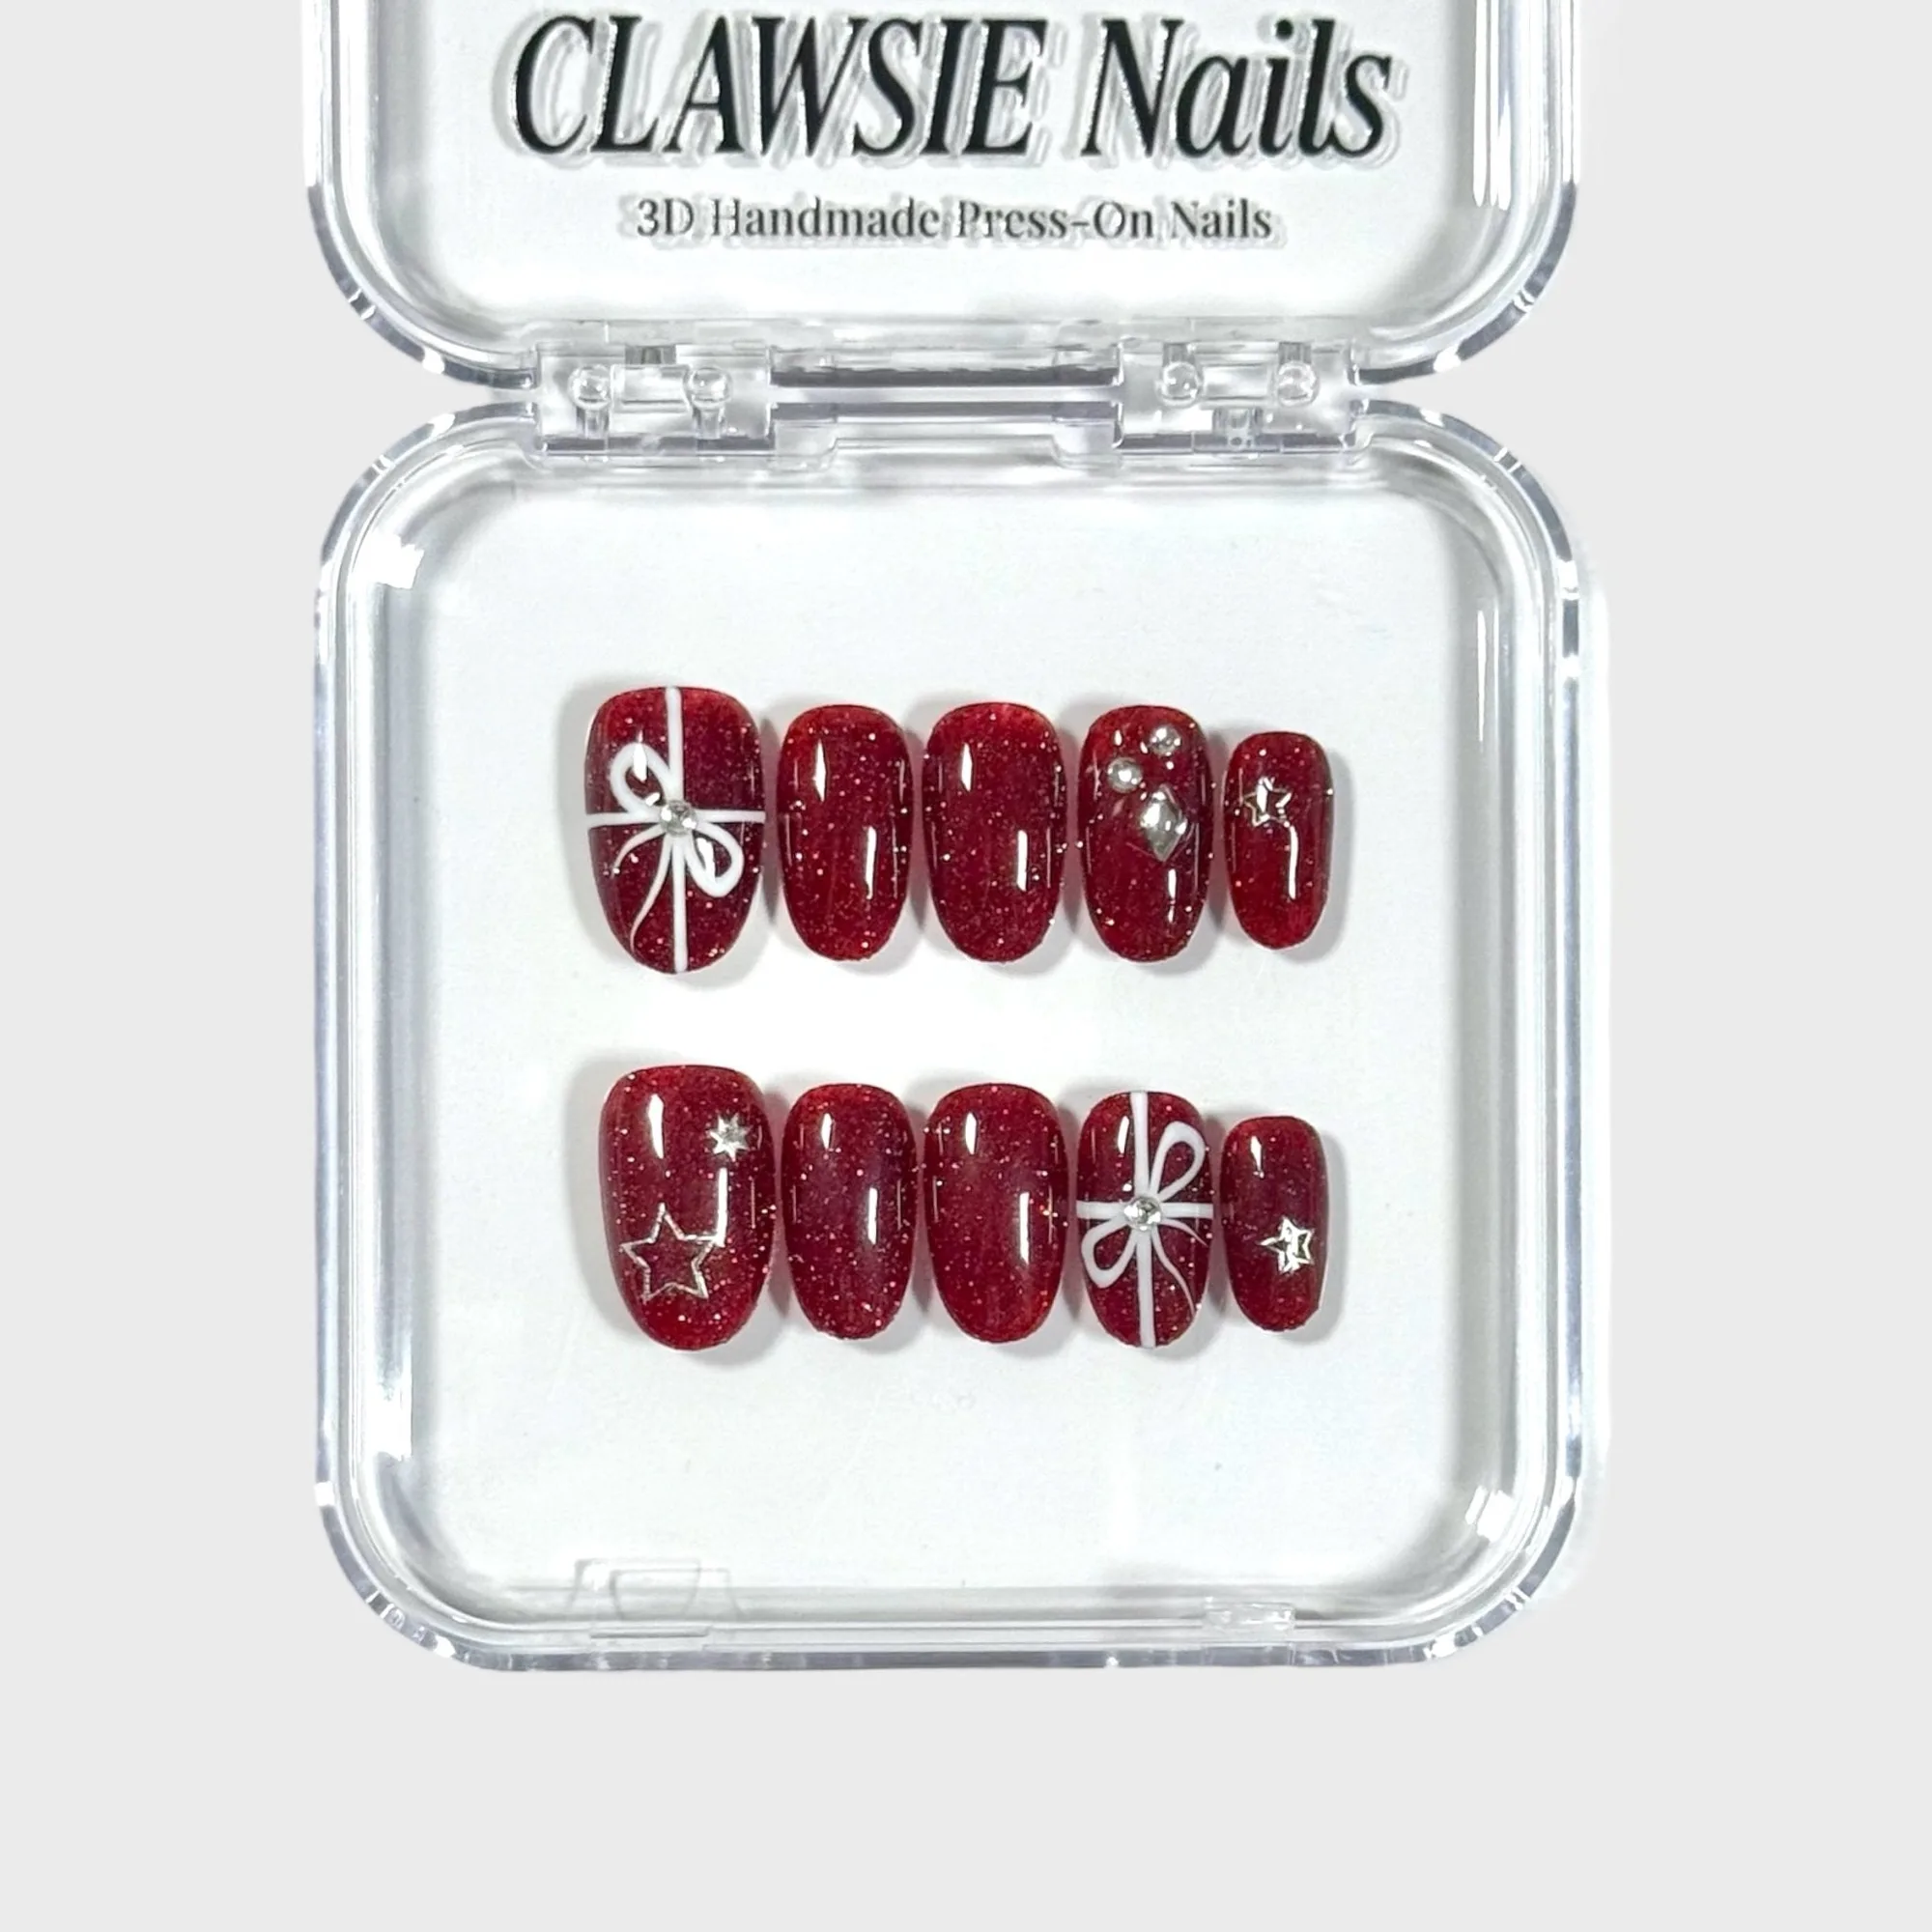
As you review, check that each set still has its full nail count and that the labels are readable. Replace any worn labels and move seasonal sets like Jingle Bow to the front when their season approaches.
- Keep a small 'to wear next' section at the front of your organizer.
- If a set is missing more than one nail, retire it rather than storing it.
Your five-step press-on storage routine
- Sort and declutter: Pull out every set, group by keep, repair, or retire, and check for missing nails before storing anything. Checkpoint: if you have not worn a set in a year, let it go.
- Pick your organizer: Choose a nail binder, stackable boxes, or a press on nail organizer based on your space and how often you change sets. Checkpoint: the system must be easy to put nails back into, or it will fail.
- Label size and style: Write the product name and the exact size option on each pocket or box, especially for styles offered in multiple sizes. Checkpoint: if you own two sizes of the same style, label both clearly.
- Store cool and flat: Keep the organizer away from heat, direct sun, and heavy pressure so nails do not warp or lose their finish. Checkpoint: a cool, dry drawer or shelf beats a humid bathroom.
- Review each season: Refresh labels, move seasonal sets forward, and retire any set that is missing more than one nail. Next step: keep a small 'wear next' section so you rotate your collection.
Product facts that affect storage
- Hayley Dots: Hayley Dots is offered in multiple sizes: XS, M, and L, with size selectable as a product option. Because the same style comes in three sizes, label the size you own so you do not mix up sets when storing.
- Kiss me not: Kiss me not is available in two sizes, M and L, selected from the available options when ordering. With only two sizes, it is easy to group this set by fit, but you still need a size label to tell M from L at a glance.
- Lavender veil: Lavender veil is offered in two sizes, XS and M, and the name suggests a soft lavender look. A soft color set can be hard to identify in a crowded organizer, so a visible label or clear pocket helps you find it quickly.
- Jingle Bow: Jingle Bow is available in two sizes, S and L, and is sold as a press-on nail set. Seasonal sets like this are best stored together and moved to the front when the season returns, so you actually wear them.
A good press on nail storage system is less about buying the perfect organizer and more about sorting, labeling, and protecting what you already own. Start with one drawer or binder, label the sizes you have, and review it each season. Your nails will stay reusable, and getting ready will take minutes instead of a search.