Quick answer
Build the Laserox wooden game insert first, then load it in this order: monster standees into the five-level Monster Box, cards and tokens into their labeled trays, and the insert back into the box. The payoff is reduced setup and cleanup time because every card and token you need for gameplay has a fixed home.
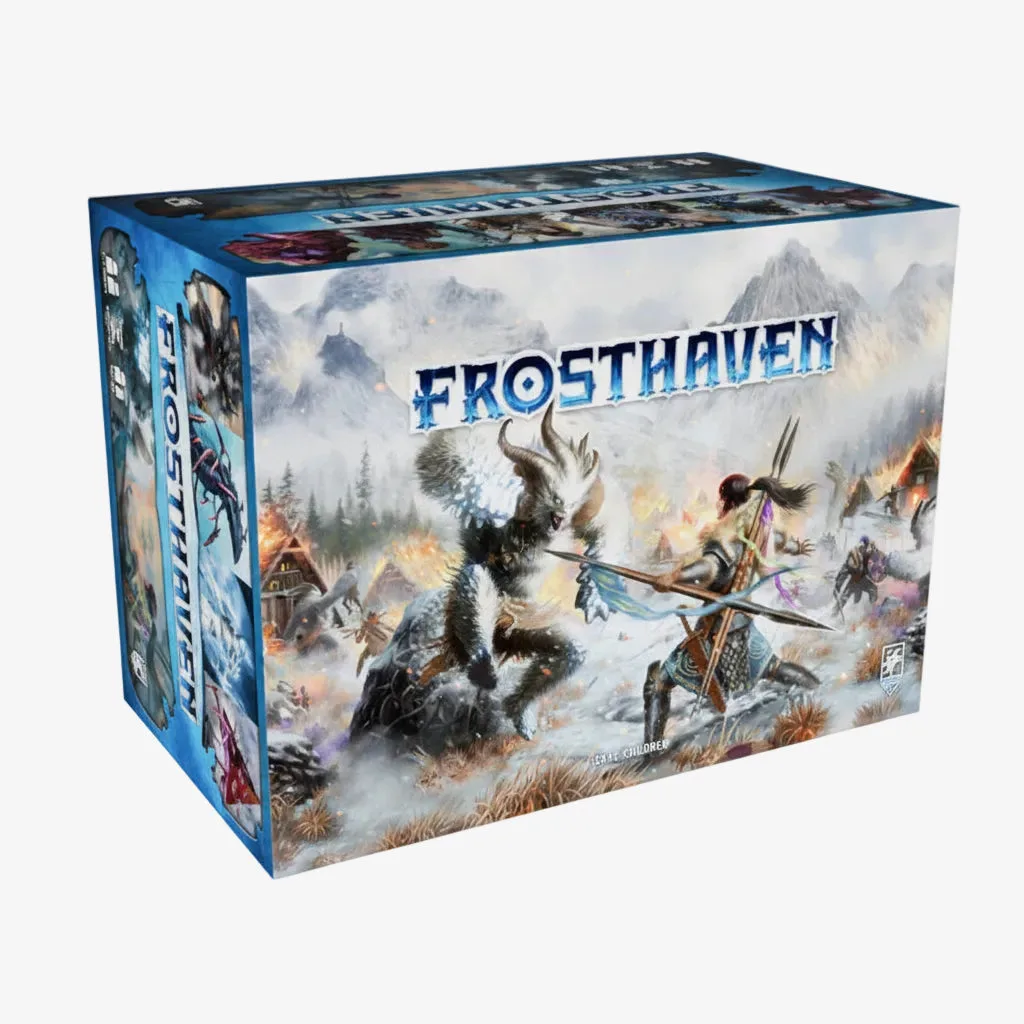
Frosthaven is a campaign you will open dozens of times, so the way you store it decides how often it actually hits the table. The Frosthaven: Laserox Wooden Game Insert from Laserox and Cephalofair Games is built to sort and store all the cards and tokens you need for gameplay, which cuts down both setup and cleanup time.
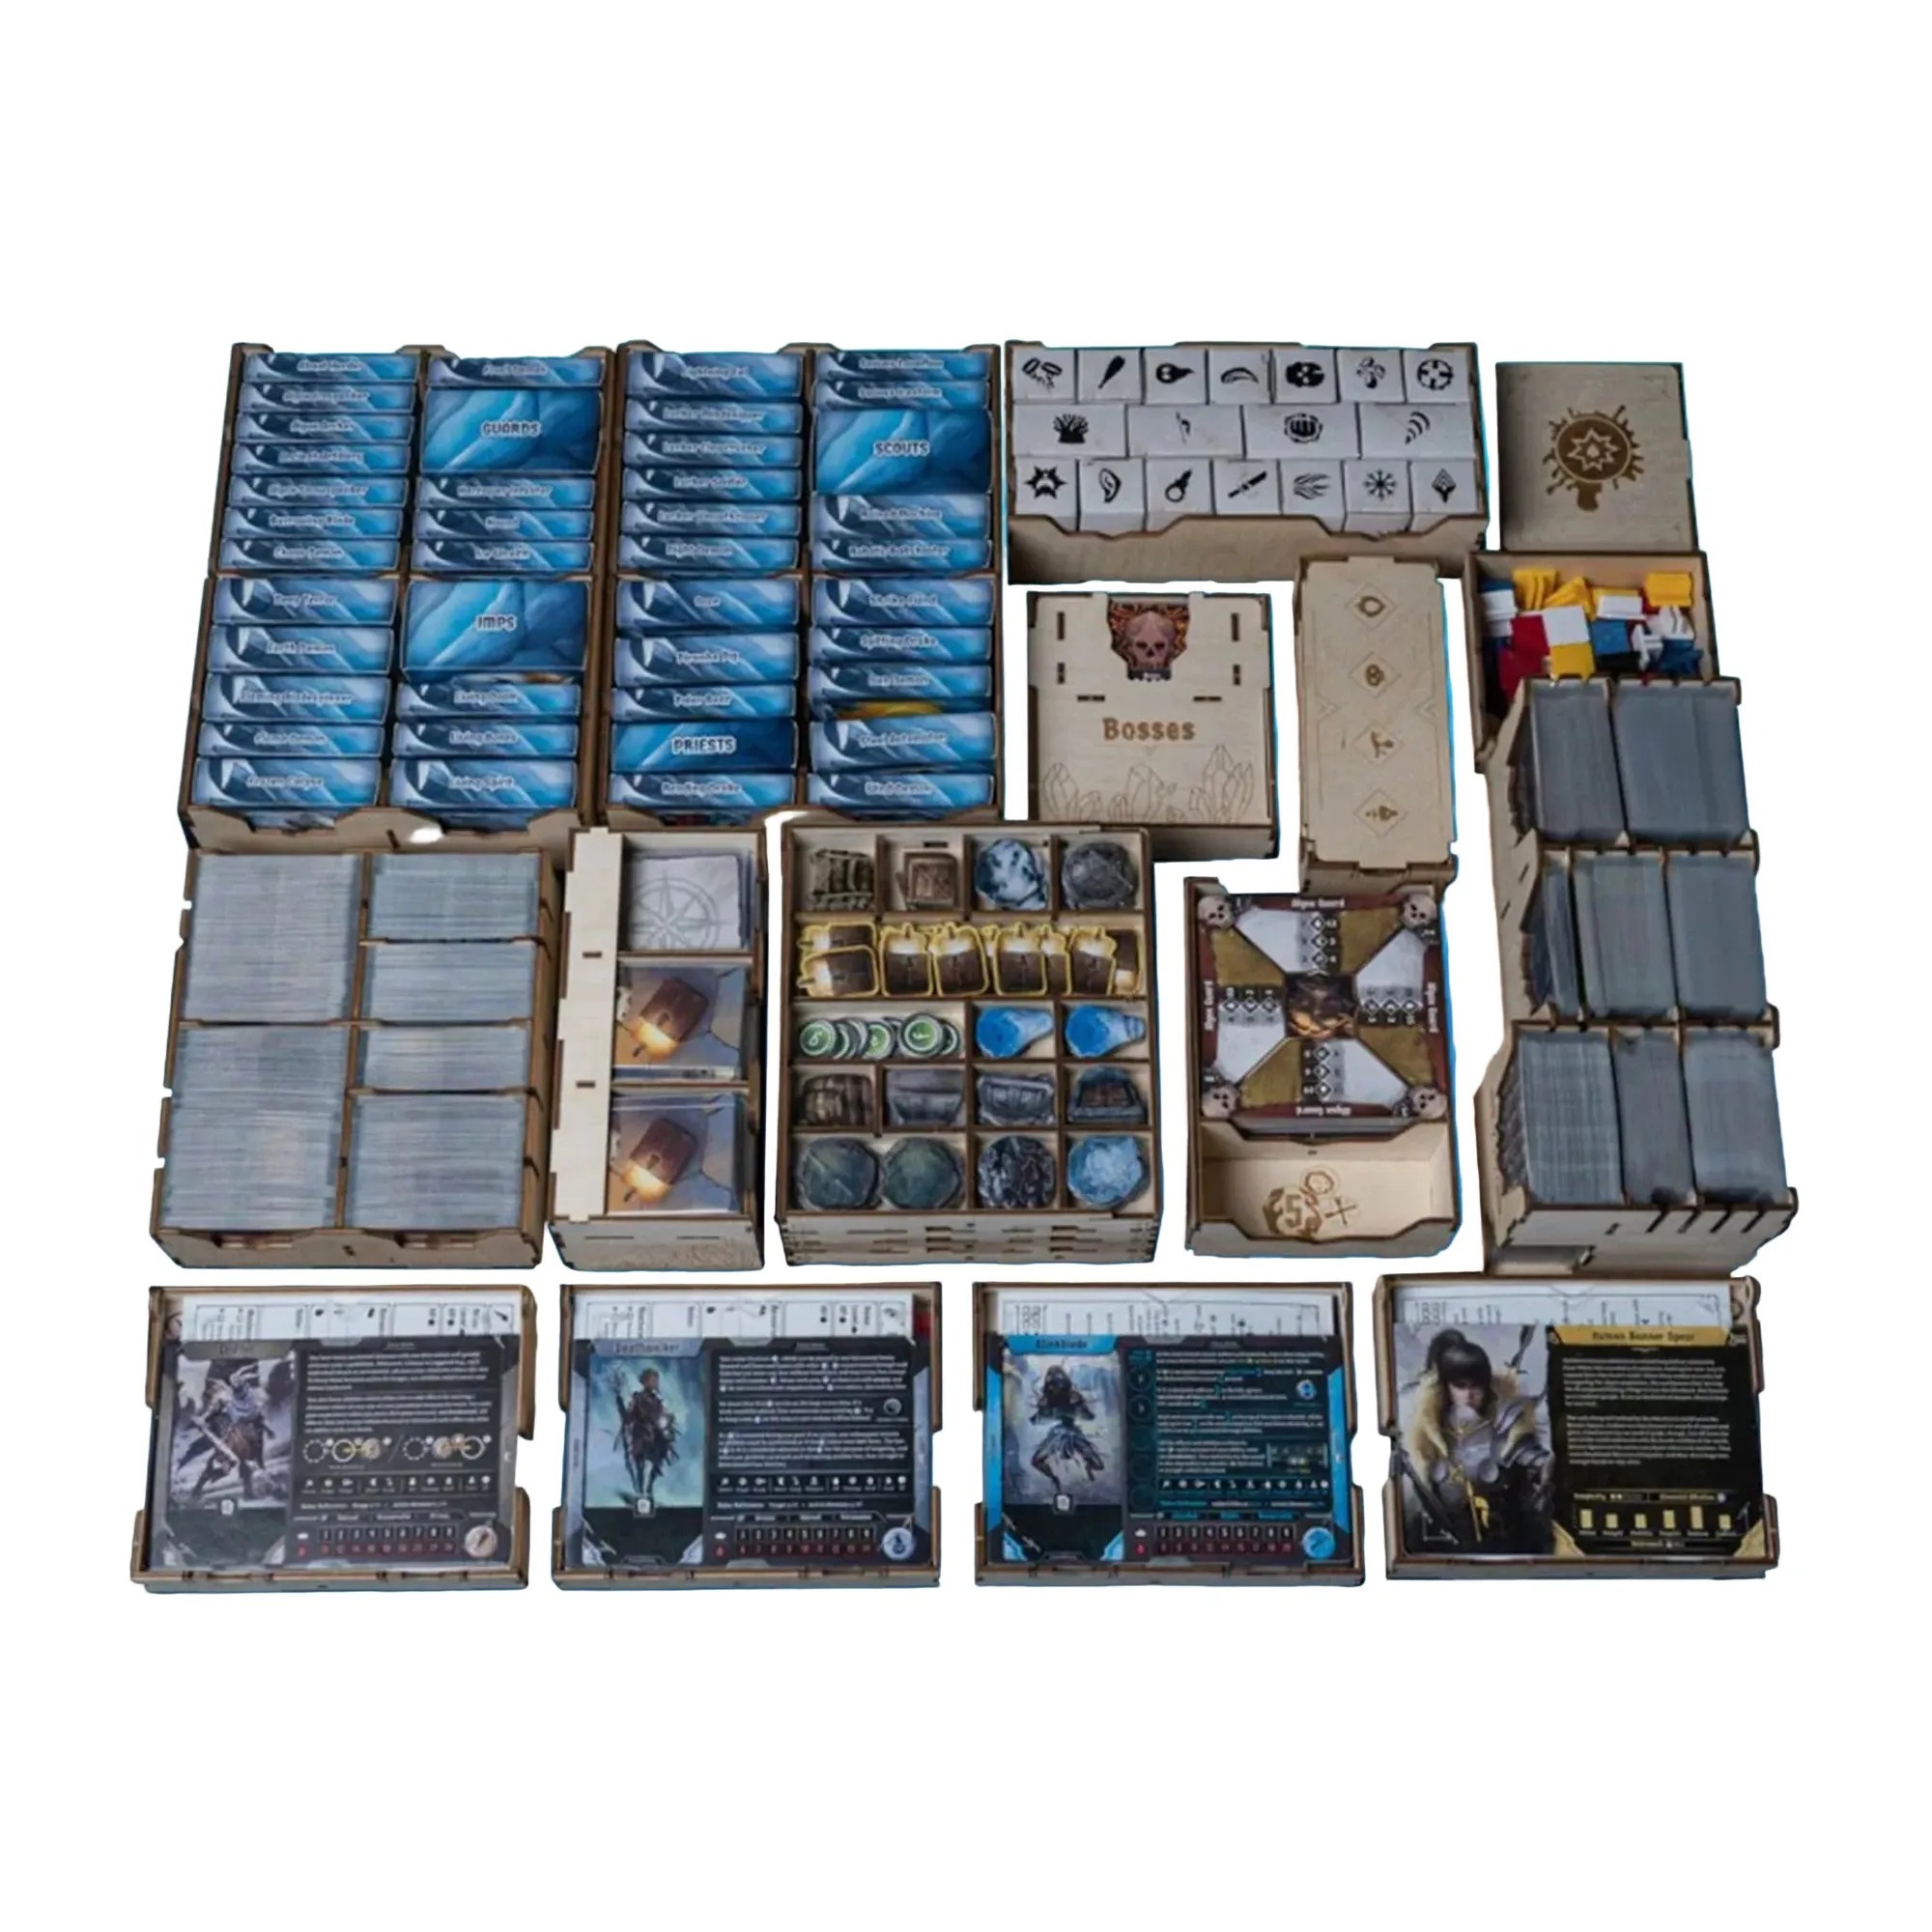
Frosthaven: Laserox Wooden Game Insert
This guide walks through the build and load process in order, including the checkpoints that keep you from gluing a tray backwards or burying the pieces you reach for every session. It focuses on the Monster Box version, which stores the monsters in a big, five-level box.
Before you start: clear space and dry-fit everything
Lay out all wooden sheets on a large, flat table and keep the box and its contents nearby for reference. Dry-fit each tray before any glue touches it, because a few pieces only fit one way and reversing them is much harder once adhesive sets. Work in a well-ventilated room and keep a damp cloth handy for wiping excess glue.
This is also the moment to decide how you will organize Frosthaven cards. Pull out the character, item, and monster decks and note roughly how much space each needs, so you can assign trays deliberately instead of guessing later. A dry run now saves a full rebuild later.
- Common mistake: gluing as you punch pieces out. Punch a full sheet, dry-fit its trays, then glue.
- Checkpoint: every tray sits flush with no forced corners before you commit to glue.
Assemble the insert in tray groups, not piece by piece
Build in logical groups: card trays first, then token trays, then the monster storage. Grouping keeps you from mixing similar panels and makes it easy to pause between sessions without losing your place. Follow the insert's own labeling or diagrams where provided, and keep glued trays flat while they cure.
The Monster Box is the one group worth extra patience. It is a five-level box, so each level needs to sit square and stack cleanly before you move on. If a level rocks or binds, stop and check orientation rather than sanding or forcing it.
- Common mistake: stacking levels before glue is fully cured, which locks in a slight twist.
- Checkpoint: the five levels stack and separate smoothly by hand.
Load monsters into the five-level Monster Box
Sort monster standees by type and assign each group a level or a clear section of one. Because the box gives you five levels, you can separate frequently used enemies from the ones that appear in only a few scenarios, which is the single biggest time saver during play. Label the levels if you want faster mid-scenario pulls.
Keep the sorting consistent with how you read scenario setup. If you usually pull monsters by name, alphabetical or scenario-order grouping both work; just pick one and stay with it so you are not relearning your own system every week.
- Common mistake: mixing monster types on one level and losing the speed benefit.
- Checkpoint: you can pull any monster group without lifting another level.
Load cards and tokens so setup follows your table flow
Place card trays where they open toward your play area, and keep tokens grouped by the job they do in a scenario rather than by size. The insert sorts and stores all the cards and tokens you need for gameplay, so your job is deciding the order you want to reach them in. Put the most-touched tokens at the front edge of the box.
Resist the urge to fill every gap with extras. Empty space is useful for sleeved cards, spare standees, or the small pieces that otherwise rattle loose. A slightly under-filled tray is easier to lift out than a wedged one.
- Common mistake: overfilling trays until cards bow or tokens spill on removal.
- Checkpoint: each tray lifts out with two fingers and no resistance.
Test a full setup and cleanup cycle
Before your next game night, run one complete setup and teardown with the insert in place. Time it, and note which tray you reach for first and which one you keep opening twice. That tells you what to move closer to the front, and it confirms the insert is doing what you bought it for: reduced setup and cleanup time.
If something still feels slow, the fix is almost always placement, not the insert. Rearranging trays is free; rebuilding them is not.
- Common mistake: judging the insert after one messy session instead of tuning tray placement.
- Checkpoint: setup and cleanup both feel shorter than your pre-insert routine.
Frosthaven storage setup steps
- Clear a table and dry-fit every tray: Punch all wooden sheets, lay them out flat, and test-fit each tray before any glue. Keep the game box nearby so you can check sizes against real components. Checkpoint: no tray needs force to sit flush.
- Glue in groups and let them cure flat: Assemble card trays, then token trays, then the monster storage, following the insert's diagrams. Keep glued pieces flat and undisturbed until fully set. Checkpoint: trays sit square with no rocking.
- Load the five-level Monster Box by enemy type: Assign each monster group a level or clear section, separating often-used enemies from rare ones. Label levels if that speeds your scenario pulls. Checkpoint: any monster group comes out without lifting another level.
- Place card and token trays by table flow: Orient trays to open toward your play area and put the most-touched tokens at the front edge. Leave some empty space for sleeved cards and spares. Checkpoint: each tray lifts out easily with two fingers.
- Run one timed setup and cleanup: Play a session, then time your next setup and teardown. Move the trays you keep reopening toward the front of the box. Checkpoint: both setup and cleanup feel shorter than before the insert.
Product facts that shape how you store it
- Frosthaven: Laserox Wooden Game Insert: The Frostbox wooden insert from Laserox and Cephalofair Games sorts and stores all the cards and tokens you need for gameplay with reduced setup and cleanup time, and this Monster Box version stores monsters in a big, five-level box. The five-level monster box is the reason you can separate enemy groups instead of digging through one pile, which is where most of the time savings come from.
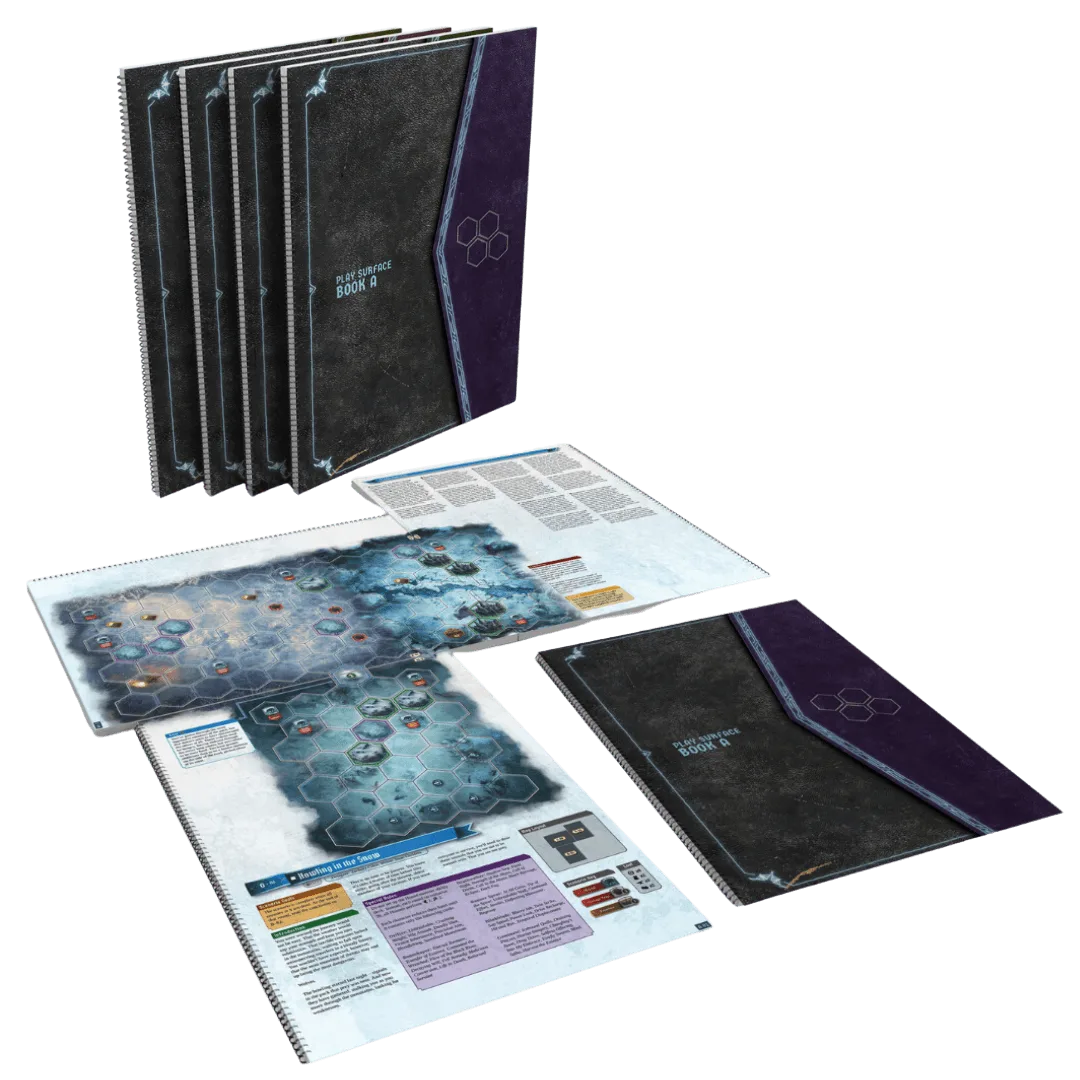
- Frosthaven Play Surface Books: This set of four Scenario Play Surface Books eliminates the need for Frosthaven map tiles and the majority of overlay tokens in favor of quicker and easier setup times, and includes scenario narrative text and special rules for all 138 Frosthaven scenarios. If you use these alongside the insert, you free up storage space that map tiles and overlay tokens used to occupy, so you can reassign trays in the box.
- Frosthaven: Premium Game Bag: This premium bag from BoardGameTables.com and Cephalofair Games includes a handle, shoulder strap, luggage strap, and a front organization pocket, and is designed to fit Frosthaven and the official Frosthaven Map Archive from Folded Space. Once the insert is loaded, the box gets heavy; the bag carries the weight and keeps your organization intact between game nights.
Build it once, load it in the order you actually play, and the Laserox wooden game insert turns Frosthaven storage from a chore into a few minutes of unpacking. Tune tray placement after your first session, and the box will keep paying you back every game night.