Quick answer
Treat the graphic as the loudest piece in your outfit and keep everything else quiet. Check that the tee fits at the shoulders and hem, tuck or knot it to define your waist, and pair it with one or two solid, structured pieces. That single rule fixes most graphic tee outfits.
A graphic t-shirt is not automatically casual or sloppy. What makes it look put-together is the same thing that makes any outfit work: proportion, fit, and a clear focal point. When the print is doing the talking, your job is to stop the rest of the outfit from arguing with it.
This guide walks through the order I use when styling graphic tees, from checking the fit to choosing the final layer. Each step includes the mistake that most often ruins the look, so you can catch it before you leave the house.
Start with fit, not the print
Before you think about colors or layers, put the tee on and check three points: the shoulder seam should sit at or just past your natural shoulder, the sleeve should end mid-upper-arm rather than at the elbow, and the hem should land somewhere between your hip bone and the top of your jeans pocket. A graphic tee that fits well at these points reads as deliberate even if the print is loud.
If the tee is too long, you have two easy fixes: a front tuck or a small knot at the side. Both create a waistline and stop the shirt from swallowing your shape. If it is too boxy through the body, a half-tuck into a higher-rise bottom balances the volume without needing a tailor.
- Common mistake: buying a graphic tee two sizes up for a relaxed look. Oversized is fine, but only when the shoulders still line up.
- Checkpoint: if you can pinch more than two inches of fabric at the side seam, the tee is probably too big to look intentional.
Balance the graphic with solid, structured pieces
A graphic tee already provides pattern, color, and a message. Pair it with bottoms that are solid and have some structure: straight-leg denim, tailored trousers, a midi skirt, or a clean pair of sneakers. This is the fastest way to make casual graphic tee style look considered rather than random.
Avoid competing prints. If your tee has a busy graphic, skip the plaid pants, the logo-covered bag, and the patterned sneakers in the same outfit. One print is enough. If you want a second pattern, keep it small and far from the graphic, like a subtle striped sock.
- Common mistake: wearing a graphic tee with another graphic piece. Two loud items cancel each other out.
- Checkpoint: squint at your outfit. The graphic should be the first thing you notice.
Use layering to control the message
Layering is how you take a graphic tee from weekend-only to something you can wear to dinner or a casual office. An open button-down, a blazer, or a structured jacket over a graphic tee instantly adds polish while letting the print peek through. The layer should be solid or subtly textured so the graphic stays readable.
For cooler weather, a hoodie or sweatshirt worn open over a graphic tee works the same way. Keep the outer layer one solid color and let the tee show at the neckline and hem. This is also a good trick when the graphic is slightly faded or the tee is a little worn.
- Common mistake: buttoning the layer all the way up, which hides the graphic and defeats the point.
- Checkpoint: at least one inch of the graphic should be visible when the layer is closed.
Match your shoes and accessories to the tee's energy
The graphic sets the tone, so let your shoes and bag follow it. A band tee or skate-style print pairs naturally with clean low-profile sneakers and a simple canvas tote. A more minimal or typographic graphic can handle a leather crossbody or a pair of flat shoes without looking confused.
Metals and hardware should also stay simple. If your tee has a bright or busy print, choose one metal tone and repeat it in your jewelry and bag hardware. Mixing three metals with a loud graphic is the fastest way to make the outfit feel messy.
- Common mistake: wearing your loudest sneakers with your loudest graphic tee. Pick one.
- Checkpoint: your shoes should either match or deliberately contrast the tee, not compete with it.
Finish with a tuck, a roll, or a knot
The last 10 percent of the look is in the finishing. A full tuck into high-waisted bottoms sharpens the waist. A front tuck with a belt adds a deliberate break. A side knot works best with a longer tee and a lower-rise bottom. Any of these is better than leaving a long graphic tee hanging flat over your hips.
If you are wearing a jacket or overshirt, leave the tee untucked but make sure the hem is even and not twisted. Small details like a straightened collar and a smooth hem make a graphic tee look styled rather than thrown on.
- Common mistake: tucking too much fabric and creating bulk at the waist. Tuck only the front few inches.
- Checkpoint: look in a mirror from the side. The hem line should be clean, not bunched.
Your 5-step graphic tee checklist
- Check shoulder, sleeve, and hem: Put the tee on and confirm the shoulder seam sits at your natural shoulder, the sleeve ends mid-upper-arm, and the hem lands between your hip bone and jeans pocket. If any of the three is off, adjust with a tuck or choose a different size before styling further.
- Pick one focal point: Decide whether the graphic or another piece (shoes, bag, jacket) is the star. Keep everything else solid and quiet. Two loud pieces cancel each other out. One is enough.
- Add one structured layer: Choose an open button-down, blazer, or solid hoodie to wear over the tee. Leave it unbuttoned so the graphic stays visible. This single step is what turns a casual graphic tee into a put-together outfit.
- Match shoes and hardware to the tee's energy: Keep sneakers clean and simple for casual graphics, or choose a leather flat or crossbody for a more minimal print. Stick to one metal tone. If your shoes and your tee are both shouting, change one of them.
- Finish with a tuck, roll, or knot: Front tuck, full tuck, or side knot depending on the tee length and your bottom's rise. Smooth the collar and hem. Look from the side: the hem should be clean, not bunched. That is your final checkpoint.
Real pieces that work with this approach
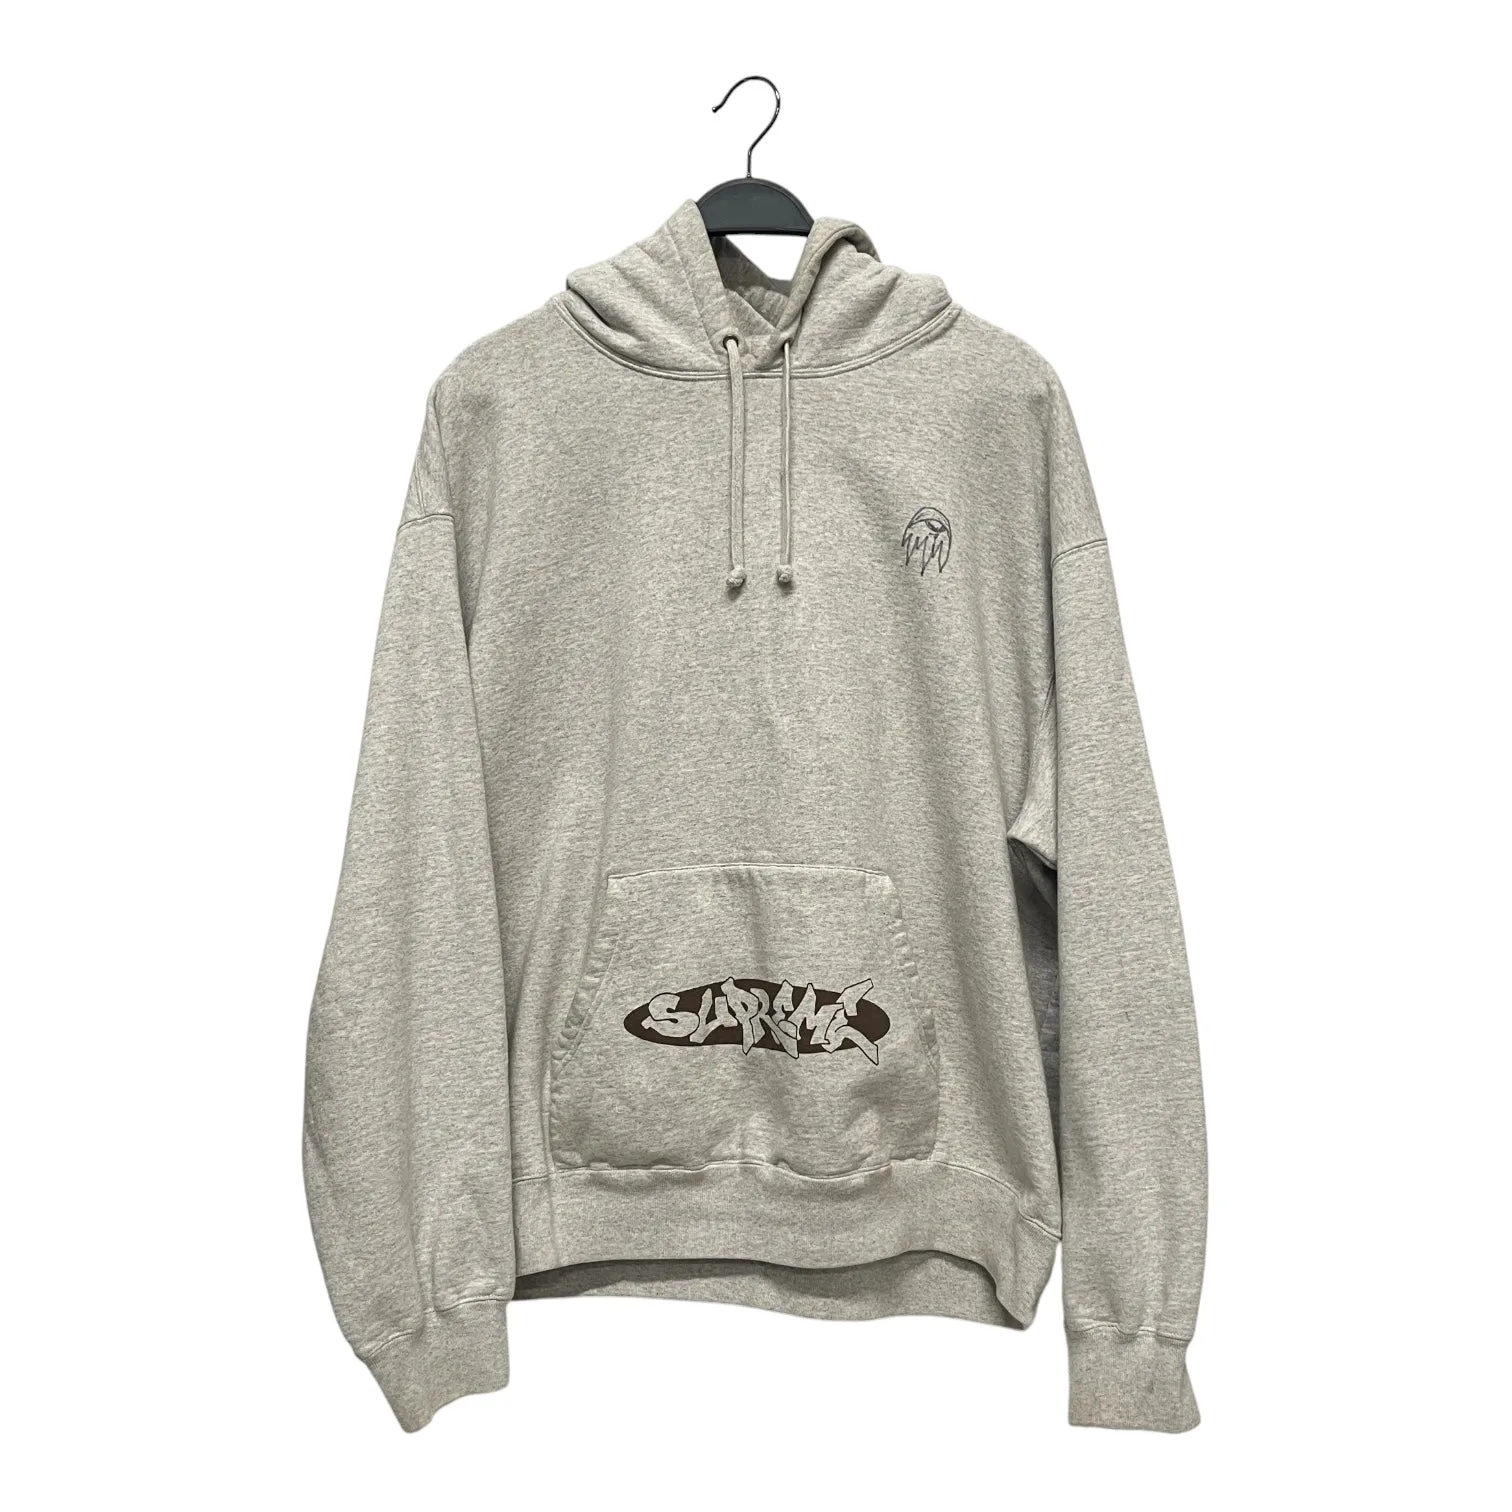
- Supreme/Hoodie/XL/Cotton/GRY/NEW WORLD ORDER HOODIE: Cotton, gray, size XL with chest 26 inches and length 24 inches, condition A (used very good). A solid gray cotton hoodie is the easiest layer over a graphic tee because it adds structure without competing with the print. The listed measurements let you check whether it will sit at your hip or above it.
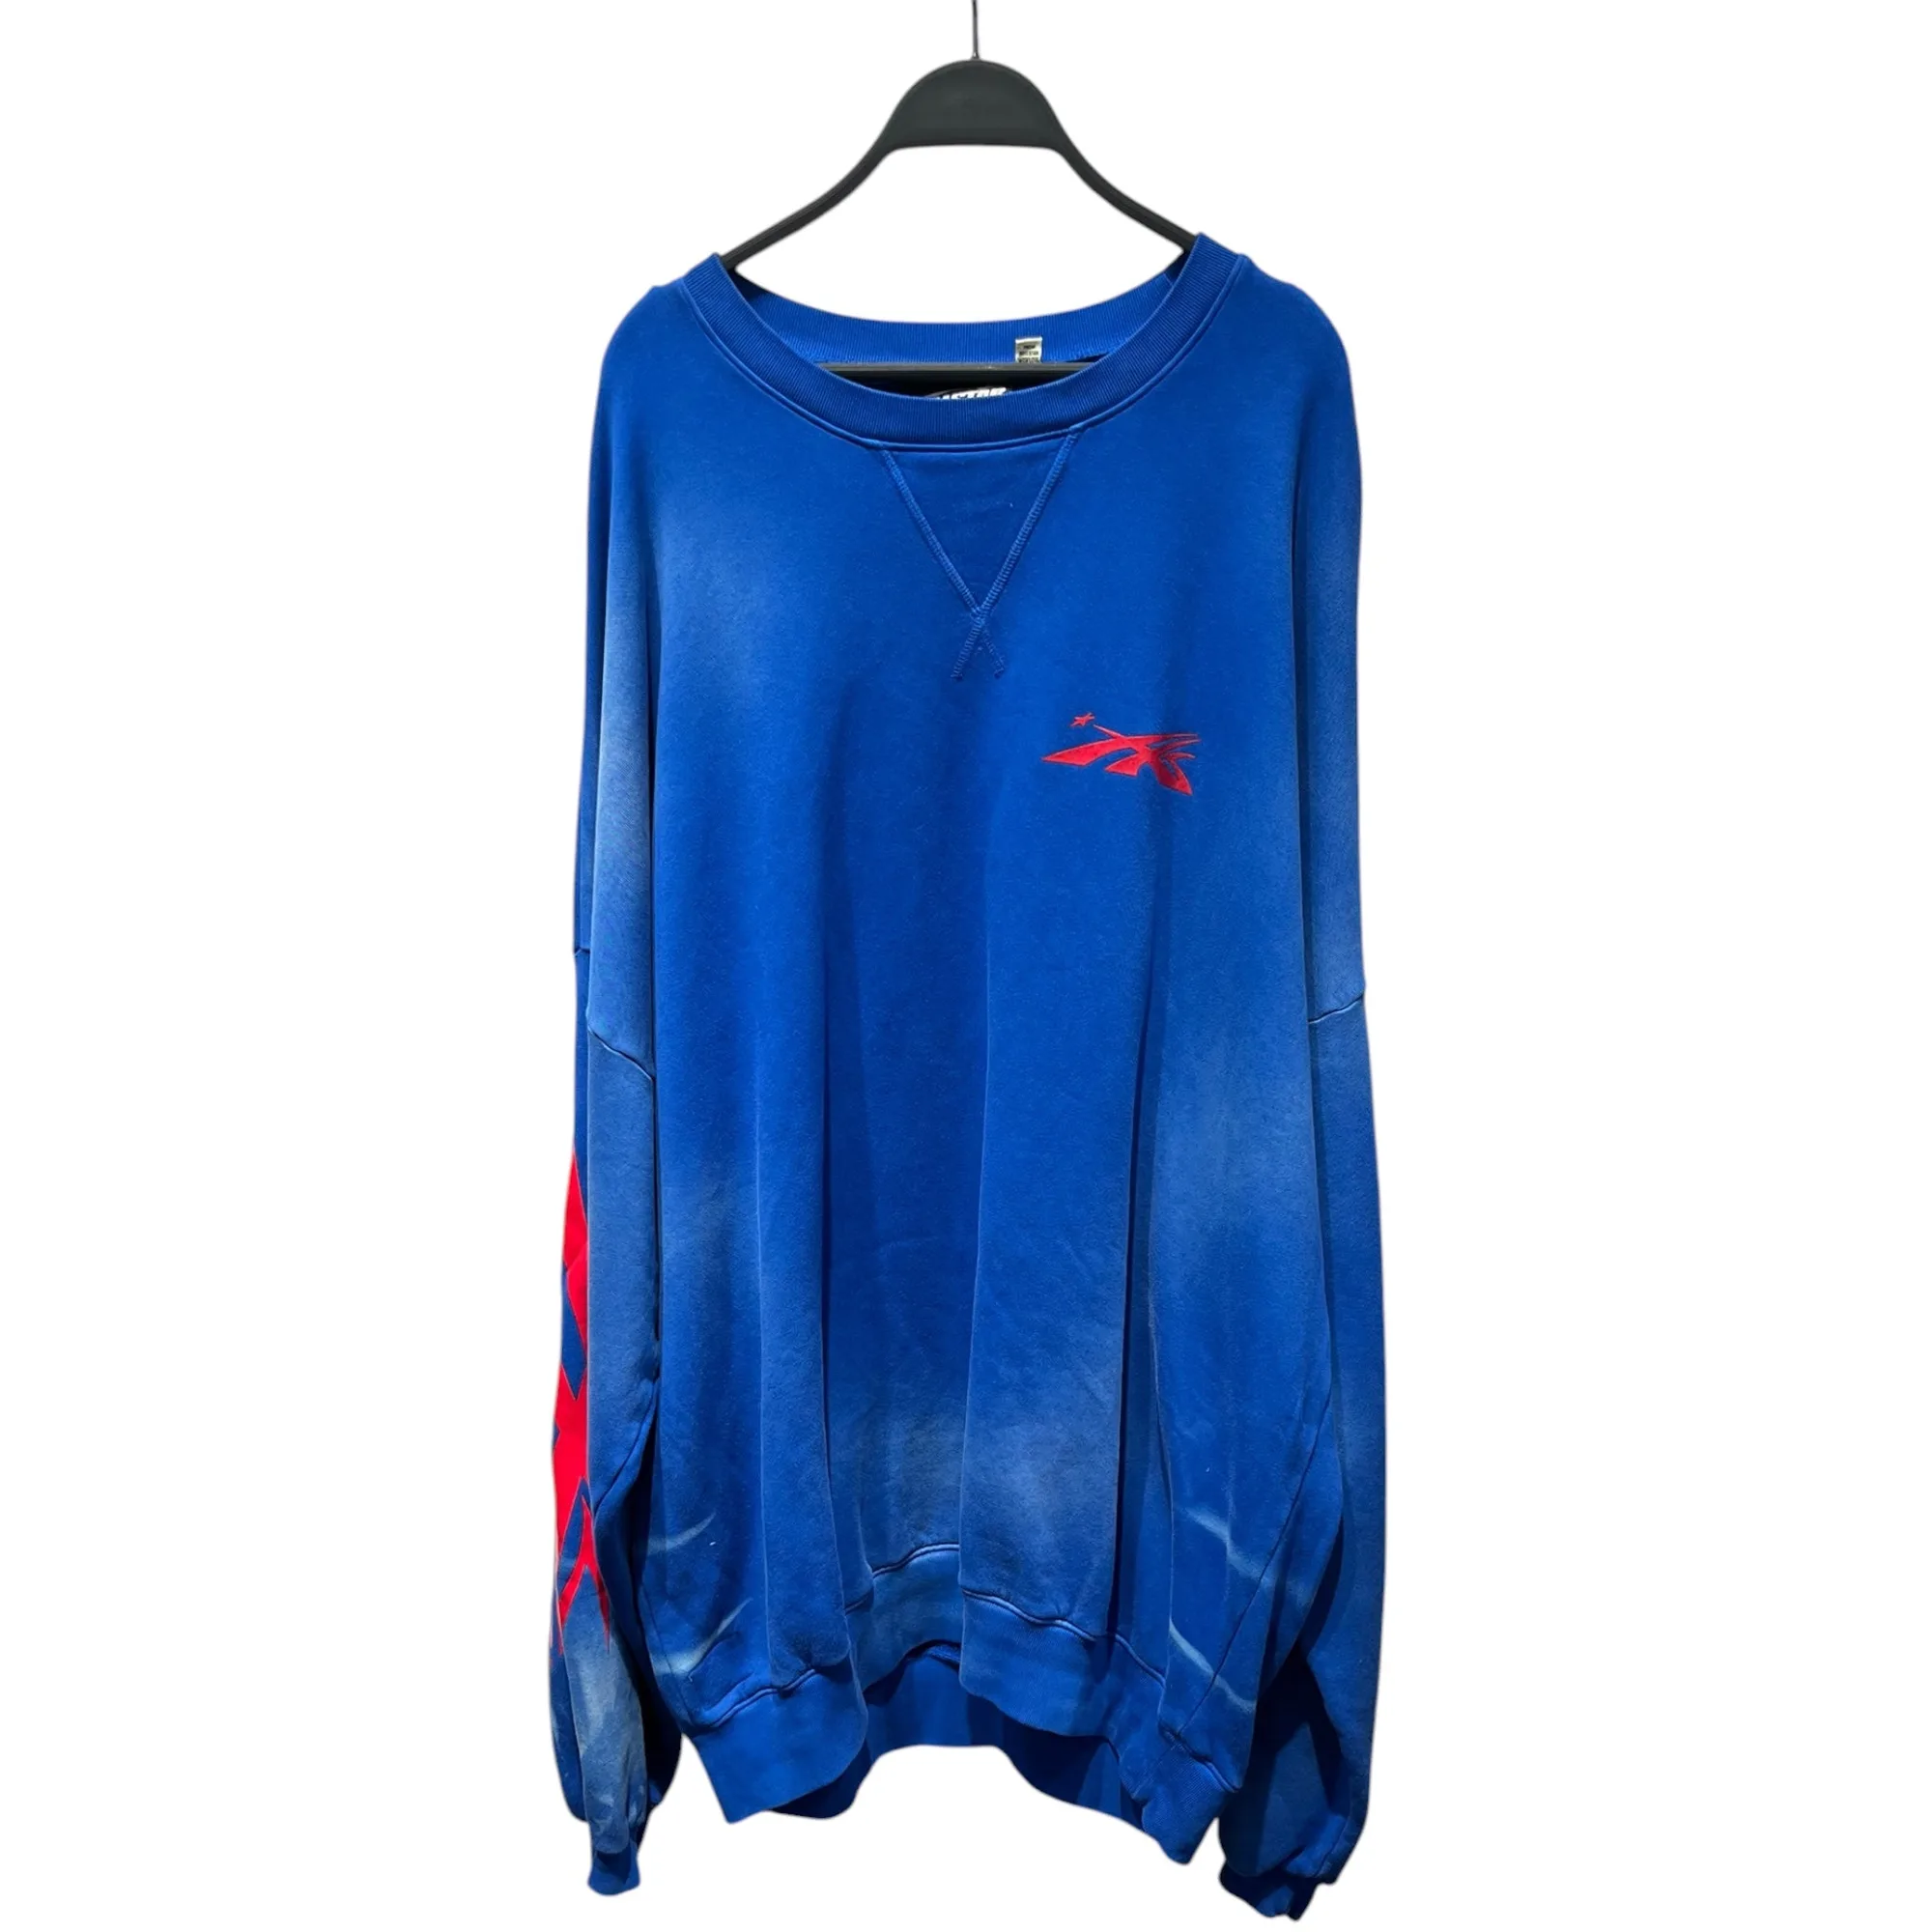
- HELLSTAR/Sweatshirt/XXXL/Graphic/Cotton/BLU/Oversize/HELLSTAR SPORTS SWEAATSHIRT: Blue cotton graphic sweatshirt in size XXXL, oversize fit, condition used good. If you already wear graphic pieces, use this as the graphic and keep your tee underneath plain. The oversize cut means you should balance it with a slimmer bottom rather than another loose layer.
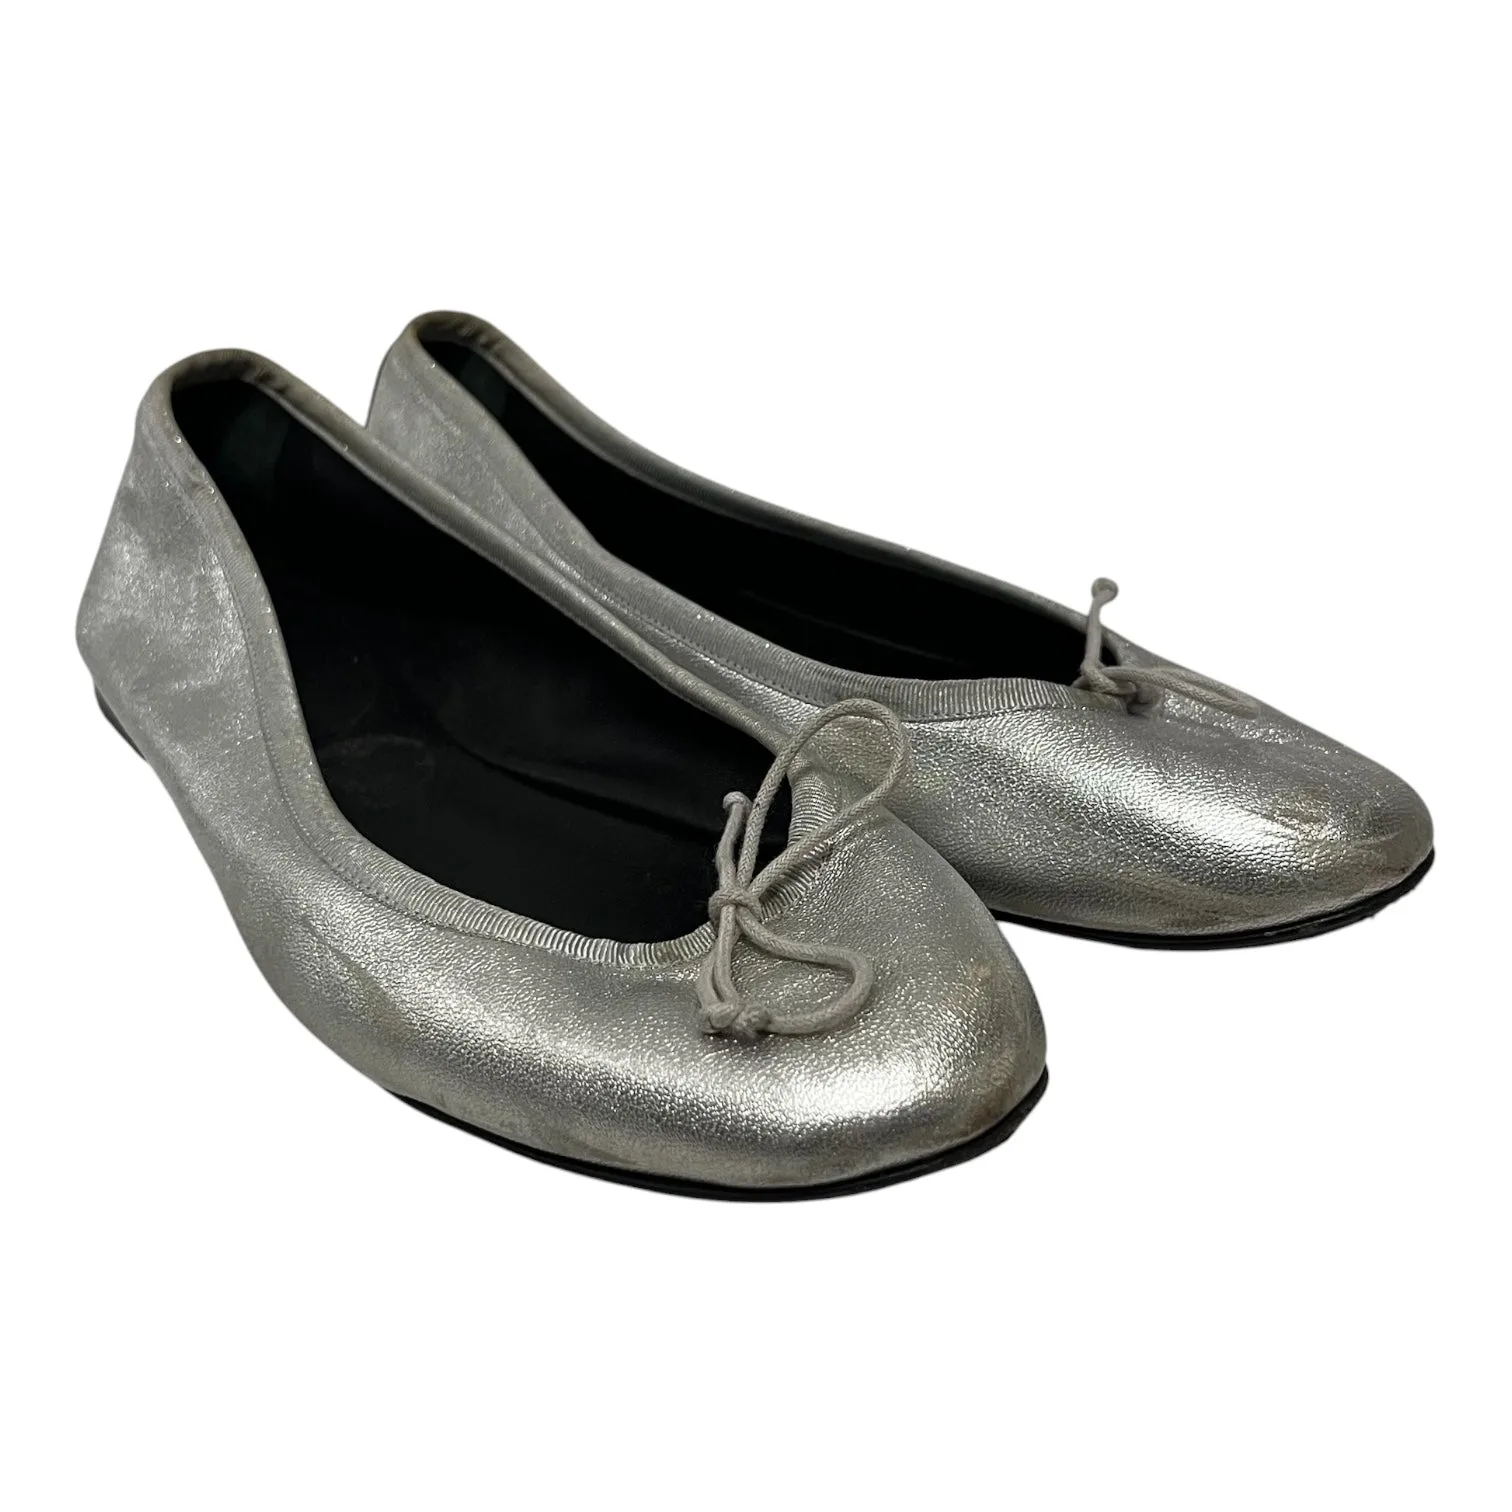
- SAINT LAURENT/Flat Shoes/EU 36.5/SLV/: Size EU 36.5 (US 5.5), silver color, condition used good, material listed as other. A metallic flat is a clean way to finish a graphic tee outfit without adding another print. Because the material is not specified beyond 'other,' check the product photos for the exact finish before you commit.
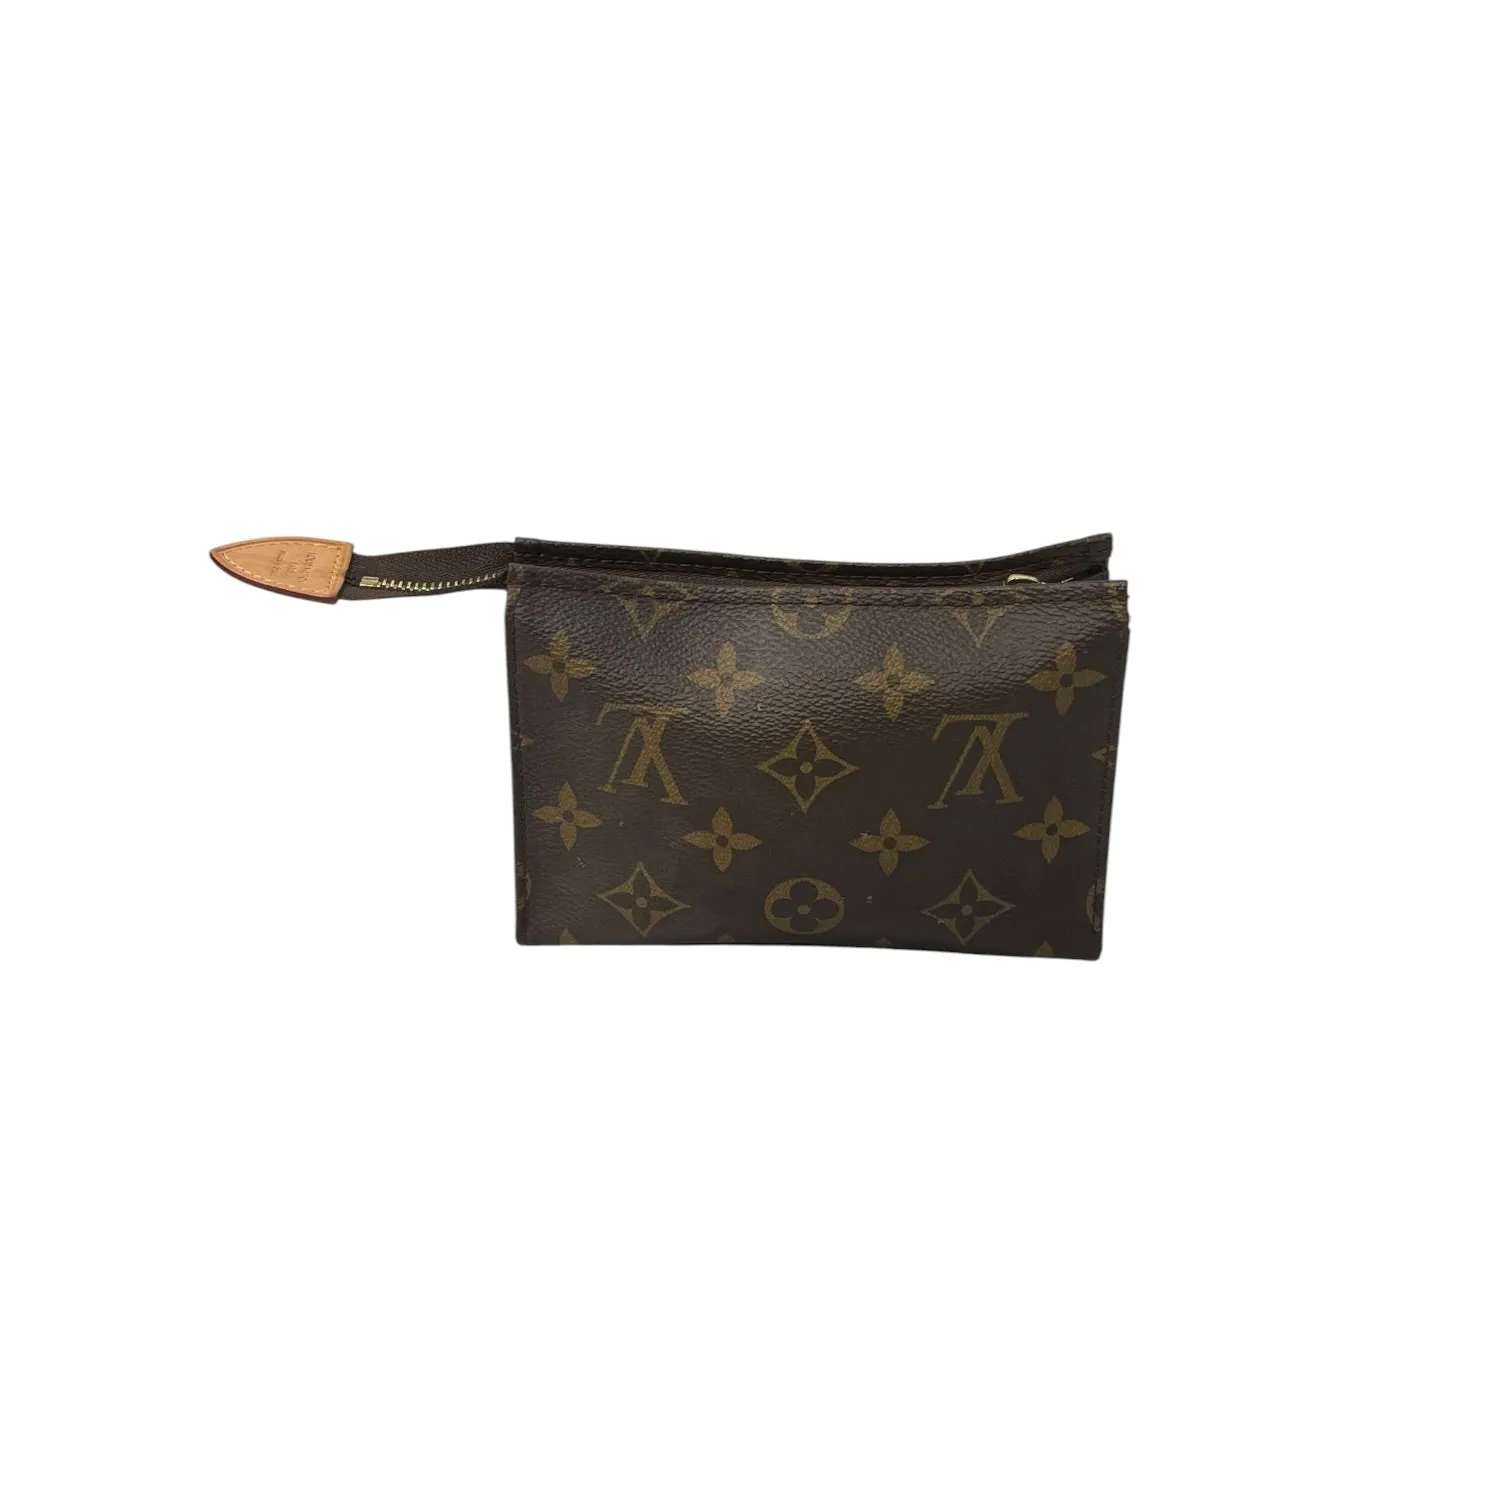
- LOUIS VUITTON/Pouch/Monogram/Leather/BRW/mini toiletry bag: Brown leather monogram pouch, 4 inches high by 6 inches wide by 2 inches deep, condition B (used good). The monogram is a pattern, so treat this as your one print and keep the graphic tee solid or very subtle. The small size keeps it from overwhelming a casual outfit.
Styling a graphic t-shirt comes down to one habit: let the graphic lead and keep the rest of the outfit quiet and well-fitted. Check the shoulders and hem, add one structured layer, and finish with a tuck. Do that and a graphic tee stops being a lazy choice and starts being a deliberate one.