Quick answer
Start on a flat, traffic-free surface with both feet able to reach the ground, and teach one brake at a time: the rear brake first for control, then the front brake for stopping power. Practice in short sessions of 10 to 15 minutes, and move to hills or trails only after your child can stop smoothly and predictably on command.
Hand brakes give kids more control than coaster brakes, but that control has to be learned. The goal is not just knowing which lever does what, it is building the habit of braking early, smoothly, and with both hands still on the bars.
This guide walks through the order that works best for most kids: set up the bike, teach the rear brake, add the front brake, then practice until stopping becomes automatic. It also covers the mistakes that slow kids down and the gear choices that make practice easier.
Before the first lesson: set up the bike and the practice space
Check that your child can straddle the bike with both feet flat on the ground and reach both brake levers comfortably. Levers should be angled so the wrist stays fairly straight, and the reach should be close enough that small hands can pull the lever without stretching. If the levers feel far away, adjust the reach screw before you start.
Pick a flat, smooth, traffic-free area with a long runway, such as an empty parking lot or a quiet cul-de-sac. Avoid grass for the first sessions because it hides bumps and makes braking feel unpredictable. Bring a cone or water bottle to mark a stop line so your child has a clear target.
- Checkpoint: with the bike stationary, your child should be able to squeeze each lever fully while keeping both hands on the grips.
grips
Teach the rear brake first
The rear brake is the safer brake to learn first because it is less likely to pitch the bike forward if it is grabbed too hard. Have your child ride slowly in a straight line and squeeze only the rear lever until the bike comes to a stop. Repeat this several times, asking them to stop at the same marker each time.
Common mistake: many kids stab at the lever instead of squeezing it. If the bike jerks or the rear wheel skids, remind them to pull smoothly and let the bike slow down rather than stop instantly. A skid is not a failure, it is feedback that they grabbed too much too fast.
- Checkpoint: five smooth rear-brake stops in a row without a skid.
Add the front brake in a controlled drill
Once the rear brake feels natural, introduce the front brake at very low speed. Have your child walk the bike while squeezing the front lever gently, then progress to slow riding with both brakes applied together. The front brake provides most of the stopping power, so the lesson is moderation, not avoidance.
Common mistake: skipping the front brake entirely because it feels scary. Kids who only use the rear brake will struggle on steeper terrain later. Teach the front brake early, at walking pace, so it never becomes a mystery lever.
- Checkpoint: your child can slow the bike using both brakes together without locking either wheel.
Practice braking points, not just stopping
Real riding requires braking before a turn, not in the middle of it. Set up a simple course with a marker for the turn and a marker for the braking zone before it. Have your child ride toward the turn, brake in the zone, then coast through the turn with fingers still covering the levers.
Common mistake: braking mid-turn, which stands the bike up and can cause a slide. If your child keeps grabbing the brakes in the turn, move the braking marker farther back and slow the entry speed until the habit sticks.
- Checkpoint: three clean laps where braking happens before the turn marker, not at it.
Progress to hills and trails when stopping is automatic
Move to gentle slopes only after your child stops smoothly on flat ground without reminders. On the first hill, walk the bike down once while squeezing the brakes to feel how much more lever travel is needed. Then ride it slowly, using both brakes evenly.
Common mistake: jumping to a steep hill because the flat-ground drills went well. Steep terrain magnifies every bad habit. Stay on gentle grades until your child can stop confidently at the bottom and start again without help.
- Checkpoint: your child can stop on a gentle slope and restart without putting a foot down in panic.
Keep sessions short and end on a win
Young riders lose focus quickly, so 10 to 15 minutes of focused braking practice is usually plenty. End each session with a drill your child can already do well, such as three perfect stops at the marker, so the last memory is success rather than frustration.
Common mistake: turning practice into a long, repetitive chore. If your child is tired or distracted, stop and try again another day. Braking is a physical skill that improves with sleep and repetition, not with marathon sessions.
- Checkpoint: your child asks to keep riding rather than asking when practice is over.
Your step-by-step hand brake lesson plan
- Set up the bike and the space: Adjust lever reach so your child can squeeze both levers with hands on the grips, and choose a flat, traffic-free area with a marked stop line. Checkpoint: your child can fully squeeze each lever while stationary.
- Master the rear brake: Ride slowly in a straight line and squeeze only the rear lever to stop at the marker. Repeat until stops are smooth, not jerky. Mistake to avoid: stabbing the lever and skidding. Cue a smooth squeeze instead.
- Introduce the front brake at walking pace: Walk the bike while squeezing the front lever gently, then ride slowly using both brakes together. Checkpoint: both wheels slow without locking.
- Practice braking before turns: Set a braking zone before a turn marker and have your child brake in the zone, then coast through the turn with fingers covering the levers. Mistake to avoid: braking mid-turn. Move the marker back if it keeps happening.
- Move to gentle slopes: Walk the bike down the hill once while braking to feel the lever travel, then ride slowly using both brakes evenly. Checkpoint: a controlled stop and restart on the slope.
- Keep sessions short and positive: Practice for 10 to 15 minutes and finish with a drill your child already does well. Stop while it is still fun; skills improve with rest between sessions.
Gear that makes hand-brake practice easier
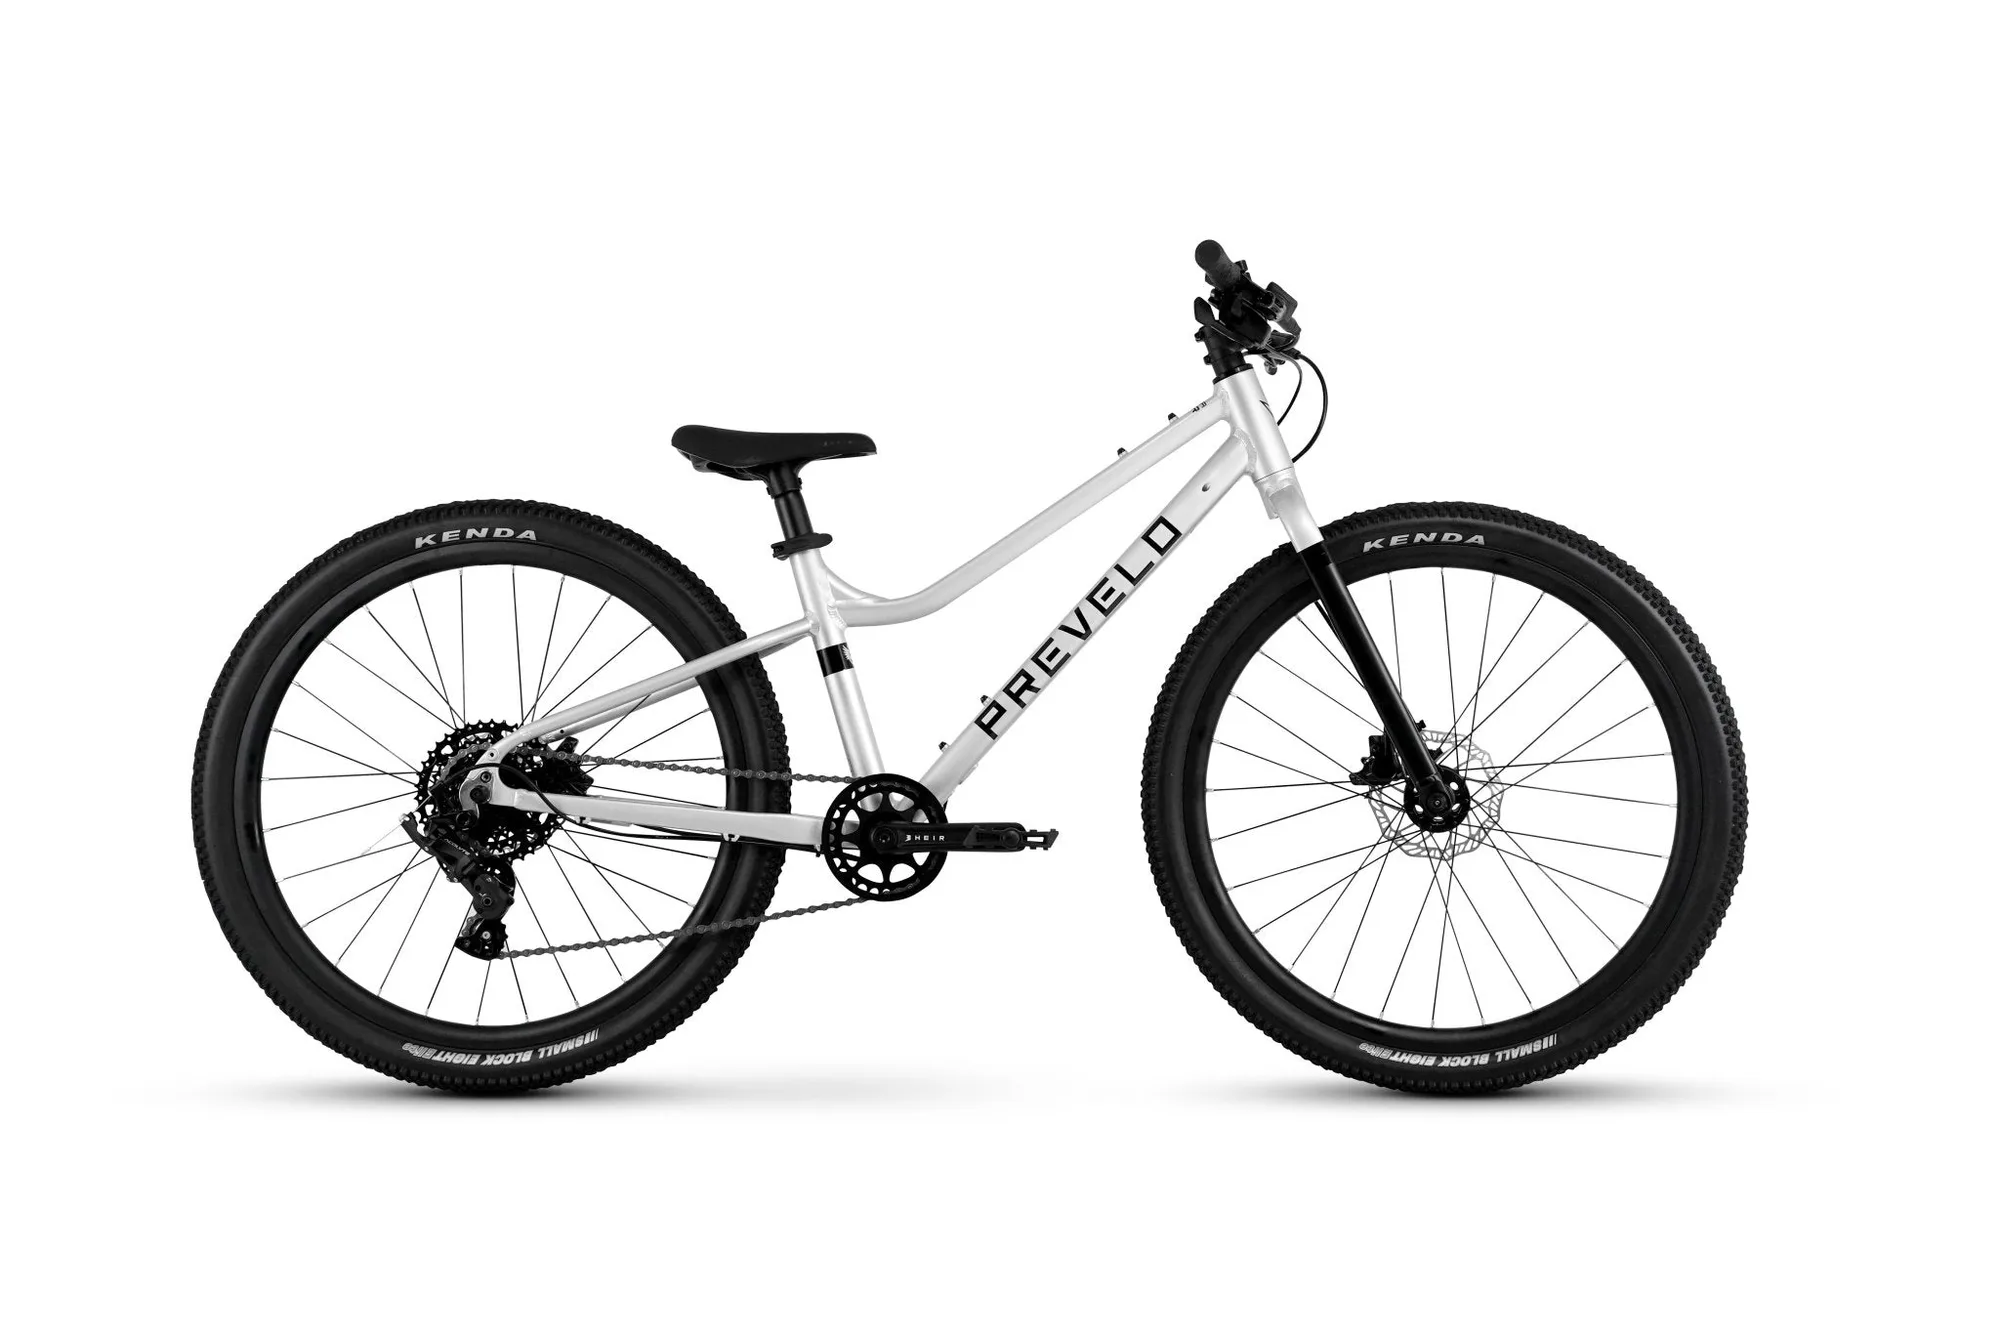
- Alpha Four: The Alpha Four Mk III is a versatile 24-inch geared bike for confident riders ages 7 to 11, with Promax hydraulic disc brakes for smooth, consistent stopping. Hydraulic disc brakes need less hand strength than many cable brakes, which helps smaller riders modulate the lever instead of stabbing at it during early practice.
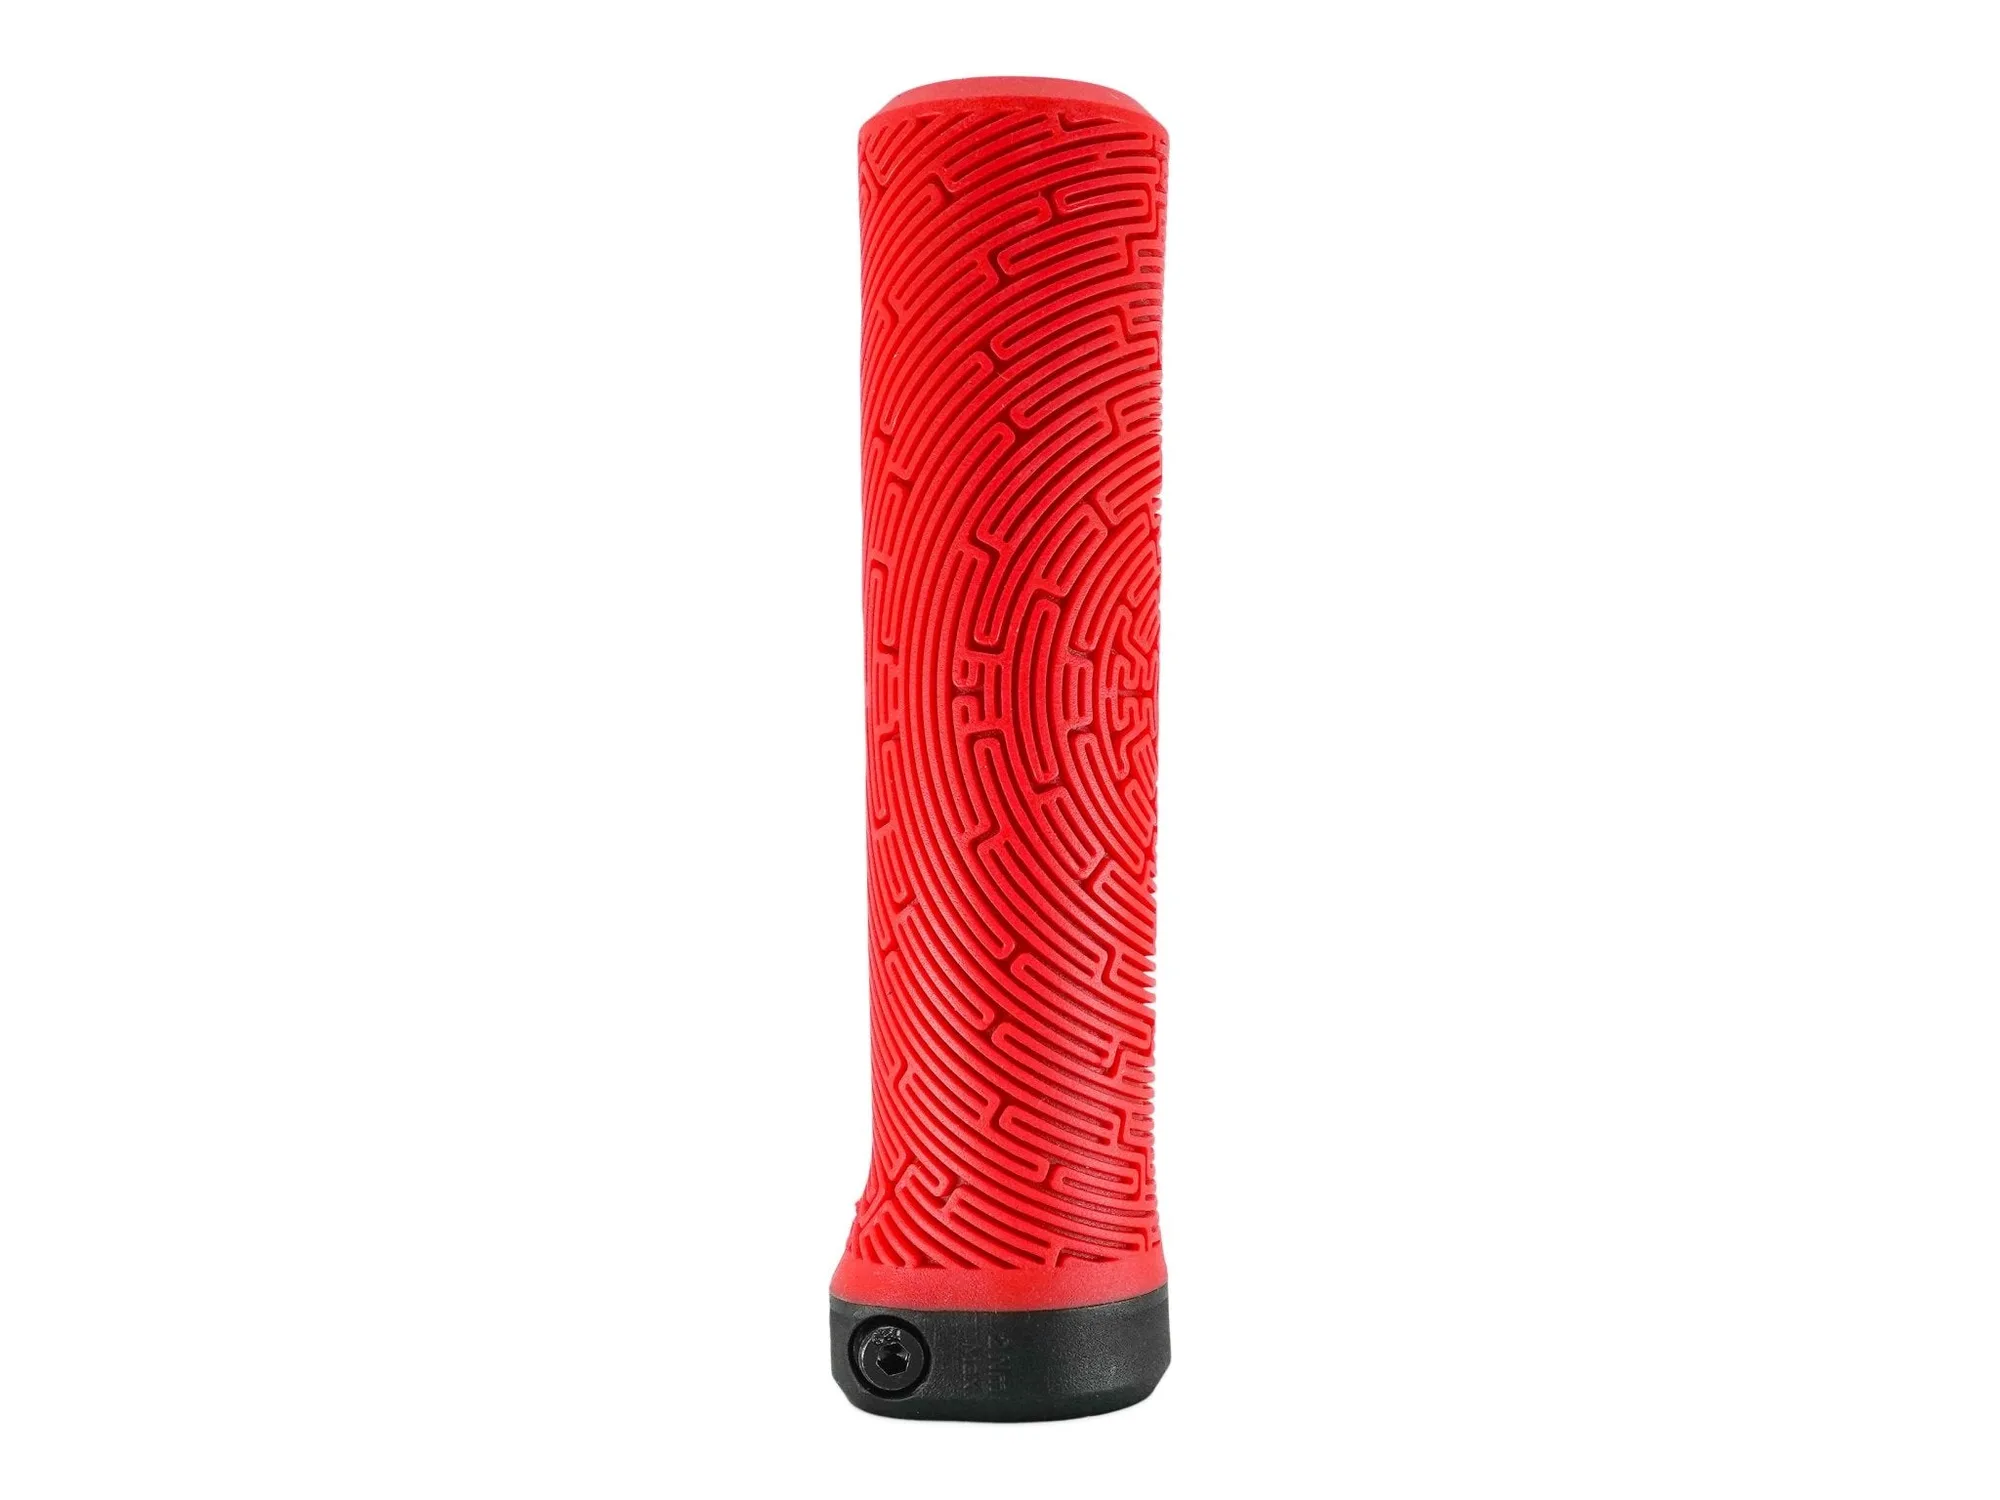
- Grips: These colored lock-on grips use the same Kraton rubber surface as the grips that come standard on Prevelo bikes, and black versions are direct replacements. A secure, comfortable grip keeps hands in place so your child can keep fingers on the brake levers without slipping, which is a common cause of late braking.
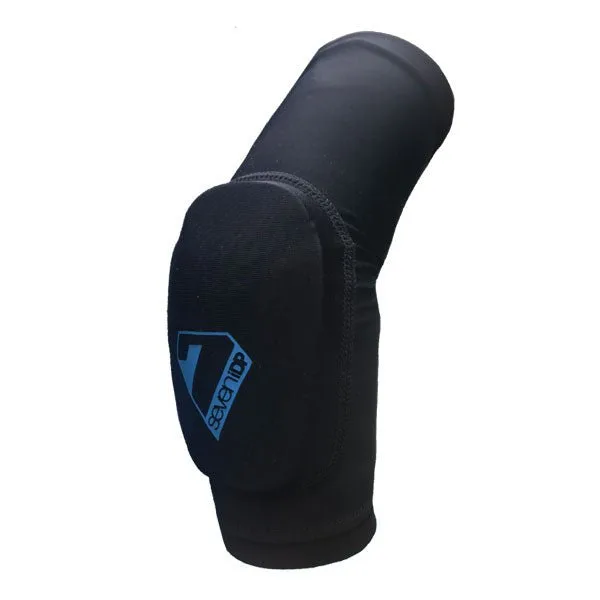
- Transition Knee Pads: The super light Transition pads are designed for riders ages 1.5 to 12, mould with body heat, and have a breathable mesh back panel; each pack contains 2 knee pads. When kids feel protected, they are more willing to practice braking drills and try gentle slopes instead of holding back out of fear of falling.
Hand brakes become second nature through short, consistent practice, not one long lesson. Start flat, teach the rear brake first, add the front brake at walking pace, and progress to slopes only when stopping is automatic. With the right setup and a little patience, your child will brake smoothly and confidently on every ride.