Quick answer
Fold your thread or wool over the eye of the tapestry needle and pinch it flat, then push the folded loop through the eye and pull it through a few inches. If the wool is fuzzy or thick, use a needle threader to pull a loop through instead. Tapestry needles have a blunt tip and a large eye, so you never need to lick the thread or squint at a tiny hole.
Threading a tapestry needle should take seconds, but wool has a way of fraying, splitting, or refusing to cooperate right when you want to sit down and stitch. The good news is that tapestry needles are built for this: their large eye and blunt tip make them far easier to load than a sharp sewing needle.
This guide walks through the fold-and-pinch method, then shows how to use a needle threader when the wool is thick or fuzzy. You will also find checkpoints for common mistakes, like threading too short a tail or twisting the strand before you pull it through.
Why tapestry needles are easier to thread
Tapestry needles are designed for counted canvas work. They have a blunt tip that slides between canvas threads instead of piercing them, and a long eye that accommodates wool, silk, and other thicker threads. That larger eye is the reason you can thread one with your fingers alone, even without a needle threader.
Needle size matters too. Size 22 needles suit 14- to 18-mesh canvas, which covers most beginner and intermediate kits. If your needle feels too tight in the canvas holes or keeps bending, check the mesh count before blaming your threading technique. The right needle size makes every step below easier.
- Use a needle whose size matches your canvas mesh; a mismatched needle can distort holes and make threading feel harder than it is.
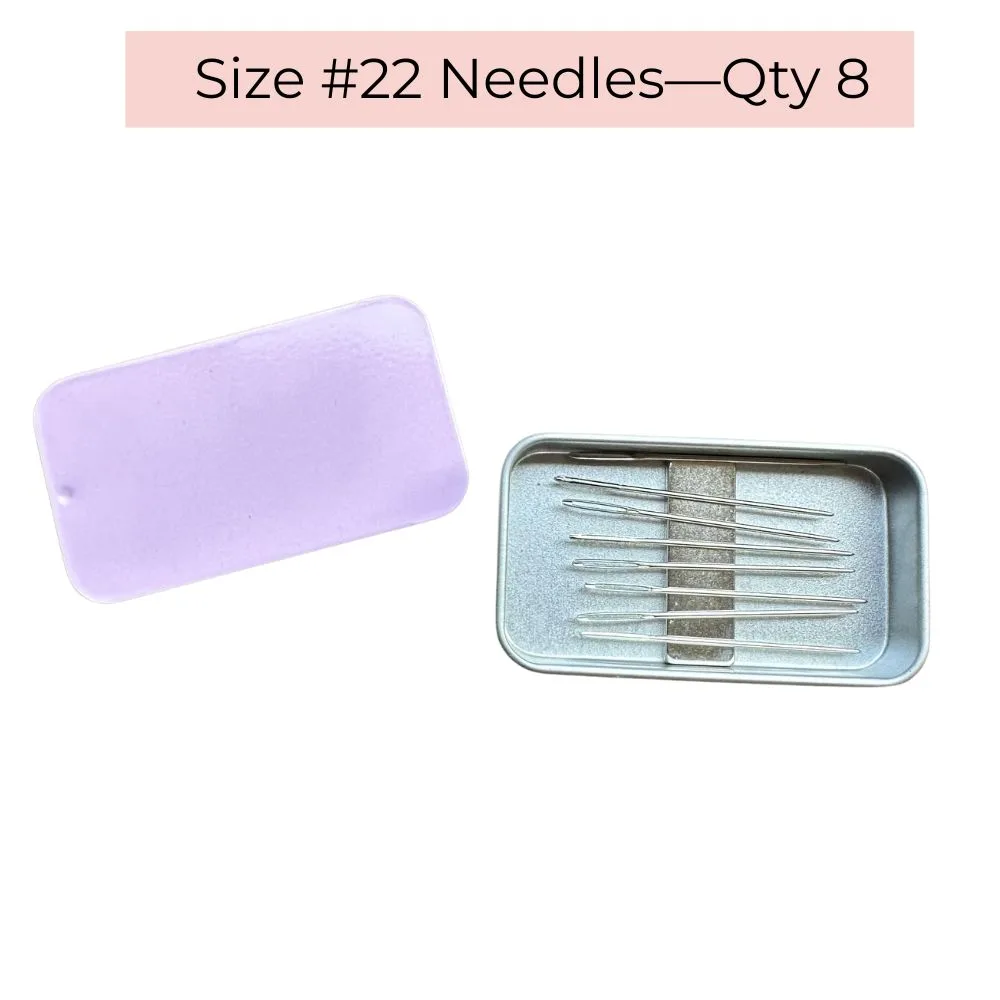
- Keep a spare needle in a magnetic tin so a dropped or bent needle never ends a stitching session.
Step-by-step: threading a needle for needlepoint
Start by cutting a length of thread or wool you can comfortably manage, usually about 18 to 24 inches. Longer strands fray faster because they pass through the canvas more times. Fold one end over the needle eye and pinch the fold flat between your thumb and forefinger so the loop is narrow enough to enter the eye.
Push the folded loop through the eye, then release the pinch and pull the loop through until you have a few inches of tail on the other side. If the wool catches, rotate the needle slightly and try again rather than forcing it. A clean, flat fold is the single biggest factor in whether this works on the first try.
- Common mistake: cutting the tail too short. Leave at least three inches so the thread does not slip out of the eye while you stitch.
- Checkpoint: the thread should slide freely through the eye. If it drags, your strand may be twisted or too thick for that needle.
How to use a needle threader with wool
A needle threader is a small wire loop on a handle. Push the wire loop through the eye of the tapestry needle, then pass your wool through the wire loop. Pull the wire back out of the eye, bringing a folded loop of wool with it. Slide the needle down the loop and tighten gently.
Threaders shine with fuzzy or thick fibers that refuse to hold a fold. They also help when your hands are tired or the light is dim. The tradeoff is that thin wire loops can bend if you yank them, so pull steadily rather than sharply.
- Common mistake: pulling the threader back through at an angle, which bends the wire. Keep the motion straight and gentle.
- Checkpoint: if the threader keeps slipping off the wool, use a slightly longer tail and fold it once more before pulling.
Threading tips that stop wool from fraying
Wool and silk fray when the same section passes through the canvas repeatedly. Cut a fresh length instead of reusing a worn end, and avoid threading the very tip of a cut strand if it looks fuzzy. You can also strip and smooth the end between your fingers before folding it.
Another common issue is twisting. If your strand twists back on itself as you pull it through the eye, let it hang loose for a moment so it untwists. A twisted strand is more likely to knot, and knots are harder to fix once you have started stitching.
- Common mistake: threading a strand that already has a knot or frayed tip. Trim it first.
- Checkpoint: after threading, run the needle along the strand. If it catches, rethread with a cleaner end.
When to rethread instead of pushing through
If the wool keeps popping out of the eye, the eye may be too small for that fiber, or the tail may be too short. Switch to a larger needle if your canvas allows it, or use a threader to create a longer loop. Do not keep stitching with a barely threaded needle; you will lose the strand mid-row.
Kits often include the right needle for the included canvas. If you are stitching a kit with 14-mesh canvas, a size 22 tapestry needle is a good match. If you are working on 18-mesh canvas, a slightly smaller needle may sit more comfortably in the holes.
- Common mistake: forcing a thick wool through a needle that is too small, which frays the fiber and splits the canvas.
- Checkpoint: the needle should pass through the canvas with light resistance, not a hard push.
Threading checkpoints at a glance
- Cut a manageable length: Cut 18 to 24 inches of wool or thread. Longer strands fray faster and tangle more often. Checkpoint: if the strand is longer than your arm, cut it down.
- Fold and pinch the end: Fold the end over the needle eye and pinch the fold flat so it fits through the eye. Checkpoint: the fold should be narrow and smooth, not bulky.
- Push the loop through: Push the folded loop through the eye, then release and pull a few inches of tail through. Checkpoint: the thread should move freely, not drag.
- Use a threader for fuzzy wool: If the fold will not hold, push a needle threader wire through the eye and pull a loop of wool back through. Checkpoint: pull straight so the wire does not bend.
- Trim frayed ends: If the tip is fuzzy or knotted, trim it and rethread with a clean end before stitching. Checkpoint: a clean end threads faster and knots less.
- Match needle to canvas: Use a size 22 needle for 14- to 18-mesh canvas, and size down for finer mesh if the needle feels tight. Checkpoint: the needle should pass through with light resistance.
Tools that make threading easier
- Tapestry Needles Size 22 | Magnetic Tin Pink: This magnetic tin, with a sliding lid, contains eight Size #22 stainless steel needlepoint tapestry needles. Size #22 needles are perfect for canvas mesh 14-18. Having eight needles on hand means you can keep one threaded and ready, and the magnetic strip stops needles from disappearing into the couch. The tin is small enough for a purse or project bag.
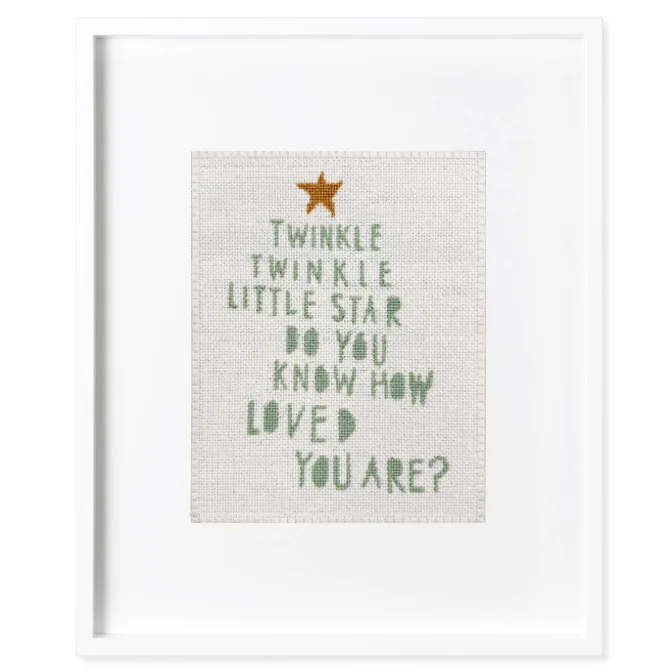
- Twinkle Twinkle Little Star Pistachio Needlepoint Kit: Essential Tools: Two Bohin stainless steel size 20 needles. Stitch Guide: An illustrated brochure with beginner instructions and a guide to the two. A kit that includes needles and a beginner stitch guide removes the guesswork about which needle to use, so you can practice threading and stitching without buying separate supplies.
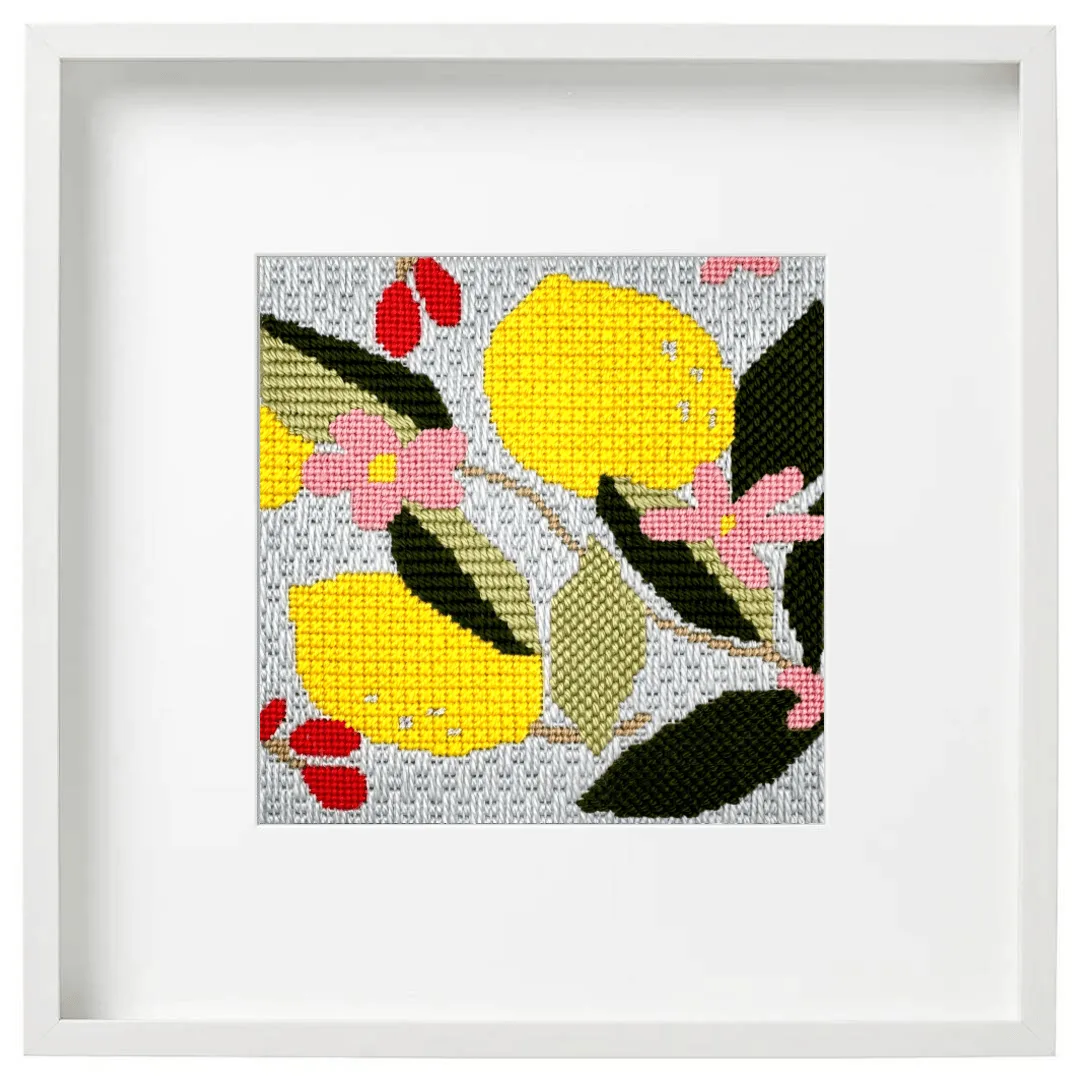
- Lemon Tree Needlepoint Kit: Guide: A color card of the design is included with the kit and contains a summary of the stitches used. A printed guide helps you match your needle and thread to the design, which reduces the chance of threading problems caused by using the wrong weight of wool.
Threading a tapestry needle comes down to a flat fold, a long enough tail, and the right needle for your canvas. Keep a magnetic tin of size 22 needles nearby, reach for a threader when the wool is fuzzy, and you will spend more time stitching and less time squinting.