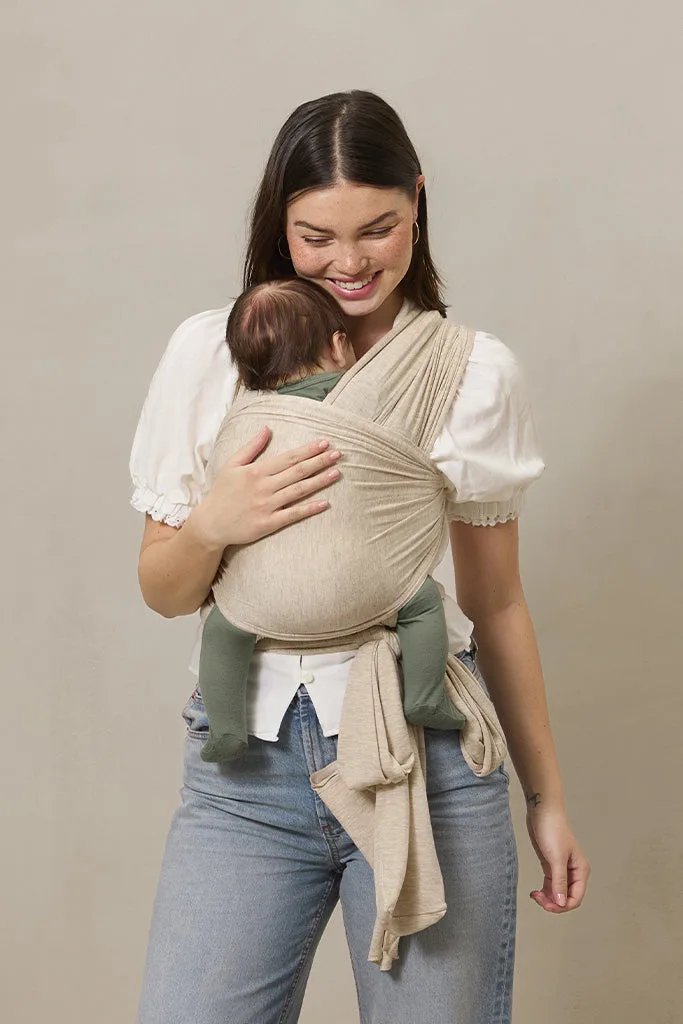
Quick answer
Find the center tag, drape it across your stomach, cross both panels behind your back, and bring them forward over the opposite shoulders. Tie a double knot at your natural waist, then spread the cross and tuck baby in. A good tie is snug enough that you can slide two fingers under any edge, but not loose enough for a hand to slip inside.
Before your first tie: what to have ready
Set yourself up before you start wrapping. A stretchy wrap is easiest to learn when you are not rushed, so pick a time when baby is fed, changed, and calm. Wear a fitted top so the fabric can sit smoothly against your body, and have a mirror or phone camera nearby so you can check the cross and the knot without twisting around.
If you are using a Solly Baby wrap, spread it out flat first and look for the center tag. That tag marks the middle of the fabric and is the single most useful landmark for a symmetrical tie. Skip this step and one side will end up longer than the other, which throws off the whole wrap.
How tight should a stretchy wrap be?
Tie the wrap tighter than feels natural at first. Stretchy fabric relaxes once baby is inside, so a tie that feels snug on your body before you add baby will usually settle into the right fit. If the wrap feels comfortable and loose before you pick baby up, it will sag once you do.
Use the two-finger check as your baseline: you should be able to slide two fingers under any edge of the fabric, but not your whole hand. If you can fit a hand inside the cross, retie tighter. If the fabric digs into your skin or restricts your breathing, loosen it and start again.
Checking the carry once baby is in
Once baby is tucked in, look for three things. Baby's face should be visible and clear of fabric at all times, the head should sit high enough that you can kiss the top of it without straining, and the chin should not be pressed down toward the chest. A tucked chin can narrow the airway, so if you see it, lift baby slightly and reseat the head.
The fabric should support baby from the bottom up, with the knees slightly higher than the bottom and the back rounded. If baby feels like they are sinking or the fabric is pulling away from your body, the wrap is too loose. Retie rather than trying to adjust mid-carry, because a loose wrap is harder to fix once baby is already inside.
When to retie instead of adjust
Retie if the knot has slipped, if the cross has twisted, or if baby has shifted lower than when you started. Small adjustments are fine for a strap that has rolled, but a wrap that has lost its shape needs a fresh tie. It takes less than a minute once you have done it a few times, and it is safer than working with fabric that is no longer holding its structure.
If you are practicing with a doll or a stuffed animal, that is a good way to build muscle memory before you try it with a real baby. Do the full sequence three or four times in a row, then check the mirror. By the fourth pass, your hands will usually know where the panels go without you thinking about it.
Step-by-step: tying a stretchy baby wrap
- Find the center tag: Hold the wrap up and locate the tag in the middle of the fabric. Place that tag against your stomach, just above your belly button. Checkpoint: the two hanging ends should be roughly even in length.
- Cross behind your back: Take both panels behind your back and cross them, keeping the fabric flat rather than twisted. Bring each panel over the opposite shoulder so they form an X on your chest. Common mistake: letting the panels bunch or roll behind you, which creates pressure points later.
- Bring panels down and tuck: Pull both panels down toward your waist and tuck them under the horizontal band of fabric across your stomach, then bring them back up and over the same band. Checkpoint: the cross on your chest should sit flat and wide, not tight and narrow.
- Tie a secure knot: Bring both ends to your natural waist and tie a double knot. Keep the knot slightly to one side so it does not press into your spine when you sit down. Common mistake: a single knot or a bow, which can slip as the fabric stretches.
- Spread the cross and seat baby: Reach into the cross, spread the fabric from knee to knee, and lower baby in feet first. Pull the fabric up over baby's back and bottom so it supports from the base. Checkpoint: baby's face is visible, the head is kissable height, and the chin is not pressed to the chest.
- Do the final tightness check: Slide two fingers under each edge of the wrap. If a whole hand fits, retie tighter. If the fabric digs in or restricts your breathing, loosen and start again. Next step: practice the full sequence three times with a doll before your first real carry.
Product facts that help with tying
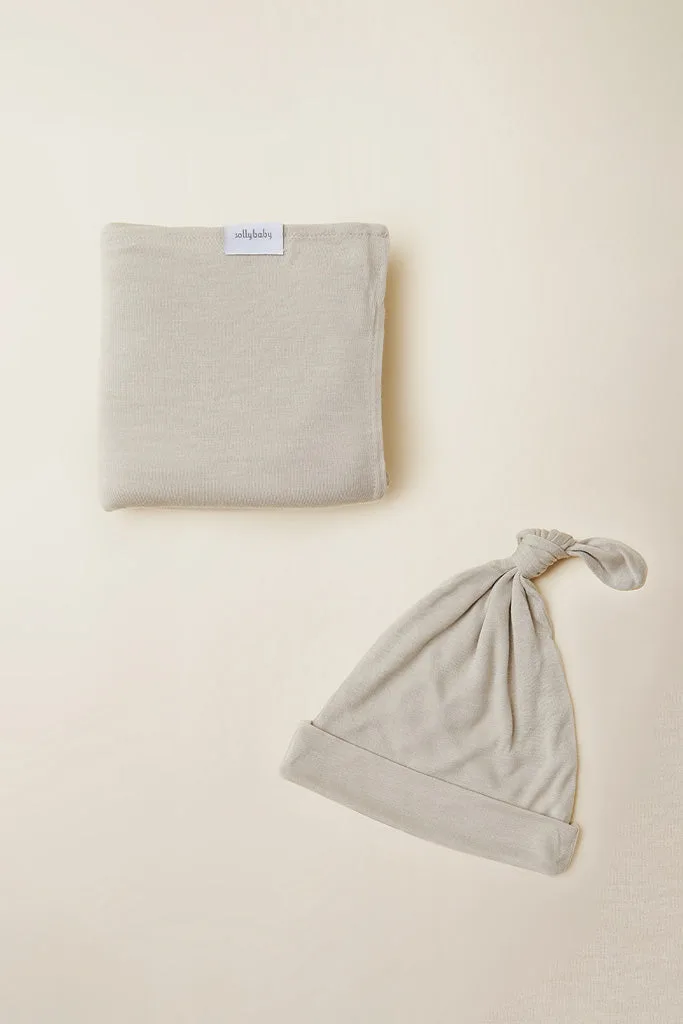
- Spelt Swaddle + Hat Set: Spelt Swaddle + Hat Set uses buttery-soft TENCEL Modal swaddles sized approximately 47 by 49 inches, with natural stretch and lightweight breathability. The generous size gives you enough fabric to spread the cross and tuck the edges, while the natural stretch helps the wrap stay put without over-tightening.
- Bleu Toile Swaddle + Hat Set: Bleu Toile Swaddle + Hat Set is made from the same TENCEL Modal swaddle fabric and includes a matching hat. The matching hat means one less thing to hunt for during a late-night change, and the swaddle doubles as a lightweight blanket in warmer months.
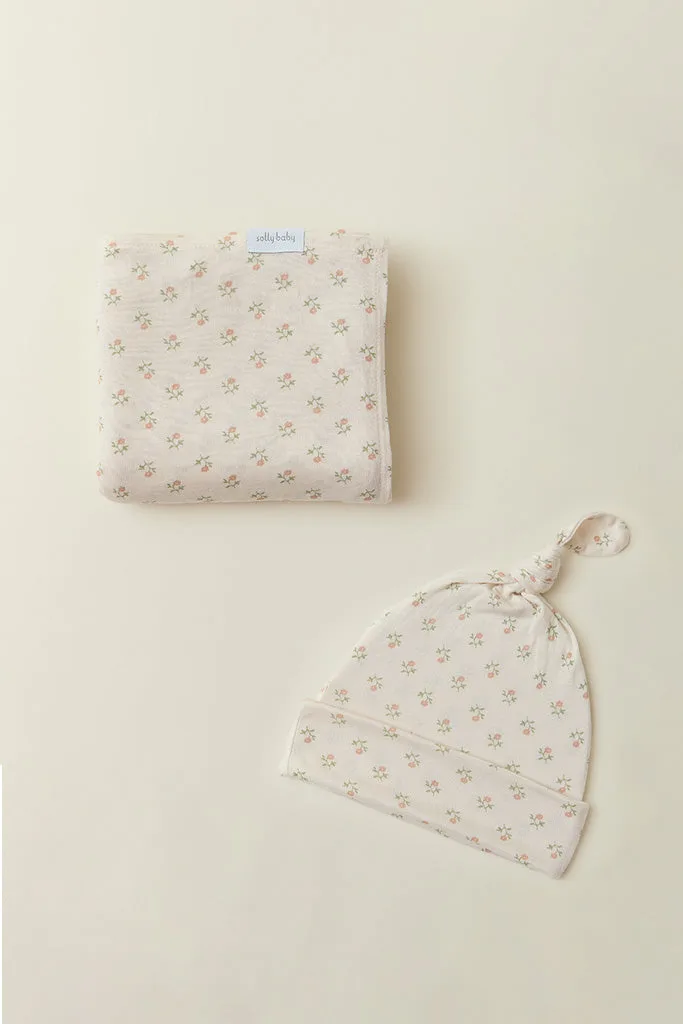
- Blush Floret Swaddle + Hat Set: Blush Floret Swaddle + Hat Set is a floral option in the same buttery-soft TENCEL Modal fabric, sized approximately 47 by 49 inches. Choosing a print you actually like makes you more likely to practice the tie often enough to get comfortable with it.