Quick answer
Move to a floor bed only when your child can get in and out of it safely and your room is fully child-proofed. Start with naps, keep the bedtime routine identical, and expect one to two weeks of adjustment. The goal is a calm, low, independent sleep space, not a perfectly silent first night.
A crib-to-floor-bed move works best when you treat it as a room project, not just a furniture swap. Once the crib rail disappears, your child can reach shelves, cords, and the door, so the whole Montessori bedroom setup has to be ready before the first night.
This guide walks through the practical steps in order: checking readiness, clearing the room, choosing and placing the mattress, rehearsing the routine, and handling the first two weeks. Each step includes the mistake that most often derails the transition.
Step 1: Check readiness and set a realistic date
Most children make the move between 18 months and 3 years, but age matters less than ability. Your child should be able to climb off a low mattress feet-first, follow a simple bedtime instruction, and stay in the room long enough for you to notice. If they still wake several times a night, solve that pattern first, because a floor bed makes night waking easier to act on, not harder.
Pick a low-stress week with no travel, illness, or daycare change. Keep the crib assembled in another room for at least two weeks so you have a fallback that does not feel like failure.
- Checkpoint: your child can get off the mattress safely and you can child-proof the whole room, not just the bed corner.
Step 2: Clear and child-proof the room before the mattress arrives
Get down on the floor and look at the room from your child's height. Move furniture with sharp corners, secure tall shelves to the wall, cover outlets, and shorten or hide blind cords. Put a gate at the door or use a door alarm if the hallway is not safe at night. Anything you would not leave a toddler alone with for ten minutes should leave the room.
Keep the space boring at bedtime. A small basket of books and one soft toy is enough. A room full of climbing equipment invites play at 9 p.m., so if you keep a climbing arch or similar piece in the bedroom, treat it as daytime furniture and store it out of reach at night.
- Common mistake: child-proofing only the bed area and leaving the rest of the room as it was.
Step 3: Choose the mattress and frame height
A floor bed for toddlers is usually a mattress directly on the floor or on a very low slatted frame. The sleeping surface should be firm, fit the frame without gaps, and sit low enough that a feet-first exit is easy. If you use a frame, check that slats are close together and that no bolts or rough edges are exposed at crawling height.
Skip the crib mattress hand-me-down if it is soft, sagging, or does not fit the new frame snugly. A gap between mattress and frame is a real entrapment risk, so measure before you buy rather than assuming standard sizes match.
- Checkpoint: press the mattress edges and corners. No gaps, no soft dips, no sliding.
Step 4: Introduce the bed during the day, then start with naps
Let your child explore the bed while it is light and boring. Sit on it together, read a book, and practice getting on and off. Then use it for one nap before you use it for the night. Naps are shorter and easier to reset if they go badly, which protects the nighttime routine.
Keep the crib in the room or nearby during this phase if space allows. Seeing the old bed without being forced into it reduces the power struggle, and you can still use it if your child is sick or overtired.
- Common mistake: making the first floor-bed experience a full night after a busy day.
Step 5: Keep the bedtime routine identical
The routine is the real transition tool. Bath, pajamas, teeth, two books, song, lights out should happen in the same order and at the same time as it did with the crib. Change the bed, not the sequence. If your child calls out, walk them back calmly and repeat one short phrase rather than starting a new conversation.
Expect the novelty to wear off in three to five days, when many children test whether the old rules still apply. Consistency on nights four through ten matters more than a perfect first night.
- Checkpoint: two adults use the same return-to-bed phrase and the same number of check-ins.
Step 6: Add movement and play elsewhere in the room
Montessori bedrooms often double as playrooms, and that is fine during the day. A small climbing piece, a low shelf, and a floor cushion give your child a place to move and reset without turning the bed into a trampoline. The key is that active play has a clear daytime home and the sleep area stays uncluttered.
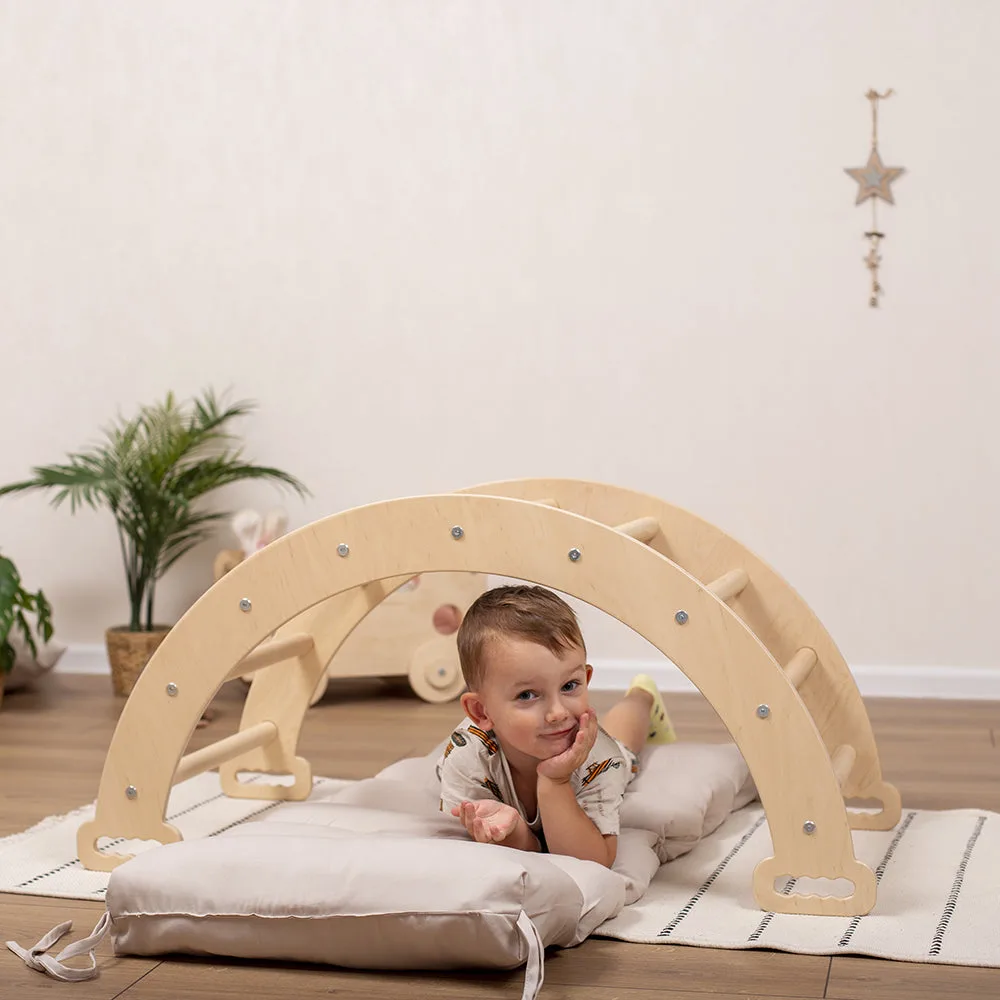
If you already own a climbing arch, a cushion that ties to it can make the arch comfortable for sitting and reading, and it can be used on the floor too. Keep soft items out of the sleep space itself, especially for children under two.
- Common mistake: putting the only interesting toys on or next to the bed.
Step 7: Review safety and adjust after two weeks
At the two-week mark, check what is actually happening: where your child falls asleep, how often they leave the room, and whether the mattress still fits the frame. Tighten anything loose, remove anything they have learned to climb, and re-check cords and anchors. If night waking has increased sharply and is not improving, it is reasonable to pause and return to the crib for a few weeks.
A floor bed is not a milestone you have to complete on schedule. A calm pause is better than a month of broken sleep for everyone.
- Checkpoint: re-do the floor-level safety scan after two weeks, because your child's climbing ability changes fast.
Your crib-to-floor-bed checklist, in order
- 1. Confirm readiness: Your child can climb off a low mattress feet-first and follow a simple bedtime instruction. If not, wait a few weeks and keep the crib in use.
- 2. Child-proof the whole room: Anchor shelves, cover outlets, secure cords, and gate the door if the hallway is unsafe. Scan from floor level, not standing height.
- 3. Set up the mattress and frame: Firm mattress, no gaps, low frame, nothing climbable beside it. Measure the frame before buying a mattress.
- 4. Practice during the day: Read on the bed, practice getting on and off, then use it for one nap. Keep the crib available as a backup.
- 5. Keep the routine identical: Same order, same time, same short return-to-bed phrase for both parents. Nights four to ten are usually the test.
- 6. Give play its own zone: Put climbing and movement pieces in a daytime corner, away from the sleep area. Keep soft items out of the bed itself.
- 7. Review at two weeks: Re-check anchors, cords, mattress fit, and how often your child leaves the room. Pausing and returning to the crib is a valid outcome.
Pieces that fit a Montessori floor-bed room
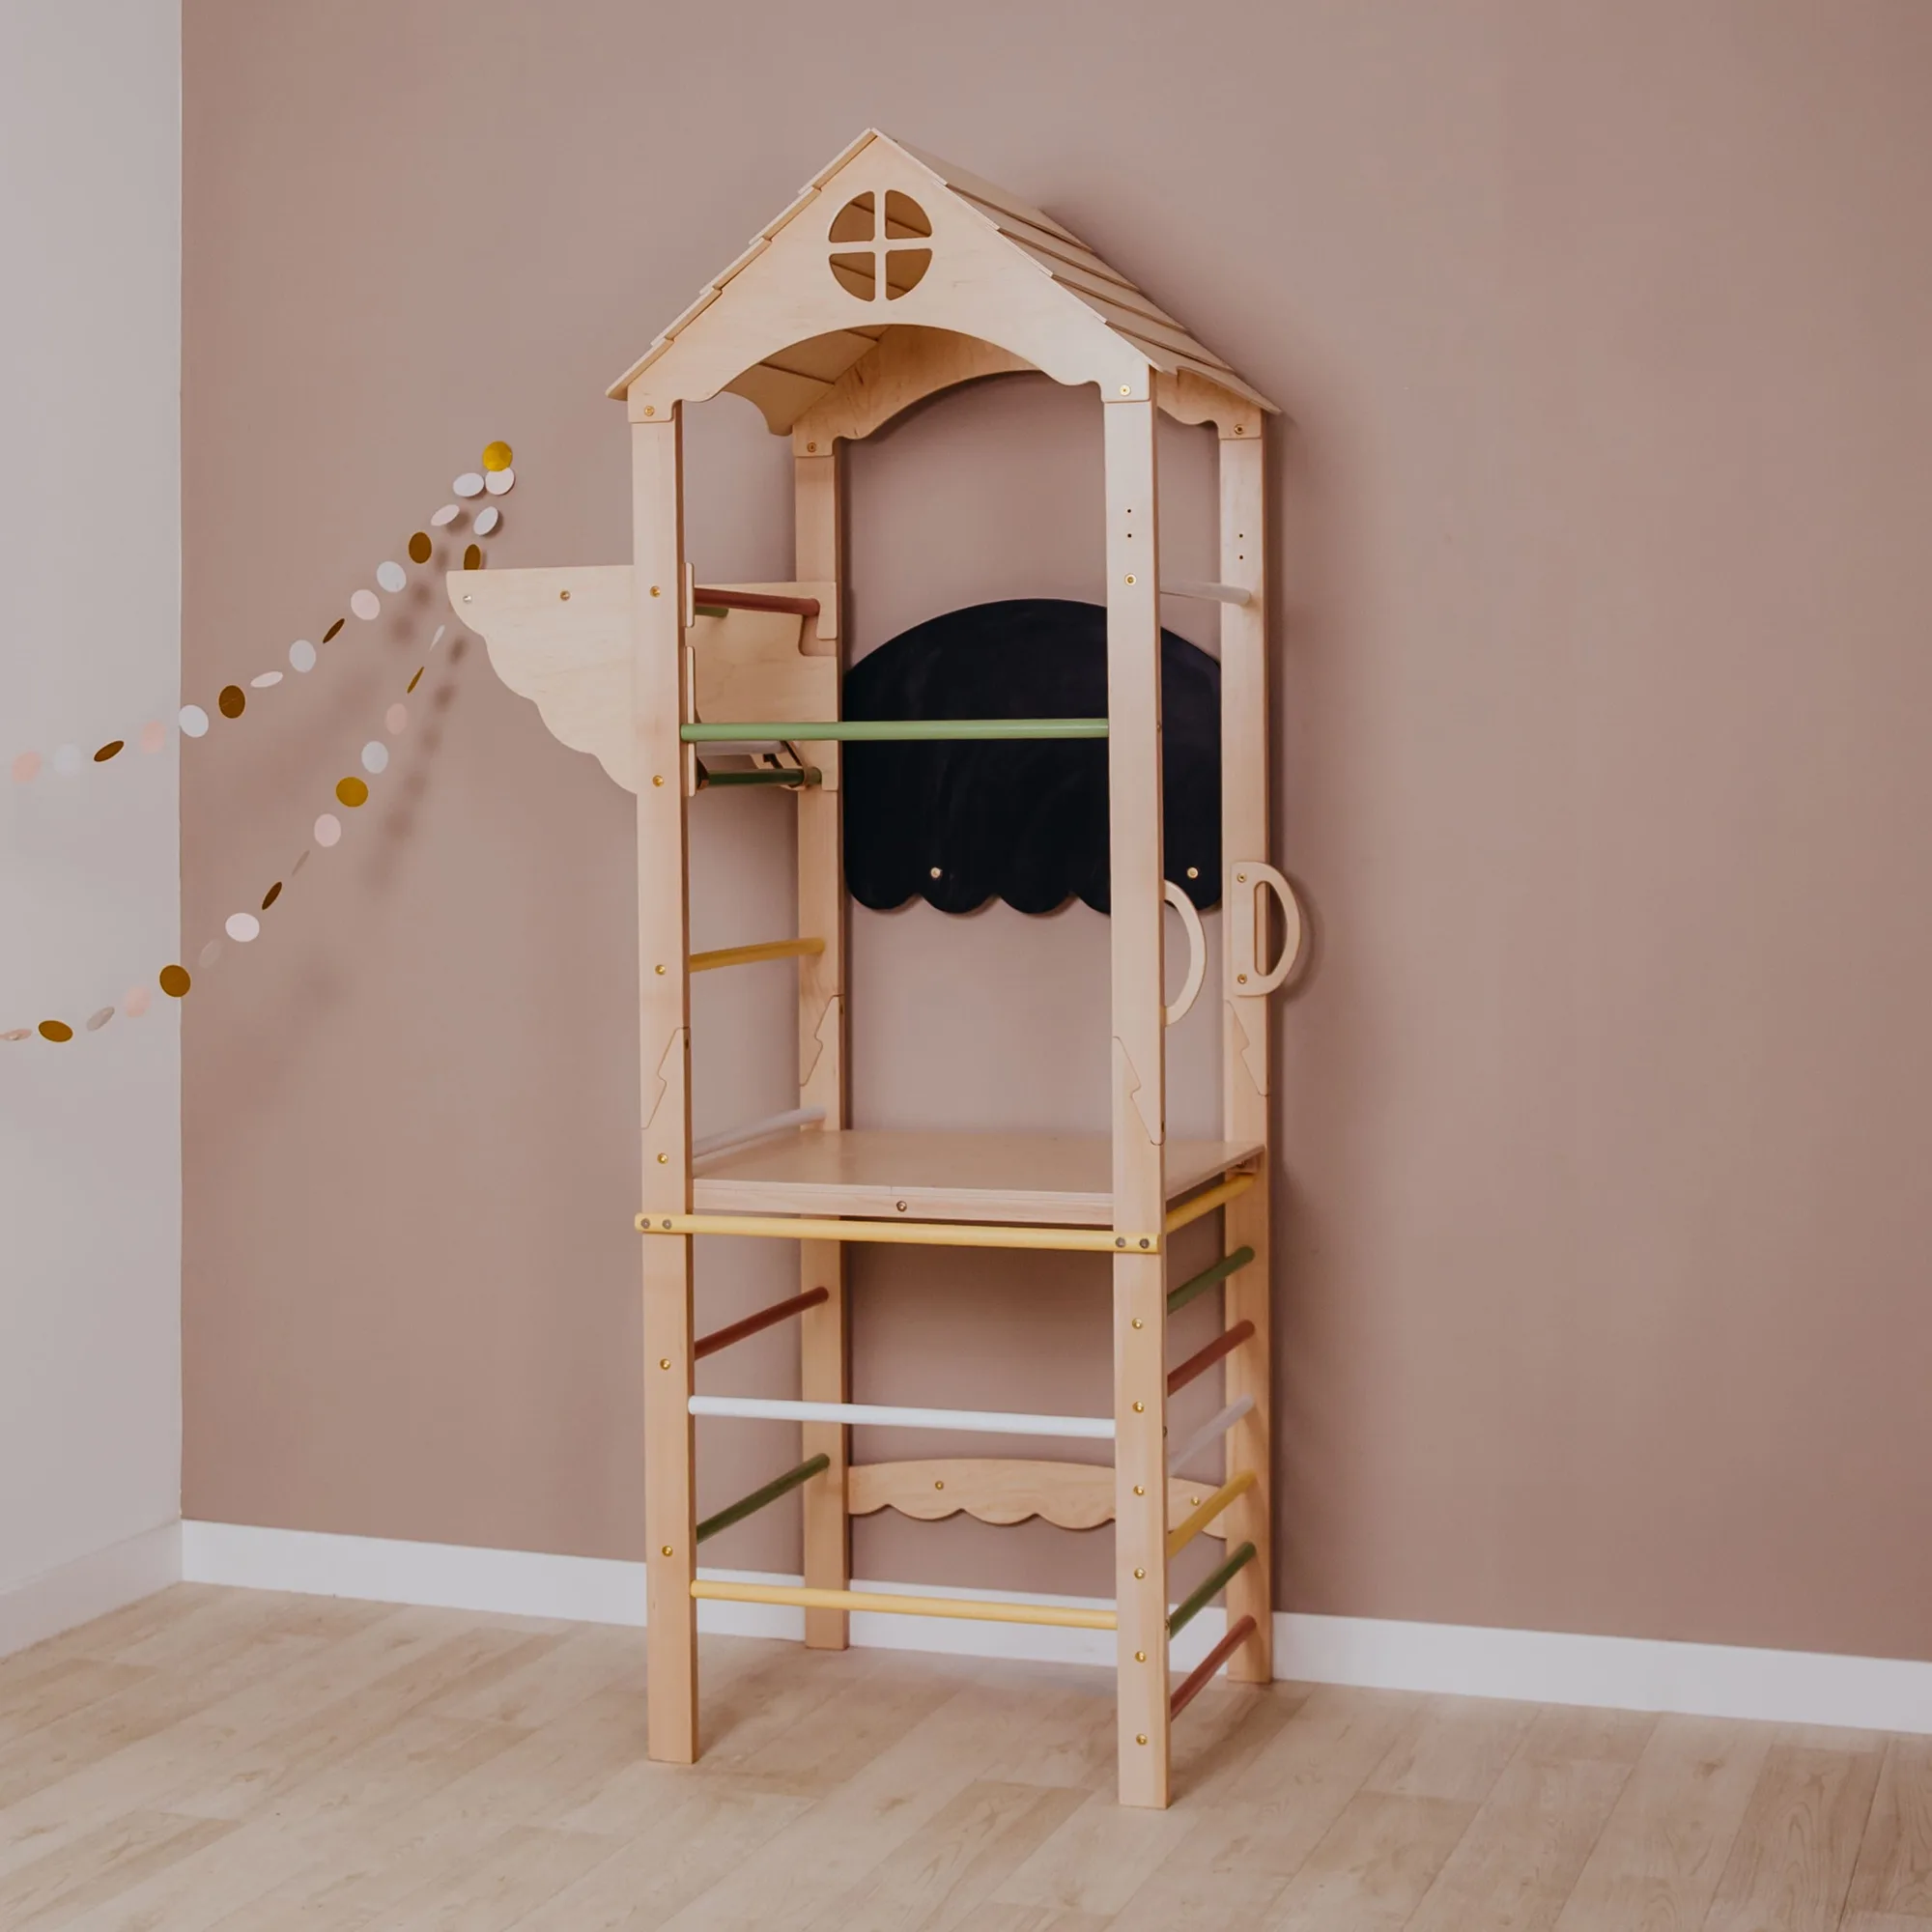
- Toddler Indoor Playground: A multifunctional Montessori-inspired play gym available in Mini Tower and Large Tower variations, designed to support movement, exploration, and independence. Gives active toddlers a defined daytime movement outlet so the floor bed stays a sleep space, and the two size options let you match the room and your child's age.
- Climbing Arch Cushion: Available in various sizes and design options, with ties so it can be attached to the arch or used on the floor. Turns a climbing arch into a comfortable reading or resting spot during the day, and the tie-on design keeps it from sliding around.
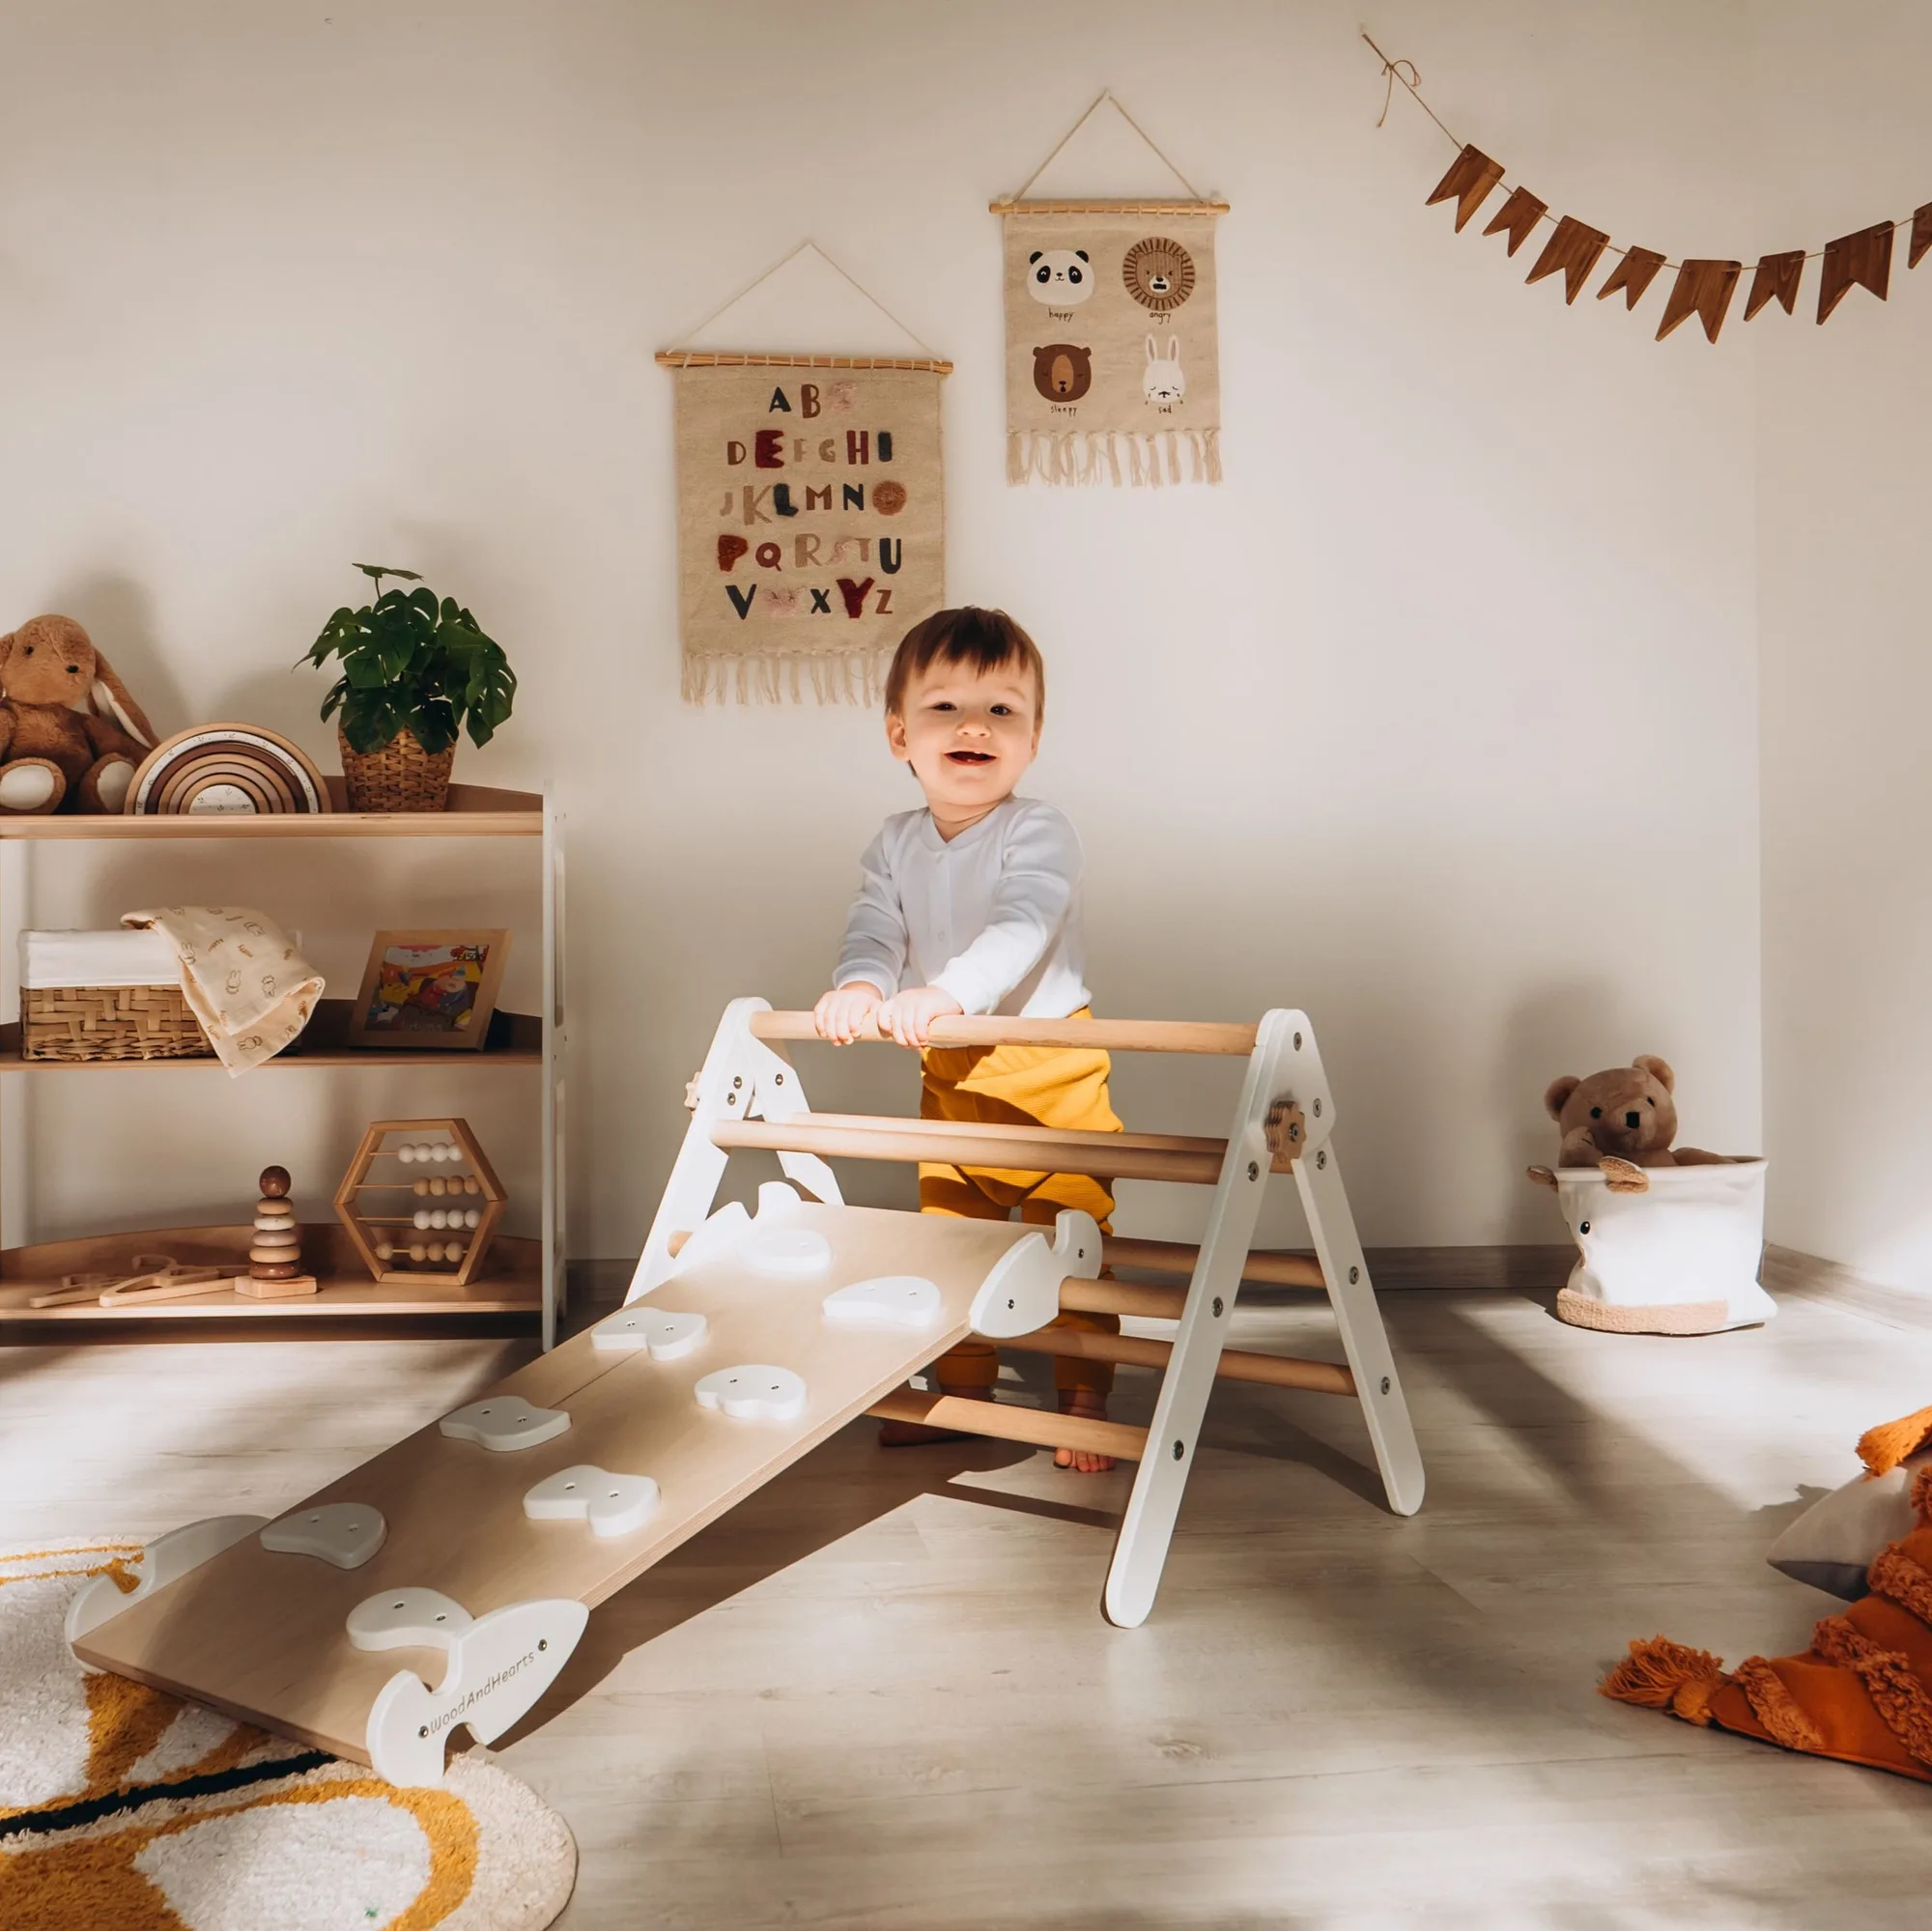
- Baby Climbing Gym: A Montessori-inspired climber and slide kit for children up to 4 years old, built for motor skill development and first independent movement. A good fit for the younger end of the floor-bed transition, when you want movement practice in the room without a tall structure.
The crib-to-floor-bed transition is less about the bed and more about the room, the routine, and your own consistency. Prepare the space, keep bedtime boring and predictable, and give the change two full weeks before you judge it. If sleep gets worse instead of better, pause without guilt and try again when your child is ready.