Quick answer
Set up the Litter-Robot in the same spot as the old box, keep the old box available for two to four weeks, and let your cat choose. Most cats switch within a week or two when the new box uses the same litter and stays clean. Rushing the removal of the old box is the most common reason a transition stalls.
The transition from a traditional litter box to a Litter-Robot usually goes faster than owners expect, but only if you treat it as a gradual handoff rather than a swap. Cats are attached to location, litter texture, and routine more than they are to the box itself, so the goal is to change one variable at a time.
This guide walks through the order that works: placement first, then litter, then a supervised first cycle, then the slow retirement of the old box. It also covers the accessories that make the setup more stable, and the checkpoints that tell you whether to keep going or slow down.
Before you start: what to prepare
Have the Litter-Robot assembled, powered on, and connected before your cat sees it. A box that cycles unexpectedly while you are still reading the manual is more likely to spook a cautious cat. Run one manual cycle yourself so you know the sound and motion are normal.
Keep the same litter your cat already uses for at least the first two weeks. Litter is one of the strongest preferences cats hold, and changing box and litter at the same time doubles the adjustment. If you eventually want to switch litter, do it after the Litter-Robot is the established box.
- Place the unit on a hard, level surface when possible; carpet and uneven floors can affect weight readings.
- Have a scoop and a spare traditional box ready, even if you plan to remove the old box later.
Step 1: Put the Litter-Robot where the old box was
Cats navigate by scent and memory, so the strongest first move is placing the Litter-Robot in the exact spot the old box occupied. If that spot cannot fit the unit, choose the closest quiet, low-traffic location rather than a completely different room. Avoid moving it next to a washing machine, furnace, or a door that slams.
If the old box was in a closet or a tight corner, measure before you commit. The Litter-Robot needs clearance to cycle and room for your cat to enter and turn around. A cramped placement is a common reason cats hesitate, and it is easy to fix before the transition starts.
- Checkpoint: your cat should be able to walk in, turn, and walk out without brushing a wall.
- Mistake to avoid: relocating the box to a basement or laundry room 'because that's where the robot fits.'
Step 2: Keep the old box in place, side by side
For the first two to four weeks, run both boxes at once. Leave the traditional box dirty enough that it is not the more attractive option, but not so dirty that your cat avoids it. The point is to make the Litter-Robot the cleaner, easier choice without forcing it.
Some cats investigate the new unit within hours; others take a week of sniffing before they step in. Both are normal. Do not pick your cat up and place them inside, and do not hold the globe still while they use it. Let them discover it on their own schedule.
- Checkpoint: you are ready to remove the old box when your cat has used the Litter-Robot consistently for five to seven days.
- Mistake to avoid: removing the old box on day one to 'force' the switch.
Step 3: Run a supervised first cycle
The first time your cat uses the Litter-Robot, stay nearby but not hovering. Let the cycle run so your cat learns the sound and motion are harmless. If your cat bolts, do not chase or comfort them at the box; let them leave and return on their own.
If your cat is nervous, cycle the unit manually while they are in the room but not inside it, and reward calm behavior with a treat away from the box. Repeat over a few days. Most cats stop reacting to the cycle entirely once they connect it to a clean box.
- Checkpoint: your cat uses the box and stays in the room during the cycle, or leaves and comes back without hiding.
- Mistake to avoid: standing over the unit and watching, which reads as guarding to a nervous cat.
Step 4: Remove the old box gradually
When your cat has used the Litter-Robot reliably for about a week, move the old box a few feet away, then out of the room, then out of the house. This staged removal gives you a clear signal if your cat regresses, and it lets you bring the old box back temporarily without restarting from scratch.
If your cat stops using the Litter-Robot after the old box is gone, bring the old box back for another week and repeat the removal more slowly. Regression is not failure; it usually means the change happened faster than your cat was ready for.
- Checkpoint: no accidents outside the box for five consecutive days before you remove the old box entirely.
- Mistake to avoid: cleaning up accidents with an ammonia-based cleaner, which can attract your cat back to the same spot.
Step 5: Stabilize the setup for the long term
Once the Litter-Robot is the only box, focus on consistency. Keep the litter type and level steady, empty the waste drawer before it is full, and check the app for cycle or weight alerts. A unit that stops mid-cycle or reads weight incorrectly can undo a good transition.
If the Litter-Robot sits on carpet or an uneven floor, weight readings can drift, which matters if you rely on them to track your cat. A stable base solves most of this. If you want the unit out of sight, a furniture enclosure can help, but confirm your cat still has clear entry and exit before you enclose it.
- Checkpoint: your cat uses the Litter-Robot daily with no avoidance behavior.
- Mistake to avoid: changing litter brand, box location, and enclosure all in the same week.
Transition steps at a glance
- Set up and test the unit first: Assemble, power on, and run one manual cycle before your cat sees the Litter-Robot. Checkpoint: the unit cycles smoothly and you know what normal sounds like.
- Match the old box location: Place the Litter-Robot where the traditional box was, or as close as space allows, with room to enter and turn. Mistake to avoid: moving it to a distant room for convenience.
- Keep both boxes for two to four weeks: Leave the old box available and let your cat choose the cleaner option. Checkpoint: five to seven days of consistent Litter-Robot use before removal.
- Supervise the first few cycles: Stay nearby without hovering, and let your cat leave and return freely. Mistake to avoid: holding the globe still or blocking the entrance.
- Retire the old box in stages: Move it across the room, then out of the room, then out of the house. If your cat regresses, bring the old box back for a week and slow down.
- Lock in a stable setup: Keep litter type and level consistent, empty the drawer on schedule, and fix any unstable flooring. Checkpoint: daily use with no avoidance behavior.
Accessories that help the transition
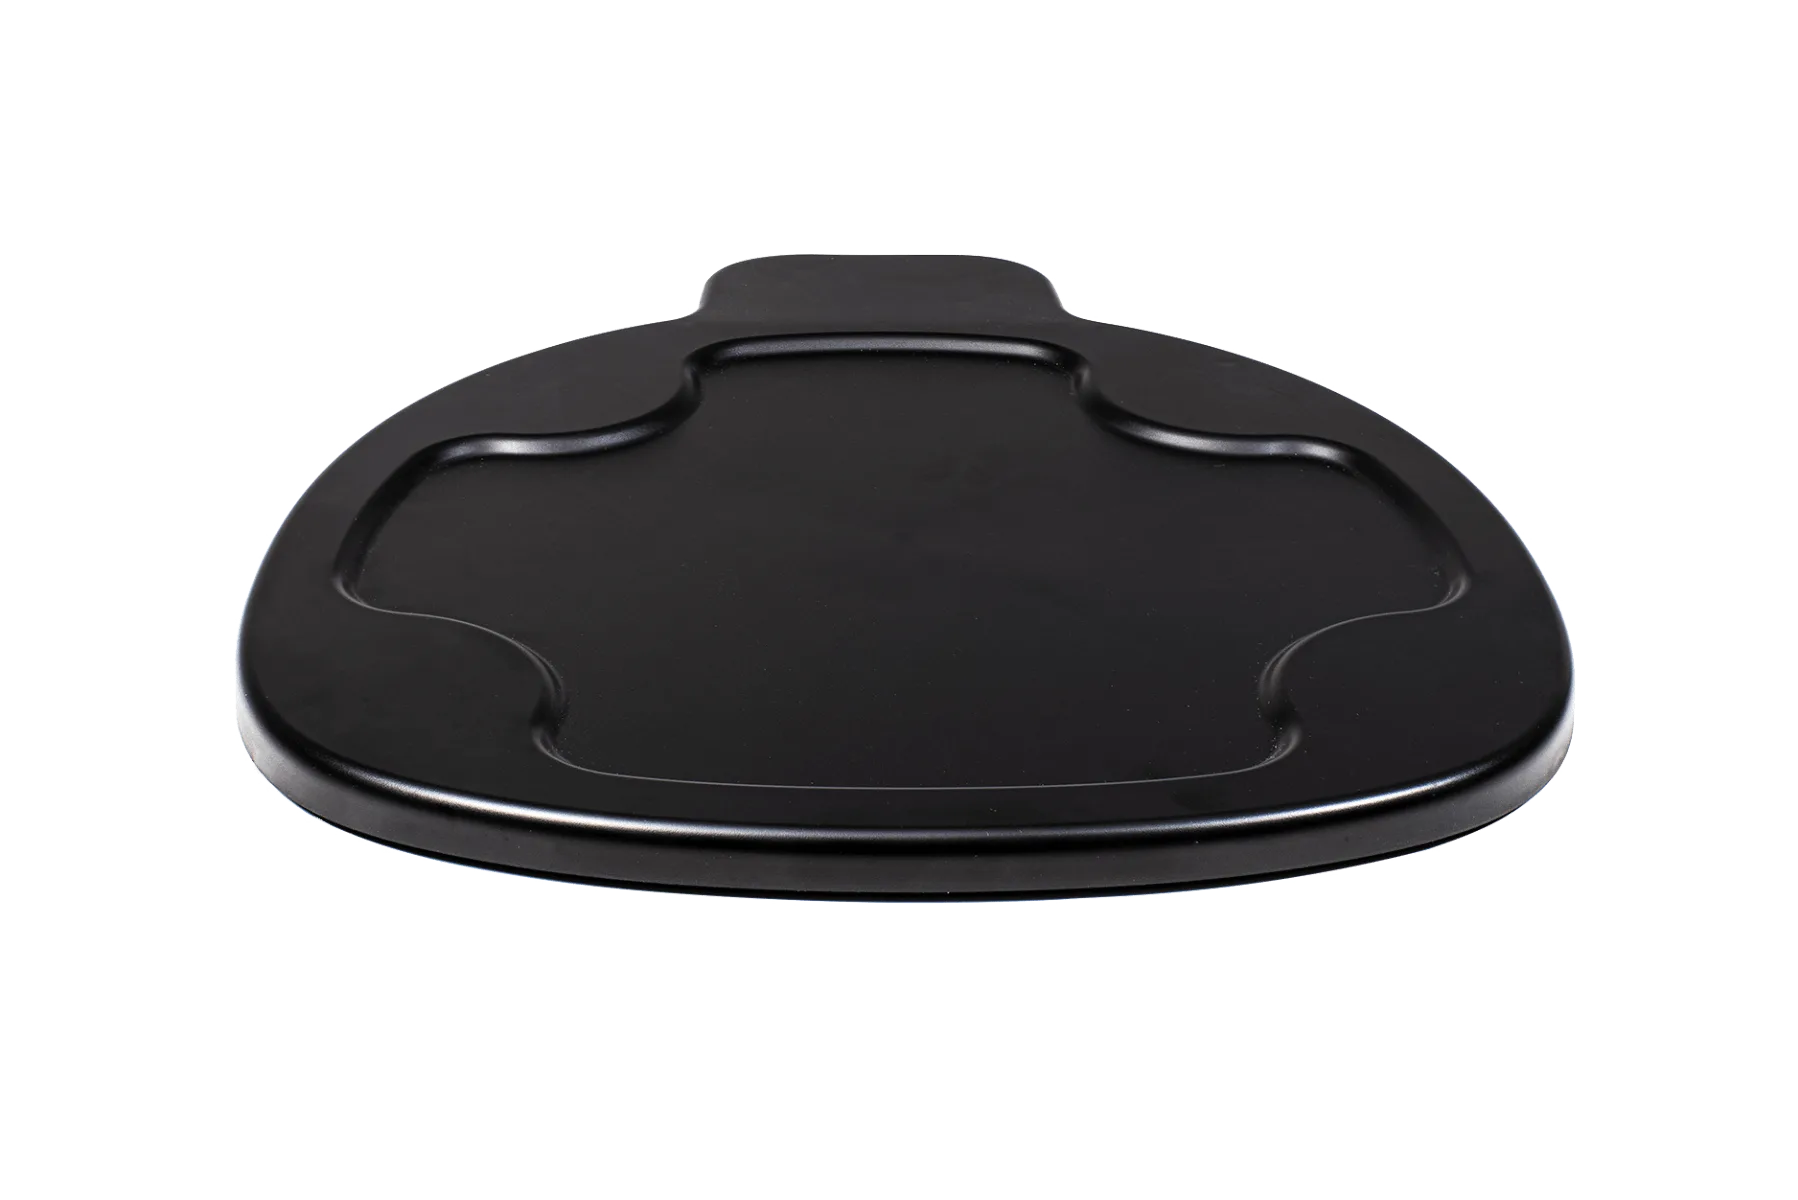
- Litter-Robot 4 Carpet Tray: The Litter-Robot 4 Carpet Tray improves the accuracy of SmartScale weight readings when Litter-Robot 4 sits on carpet or uneven surfaces. It is not required for Litter-Robot 4 to function. If your only available spot is carpeted, this keeps weight data usable so you can tell whether your cat is actually using the box during the transition.
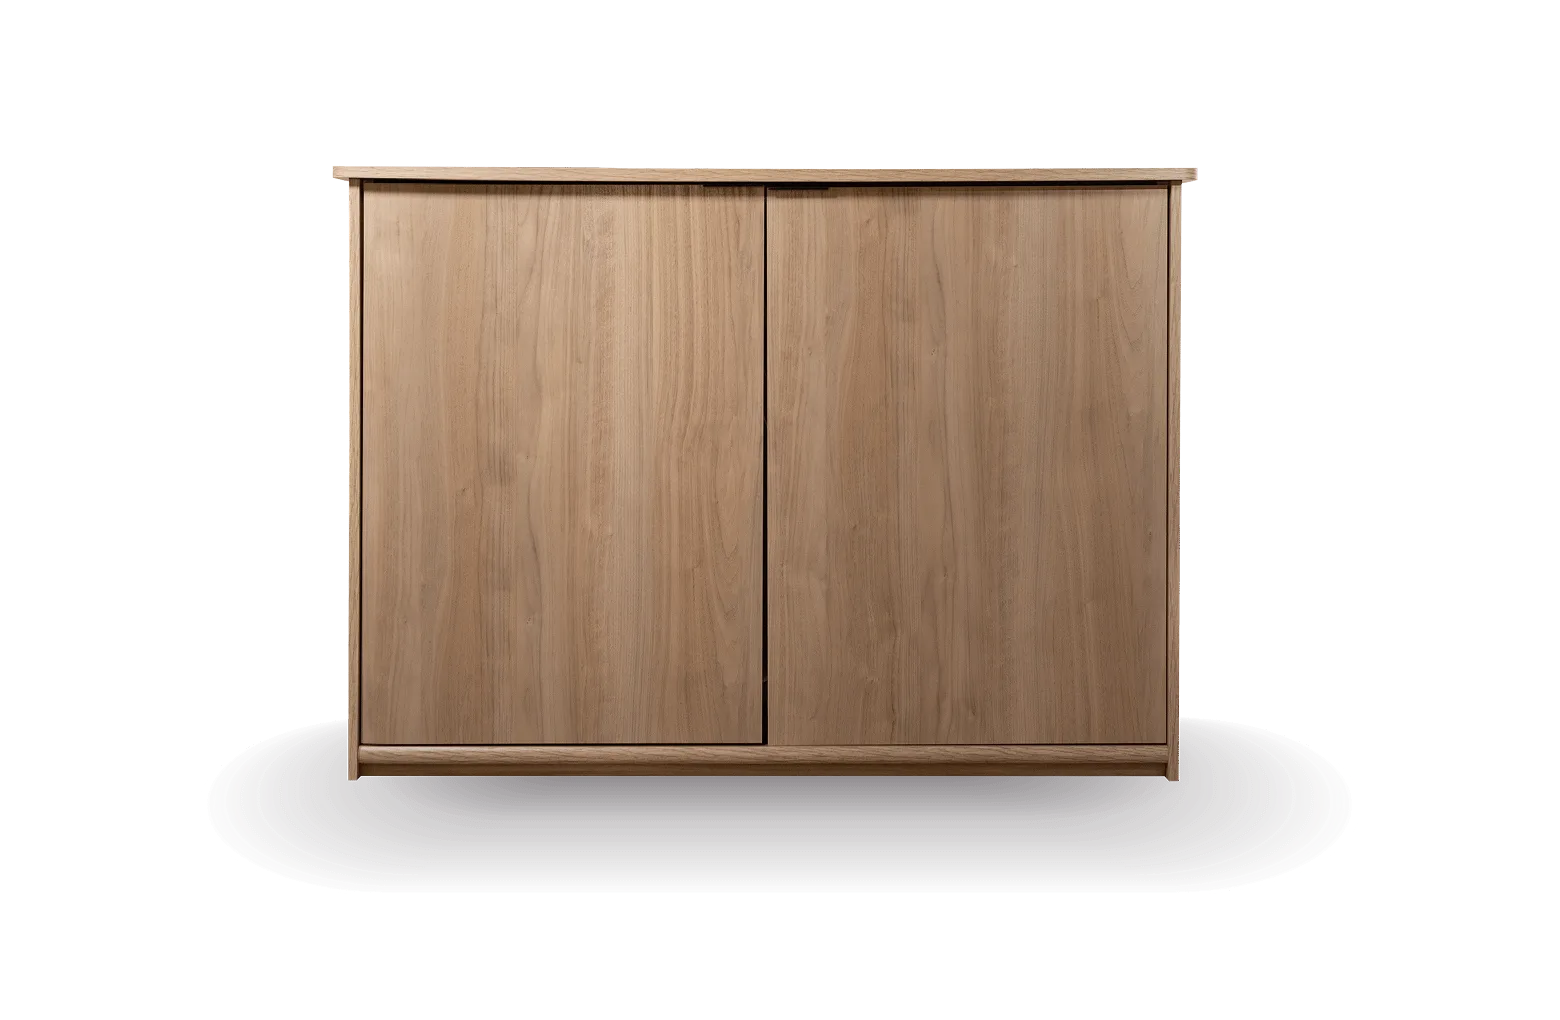
- Litter-Robot Credenza: Crafted with a modern furniture design, the Litter-Robot Credenza discreetly conceals your Litter-Robot while elevating your space with thoughtful functionality. Useful after the transition is stable, when you want the box out of sight without moving it to a less convenient room.
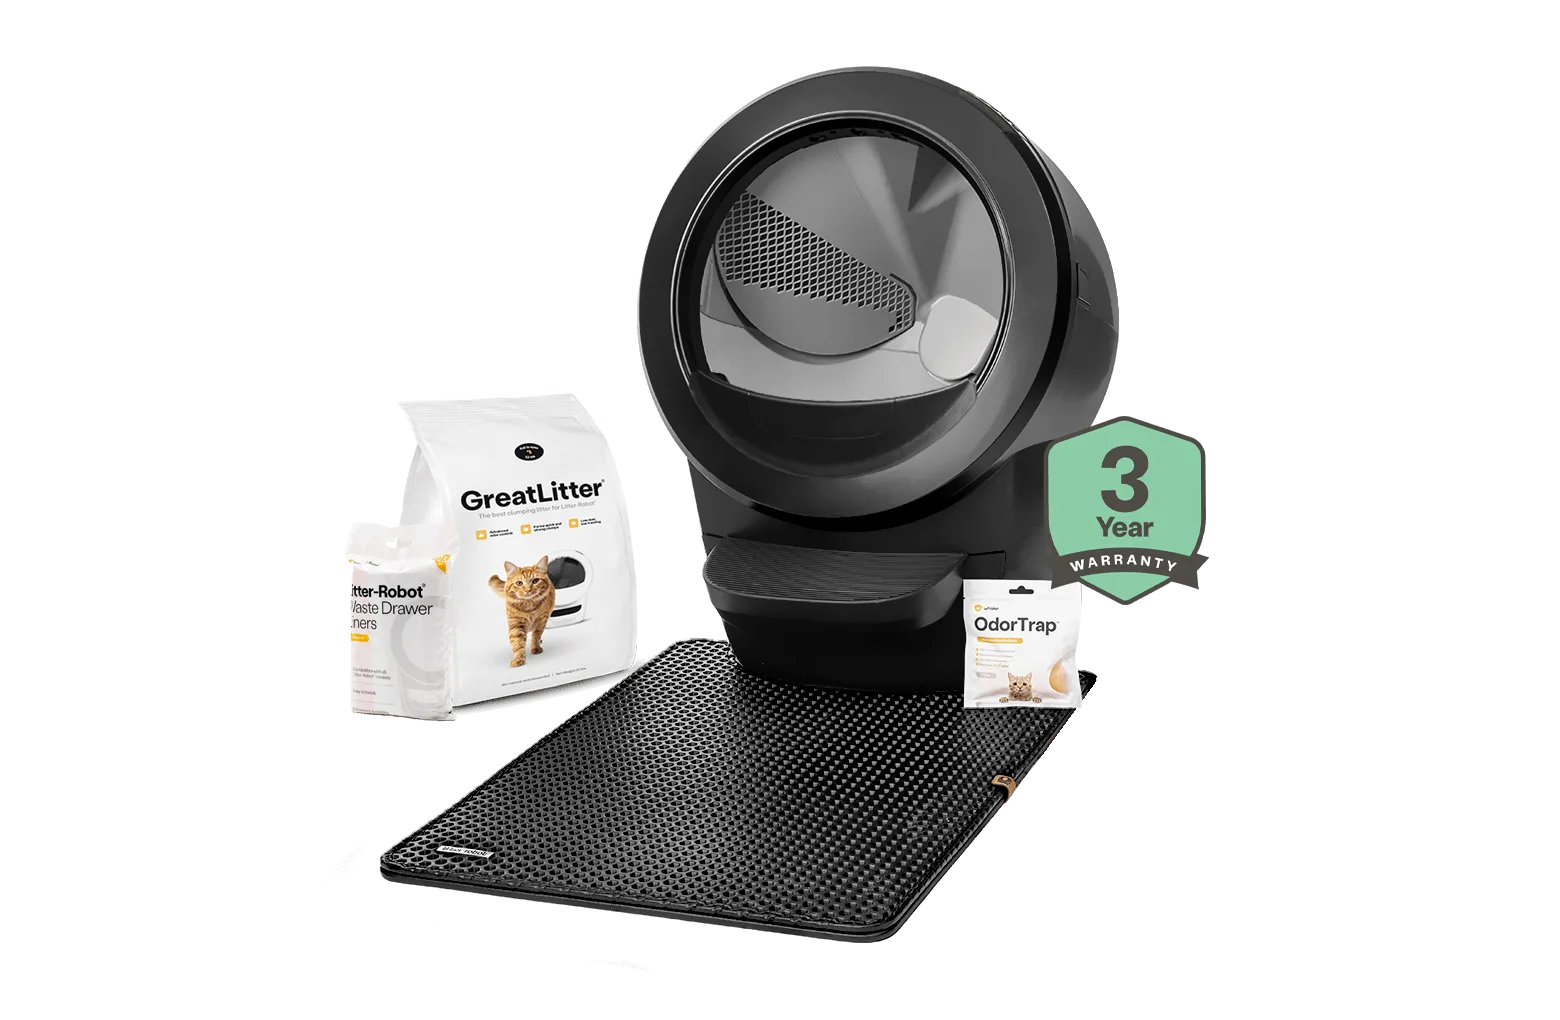
- Litter-Robot® 4 Starter Bundle: The Litter-Robot 4 Starter Bundle provides you and your cats with all the necessary Whisker products to get the most out of your self-cleaning litter box. A reasonable starting point if you are switching for the first time and want the supporting items in one purchase rather than adding them later.
The switch to a Litter-Robot works best as a handoff, not a replacement. Place it where the old box was, keep both boxes available for a few weeks, and let your cat set the pace. If you want to start with a complete setup, the Litter-Robot 4 Starter Bundle covers the essentials, and a carpet tray or credenza can be added once the transition is stable.