Quick answer
To use 1.5-inch strap ends, cut your strap about 1.5 to 2 inches longer than the finished length, fold the raw end over, punch holes that match your hardware, and secure the strap end with rivets or stitching. Always test the fold on scrap material first. The goal is a clean, load-bearing fold that won't slip or fray.
Strap ends are the finishing touch that turns a length of webbing or fabric into a functional bag strap. If you're working with 1.5-inch strap ends, the process is straightforward once you know where to fold, punch, and secure. This guide walks you through each step, with checkpoints to avoid the mistakes that cause saggy straps or popped rivets.
You don't need specialized machinery, but you do need to match your strap width to your hardware and allow enough material for a secure fold. A few minutes of prep saves hours of rework. Grab your strap, your 1.5-inch strap ends, and let's get started.
What you'll need
Before you start, gather your materials: your strap material (webbing, leather, or fabric), 1.5-inch strap ends, a ruler or measuring tape, a marking tool, a hole punch or awl, rivets or heavy-duty thread, and a hammer or rivet setter if using rivets. A cutting mat and rotary cutter or sharp scissors will help you get clean edges.
If you're using fabric strap ends, consider adding a small piece of fusible interfacing or fray check to the raw edges. This isn't mandatory, but it helps prevent fraying over time. For leather or faux leather, a leather punch gives the cleanest holes.
- Check your strap width: 1.5-inch strap ends are designed for 1.5-inch-wide straps. If your strap is slightly wider or narrower, the hardware may not sit flush.
Step 1: Measure and cut your strap
Decide on the finished length of your strap. Add 3 to 4 inches total to account for the fold at each end (1.5 to 2 inches per end). For example, if you want a 40-inch finished strap, cut it 43 to 44 inches long. This extra length gets folded back and secured inside the strap end.
Cut the strap squarely using a rotary cutter or sharp scissors. A clean, perpendicular cut makes folding and punching much easier. If your material frays easily, apply a small amount of fray check or run a zigzag stitch along the cut edge before folding.
- Common mistake: cutting the strap exactly to finished length. You'll have no material to fold, and the strap end won't hold.
Step 2: Fold and crease the strap end
Fold the raw end of the strap back onto itself by 1.5 to 2 inches. Press the fold firmly with your fingers or a bone folder to create a sharp crease. For leather or vinyl, you may need to skive (thin) the folded edge slightly so it doesn't bulk up inside the hardware.
Check that the folded width still fits inside your 1.5-inch strap end. If it's too thick, trim a little from the fold's inner layer. The fold should slide into the strap end with a snug fit, not loose and not jammed.
- Checkpoint: test the fold on a scrap piece first. Every material behaves differently, and a test fold shows you exactly how much bulk to expect.
Step 3: Mark and punch your holes
Slide the folded strap into the strap end. Use an awl or marking pen to mark where the holes should go through both layers of the strap and the hardware. Most strap ends have pre-drilled holes; if yours do, align them and mark through. If not, mark two holes about 1/4 inch from the fold and 1/4 inch from the open edge.
Punch through all layers with a hole punch or awl. The holes should be just large enough for your rivet or screw to pass through. If you're stitching instead of riveting, you can skip punching and simply mark stitch lines.
- Common mistake: punching holes too close to the edge. This weakens the strap and can cause tearing under load. Keep at least 1/4 inch of material around each hole.
Step 4: Attach the strap end hardware
If using rivets, insert the rivet post through the holes, place the cap on the other side, and set it with a rivet setter and hammer. Two rivets per strap end are standard for 1.5-inch straps; they prevent twisting. If using screws, apply a small amount of thread locker to keep them from loosening over time.
For a stitched finish, use heavy-duty thread (polyester or nylon) and a needle suitable for your material. Sew a box-X pattern or two parallel rows of stitching across the folded area. Backstitch at the beginning and end to lock the threads.
- Checkpoint: after attaching, give the strap a firm tug. If the fold slips or the rivet pulls through, reinforce with an additional rivet or stitching.
Step 5: Finish and inspect
Once both ends are attached, inspect the strap for any loose threads, sharp hardware edges, or uneven folds. Trim any excess material close to the hardware, but don't cut into your stitching or rivet holes. If you used fabric, a light press with an iron (on a low setting, no steam) can help flatten the fold.
Finally, attach the strap to your bag using the D-rings or swivel clasps on your bag. Test the strap under load before calling it done. A well-installed strap end should feel solid and look intentional.
- Common mistake: skipping the final inspection. A loose rivet or stray thread now can become a repair later.
Strap end installation steps at a glance
- Measure and cut with extra length: Add 3-4 inches total to your finished strap length to allow for folds at both ends. Checkpoint: always cut longer than you think you need; you can trim later, but you can't add length.
- Fold and crease cleanly: Fold each raw end back 1.5-2 inches and press a sharp crease. Test the fold's thickness inside the hardware. Common mistake: folding too thick for the strap end. Skive or trim the inner layer if needed.
- Punch holes accurately: Mark hole positions through both layers and hardware, then punch. Keep holes at least 1/4 inch from edges. Checkpoint: use a scrap piece to test hole placement and punch size before committing.
- Secure with rivets or stitching: Set two rivets per strap end or sew a reinforced box-X pattern with heavy-duty thread. Common mistake: using only one rivet, which allows the strap to twist. Two rivets prevent rotation.
- Inspect and test under load: Trim loose threads, check hardware tightness, and give the strap a firm tug before using your bag. Final check: if anything slips or feels loose, reinforce before it becomes a repair.
Hardware that works with 1.5-inch strap ends
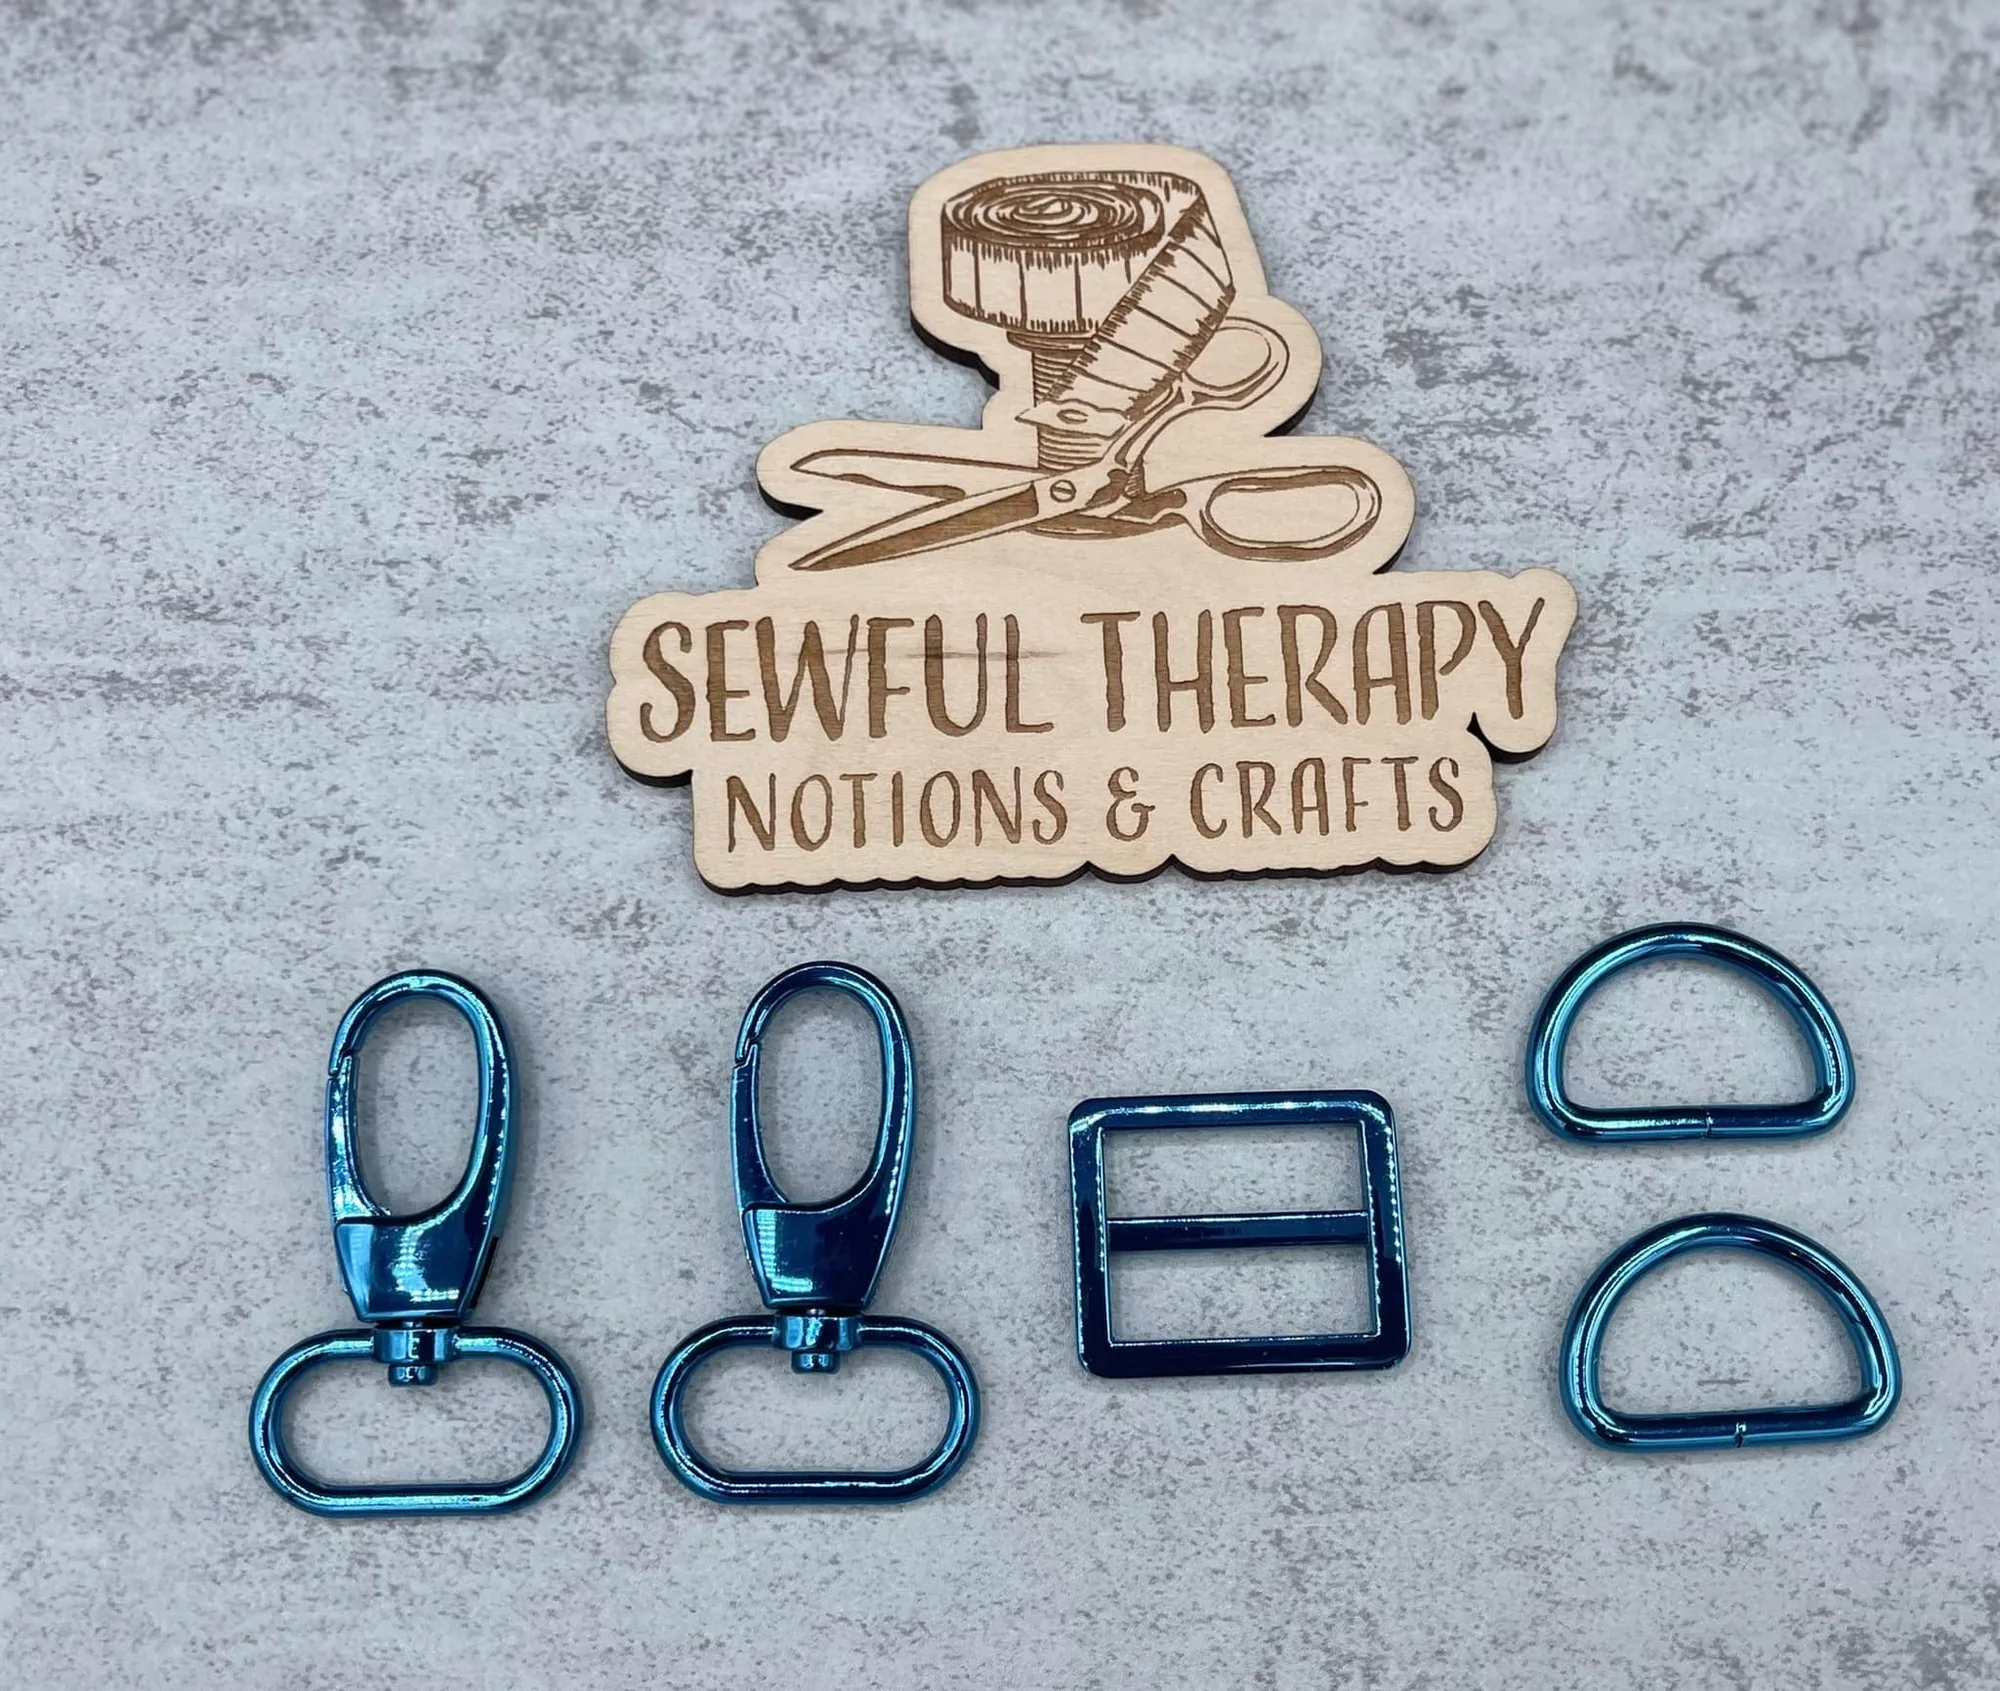
- Chroma: Complete Hardware Kit - 1”, 1.5”: Chroma basic hardware kit comes in 2 sizes (1" & 1.5") and 6 finishes: Red, Purple, Orange, Pink, Green, Blue. Kit contains (2) swivel clasps, (2) D-rings, and (1) triglide/adjuster. This kit gives you the matching D-rings and swivel clasps you need to attach your finished strap to a bag, and the 1.5-inch size pairs directly with 1.5-inch strap ends.
- Pegacorn Enamel Turnlock SSA: This turnlock is enamel-filled to match our Pegacorn zipper pull (sold separately). Sold as one set of turnlock with screws and washer. Base ring of the turnlock is in rainbow finish. If your bag design uses a turnlock closure, this enamel turnlock adds a decorative accent that can complement colorful strap ends or hardware.
Installing 1.5-inch strap ends is a manageable DIY project that gives your bags a professional finish. With the right measurements, a clean fold, and secure rivets or stitching, your straps will hold up to daily use. Take your time on the prep steps, and you'll get a result that looks and functions like it came from a workshop.