Quick answer
Use the tug as a reward you control, not a toy the dog controls. Start with one-second holds and an instant release cue, then add a recall to the tug and a sit-or-down pause before the tug restarts. Keep sessions to three to five minutes and end while your dog still wants more.
A bite tug is one of the few toys that lets you reward a dog at full speed. That makes it a natural fit for recall and impulse control work, because the reward itself is movement, not food. The catch is that the same excitement that makes tugs effective can turn a training session into a wrestling match if the rules are fuzzy.
The drills below build in order: first you teach the dog that the tug only comes alive when you say so, then you add distance, then you add real-world distractions. You can run them with a puppy or an adult dog, but puppies need shorter sessions and softer tugging until their adult teeth settle.
Why a tug works for recall and impulse control
Most recall training fails because the reward arrives after the dog has already slowed down. A tug rewards the sprint. The dog learns that coming back at speed is the fastest route to the thing they want most. That is why bite tug recall training tends to produce snappier returns than food-only work, especially with dogs who are toy-motivated or easily bored.
Impulse control is the other half. A tug creates a clear, measurable pause: the toy is either moving or it is not. That binary makes it easy to teach a dog to wait, hold a position, or disengage on cue. If you have already worked through dog impulse control games with food, the tug is the next level because the arousal is higher.
- Use a tug with a handle or two, so your hands stay clear of your dog's teeth.
- Keep the tug in a designated training spot, not loose on the floor, so it keeps its value.
- If your dog guards toys, work with a trainer before adding tug games.
Pick a tug that fits your dog and your grip
A tug needs to be long enough that your hand is never near the bite area, and tough enough that a power chewer cannot shred it in one session. Fabric tugs with a bite area and a handle are the most common choice for training because they let you hold steady while the dog pulls. Rubber or ball-style toys can work for fetch-and-tug hybrids, but they are harder to grip when a strong dog yanks.
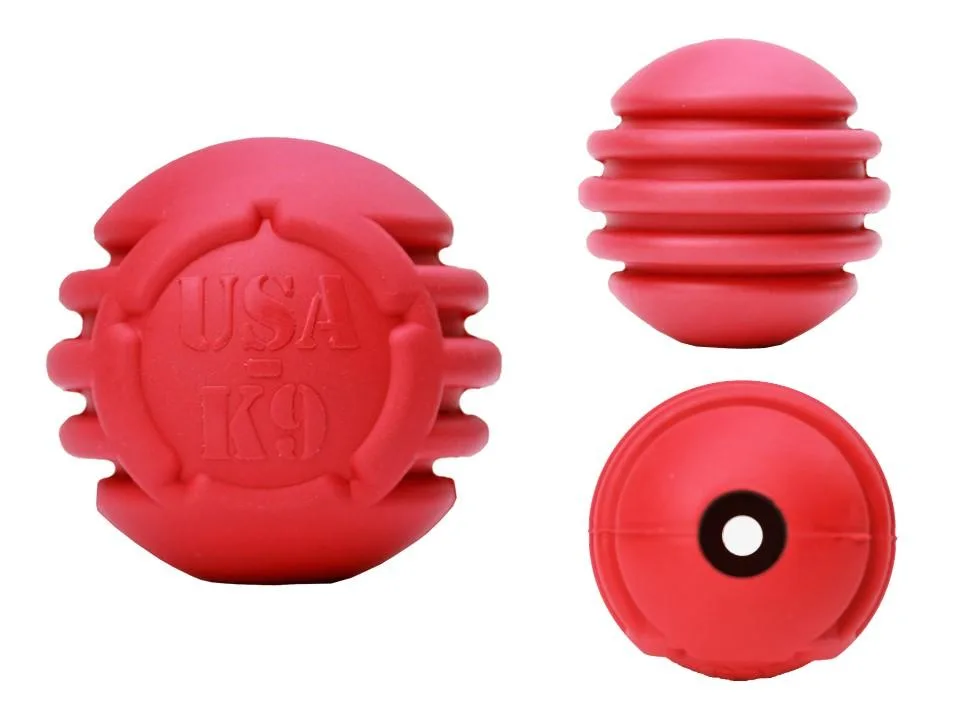
Size matters more than most owners expect. A tug that is too small invites accidental hand contact; one that is too large is awkward for a puppy to hold. If your dog is a serious chewer, look at toys built for that pressure, such as the K9 Power Chewer Tough Rubber Ball, which is designed for aggressive, powerful chewers. It is not a classic tug, but it can serve as a durable reward object for dogs who destroy fabric.
- Test the tug with a few hard pulls yourself before using it in training.
- Retire any tug with frayed edges or exposed core material.
- Wash fabric tugs regularly if your dog also carries them in the house.
Teach the release cue before you teach the recall
The release, often called an out or drop, is the foundation of every other drill. Without it, the tug becomes a fight you cannot win. Start with the tug in your hand, let your dog bite, and immediately go still. No pulling, no talking. The moment your dog loosens their grip, mark it and let them bite again. You are teaching that letting go restarts the game.
Add the word once the behavior is reliable. Say your release cue once, wait for the release, then reward with another bite. Do not repeat the cue or pry the toy out of your dog's mouth. If your dog will not release after several seconds, the session is too hot; end it calmly and try again with shorter bites next time.
- Common mistake: pulling the tug away while saying the cue. That teaches the dog to hold on tighter.
- Checkpoint: your dog releases within one second on the cue before you move to recall drills.
Add the recall to the tug
Once the release is solid, put distance between you and your dog. Have a helper hold your dog, or use a long line in a safe area. Show the tug, then run away a few steps and call your dog. When they reach you, let them bite and tug for two or three seconds, then cue the release and reset. The tug is the payoff for the recall, not a separate event.
Build distance gradually. Five yards, then ten, then across a yard. If your dog stops coming back at speed, you have added distance too fast. Drop back to the last distance where the recall was fast and end the session there. A slow recall is a sign the reward is not worth the trip yet.
- Use a long line until the recall is reliable around distractions.
- Never call your dog to something unpleasant, including a bath or crate, during this training phase.
Layer in impulse control games
Impulse control with a tug means your dog can see the toy moving and still hold a position. Start with the tug in your hand at your side. Ask for a sit or down. If your dog breaks position, the tug goes behind your back and the game pauses. When they hold for two seconds, say your release cue and let them bite. This is one of the simplest dog impulse control games because the consequence is immediate and obvious.
Progress to a moving tug, then to a tug on the ground, then to a tug you toss a few feet away. Each step raises the difficulty. Keep sessions short and end on a successful hold. If your dog fails three times in a row, you have made the step too hard; go back one level and rebuild.
- Common mistake: letting the dog bite the tug while they are still breaking position.
- Checkpoint: your dog can hold a sit while you swing the tug at your side.
Proof the behavior around real distractions
A recall that only works in your backyard is not a recall. Add distractions in order: another person, a quiet street, a park at a distance, then closer. Use the tug as the reward only when your dog succeeds. If they fail, you have moved too fast, so back up and shorten the session.
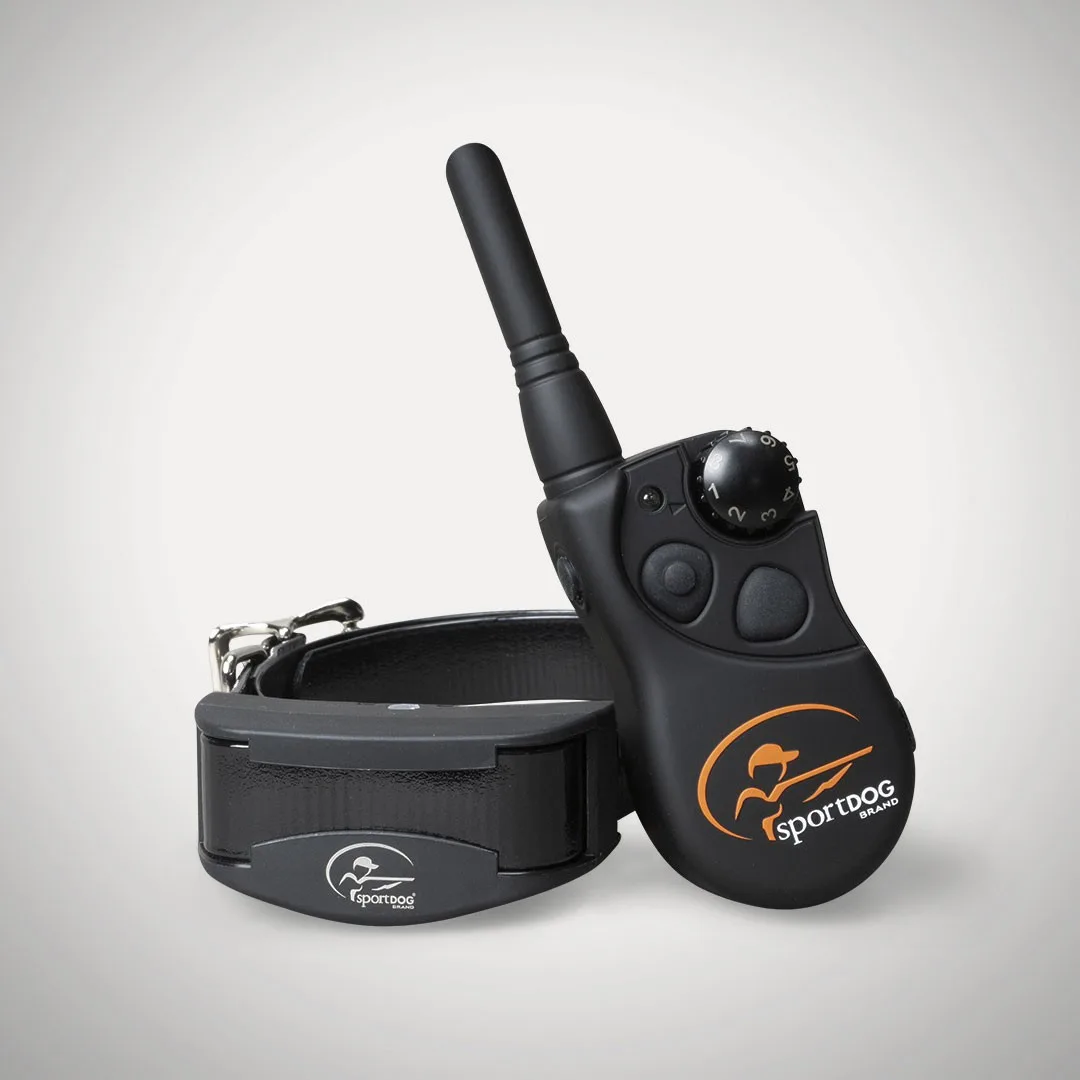
For off-leash safety work, some owners pair tug training with an electronic collar or a wireless fence system. That is a separate tool with its own training process, and it should not replace the tug work. If you use a training collar, follow the manufacturer's guidance and keep sessions separate from tug games until both are reliable on their own.
- Practice in five-minute blocks, two or three times a day.
- End every session with a win, even if it is a simple hold and release.
Common mistakes that slow progress
The biggest mistake is letting the dog win the tug by pulling it out of your hand. That teaches that grabbing and pulling is the way to get the reward. Hold the tug firmly, and if your dog gets it, calmly end the round and reset. Another common error is using the tug as a pacifier, letting the dog carry it around all day. It loses value and the rules blur.
Do not use the tug to tease a dog who is already over-aroused. If your dog is jumping, barking, or mouthing your hands, the session is over. Put the tug away and try again later when your dog can think. Impulse control training only works when the dog is under threshold.
- Keep the tug out of reach between sessions.
- If your dog redirects onto your hands or clothes, stop and consult a trainer.
Tug training progression: step-by-step
- Step 1: Charge the release cue: Let your dog bite the tug, go still, and mark the moment they let go. Reward with another bite. Repeat until your dog releases within one second on a single verbal cue. Checkpoint: five clean releases in a row before adding distance.
- Step 2: Add a short recall: Back up two or three steps, call your dog, and let them bite the tug when they arrive. Tug for two seconds, cue the release, and reset. Checkpoint: your dog arrives at a run, not a walk.
- Step 3: Build distance gradually: Increase the recall distance by a few yards each session. If your dog slows down or stops coming, shorten the distance and end the session on a fast return. Common mistake: adding distance before the release cue is reliable.
- Step 4: Add a position hold: Ask for a sit or down while you hold the tug at your side. If your dog breaks, hide the tug and pause. When they hold for two seconds, release them to bite. Checkpoint: your dog holds position while the tug moves.
- Step 5: Proof around distractions: Practice in new locations with people, sounds, or other dogs at a distance. Use the tug as the reward only for successful reps, and keep sessions under five minutes. If your dog fails three reps in a row, go back one step and rebuild.
Training tools that support tug work
- NEW! K9 Power Chewer Tough Rubber Ball: K9 Power products deliver ultra durability made to withstand aggressive, powerful chewers, and this tough rubber ball is described as chew-proof, strong, wear-resistant, and fortified. A durable rubber reward object is useful for dogs who destroy fabric tugs, and it can serve as a high-value payoff in recall and impulse control drills.
- NEW! Golf Ball Treat Dispenser & Toy: The Golf Ball Rubber Treat Dispenser & Enrichment Toy dispenses treats like kibble or canned dog food and is designed for fetch, power chewing, or a long-lasting enrichment challenge. For dogs who are more food-motivated than toy-motivated, a treat-dispensing toy can bridge the gap between food rewards and tug-style play during training.
- YT-100S SportDOG Brand® Yardtrainer 100S: The YT-100S SportDOG Brand YardTrainer 100S was built for more stubborn and easily distracted dogs, and proper training may require specialized tools such as a shock collar so your dog responds to commands. If your recall work stalls around heavy distractions, a remote trainer is a separate tool to consider, but it should be introduced only after your tug-based foundation is solid.
A bite tug gives you a reward that moves as fast as your dog does. Teach the release first, add the recall second, and layer in impulse control games only when each step is solid. Short, frequent sessions with clear rules will do more for your recall than long, chaotic ones.