Quick answer
To use a carbon bipod for stable shooting, attach the bipod to your rifle's Arca rail or sling stud, adjust the leg height for your shooting position, lock the legs and ball joint, then load the bipod with forward pressure before firing.
Why carbon bipods improve stability
Carbon fibre bipods like the EQ-PRECISION 1ARCA reduce weight without sacrificing rigidity. The ball joint allows you to level the rifle on uneven ground, while the Arca rail system makes attachment and removal quick and secure. A stable bipod is especially important for long-range shooting where even slight movement affects accuracy.
Common mistakes that ruin stability
Many shooters set the bipod legs too long, which makes the rifle rock. Others forget to lock the ball joint after leveling, allowing the rifle to tilt during the shot. Loading the bipod inconsistently also reduces repeatability. Avoid these by following the steps below.
Step-by-step: carbon bipod setup and use
- 1. Attach the bipod to your rifle: If your rifle has an Arca rail, slide the EQ-PRECISION 1ARCA bipod onto the rail until it clicks. If you have a sling stud, first attach the included Endeavor Arca Rail to the stud, then mount the bipod. Tighten any locking screws finger-tight. Common mistake: Overtightening the rail screws can strip the threads. Hand-tight is sufficient.
- 2. Adjust leg height for your shooting position: Extend the legs to a height that allows a natural cheek weld when prone, sitting, or kneeling. For prone shooting, legs should be short enough that your chest contacts the ground. For sitting or kneeling, extend further but keep the legs symmetrical. Common mistake: Legs too long cause the rifle to rock. Start short and extend gradually.
- 3. Lock the legs and ball joint: Press the leg locks to secure each leg at the same length. Then tilt the rifle to level the reticle or scope, and lock the ball joint using the lever. Verify the rifle does not shift when you apply light pressure. Common mistake: Forgetting to lock the ball joint can cause the rifle to tilt during the shot.
- 4. Load the bipod with forward pressure: Place your support hand on the forend and push forward into the bipod. This preloads the legs and reduces bounce. Keep consistent pressure through the trigger pull. For long-range shots, use a rear bag under the stock to further stabilize. Common mistake: Inconsistent forward pressure changes point of impact. Practice the same loading every time.
- 5. Practice shooting positions with the bipod: Try the bipod from prone, sitting, and kneeling positions. Adjust leg height and body position for each. The ball joint helps on uneven ground, but you may need to shift your body to maintain a natural point of aim. Common mistake: Staying too rigid. Relax your shoulders and breathe naturally between shots.
Product facts
-
EQ-PRECISION 8.5-10.5" ARCA Compatible Carbon Bipod: The carbon fibre EQ-PRECISION 1ARCA C rifle bipod incorporates a ball joint for maximum control on any terrain, and can be easily attached or removed from any rifle with an Arca compatible rail system. The ball joint lets you level the rifle on uneven ground, and the Arca rail system provides a secure, repeatable mounting solution that saves time in the field.
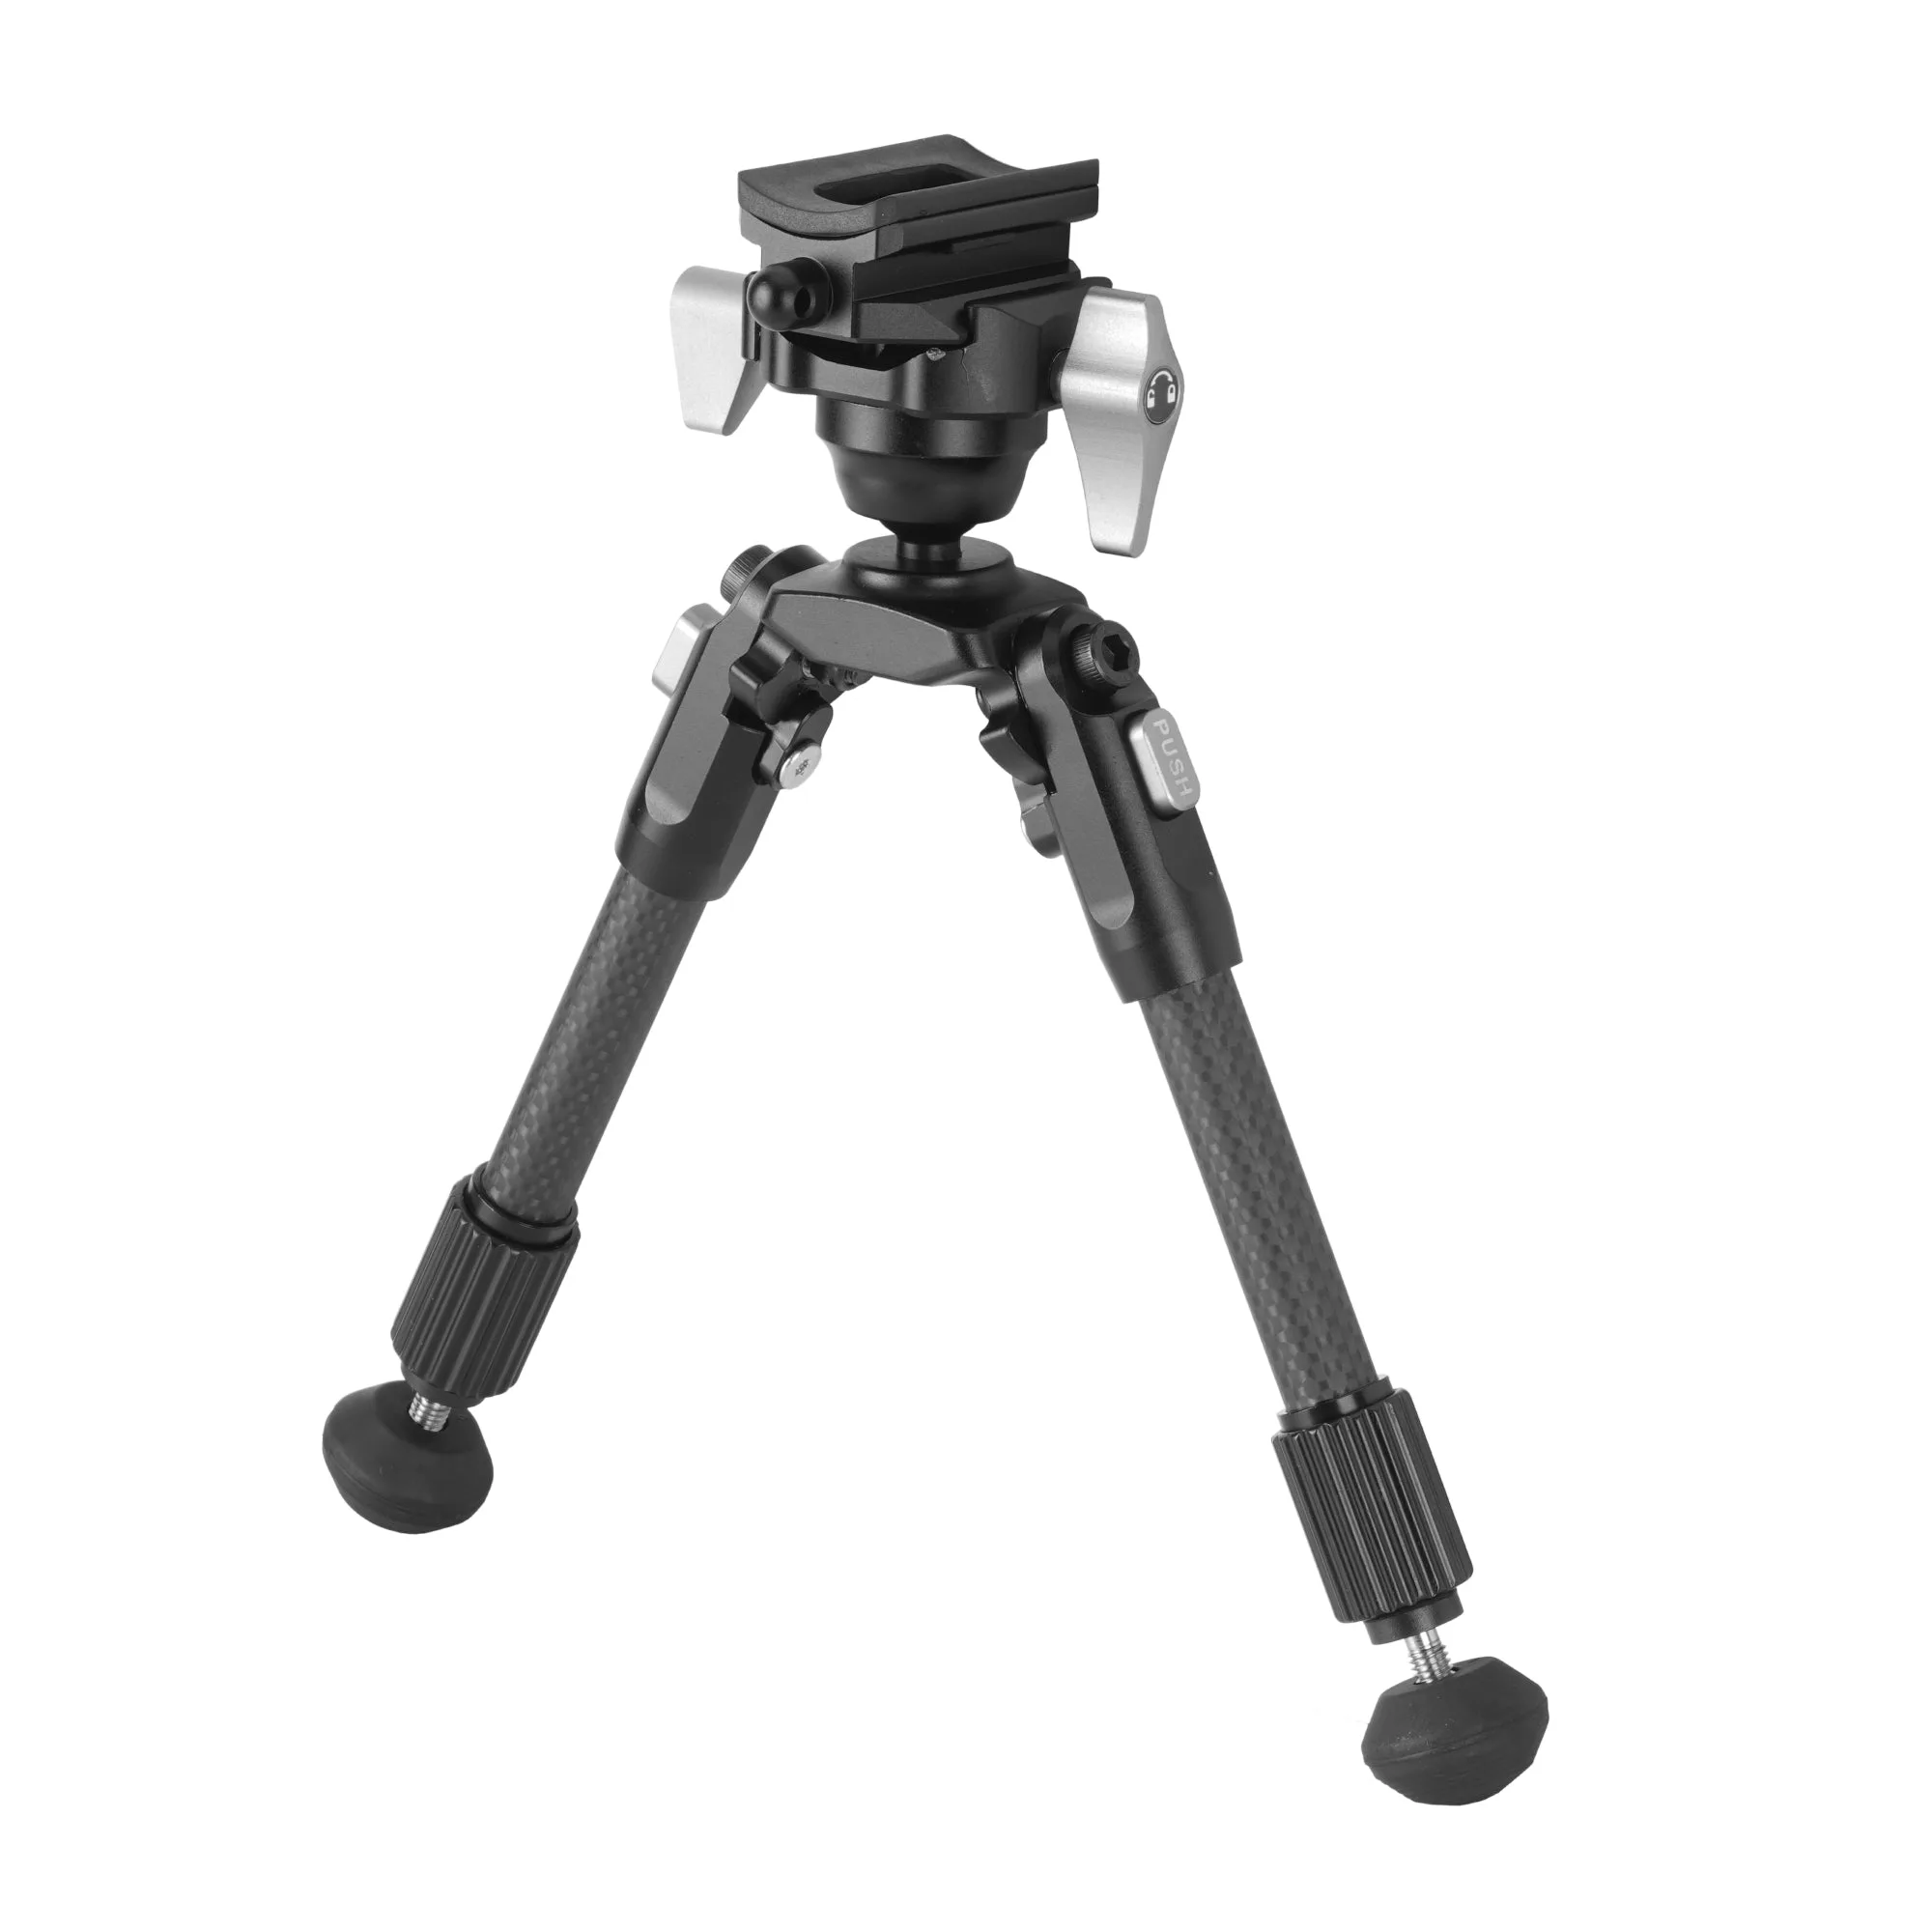
EQ-PRECISION 8.5-10.5" ARCA Compatible Carbon Bipod