Quick Answer
Clay barring removes bonded contaminants like tree sap, industrial fallout, and brake dust that washing alone can't touch. The key is using plenty of lubricant, keeping the clay clean, and working in small sections for a smooth, ready-to-wax surface.
What You'll Need
Before you start, gather a clay bar kit or a bar of detailing clay, a dedicated clay lubricant (a quick detailer works perfectly), and a clean microfiber towel. Avoid using dish soap or water alone—lubrication is essential to prevent marring the paint.
A clean, cool surface is also critical. Wash your car thoroughly with a dedicated car wash soap like Chemical Guys Clean Slate Surface Cleanser Wash to strip old wax and reveal the bare paint. This ensures the clay bar only grabs contaminants, not leftover protection.
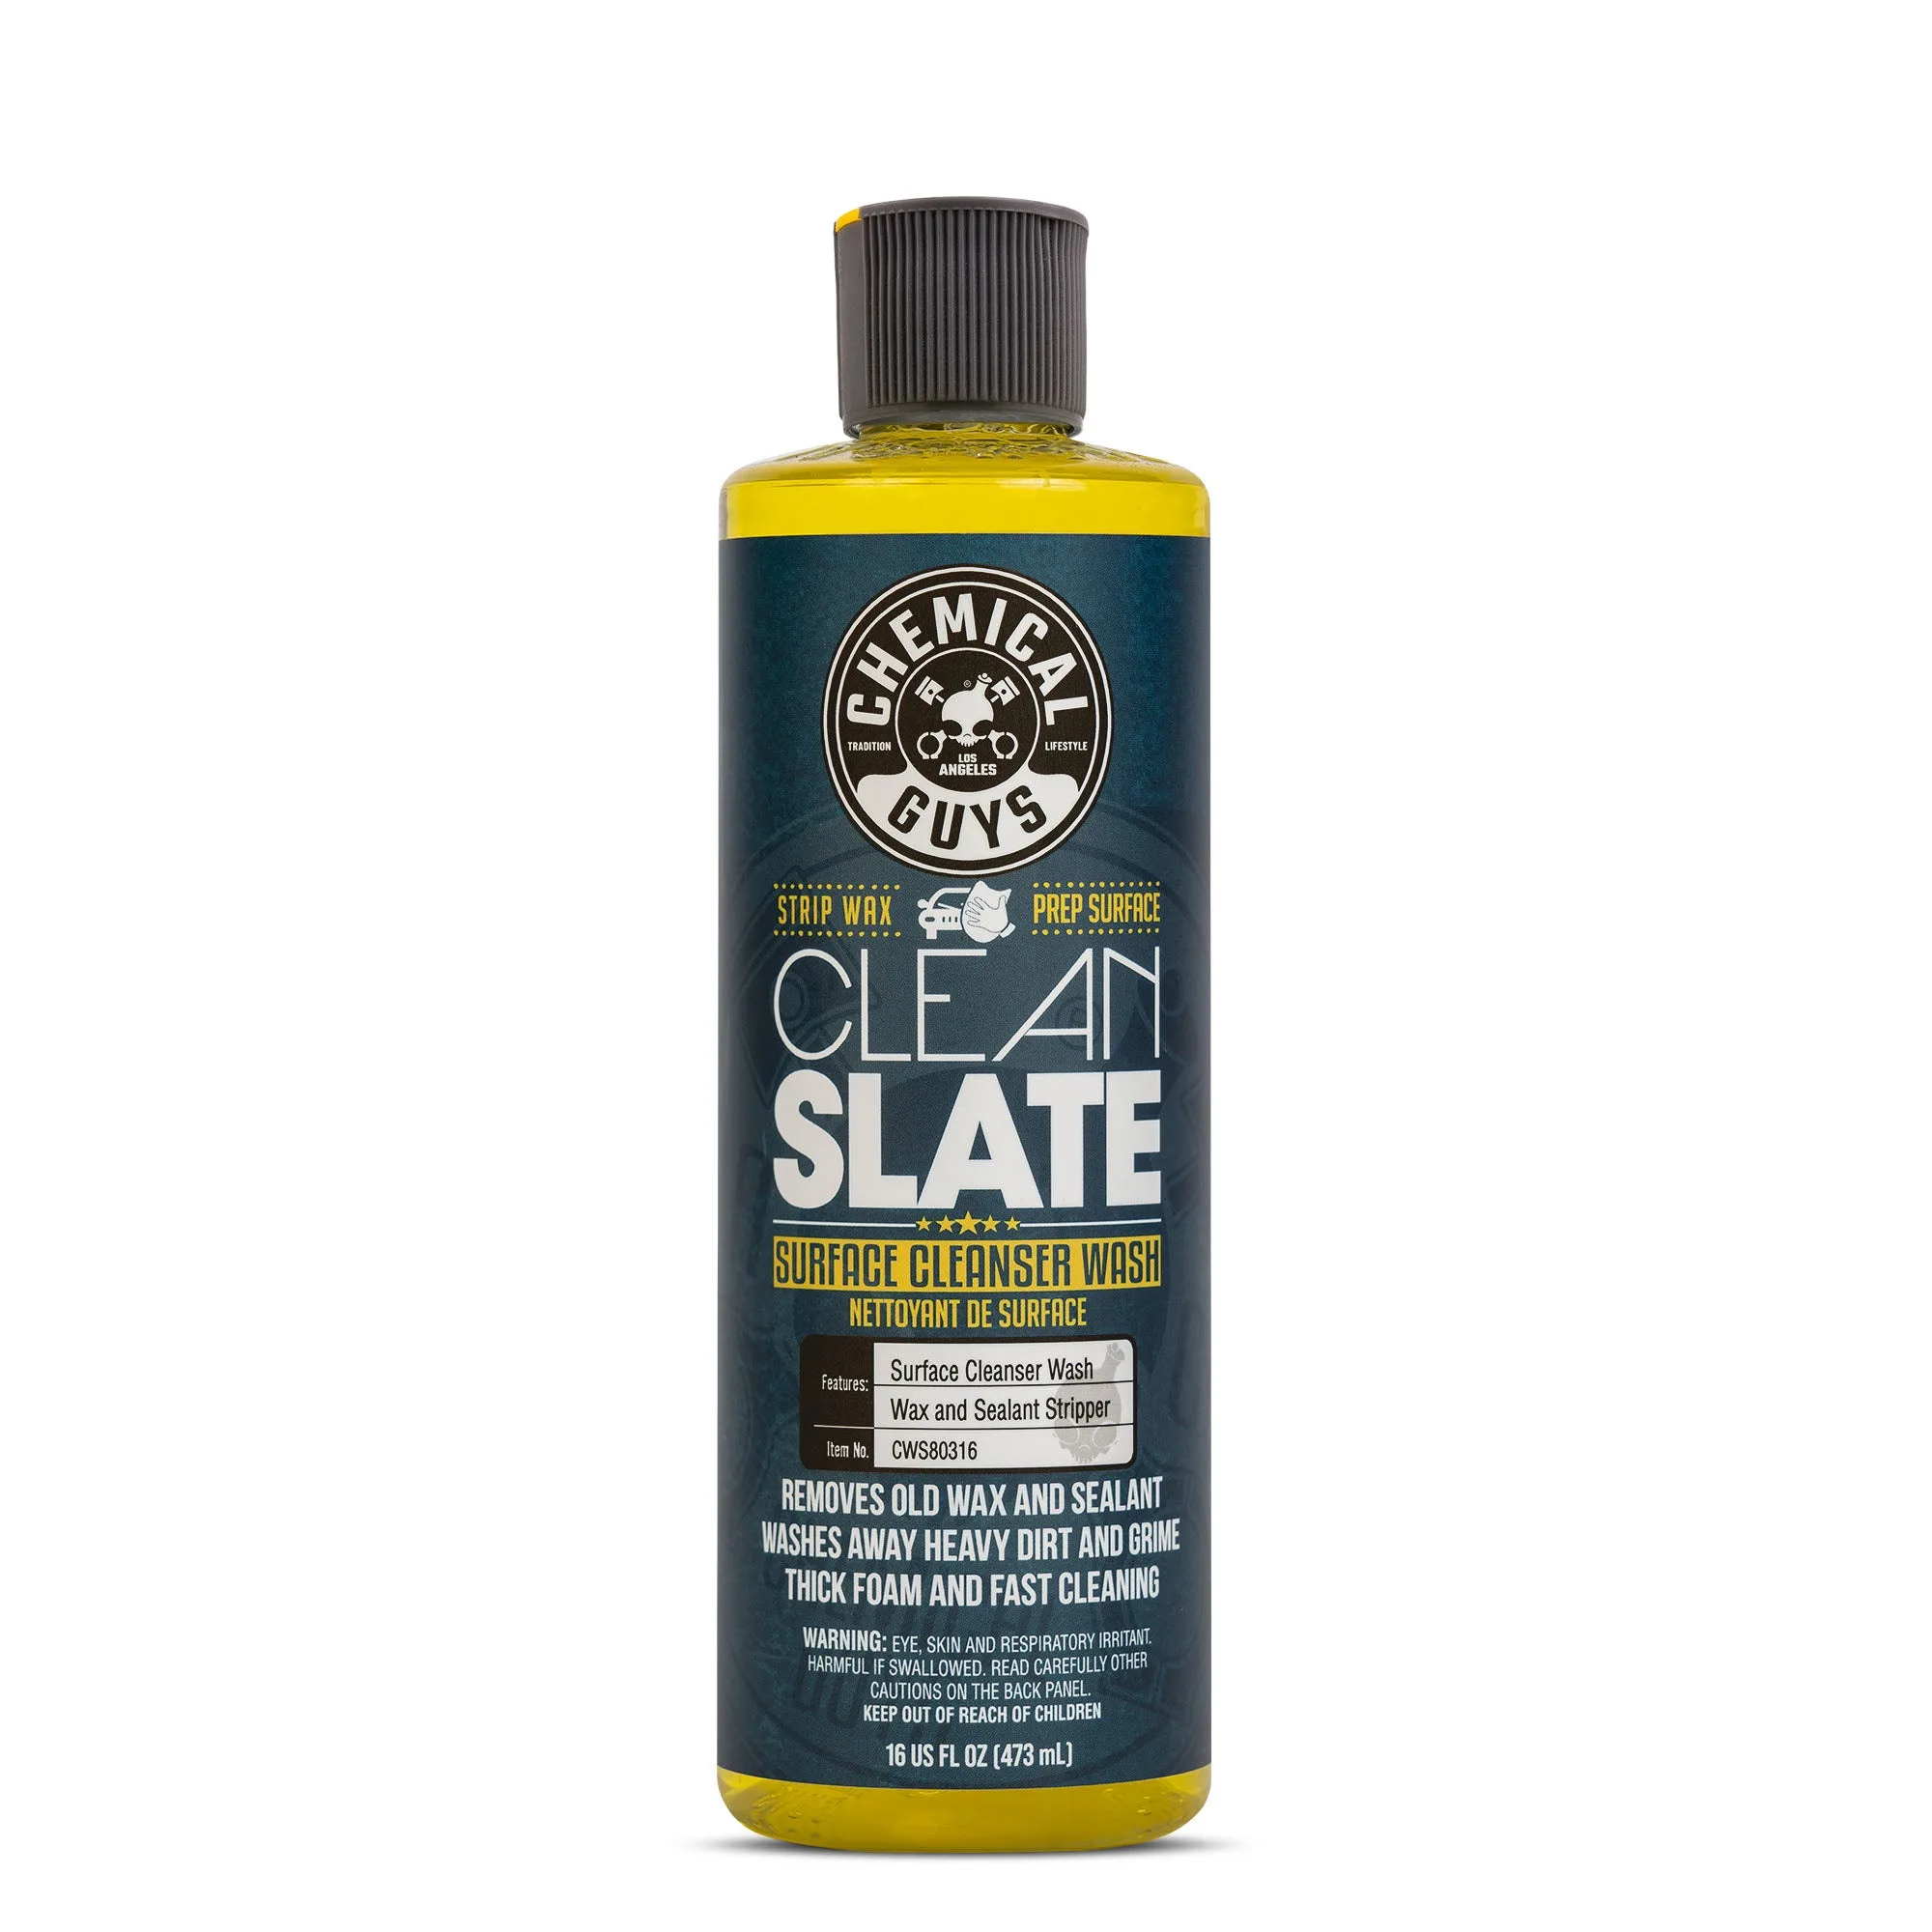
Clean Slate Surface Cleanser Wash
When to Clay Bar Your Car
You should clay bar your car when the paint feels rough or gritty after washing, usually every 6-12 months depending on driving conditions. A simple test: run your fingers over a clean panel. If it feels like sandpaper, it's time to clay. Avoid claying too often, as it can strip wax and thin clear coat over time.
Step-by-Step Clay Bar Process
- Step 1: Wash and Dry Your Car: Start with a thorough wash using a car wash soap that strips old wax, like Clean Slate Surface Cleanser Wash. Rinse and dry with a clean microfiber towel to avoid water spots. Common mistake: claying a dirty surface grinds contaminants into the paint. Always wash first.
- Step 2: Prepare the Clay and Lubricant: Knead the clay bar into a flat, palm-sized disc. Spray a generous amount of clay lubricant (such as Speed Wipe Quick Detailer) onto a small 2x2 foot section of the paint. Keep the surface wet throughout the process. Checkpoint: if the clay starts dragging or sticking, you need more lubricant. Never use dry clay on paint.
- Step 3: Glide the Clay Bar: Gently glide the clay bar back and forth over the lubricated section using light pressure. You'll feel the clay pick up contaminants as it smooths the surface. Work in straight lines, overlapping each pass slightly. Common mistake: pressing too hard can cause scratches. Let the clay do the work—light pressure is enough.
- Step 4: Check and Fold the Clay: After a few passes, inspect the clay bar. If you see embedded dirt, fold the clay over and knead it to expose a clean surface. Never reuse a contaminated section—it will scratch the paint. Checkpoint: if the clay feels gritty or looks discolored, replace it with a fresh piece. One bar typically lasts 2-3 cars if maintained properly.
- Step 5: Wipe Away Residue: Before the lubricant dries, wipe the section clean with a dry microfiber towel. Use a fresh towel for each section to avoid spreading residue. The surface should feel glass-smooth to the touch. Common mistake: letting lubricant dry on the paint can leave streaks. Wipe immediately after claying each section.
- Step 6: Apply Protection: Clay barring leaves paint bare and vulnerable. Apply a coat of wax, sealant, or ceramic coating to protect the surface and lock in the smooth finish. This step is non-negotiable for long-term results. Checkpoint: wait at least 24 hours after claying before applying a ceramic coating to allow any residual moisture to evaporate.
Recommended Product
- Speed Wipe Quick Detailer & High Shine Spray Gloss: Speed Wipe Quick Detailer is the ultimate high-shine gloss for any exterior! Its wax-free formula cleans paintwork and mirrors, protecting the surface against harmful UV rays and delivering a static-free shine in minutes. This wax-free quick detailer is an ideal clay lubricant because it won't leave behind residue or interfere with the clay's ability to grab contaminants. It also preps the surface for your next step, whether that's polishing or waxing.