Quick Answer
A geared head lets you make tiny, controlled adjustments to your camera position, which is essential for sharp macro and product photos. Follow the steps below to set up and use one effectively.
Why a Geared Head Beats a Ball Head for Precision Work
A ball head is great for speed, but it struggles with fine adjustments. When you need to move the camera by a millimeter or two, a geared head's knobs give you that control without the camera drifting or springing back. This is especially important in macro photography, where depth of field is razor-thin, and in product photography, where symmetry and alignment matter.
The trade-off is speed. Geared heads are slower to operate, so they're not ideal for fast-moving subjects or event photography. But for studio work, the extra time pays off in sharper, more consistent results.
Understanding the Manfrotto 410 Junior Geared Head
The Manfrotto 410 Junior Geared Head is a popular choice for this kind of work. It supports DSLR and medium format cameras, and its compact design makes it easy to work with in tight studio spaces. It offers precise geared movements in three directions—pan, tilt, and lateral tilt—so you can fine-tune every axis independently.
One unique feature is the ability to disengage the gears for rough positioning. This lets you quickly frame your subject, then switch to the precise gears for fine adjustments. That combination of speed and control is exactly what you need when setting up a complex product shot.
Step-by-Step: Using a Geared Head for Macro and Product Photography
- Mount and Level the Tripod: Set up your tripod on a stable surface and extend the legs to your working height. Use the built-in bubble level (or a hot-shoe level) to ensure the base is perfectly horizontal. This gives you a consistent starting point for all your adjustments. A level base prevents the need for large corrections later.
- Attach the Camera and Rough-Position: Mount your camera onto the geared head. Use the disengage feature (if available) or loosen the knobs to quickly move the camera into the general framing you want. Lock it back into gear mode once you're close. Don't skip the rough positioning—it saves time and reduces wear on the gears.
- Fine-Tune the Composition: Use the three geared knobs to make small adjustments to pan, tilt, and lateral tilt. Work one axis at a time, and check the viewfinder or live view after each turn. For product shots, use grid lines to align edges and symmetry. Make adjustments in small increments—overcorrecting is a common mistake.
- Set Focus and Aperture: Switch to manual focus and zoom in on your subject in live view. Use focus peaking or a magnified view to ensure critical sharpness. Choose an aperture that gives the depth of field you need (e.g., f/8–f/11 for product shots). Lock focus before making any final camera movements.
- Lock Everything Down and Shoot: Once the composition and focus are perfect, tighten all the knobs securely. Use a remote shutter release or the camera's self-timer to avoid camera shake. Take a test shot and review it on a large screen before proceeding. Always check the final image for any slight misalignment or blur.
Product Facts
-
Manfrotto 410 Junior Geared Head: The Manfrotto 410 Junior Geared Head is designed for DSLR and medium format cameras, with 360° panoramic rotation, -30°/+90° front tilt, and -90°/+30° lateral tilt. These ranges give you the flexibility to position your camera at almost any angle, which is essential for overhead product shots and low-angle macro work.
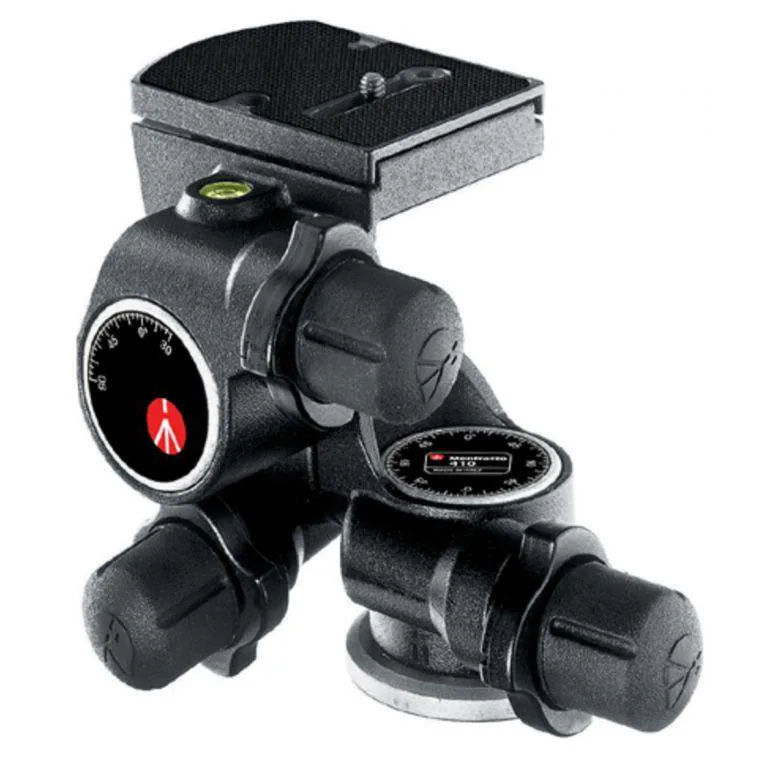
Manfrotto 410 Junior Geared Head