Quick answer
A lash pad keeps your lash clusters organized and your workspace clean by holding them securely on a sticky silicone surface while you prep and apply.
Why a lash pad beats a tray or tabletop
Lash clusters are tiny and easy to knock off a flat surface. A lash pad's sticky silicone grips each segment so they stay put while you dip, arrange, and pick them up. It also contains any loose adhesive or dust, keeping your work area tidy.
How to set up and use your lash pad
- Peel off the protective film: Remove the clear film from the silicone surface to expose the sticky layer. Place the pad on a flat, stable surface near your mirror. If the surface feels less tacky over time, wash it gently with mild soap and water, then let it air dry to restore stickiness.
- Arrange your lash clusters on the pad: Use tweezers to place each cluster sticky-side up on the pad. Space them out so you can easily grab one without disturbing the others. Prep enough for one eye at a time. Don't overcrowd the pad — clusters that touch may pick up each other's adhesive and become unusable.
- Dip and apply directly from the pad: Dip the base of a cluster into your lash glue, then pick it up with tweezers and place it on your natural lash line. The pad holds the remaining clusters steady while you work. Avoid pressing the cluster into the pad after dipping — the glue can transfer to the silicone and reduce tackiness.
- Clean the pad after each use: Once you finish, peel off any dried glue residue. Wash the pad with warm water and a drop of gentle cleanser, then pat dry and reattach the protective film for storage. Let the pad dry completely before storing to prevent mold or loss of stickiness.
Product mentioned
-
Lash Pad: Reusable silicone pad with a sticky surface that holds lash clusters firmly in place — no flyaways, no fumbling, no mess. You can prep several clusters at once without them sliding around or sticking to your fingers, which speeds up application and reduces waste.
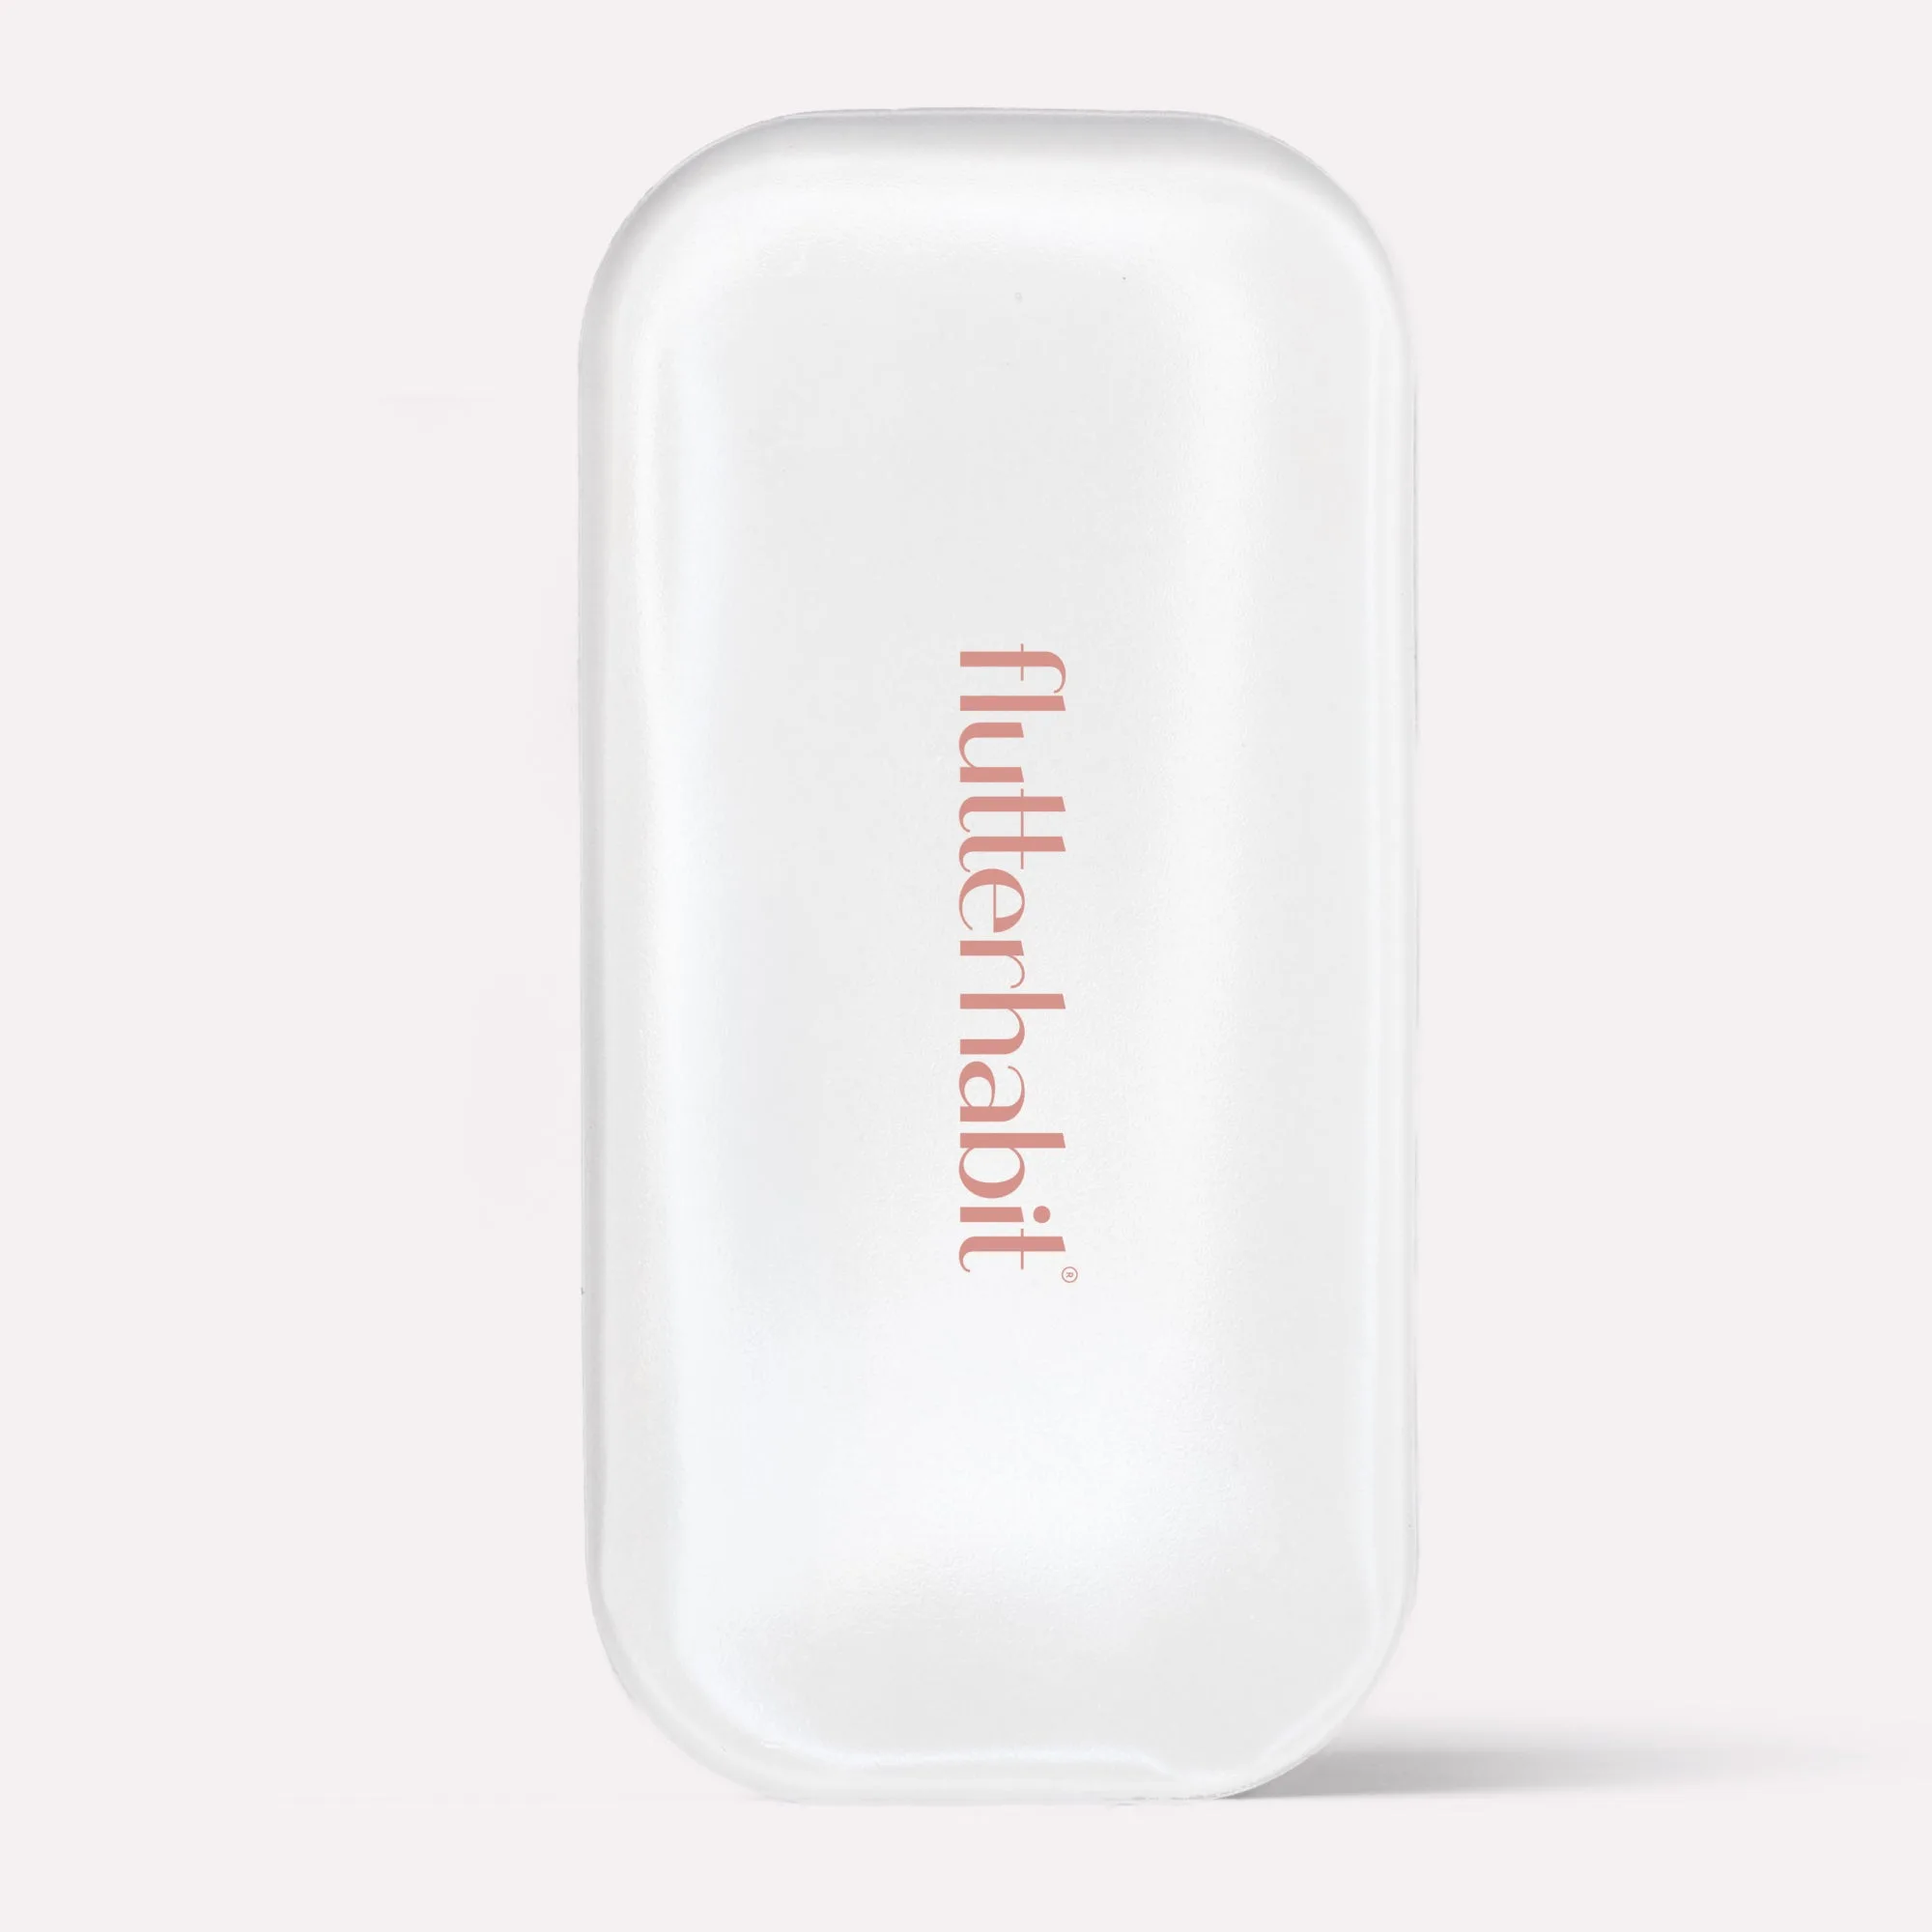
Lash Pad