Quick answer
To use a needle minder, slide the decorative top piece onto the front of your canvas and the magnet onto the back so they lock through the fabric. Rest your needle on the top piece between stitches. That is the whole method: two magnets, one needle parking spot, and no more patting the sofa cushions.
A needle minder is one of those small needlepoint accessories that changes your stitching routine in about ten seconds. You attach it to your canvas, park your needle on it, and stop losing needles in blankets, carpet, and the mysterious void inside your stitching bag.
This guide walks through the exact steps for using a needle minder, plus the placement mistakes that make them less useful than they should be. It applies to any magnetic needle minder, including decorative ones like the Octopus Needle Minder.
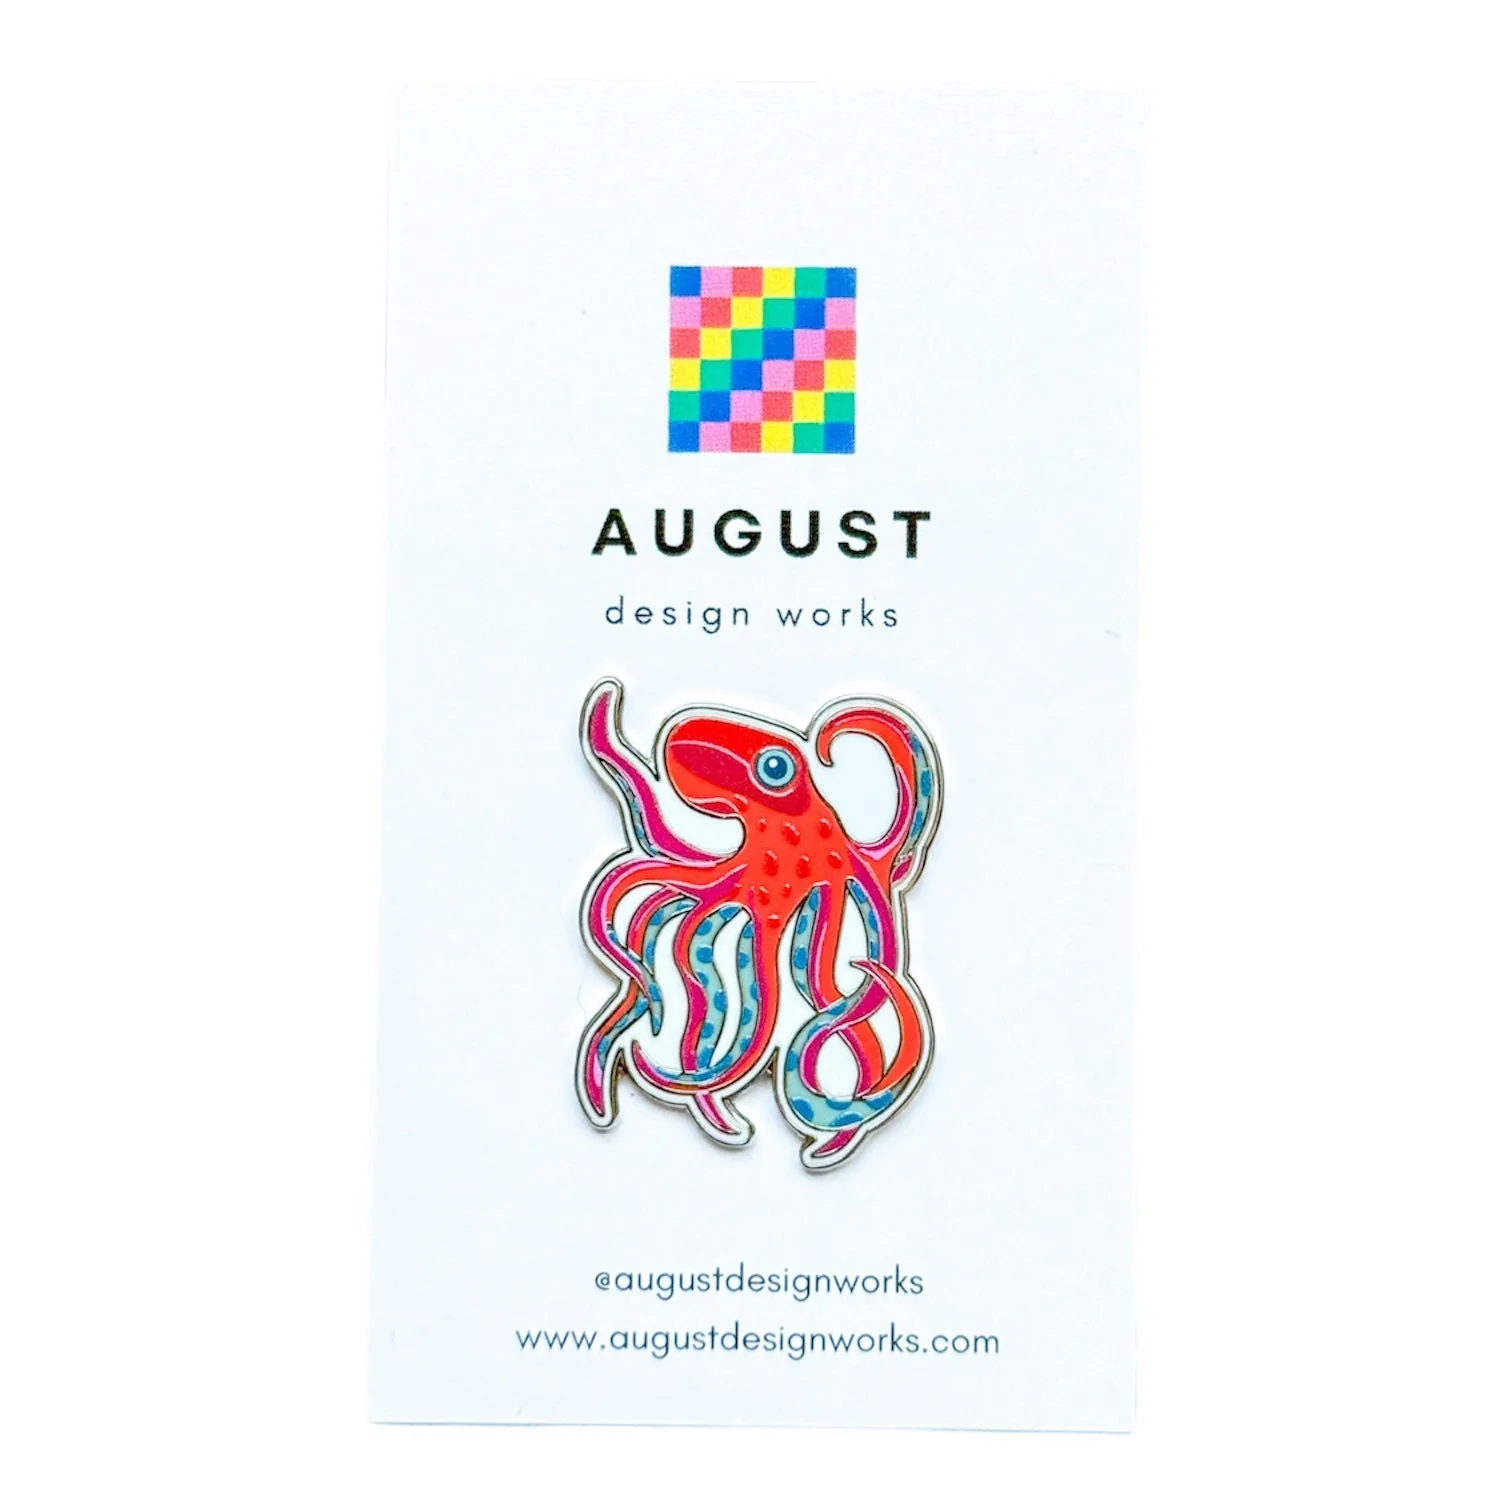
Octopus Needle Minder
What a needle minder actually does
A needle minder is a small magnetic holder that clips onto your canvas and gives your needle a dedicated resting place. It usually has two parts: a decorative top piece and a separate magnet. The fabric sits between them, and the magnetic pull holds everything together.
That sounds simple, and it is. The value is in what it prevents. When you set a needle down mid-stitch, it rolls, slides, or disappears into fabric folds. A minder keeps it exactly where you left it, so you can pick up your canvas after a break without hunting for your needle.
Needle minders are especially useful for needlepoint because you frequently switch between stitching, checking the canvas, and threading new lengths. A magnetic needle minder guide like this one is really just a parking system.
- Keep the minder attached to the canvas while you stitch; removing it after every session defeats the purpose.
- If you stitch in a chair with cushions, a minder is the difference between finding your needle and buying more.
Before you attach it: check the fabric and the magnet
Most needle minders work on any canvas or fabric that a magnet can grip through. Needlepoint canvas is generally open enough that the two magnet halves connect easily. If your canvas is mounted on stretcher bars, attach the minder to an area of canvas that is not under tension from the bars.
Check that the two pieces actually attract each other before you place them. Magnets can flip. If the top piece and back magnet repel, rotate one of them. This takes two seconds and saves you from thinking your minder is broken.
Also check for small metal objects nearby, like scissors or a laying tool. Magnets do not care what they grab, and a minder that keeps snatching your scissors is annoying rather than helpful.
- Common mistake: attaching the minder to the back of the canvas only, which leaves the needle with nothing to rest on.
- If you use a floor stand or frame, keep the minder away from metal clamps so it stays put.
Step-by-step: how to use a needle minder
Place the decorative top piece on the front of your canvas where you want your needle to live. A corner or edge of the design area usually works best because it stays out of your stitching path. Then place the loose magnet on the back of the canvas directly behind the top piece. You will feel them snap together.
Once attached, park your needle on the top piece whenever you pause. The needle sticks to the magnet through the decorative layer. When you are ready to stitch again, lift the needle off and keep going. There is no clasp, no pin, and no hole in your canvas.
If you move the minder, slide the two pieces apart first rather than dragging them across the canvas. Dragging can snag threads or distort stitches, especially on 18 mesh where the holes are tight.
- Checkpoint: give the minder a gentle tug. If it slides easily, the magnets are not aligned.
- Keep the needle perpendicular to the minder surface so it grabs firmly.
Needle minder placement that works with your stitching style
Needle minder placement matters more than most stitchers expect. Put it too close to your active stitching area and your working thread keeps catching on it. Put it too far away and you will not bother using it. A good default is just outside the design area, near the hand you use to park the needle.
If you stitch in hand, place the minder near the edge you are holding so your needle is always within reach. If you work on stretcher bars, the top edge of the canvas is usually the most convenient spot because it stays visible while you stitch.
For larger canvases, some stitchers use two minders: one for the needle and one for a thread cutter or small tool. That is optional, but it keeps everything in one place.
- Common mistake: placing the minder directly over an area you have already stitched, which can flatten or snag the stitches.
- Move the minder as you work across a large canvas so it stays convenient.
Caring for your needle minder and your canvas
Needle minders do not need much maintenance. Wipe the decorative top with a dry cloth if it picks up lint. Keep the two magnet pieces together when stored so you do not lose the back magnet, which is the piece people misplace most often.
When you finish a stitching session, decide where the needle goes. Some stitchers leave it on the minder; others remove it and store it in a needle case. Either way, the minder has done its job by keeping the needle off the floor during the session.
If you stitch with pets or small children nearby, remember that magnets are not toys. Store the minder out of reach when it is not on your canvas.
- Do not wash or soak a needle minder; keep it dry.
- If the magnet weakens over time, check that the two pieces are clean and aligned before assuming it is worn out.
Needle minder setup checklist
- Separate the two pieces: Take the decorative top and the back magnet apart before attaching anything to the canvas. Checkpoint: confirm the two pieces attract each other before placing them.
- Place the top piece on the front: Set the decorative piece where you want your needle to rest, usually just outside the active stitching area. Checkpoint: make sure it is not covering stitches you have already worked.
- Add the back magnet: Place the loose magnet on the back of the canvas directly behind the top piece and let them snap together. Checkpoint: give a gentle tug to confirm the grip is firm.
- Park your needle: Rest the needle on the top piece whenever you pause, keeping it perpendicular so it holds securely. Checkpoint: the needle should stay put when you lift your hand away.
- Move and store correctly: Slide the pieces apart before repositioning, and store both magnets together when you are done. Next step: keep the minder on the canvas between sessions so your needle never goes missing again.
Product facts
- Octopus Needle Minder: Size: 1” x 1.25”. Featuring our best-selling Octopus canvas reimagined as a needle minder, this bright and colorful design brings a playful pop to any stitching project. The compact size keeps it out of your stitching path, and the colorful top makes the needle easy to spot on a busy canvas.
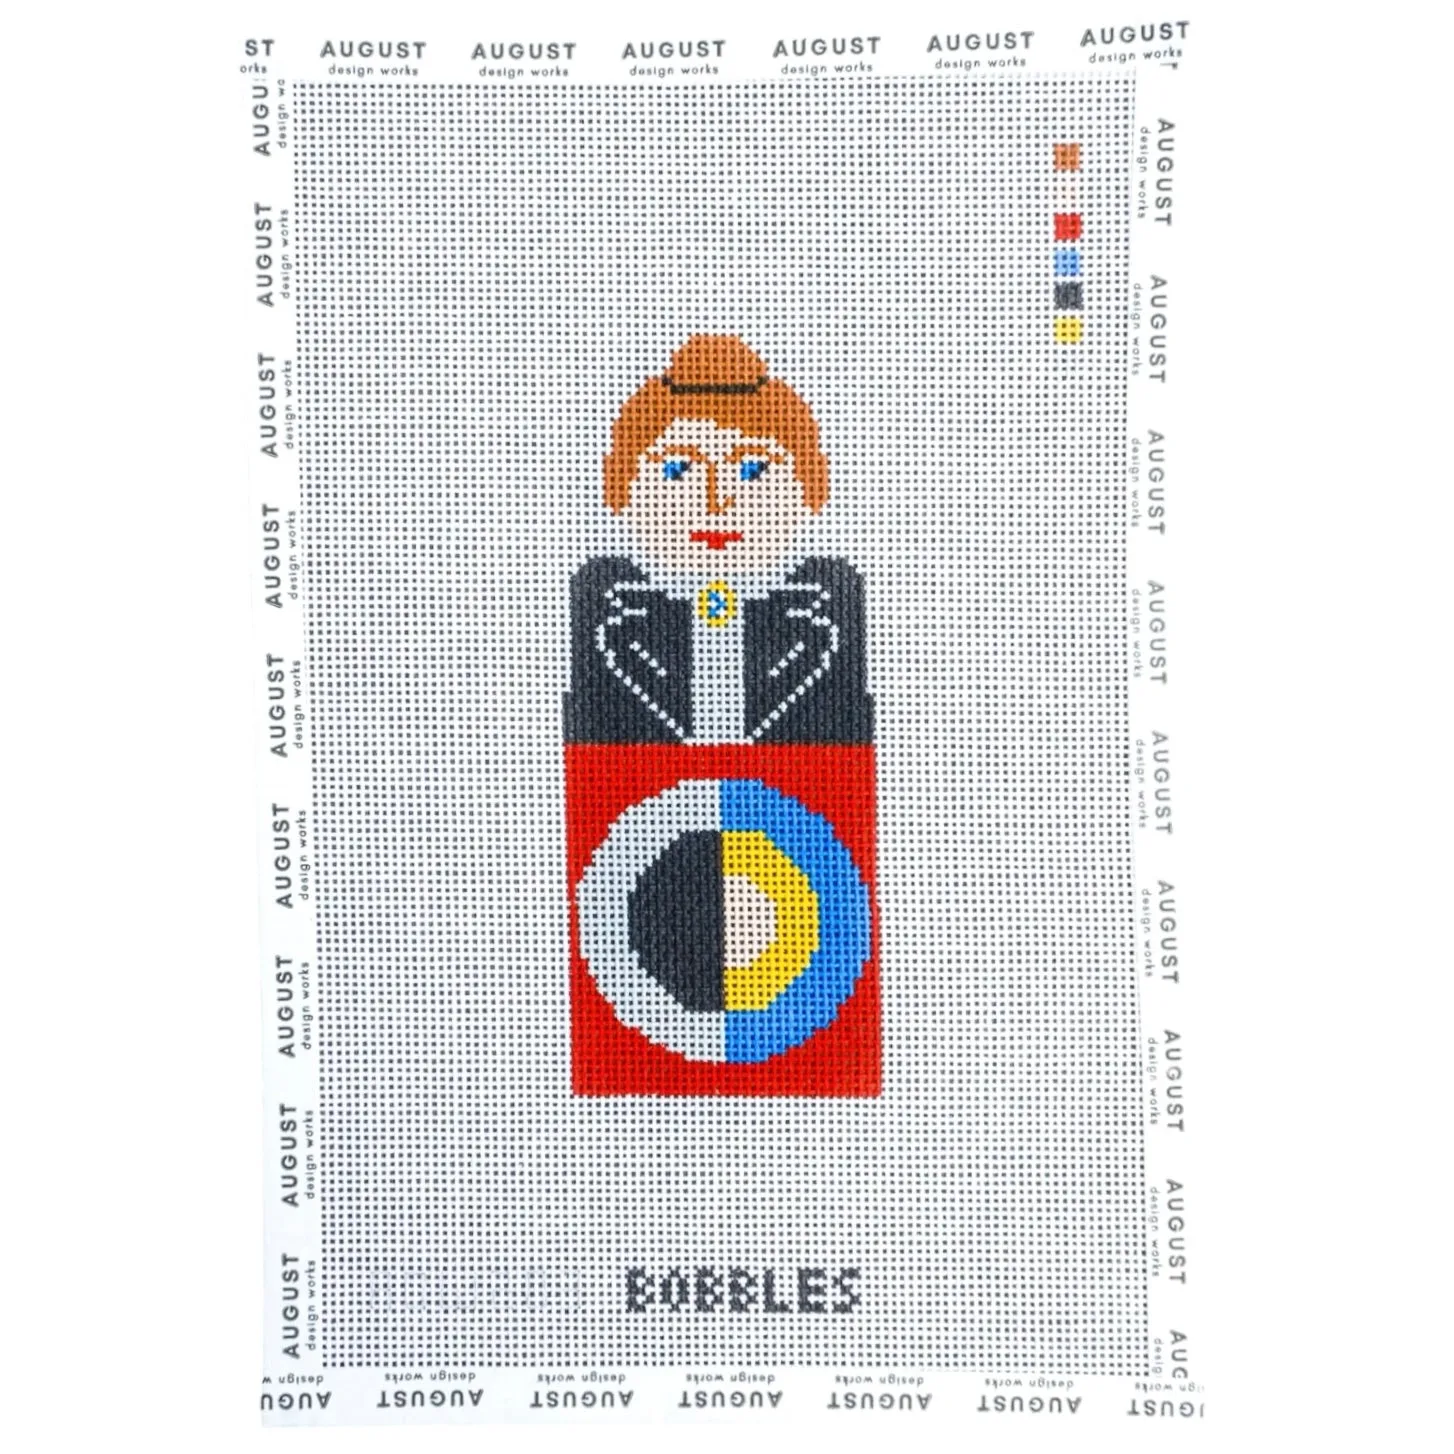
- https://augustdesignwork.com/products/klint-bobble-wholesale-69b8bc3a1ccd1006a068df9a-1481533Klint Bobble - Needlepoint Canvas (Wholesale): Our Bobbles Series celebrate iconic figures with hand-painted needlepoint canvases designed to be stitched, displayed, and collected. If you are deciding what to stitch next, a Bobble canvas gives you a finished piece worth displaying, and a minder helps you protect that investment by keeping your needle off the floor.
A needle minder is a small habit change with an outsized payoff. Attach it, park your needle, and stop losing needles for good.