Quick answer
Set the decorative half of the needleminder on the front of your canvas and the magnetic half on the back, sandwiching the fabric. Park your threaded needle on the front magnet between stitching sessions so it stays put and your place is easy to find. Move the minder as your stitching area shifts, and keep it away from any spot where the magnet could crush or snag your threads.
A needleminder is one of the cheapest upgrades you can make to your stitching routine, and it solves two problems at once: it holds your needle when you set the canvas down, and it marks the area you were working. If you have ever pulled a canvas out of a project bag and spent five minutes hunting for the needle, this tool is for you.
The process is simple, but small details matter. Placement, magnet strength, and how you store the minder between sessions all affect whether it protects your work or creates a new annoyance.
What a needleminder actually does
A needleminder is a two-part magnet. One half is decorative and sits on the front of your canvas. The other half is a plain magnet that sits on the back. The two halves clamp through the fabric, which is why the minder stays where you put it instead of sliding around.
That grip is the whole point. A magnetic needleminder gives your needle a home that travels with the project, so you can stop mid-row, put the canvas in a bag, and pick it up later without rethreading or searching. It also keeps your needle from disappearing into carpet or couch cushions, which is where most needles go to die.
- A needleminder holds the needle; it does not replace a needle case for long-term storage.
- Stronger magnets hold heavier needles and thicker canvases more securely.
Choose the right spot on your canvas
Place the needleminder near the edge of the canvas, not in the middle of the design. The edge is where you have the least stitching to disturb, and it keeps the magnet away from the painted area you are actively working. If you are stitching a small design like the 3.5-inch-wide canvases in the 12 Days of Totes series, the margin is your best real estate.
For larger rounds, such as a 4-inch round canvas, you have more room to move the minder as you work. Think of it as a movable bookmark: put it where your needle is now, then shift it when you move to a new section.
- Keep the minder at least a half inch away from stitches you are currently working.
- On 18 mesh canvas, a lighter magnet is usually enough and less likely to leave a mark.
Attach the two halves correctly
Slide the decorative half onto the front of the canvas and bring the plain magnet to the back. Let them snap together through the fabric. If your minder has a strong magnet, do not let the two halves snap directly onto each other without the canvas between them, because that is how fingers get pinched and how the magnet can chip.
Check the grip by giving the canvas a gentle shake. If the minder slides, you either have a weak magnet or too much fabric between the halves. If it leaves a deep dent in the canvas, the magnet is too strong for that mesh count, so move it to a corner or use it on a different project.
- Never force the halves together; let the magnet do the work.
- If you use stretcher bars, keep the minder clear of the tacks and the frame edge.
Park your needle the right way
When you stop stitching, bring the needle to the front of the canvas and lay it across the decorative half of the needleminder. The magnet holds it flat, which keeps the point from poking into the canvas or the project bag. This is the step that makes a needleminder worth owning, because it turns a loose needle into a parked one.
If you are mid-row and want to keep your place, park the needle at the point where you stopped rather than at the edge of the canvas. That way the minder doubles as a marker for your next stitch. For a magnetic needleminder how-to, this is the habit that matters most.
- Do not park the needle on the back of the canvas; you will not see it and you may sit on it.
- If your thread is still attached, leave a little slack so the magnet does not pull the thread tight.
Avoid the mistakes that cost you stitches
The most common mistake is placing the needleminder directly on top of stitches you just completed. The magnet can flatten the stitch, and the decorative half can catch a loose thread and pull it. Move the minder to a bare margin or a finished corner instead.
The second mistake is using a needleminder on a project that is too thick for it. If your canvas is mounted on a frame with a lot of layers, the magnet may not hold. In that case, keep the minder on a corner of the canvas where the fabric is single-layer, or use it on a smaller project.
- Check the canvas for dents when you remove the minder; if you see one, use a lighter magnet next time.
- Keep needleminders away from pacemakers and other medical devices.
Store and travel with your needleminder
When the project goes into a bag, leave the needleminder attached to the canvas. The two halves stay together, the needle stays parked, and you do not have to hunt for either one. If you use a reusable PVC protective project baggy, the minder fits inside without adding bulk.
If you rotate between projects, keep one needleminder per project bag. That sounds indulgent, but it prevents the small daily friction of moving magnets back and forth and losing them in the process. A minder that stays with its canvas is a minder you will actually use.
- Store the two halves together so the magnet does not grab nearby metal tools.
- Keep needleminders away from credit cards, watches, and electronics.
Needleminder setup steps
- Pick your placement: Choose a bare margin near the edge of the canvas, away from the stitches you are working. Checkpoint: the minder should sit flat without covering painted design.
- Sandwich the canvas: Put the decorative half on the front and the plain magnet on the back, then let them connect through the fabric. Checkpoint: give the canvas a gentle shake; the minder should not slide.
- Park the needle: Bring the needle to the front and lay it across the decorative half so the magnet holds it flat. Checkpoint: the needle point should not poke into the canvas.
- Move it as you stitch: Shift the needleminder to follow your working area instead of leaving it in one spot for the whole project. Checkpoint: if you see a dent, move the minder and use a lighter magnet.
- Store it attached: Leave the needleminder on the canvas when the project goes into its bag so the needle stays parked. Next step: keep one minder per project bag if you rotate between canvases.
Project examples where a needleminder helps
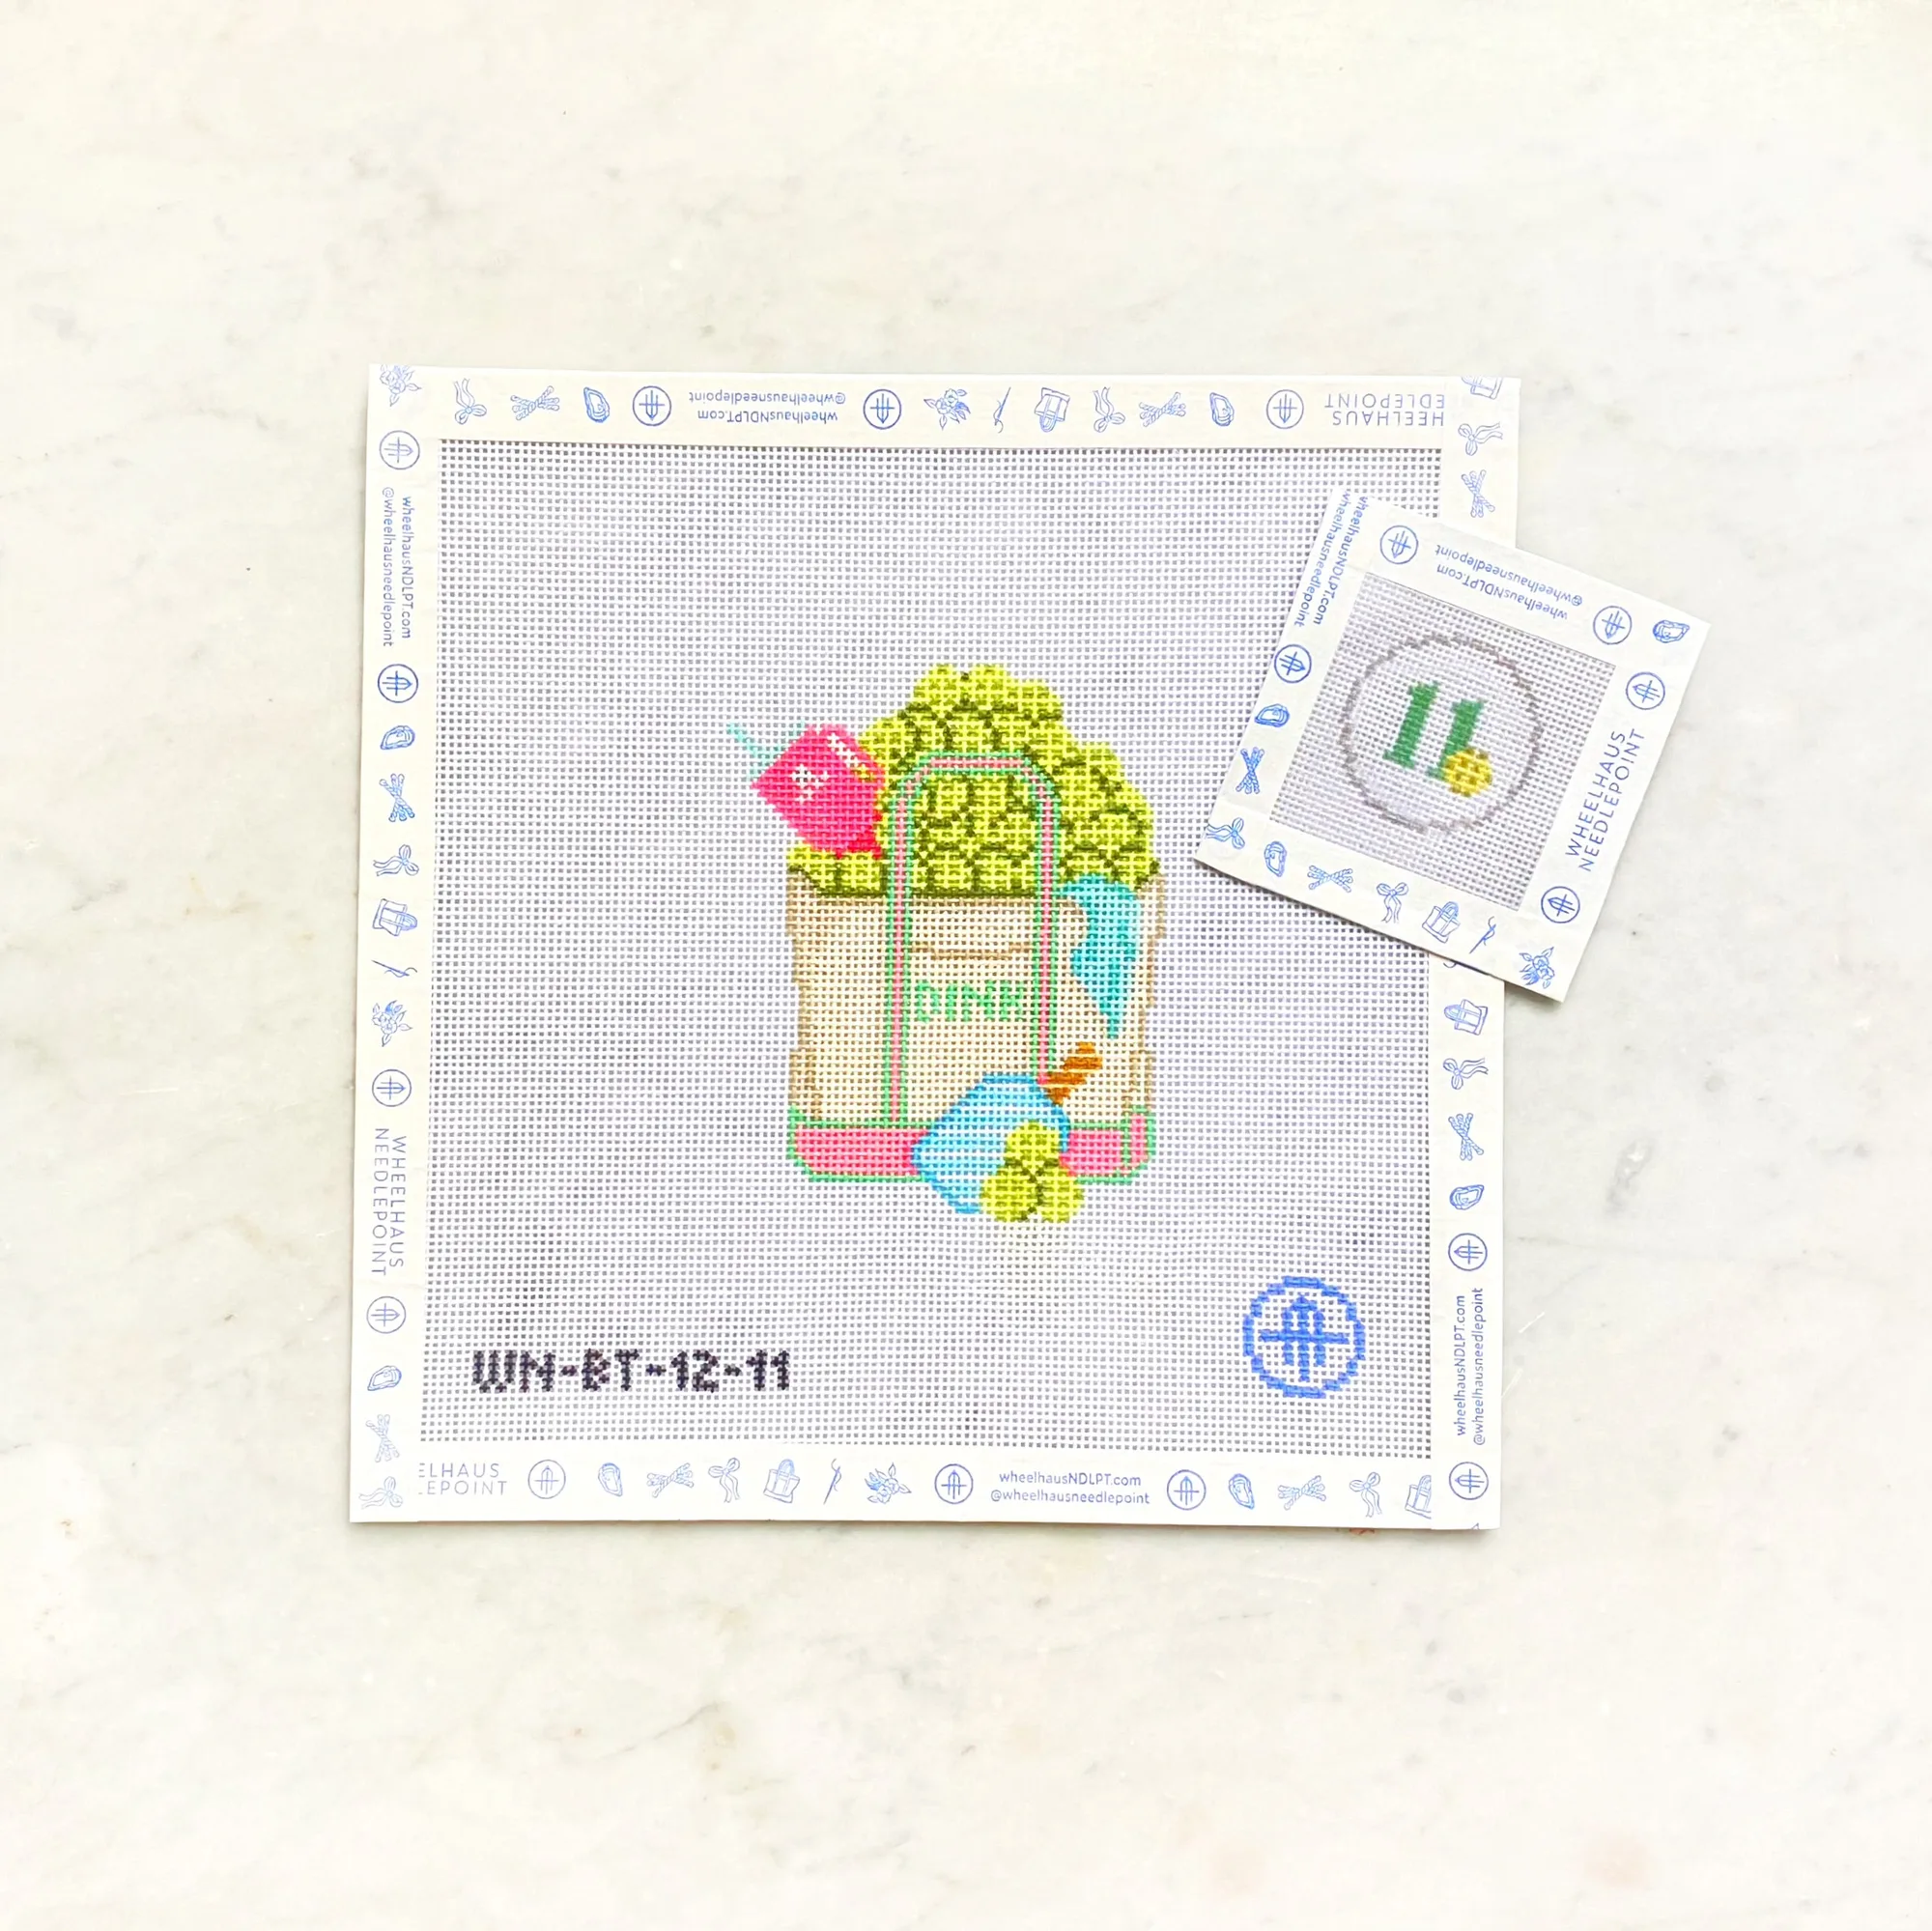
- Pickle Ball Tote - Day 11: 18 mesh canvas, design 3.5"W x 3.75"H, available as canvas only or with a stitch pamphlet, tapestry needle, and reusable PVC project bag. A small 18 mesh canvas has limited margin, so a light needleminder placed at the edge keeps your needle parked without crowding the design.
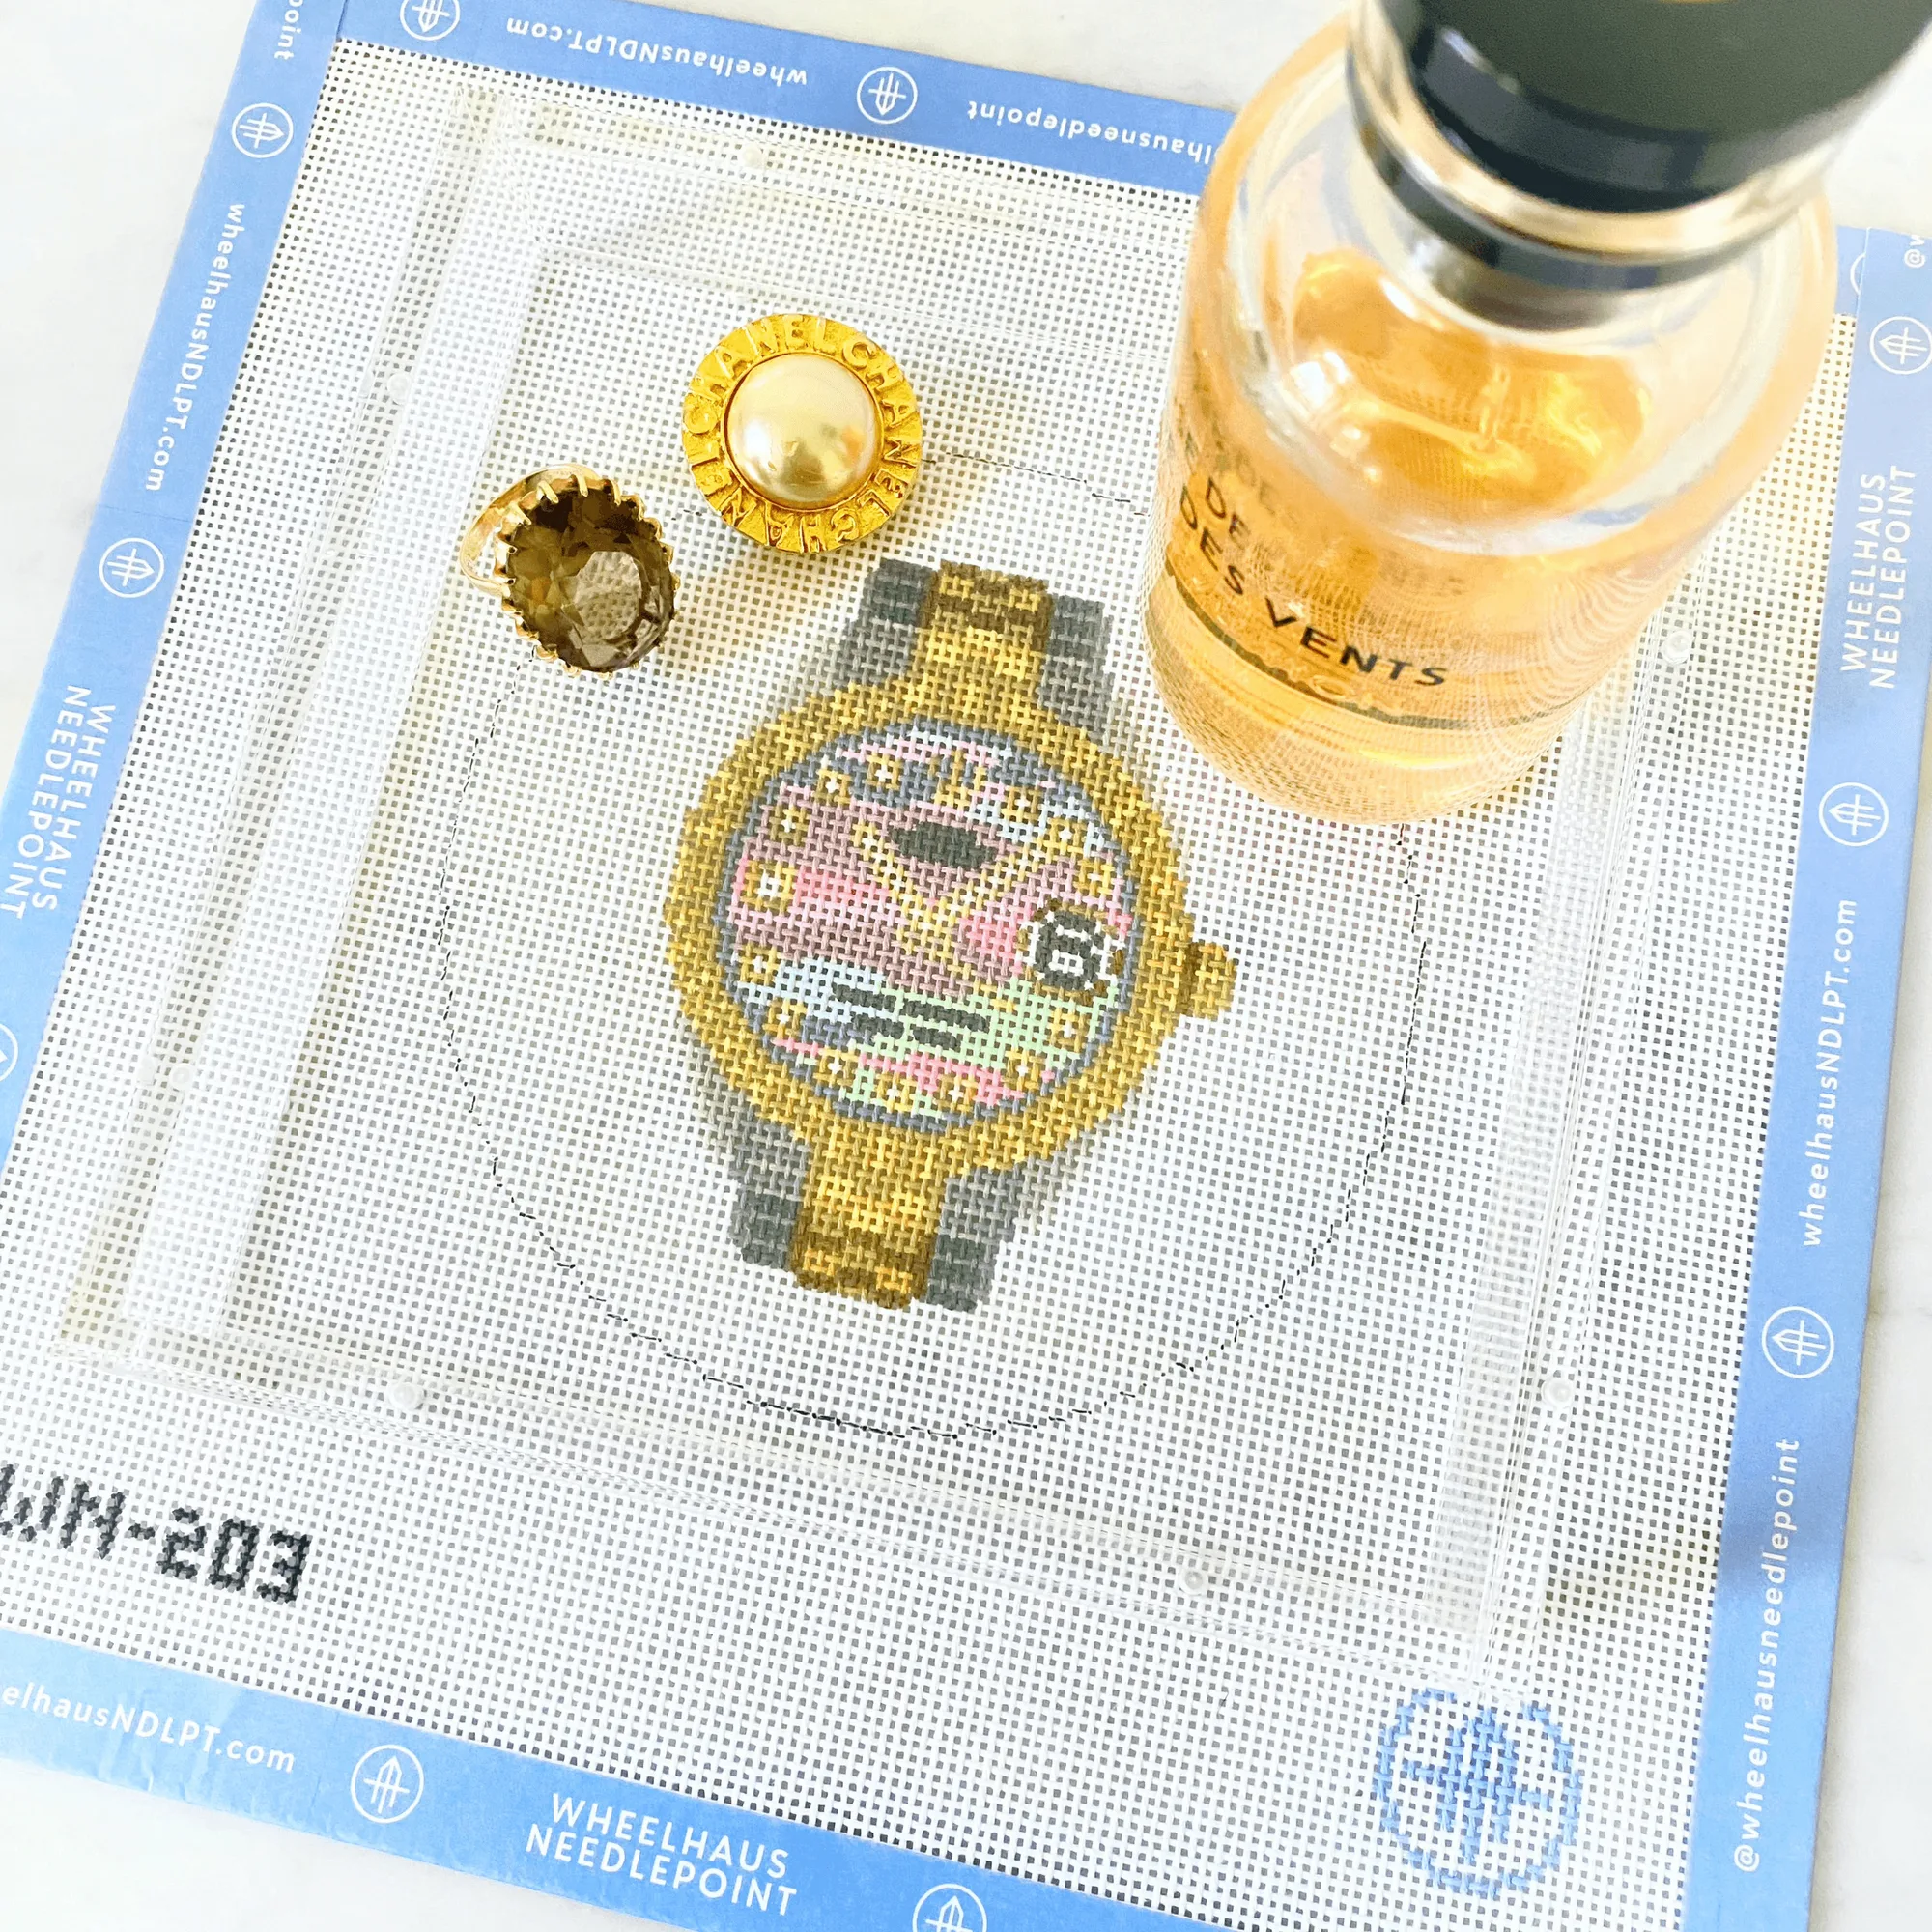
- Lady of the Hour Watch: 18 mesh, stitch painted, 4" round design, recommended stretcher bar size 8x8, canvas only or thread kit with silk and wool fibers. The round shape and stretcher bar setup give you clear corners for needleminder placement, and the thread kit means you can park a threaded needle between sessions.
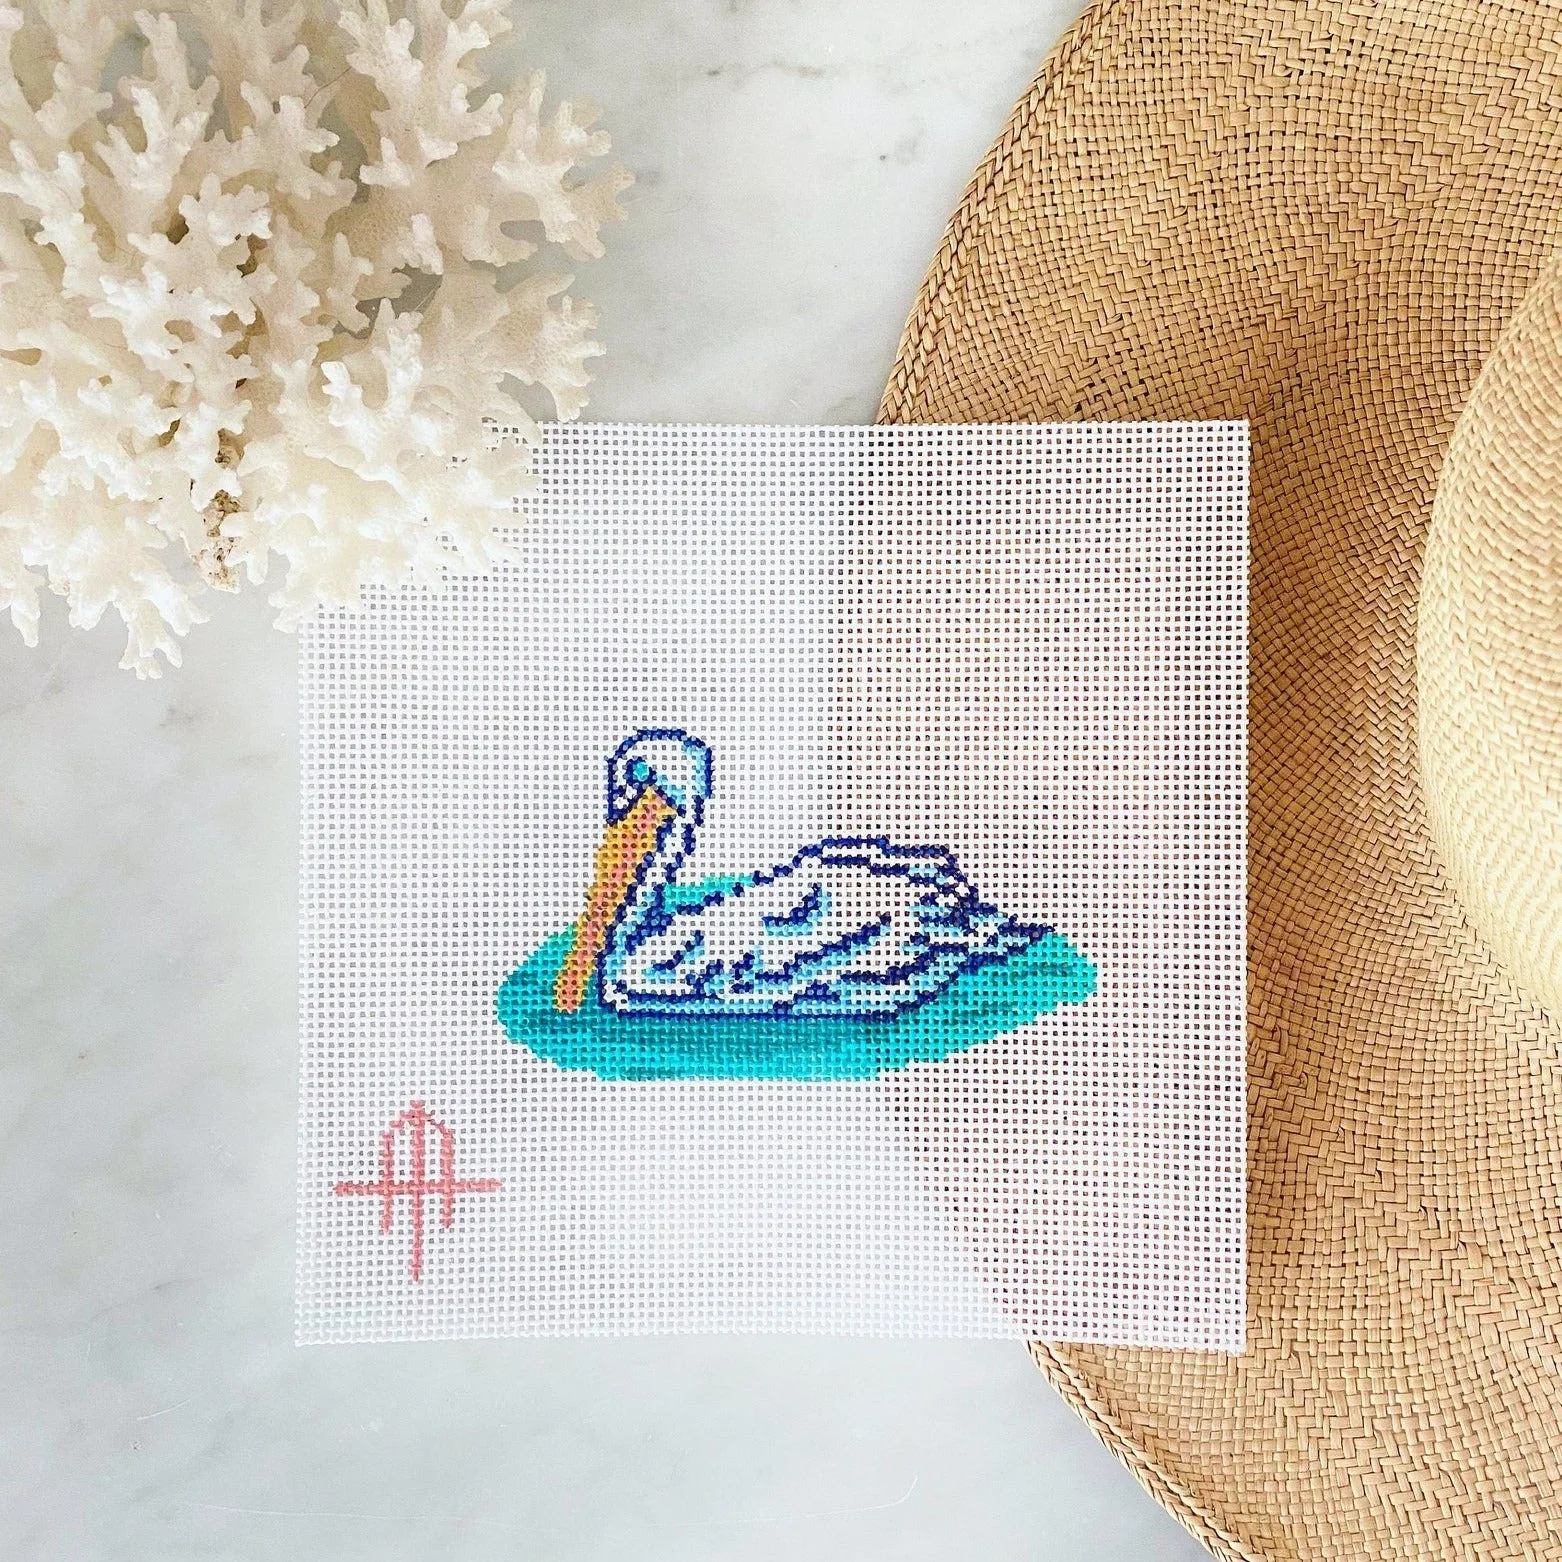
- pelican-08f2e8295980bf0a340db5bb-1389363">Preorder - Pelican: 13 mesh canvas, design 4.5"W x 3"H. 13 mesh is a larger grid with more open holes, so a needleminder with a gentler grip is less likely to leave a dent in the canvas.
A needleminder is a small tool with a simple job: hold your needle and mark your place. Set it on the margin, sandwich the canvas, park the needle, and move it as you work. Do that consistently and you will spend less time hunting for needles and more time stitching.