Quick answer
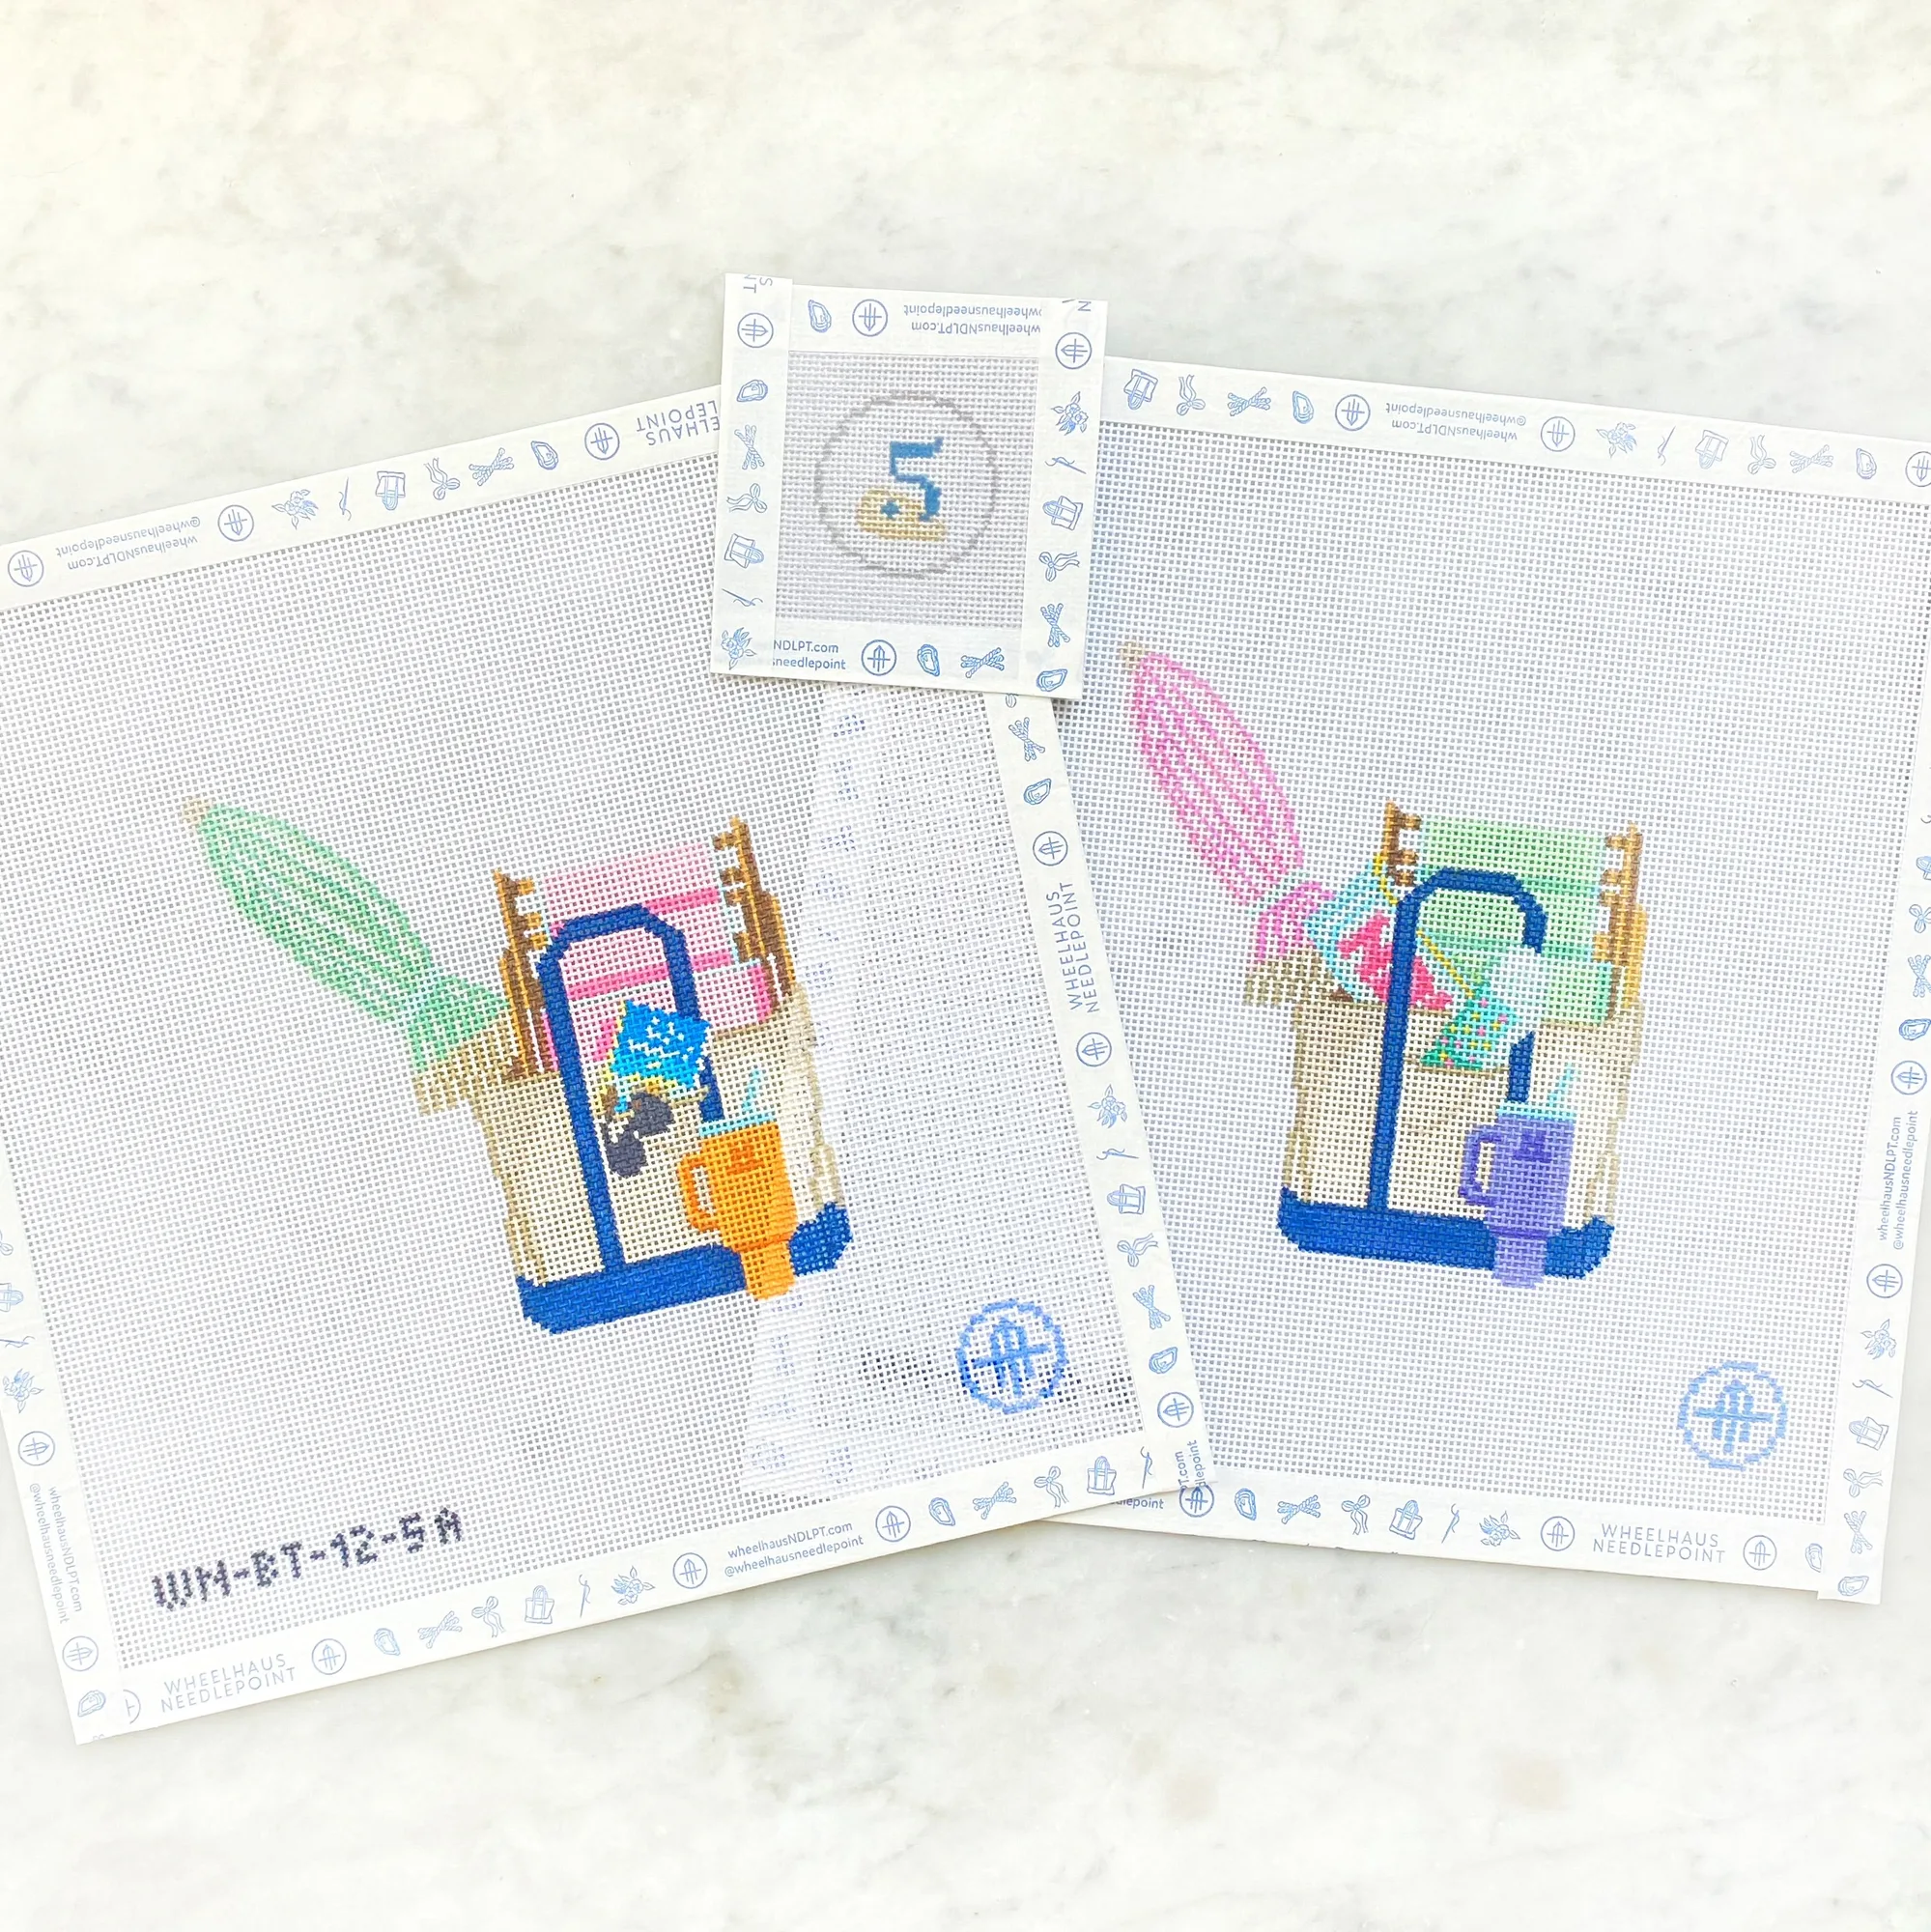
Pick one stitch from your guide, stitch a small practice square on spare 18 mesh canvas, and check the guide after every few stitches. Then apply it to a small painted canvas like https://wheelhausndlpts.com/products/5-sunny-hours-on-the-beach-boat-tote-day-five-b12b4be21aa9aaa31908b2fa-1389350Sunny Days on the Beach Tote - Day 5. This focused practice is how you learn needlepoint stitches without ripping out finished work.
A stitch guide turns a painted canvas into a lesson plan. Instead of guessing where a stitch goes, you follow a diagram, practice the motion, and see the texture build row by row. The trick is to treat the guide as a practice tool, not a rulebook you must obey perfectly on the first try.
This guide walks through a repeatable process: choose a stitch, practice it on scrap canvas, then apply it to a project. You will also see how specific canvases in the 12 Days of Totes series and the Euro Summer Minis give you small, low-pressure places to try new stitches.
Why a stitch guide makes learning new needlepoint stitches easier
A stitch guide shows you the path of the needle, the order of stitches, and often the thread or stitch count. That visual map removes the biggest barrier for beginners: not knowing where to put the needle next. When you learn needlepoint stitches from a guide, you can focus on tension and rhythm instead of guessing.
Guides also let you preview how a stitch behaves on 18 mesh canvas. Some stitches cover quickly, others create texture or shading. Seeing that on paper before you commit thread to canvas saves time and frustration.
- Keep your guide open flat next to your canvas so you can glance at it without losing your place.
- If a stitch has a repeat, count it out loud once before you stitch it.
Set up a practice square before you stitch the real canvas
Cut a 4-by-4-inch piece of 18 mesh canvas and bind the edges with tape. This is your practice square. Choose one stitch from your guide and work it in a single thread color across a small area. The goal is not perfection; it is muscle memory.
Practice squares also let you test how a stitch looks with different threads. A stitch that looks flat in perle cotton may look plush in wool. Once you like the result, you can confidently use that stitch on a painted canvas.
- Label the back of each practice square with the stitch name and thread used.
- Stop after ten stitches and check the front. Fixing a mistake early is faster than ripping out a full row.
Match the stitch to the painted area
Not every stitch suits every space. A large, open area can handle a decorative stitch like a fan or a leaf. A small, detailed area like a face or a tiny object needs a smaller stitch, often basketweave or continental, so the paint still shows through.
Look at the canvas and decide what you want to emphasize. If you want texture on a beach bag, use a stitch that adds dimension. If you want the painted design to stay crisp, use a stitch that covers evenly without bulk.
- Trace the outline of the area with a pencil on your guide so you remember which stitch goes where.
- When in doubt, stitch a small corner first and step back to check the effect.
Build your needlepoint stitch library one project at a time
A stitch library is simply a record of stitches you have learned and where you used them. After you finish a project, write down the stitch names, the thread, and whether you would use them again. Over time, you will have a personal reference that is more useful than any generic list.
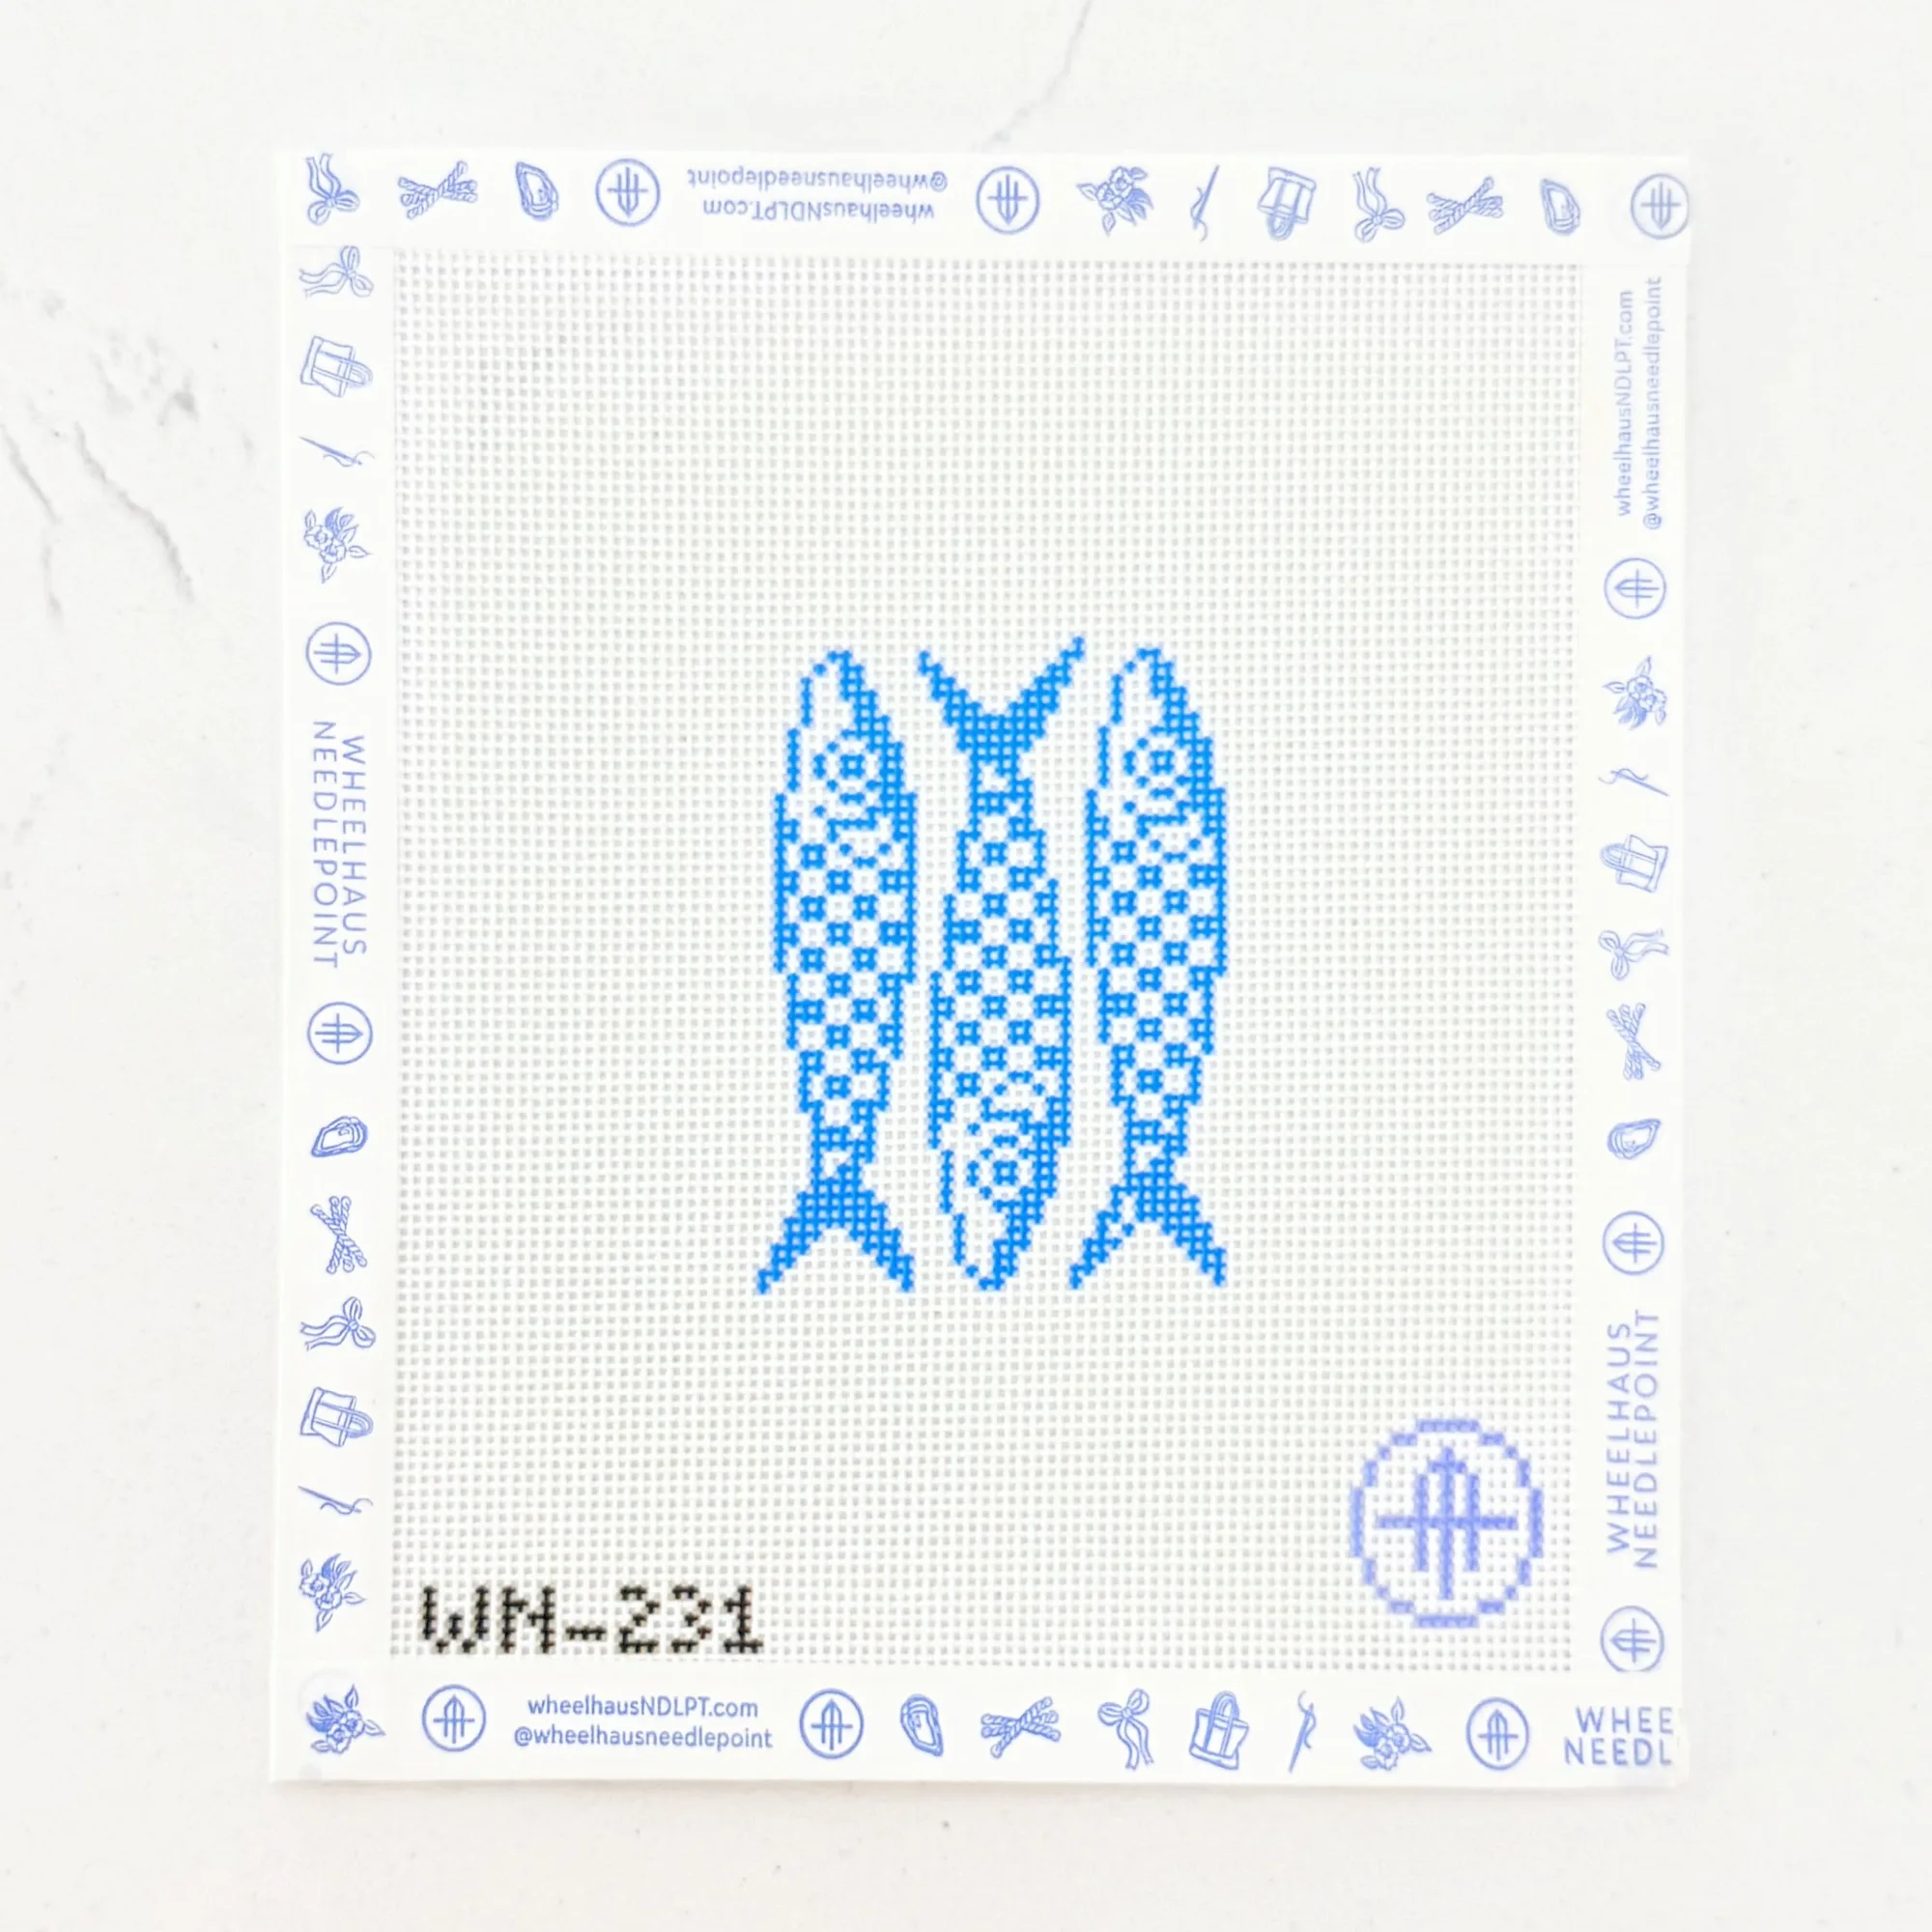
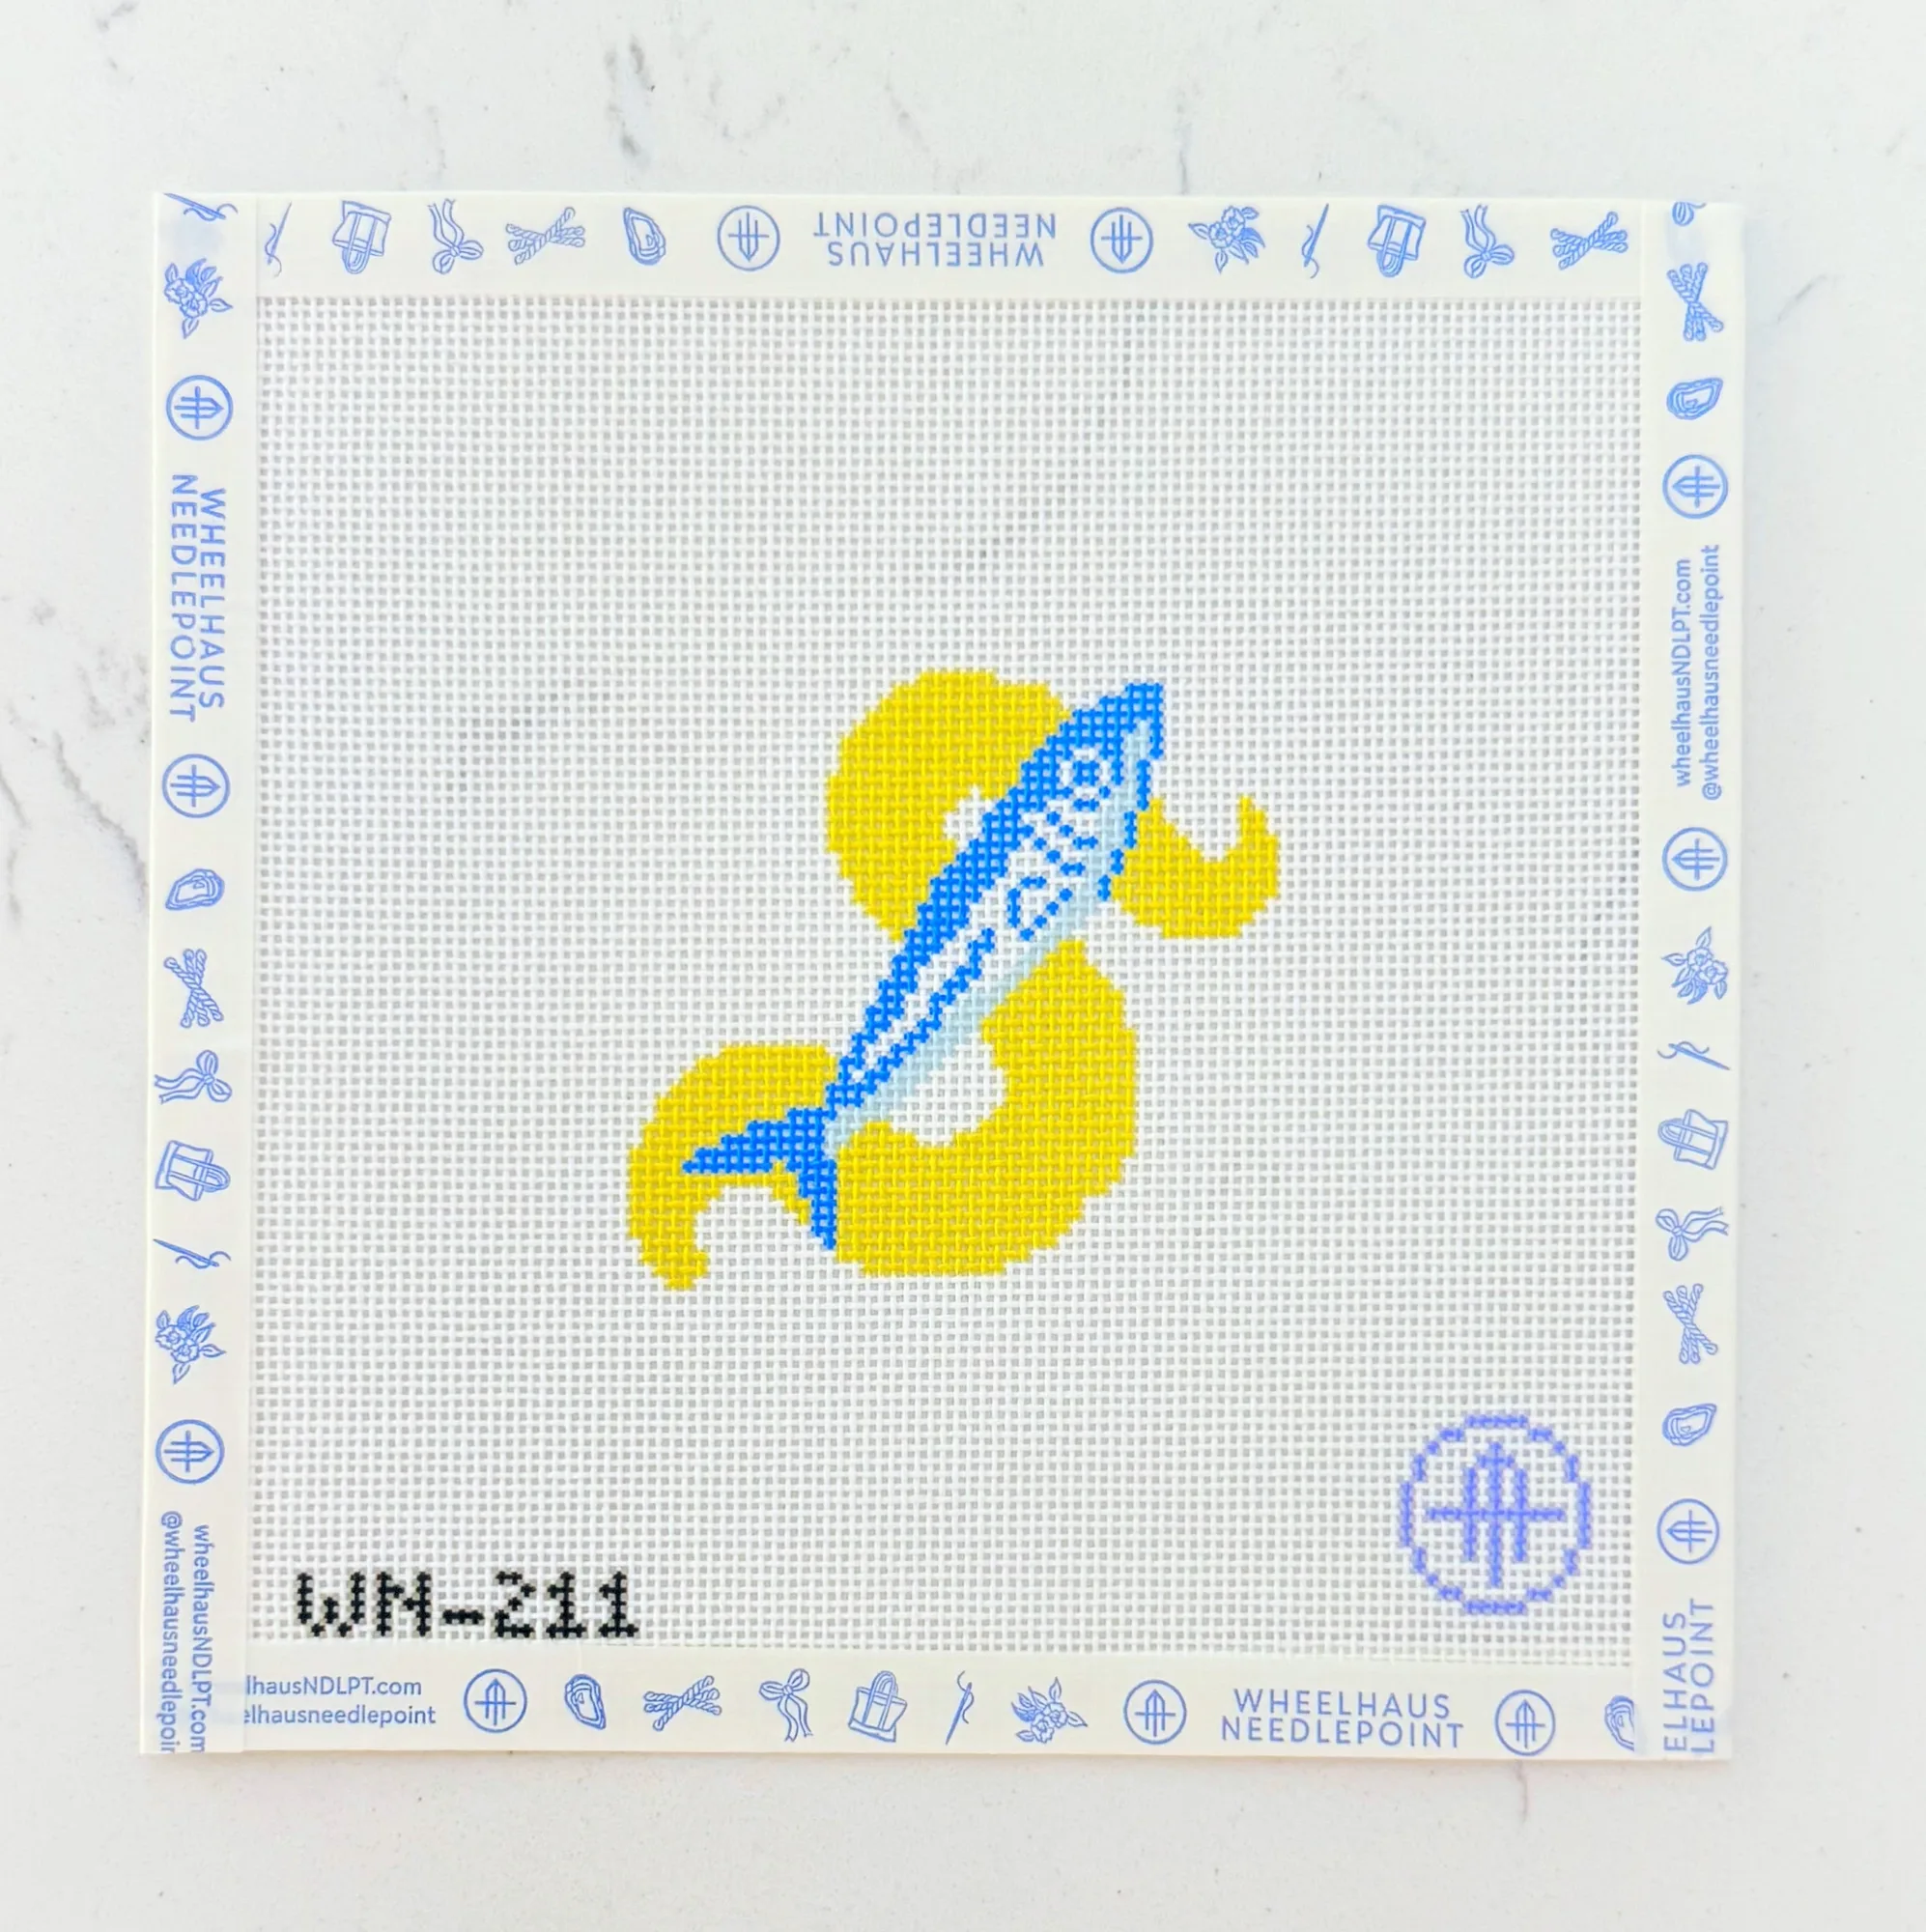
Small canvases are ideal for this. The Euro Summer Mini - Checkered Sardines and Euro Summer Mini - Sardine are both 18 mesh and small enough to finish in a few sittings, so you can try a new stitch without a long commitment.
- Take a photo of each finished practice square and keep it with your notes.
- Group stitches by effect: smooth, textured, or open. That makes it easier to choose one for a new project.
Common mistakes when learning from a stitch guide
The most common mistake is skipping the practice step. Stitching a new stitch directly onto a painted canvas often leads to uneven tension or a stitch that covers more area than expected. Another mistake is pulling thread too tight, which distorts the canvas.
A third mistake is ignoring the guide's thread recommendation. Some stitches need a thread with more body to hold their shape. If you substitute, test it on your practice square first.
- If your canvas starts to pucker, you are pulling too hard. Ease up on the next stitches.
- If a stitch looks messy, check the guide again. You may have reversed the direction.
Your step-by-step stitch guide practice routine
- Choose one stitch from your guide: Open your stitch guide and pick a single stitch that matches the area you want to practice. Read the diagram completely before you thread a needle. Checkpoint: can you explain the stitch path out loud? If not, read it again.
- Practice on a scrap of 18 mesh canvas: Work the stitch in a small square using a spare thread. Focus on even tension and a consistent rhythm. Stop every few stitches to check the front. Common mistake: pulling too tight and warping the canvas. If it puckers, loosen up.
- Apply the stitch to a small painted area: Move to a small canvas like Sunny Days on the Beach Tote - Day 5. Stitch one section at a time, referring to the guide as needed. Do not try to finish the whole canvas in one sitting. Checkpoint: step back after each section to see if the texture matches your intention.
- Record the stitch in your library: Write down the stitch name, the thread you used, and where you used it. Note whether you would use it again and any adjustments you made. Next step: pick a second stitch from the guide and repeat the process on a different area.
Canvases that work well for stitch guide practice
- Sunny Days on the Beach Tote - Day 5: 18 mesh, design 4.75"W x 4"H, hand painted, stitch painted needlepoint canvas. The small size and clear painted areas give you a manageable place to try one or two new stitches without overwhelming your practice time.
- Euro Summer Mini - Checkered Sardines: 18 mesh, design 2.5x3, StitchPerfect painted, includes one of seven stitch pamphlets, WIP Project Card, and reusable PVC protective project baggy. The included stitch pamphlet and small format make it a self-contained lesson: you can practice a stitch and store the project safely between sessions.
- Euro Summer Mini - Sardine: 18 mesh, design 3x3, StitchPerfect painted, includes one of seven stitch pamphlets, WIP Project Card, and reusable PVC protective project baggy. A slightly larger mini than the Checkered Sardines, so you can repeat a stitch more times and build confidence before moving to a bigger canvas.
Learning new needlepoint stitches is less about talent and more about repetition with a good reference. Use your stitch guide to choose one stitch, practice it on scrap canvas, then apply it to a small painted design. Each finished area adds to your stitch library and makes the next new stitch easier.