Quick answer
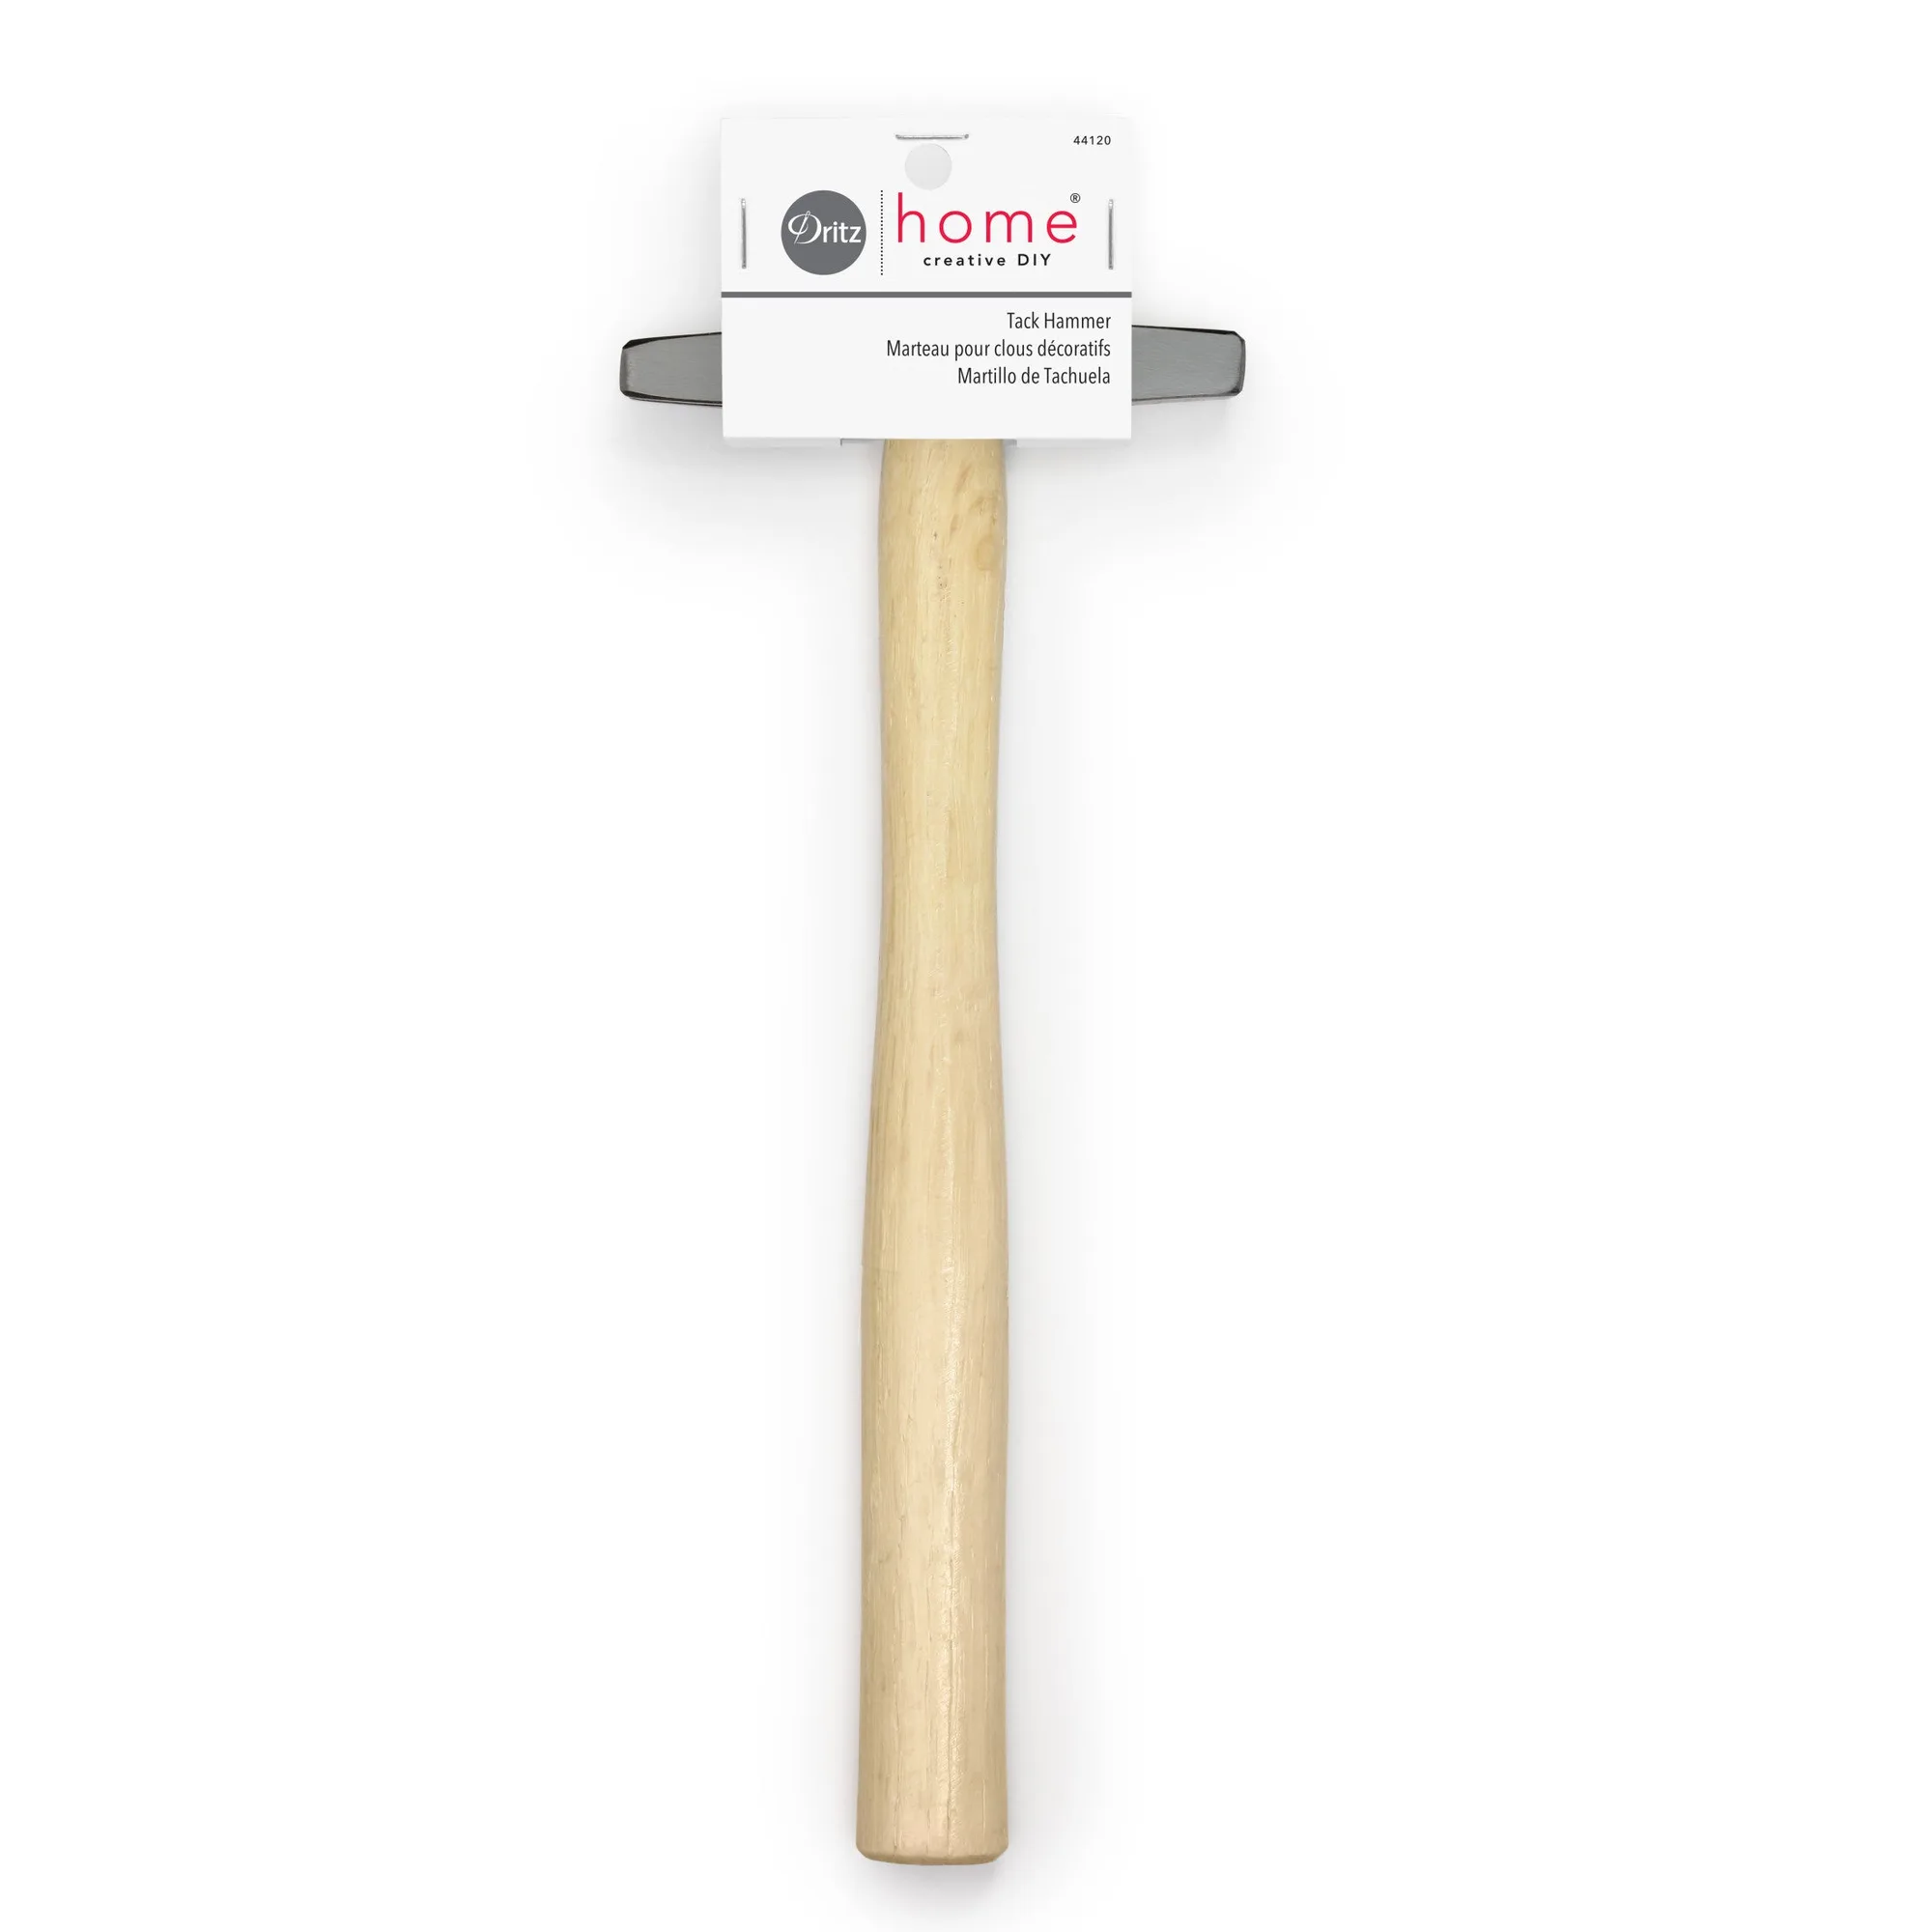
To use a https://prymamerica.com/products/44120-cb0d93db390a1c00eecfd77d-1316609tack hammer, hold it near the head with a relaxed grip, start tacks with light taps, then drive them home with firmer strokes. Keep your wrist loose and let the hammer's weight do the work. A magnetic tack hammer holds the tack for you, which is helpful in tight corners or when your other hand is busy holding fabric.
A tack hammer is a small, lightweight hammer designed for driving tacks, brads, and small nails. Its short handle and light head give you the control you need for upholstery, crafts, and other detailed work where a full-size hammer would be too clumsy.
This guide walks through the steps for using a tack hammer effectively, from setting up your work area to driving tacks without damaging fabric or fingers. You will also find tips on choosing a small hammer for upholstery and when a magnetic tack hammer makes the job easier.
What a tack hammer is and when to use one
A tack hammer typically has a head weighing a few ounces and a handle around 8 to 10 inches long. That small size is deliberate: it lets you swing in tight spaces, control the force of each tap, and work close to fabrics without bruising them. Upholstery tack hammers often have one magnetic face to hold a tack, while craft versions may have two plain faces.
Use a tack hammer any time you are driving small fasteners into soft or delicate materials. That includes attaching upholstery fabric to a frame, securing decorative nails, or tapping small brads into a craft project. For heavy framing or large nails, switch to a standard hammer; a tack hammer does not have the mass for that work.
- Check the head is tight on the handle before each use; a loose head can fly off and damage your project.
- Keep a spare tack or two within reach so you are not hunting for one mid-task.
Choosing the right tack hammer for your task
Not all tack hammers are the same. A magnetic tack hammer is the most useful for upholstery because the magnetized face holds the tack while you position it, leaving your other hand free to hold fabric or padding. That is a real advantage when you are working alone or in an awkward spot. If you only drive tacks occasionally, a plain-faced tack hammer is fine and often costs less.
Handle material matters too. Wood handles absorb vibration and feel warm in the hand, while composite or rubberized grips offer more slip resistance. The head weight should match your material: a lighter head gives you more control on delicate fabrics, while a slightly heavier head drives tacks with fewer blows. If you are unsure, start with a mid-weight head and adjust.
- Magnetic face: best for upholstery and one-handed tack placement.
- Plain face: fine for crafts and general small-nail work.
- Pick a handle that feels secure in your hand; you will be making many small taps.
Step-by-step: how to use a tack hammer
Good technique starts before the first swing. Clear your work surface, gather your tacks, and make sure your fabric is positioned and held firmly. If you are upholstering, pull the fabric taut and secure it with a temporary pin or clip so it does not shift while you hammer. Hold the tack between your thumb and index finger, or let the magnetic face of the hammer pick it up.
Grip the hammer near the end of the handle with a relaxed hand. Your wrist should be loose, not locked. Start with light taps to set the tack into the fabric and wood, then increase to firmer strokes once the tack stands on its own. Aim with the face of the hammer, not the edge, and keep your eyes on the tack head, not your hand. Stop when the tack head sits flush with the fabric; overdriving can crush the weave or split thin wood.
- Common mistake: gripping the hammer too tightly, which tires your hand and reduces control.
- Checkpoint: the tack should enter straight; if it leans, pull it and start again.
Using a tack hammer for crafts and decorative work
In crafts, a tack hammer is handy for tapping small nails into picture frames, attaching decorative nails to boxes, or setting brads in wood projects. Because the head is light, you can tap gently without leaving dents in soft wood or bending thin nails. For decorative nails, you may want a spacing tool to keep them evenly aligned; the Dritz Home Space & Set Tool is designed to hold and space decorative nails up to 5/8-inch diameter, which can save you from measuring each one.
When working on a finished surface, protect the area around the tack with a piece of low-tack tape or a scrap of fabric. That way, a stray tap does not mar the finish. If you are driving tacks into a material that splits easily, pre-drill a small pilot hole with a needle or awl first.
- For decorative nailhead accents, a spacing tool keeps rows straight and even.
- Pre-drilling prevents splitting in thin or brittle craft materials.
Safety and maintenance
Safety with a tack hammer is mostly about finger placement and eye protection. Keep your holding hand clear of the swing path, and wear safety glasses when driving tacks overhead or into hard materials. If a tack is stubborn, do not hit harder; check for a bent tack or a pilot hole that is too small. A bent tack will not drive straight and can damage the fabric.
After use, wipe the head with a dry cloth to remove any moisture or adhesive residue. Store the hammer in a dry place. If the handle feels loose, do not use it; a loose head is dangerous. A few seconds of inspection before each project keeps the tool reliable for years.
- Wear safety glasses when tacking overhead or into hard materials.
- Retire any hammer with a loose or cracked handle.
Tack hammer steps at a glance
- Set up your work area: Clear the surface, gather tacks, and secure fabric or materials so they cannot shift. Checkpoint: fabric should be taut and held in place before you start.
- Hold the hammer correctly: Grip near the end of the handle with a relaxed hand and a loose wrist. Mistake to avoid: a death grip tires your hand and reduces control.
- Start the tack: Use light taps to set the tack into the material, or let a magnetic face hold the tack for you. Checkpoint: the tack should stand straight; if it leans, pull and restart.
- Drive the tack home: Increase to firmer strokes, aiming with the face of the hammer and keeping your eyes on the tack head. Stop when the tack head is flush; overdriving can damage fabric or wood.
- Finish and inspect: Wipe the hammer clean, store it dry, and check the head is tight before the next use. Next step: if you used a spacing tool, remove it and check alignment.
Tools that pair well with a tack hammer
- Space & Set Tool for Decorative Nails: Use the Dritz Home Space & Set Tool to evenly space and to help hold decorative nails in place during application. Tool offers 2 different spacing widths for nails up to 5/8" diameter. Keeps decorative nail rows straight and evenly spaced, so you can focus on hammering rather than measuring each tack.
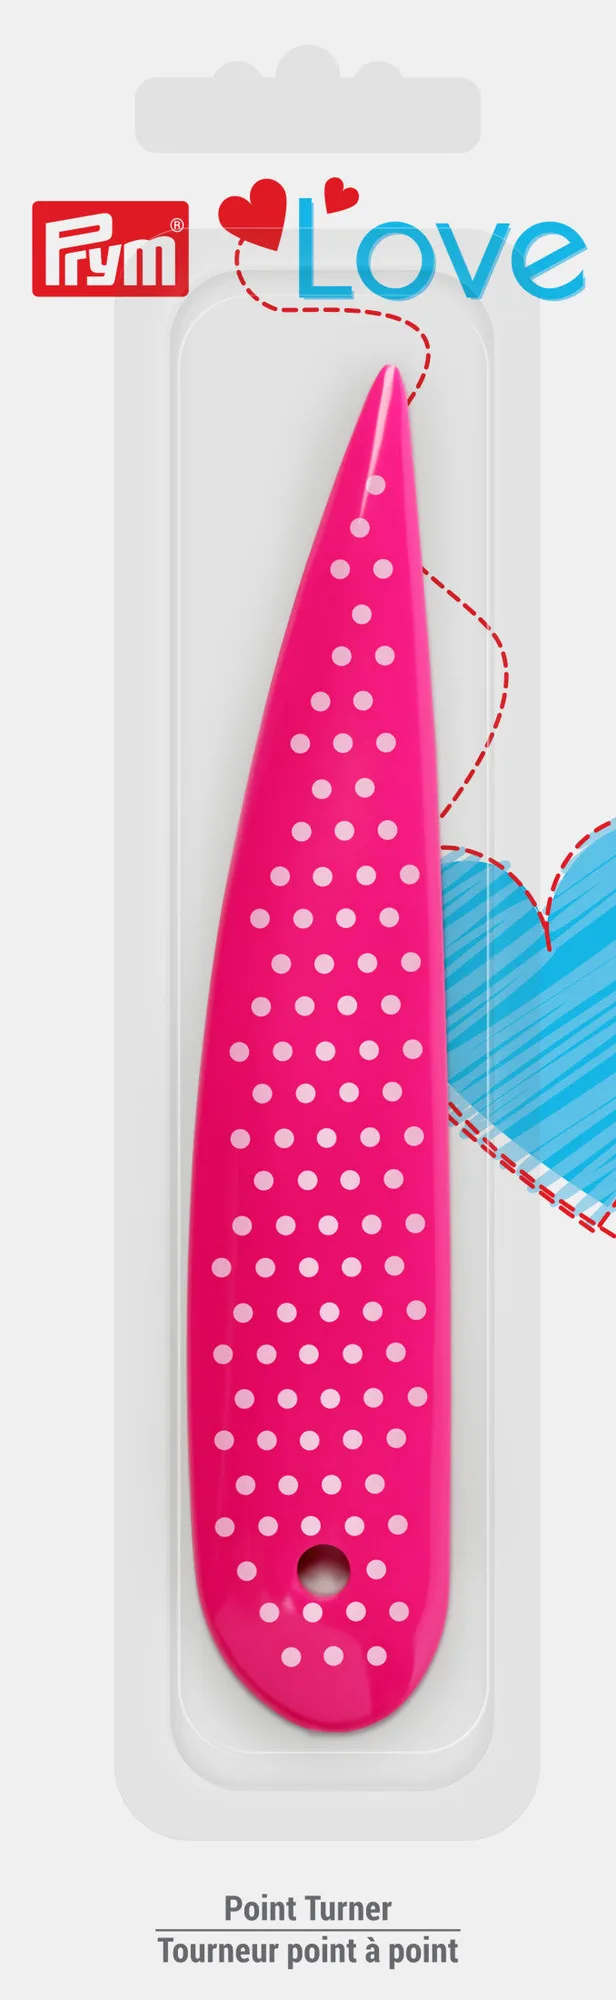
- https://prymamerica.com/products/dritzneedlesplpt-3bd9403f7e6a5c6dd4f4260d-1316203Point Turner: Prym Love Point Turner can be used to push out and shape corners, points and curves on turned projects. The blunt point will help to avoid pushing the turner through the weave of the fabric. After tacking upholstery or crafting turned items, use this to sharpen corners and creases without heat, giving a professional finish.
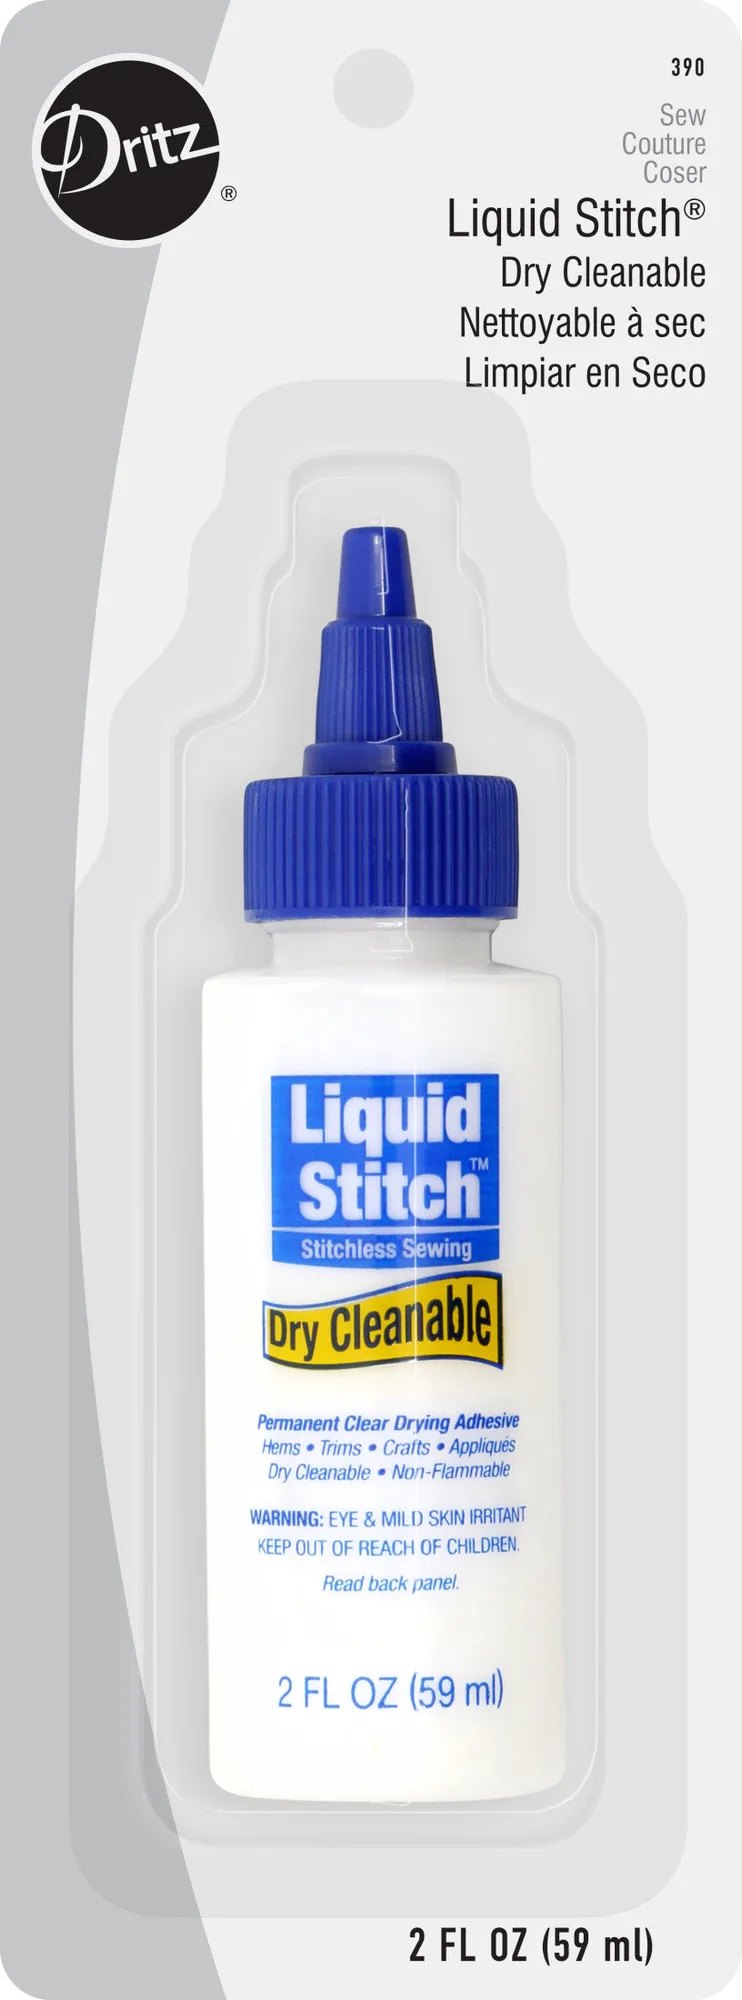
- Liquid Stitch Permanent Fabric Adhesive, Dry Cleanable, 2 fl. oz.: The Dritz Liquid Stitch Permanent Adhesive 2oz. is a useful addition to your art and craft kit. This pack contains a 2-ounce tube of permanent fabric adhesive that dries clear and provides a 'stitchless' look to your creations. Ideal for craft and fabric projects, it can be used for hems, appliques, trims, patches, zippers and more. It is machine washable & dryable. Use it to secure fabric edges or trims before tacking, reducing shifting and the need for extra tacks.
Using a tack hammer well comes down to light control, a loose grip, and letting the tool's small size work for you. Whether you are upholstering a chair or adding decorative nails to a craft project, the right technique and a few supporting tools will give you a cleaner, more professional result.