Quick answer
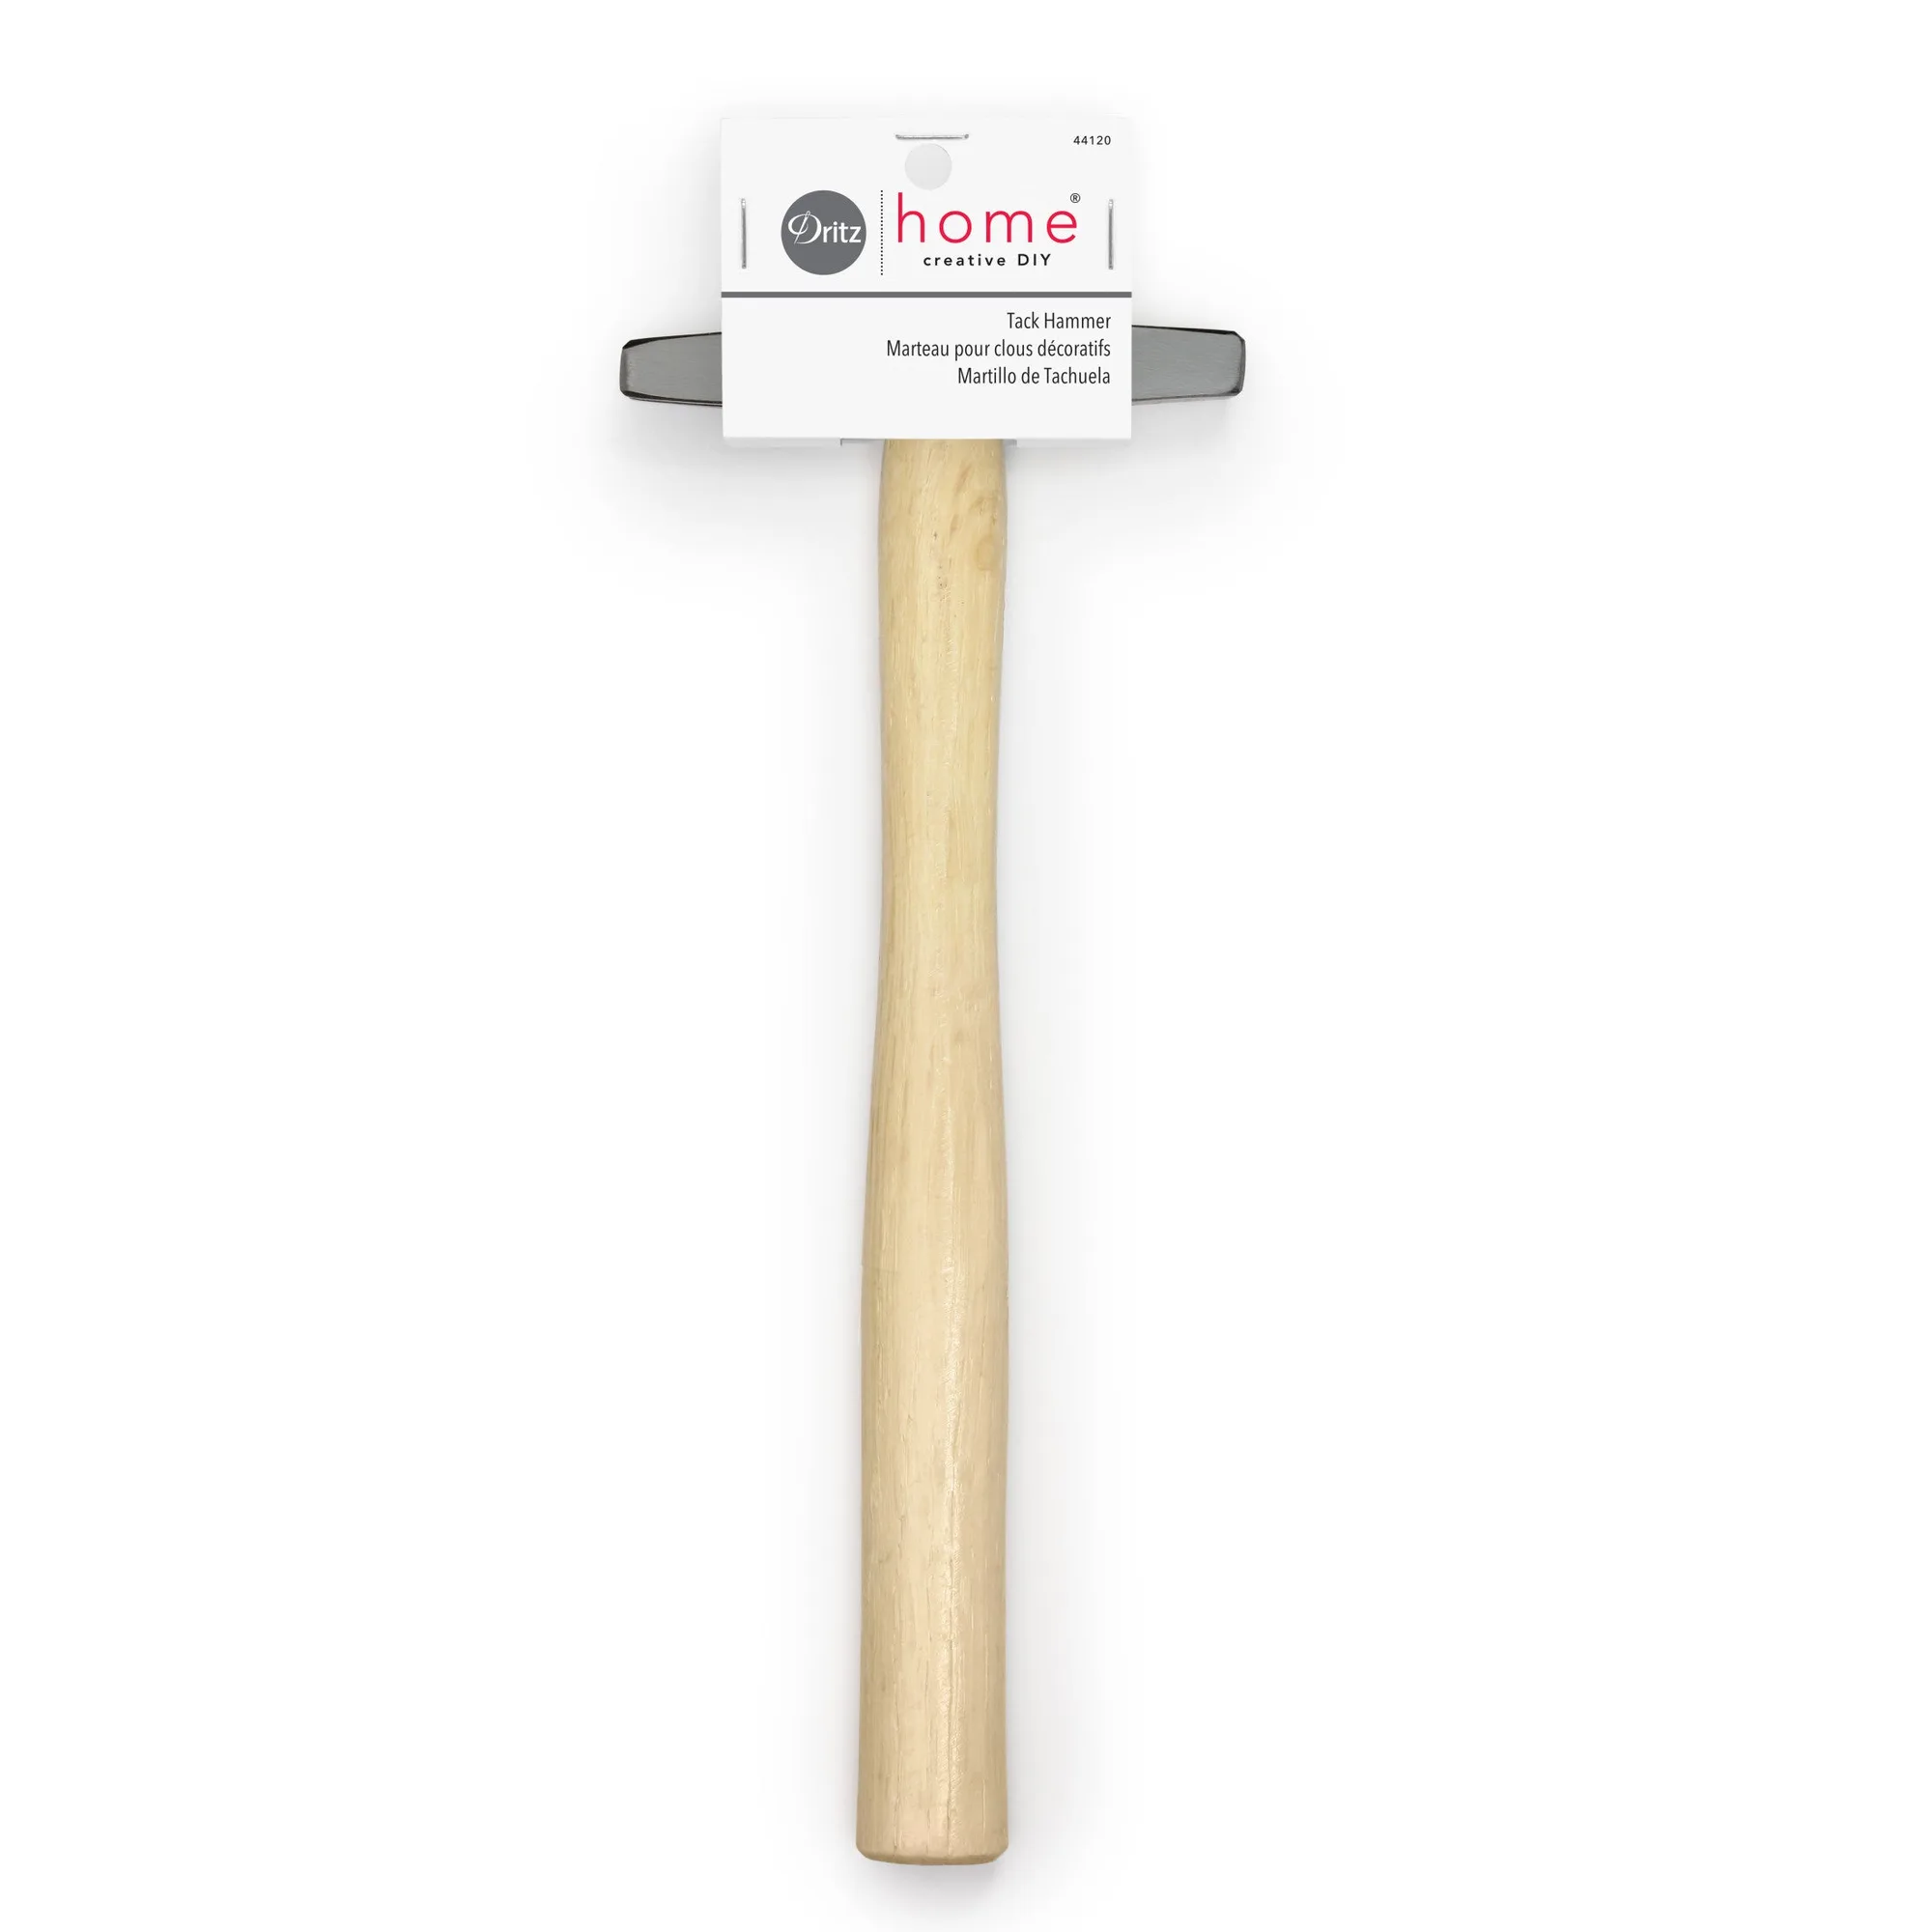
Use a https://prymamerica.com/products/44120-cb0d93db390a1c00eecfd77d-1316609tack hammer safely by holding the tack with your fingers only until it stands on its own, then switch to a magnetic or slotted tip to drive it home. Keep your holding hand at least two finger-widths from the strike zone, strike with wrist motion instead of your whole arm, and never hammer toward your body. If a tack bends, stop and pull it before continuing.
A tack hammer is short, light, and built for small fasteners, which makes it easy to control but also easy to underestimate. Most injuries happen in the first few strikes, before the tack is stable and while the holding hand is still close to the head. The fix is not a heavier hammer or a harder swing. It is a repeatable sequence that moves your fingers out of the way before you commit force.
This guide walks through the safe order of operations for upholstery tacking, from setting up your work surface to seating the final tack flush. It also covers the small equipment choices that make the biggest difference, including magnetic tips, correct tack sizing, and when a no-sew fastener is a smarter option than hammering at all.
Set up a safe striking zone before you pick up the hammer
Secure the workpiece so it cannot shift when you strike. A fabric panel that slides or a chair frame that rocks will pull your aim off line and send the hammer toward your holding hand. Clamp the frame, brace it against a stable table, or work on a non-slip surface. Clear the area around the strike point of pins, staples, and loose tools so a glancing blow does not send anything flying.
Good lighting matters more than most people expect. You need to see the tack head and the fabric weave at the same time, because the angle of the tack determines whether it seats cleanly or tears through. If you are working on dark upholstery, add a task light rather than leaning in closer.
- Keep your holding hand behind the tack head, never in front of the swing path.
- Wear safety glasses when hammering over leather, vinyl, or any material that can chip or spray.
- Trim your striking-hand fingernails short; a long nail changes your grip and reduces control.
Grip the hammer for control, not power
Hold the handle near the end with a relaxed grip, the way you would hold a pencil you intend to tap rather than throw. A tack hammer does not need a full-arm swing. The motion comes from your wrist, with your elbow mostly still. That keeps the head traveling in a short, predictable arc and makes it much easier to stop mid-swing if something looks wrong.
Choke up slightly if you are working in a tight space, such as inside a chair frame or under a seat. A shorter grip reduces the arc and gives you finer control, though it also reduces force. That tradeoff is usually worth it, because a bent tack is faster to fix than a bruised finger.
- Let the hammer head do the work; a light hammer driven accurately sets tacks better than a heavy swing.
- If your hand tires quickly, you are gripping too hard, not swinging too much.
Start the tack, then move your fingers
Position the tack where you want it and hold it upright with your fingertips. Tap once or twice with just enough force to let the point bite into the fabric and stand on its own. This is the highest-risk moment, so keep the taps light and your holding fingers to the side of the tack, not wrapped around it.
Once the tack stands unsupported, move your holding hand completely away and continue driving it with firmer strikes. If the tack will not stand after two light taps, do not keep tapping with your fingers in place. Pull it, check the angle, and start again. A tack that is leaning will only lean further.
- A magnetic or slotted hammer tip lets you skip the finger-holding stage entirely on many tacks.
- Never hold a tack with pliers directly under the hammer head; the pliers can slip and the hammer can glance off.
Drive the tack flush without crushing the material
Increase force gradually rather than starting with a hard blow. You want the tack to sink until its head sits just above the fabric surface, not buried in it. On woven upholstery, a tack driven too deep cuts fibers and creates a hole that will not close. On leather or vinyl, over-driving leaves a permanent dimple.
Match the tack size to the job. Small decorative tacks need light, controlled taps, while larger fasteners on frames and plackets can take a firmer strike. If you are working with a material that splits easily, test on a scrap first. The same tack that seats perfectly in cotton duck may tear through a loose weave.
- Stop as soon as the head contacts the fabric; the last millimeter is where damage happens.
- For repeated spacing, mark your tack positions first so you are not measuring while holding a hammer.
Know when to skip the hammer entirely
Not every fastener needs a hammer. Some upholstery and garment jobs are faster and safer with no-sew snap fasteners, which apply with hand tools and avoid swinging a head near fabric you cannot replace. This is especially useful on shirt plackets, interior pockets, snap-on hoods, and the inner legs of toddler clothing, where a misplaced hammer strike would be visible and permanent.
Similarly, if you are applying grommets or rivets, use the tool system designed for that hardware rather than improvising with a tack hammer. The right setting tool controls depth and alignment, which is exactly what a general-purpose hammer cannot do.
- Choose no-sew fasteners when the material is delicate, expensive, or hard to reposition.
- Use the manufacturer's recommended tool for grommets and rivets instead of a tack hammer.
Safe tack hammer sequence, step by step
- Secure and clear the workpiece: Clamp or brace the frame so it cannot move, and remove pins, staples, and loose tools from the strike area. Add a task light if the tack head is hard to see. Checkpoint: push the workpiece with your off hand. If it shifts at all, secure it before hammering.
- Grip near the handle end with a relaxed hand: Hold the hammer as if tapping, not throwing. Keep your elbow still and let your wrist create a short arc. Choke up only when working in tight spaces. Mistake to avoid: gripping tightly and swinging from the shoulder, which reduces accuracy and increases fatigue.
- Set the tack with two light taps: Hold the tack upright with your fingertips to the side of the head, tap until it stands on its own, then move your holding hand completely away. Checkpoint: if it will not stand after two taps, pull it and reset the angle rather than tapping again with fingers nearby.
- Drive the tack flush with gradual force: Increase force in small increments until the head sits just above the fabric surface. Stop as soon as the head contacts the material. Mistake to avoid: over-driving, which cuts woven fibers and leaves permanent dimples in leather or vinyl.
- Switch to no-sew or setting tools when the job calls for it: For delicate or visible areas, use no-sew snap fasteners applied with hand tools. For grommets and rivets, use the recommended setting tool instead of a tack hammer. Next step: test your tack and material combination on a scrap before committing to the finished piece.
Tools that make safe tacking easier
- 7∕16" Open-Ring Snaps & Tools, 60 Sets, Nickel: No-sew fasteners applied with hand tools, used on shirt plackets, interior pockets, snap-on hoods, and inner legs of toddler clothing; package contains 60 sets and hand tools for application with a durable nickel finish. When a hammer strike would be risky or visible, these snaps let you fasten fabric with hand tools instead, removing the swing entirely.
- 3/8" Grommets, 8 pc: Eight 3/8-inch rust-proof, machine-washable metal grommets for home decor and craft projects, used on tents, shower curtains, backpacks, and duffel bags. Grommets should be set with the correct setting tool rather than a tack hammer, so knowing the hardware helps you choose the right method before you swing.
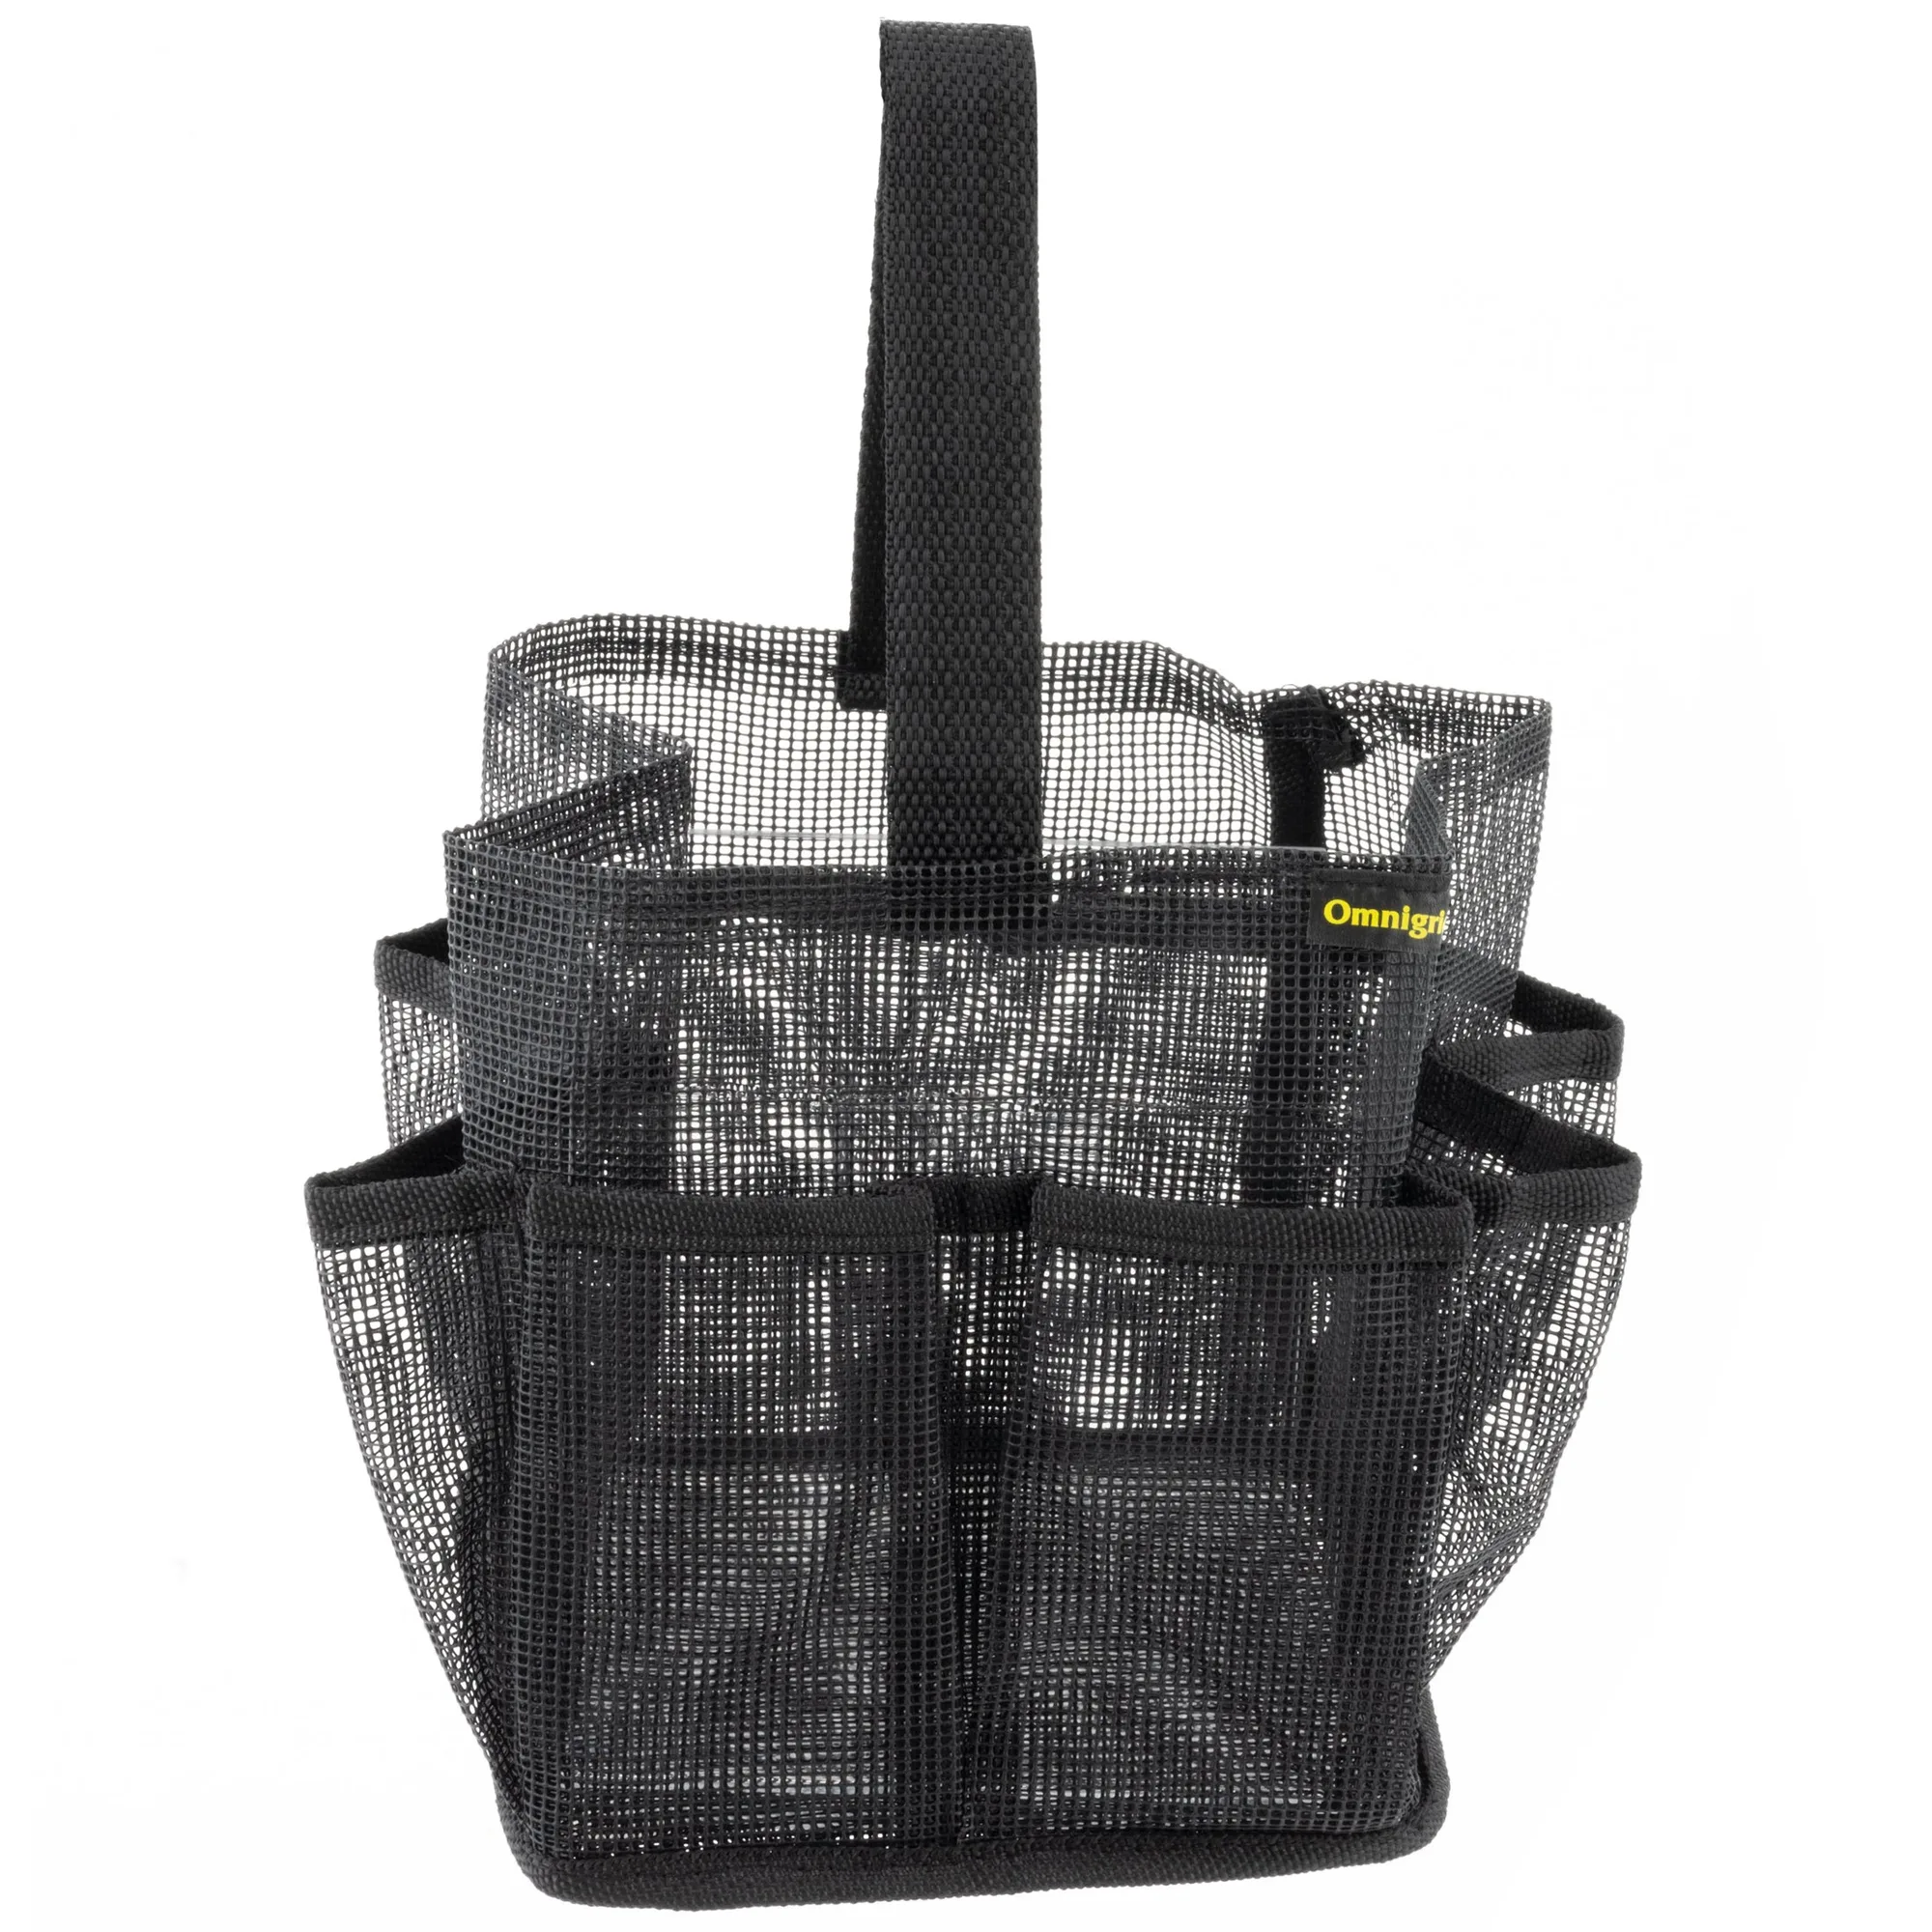
- https://prymamerica.com/products/2112-7b58f52ae3f43c3df14b23a5-1316360Mesh Tabletop Organizer: Holds quilting and sewing supplies at your fingertips with assorted pockets, a large center section, a carrying handle, and outside pockets; measures 0.5L x 8.0W x 8.0H inches. Keeping tacks, tools, and scraps organized in one tray means fewer loose objects near your strike zone and less reaching while holding a hammer.
Safe tack hammer use comes down to sequence, not strength. Secure the work, keep your holding hand out of the strike path once the tack stands, and drive with wrist control instead of arm power. When the material is delicate or the placement is permanent, choose a no-sew fastener or the correct setting tool and leave the hammer in the drawer.