Quick Answer
To use a zipper bundle effectively, plan your project around the zipper lengths and styles included. Start with simple pouches or small bags to build confidence, then move to more complex items like totes or clutches. Always test your zipper installation on scrap fabric first.
Zipper bundles are a fantastic way to stock up on versatile closures for your sewing projects. Whether you're a beginner or an experienced maker, having a variety of zippers on hand lets you tackle new designs without last-minute trips to the store. In this guide, we'll explore practical ways to use a zipper bundle, from simple pouches to stylish bags.
By the end, you'll have a clear plan for turning those zippers into finished projects you'll love. We'll also highlight some handy products from Sallie Tomato that pair perfectly with zipper projects.
Why Keep a Zipper Bundle on Hand
A zipper bundle typically includes multiple zippers in different lengths and colors, giving you flexibility for various projects. Instead of buying single zippers each time, a bundle ensures you're always prepared. This is especially useful when inspiration strikes and you want to sew immediately.
Zipper bundles are also cost-effective. Buying in bulk often saves money compared to purchasing individually. Plus, you can experiment with different zipper pulls and styles to see what works best for your designs.
- Check the lengths in your bundle and sort them by size for easy access.
- Store zippers in a clear container so you can see what you have at a glance.
Beginner-Friendly Projects to Start With
If you're new to installing zippers, start with a simple zipper pouch. These small projects require only one zipper and a few fabric pieces. They're perfect for practicing straight seams and securing zipper ends neatly. You can use them as cosmetic bags, pencil cases, or gift pouches.
Another easy project is a zippered coin purse. This uses a shorter zipper and helps you master the technique of turning corners with a zipper foot. Once you're comfortable, try adding a zipper to a lined tote or a simple crossbody bag.
- Use a zipper foot on your sewing machine for better control.
- Press your seams before installing the zipper for a crisp finish.
Creative Ideas Beyond Basic Pouches
Once you've mastered the basics, you can use zippers in more creative ways. For example, add a zippered pocket to the inside of a bag for secure storage. Or use a contrasting zipper as a design feature on the outside of a tote.
You can also create zippered accessories like a zipper wallet or a clutch. These projects often require multiple zippers, making a bundle especially handy. If you're feeling adventurous, try making a zipper organizer for your craft supplies or a travel jewelry roll.
- Mix and match zipper colors with your fabric for a pop of interest.
- Use longer zippers for bag openings and shorter ones for interior pockets.
Step-by-Step: Using a Zipper Bundle in a Project
- Sort and Choose Your Zipper: Lay out your zipper bundle and select a zipper that matches the length needed for your project. Check the zipper pull and tape for quality. Checkpoint: Ensure the zipper is the correct length and slides smoothly before cutting fabric.
- Prepare Your Fabric Pieces: Cut your fabric pieces according to your pattern. If you're using a digital cutting machine, prepare your SVG files as needed. Press all pieces flat. Checkpoint: Accurate cutting prevents gaps or puckering when installing the zipper.
- Install the Zipper: Pin or baste the zipper to the fabric right sides together. Use a zipper foot to sew slowly, keeping the stitches even. Stop with the needle down when turning corners. Checkpoint: Test the zipper opens and closes fully after stitching; if not, remove and redo.
- Finish the Project: Complete the remaining seams, add any hardware like Chicago screws or rectangle rings, and press your finished piece. Attach a handmade label for a personal touch. Checkpoint: Inspect all seams and reinforce stress points to ensure durability.
Products to Complement Your Zipper Projects
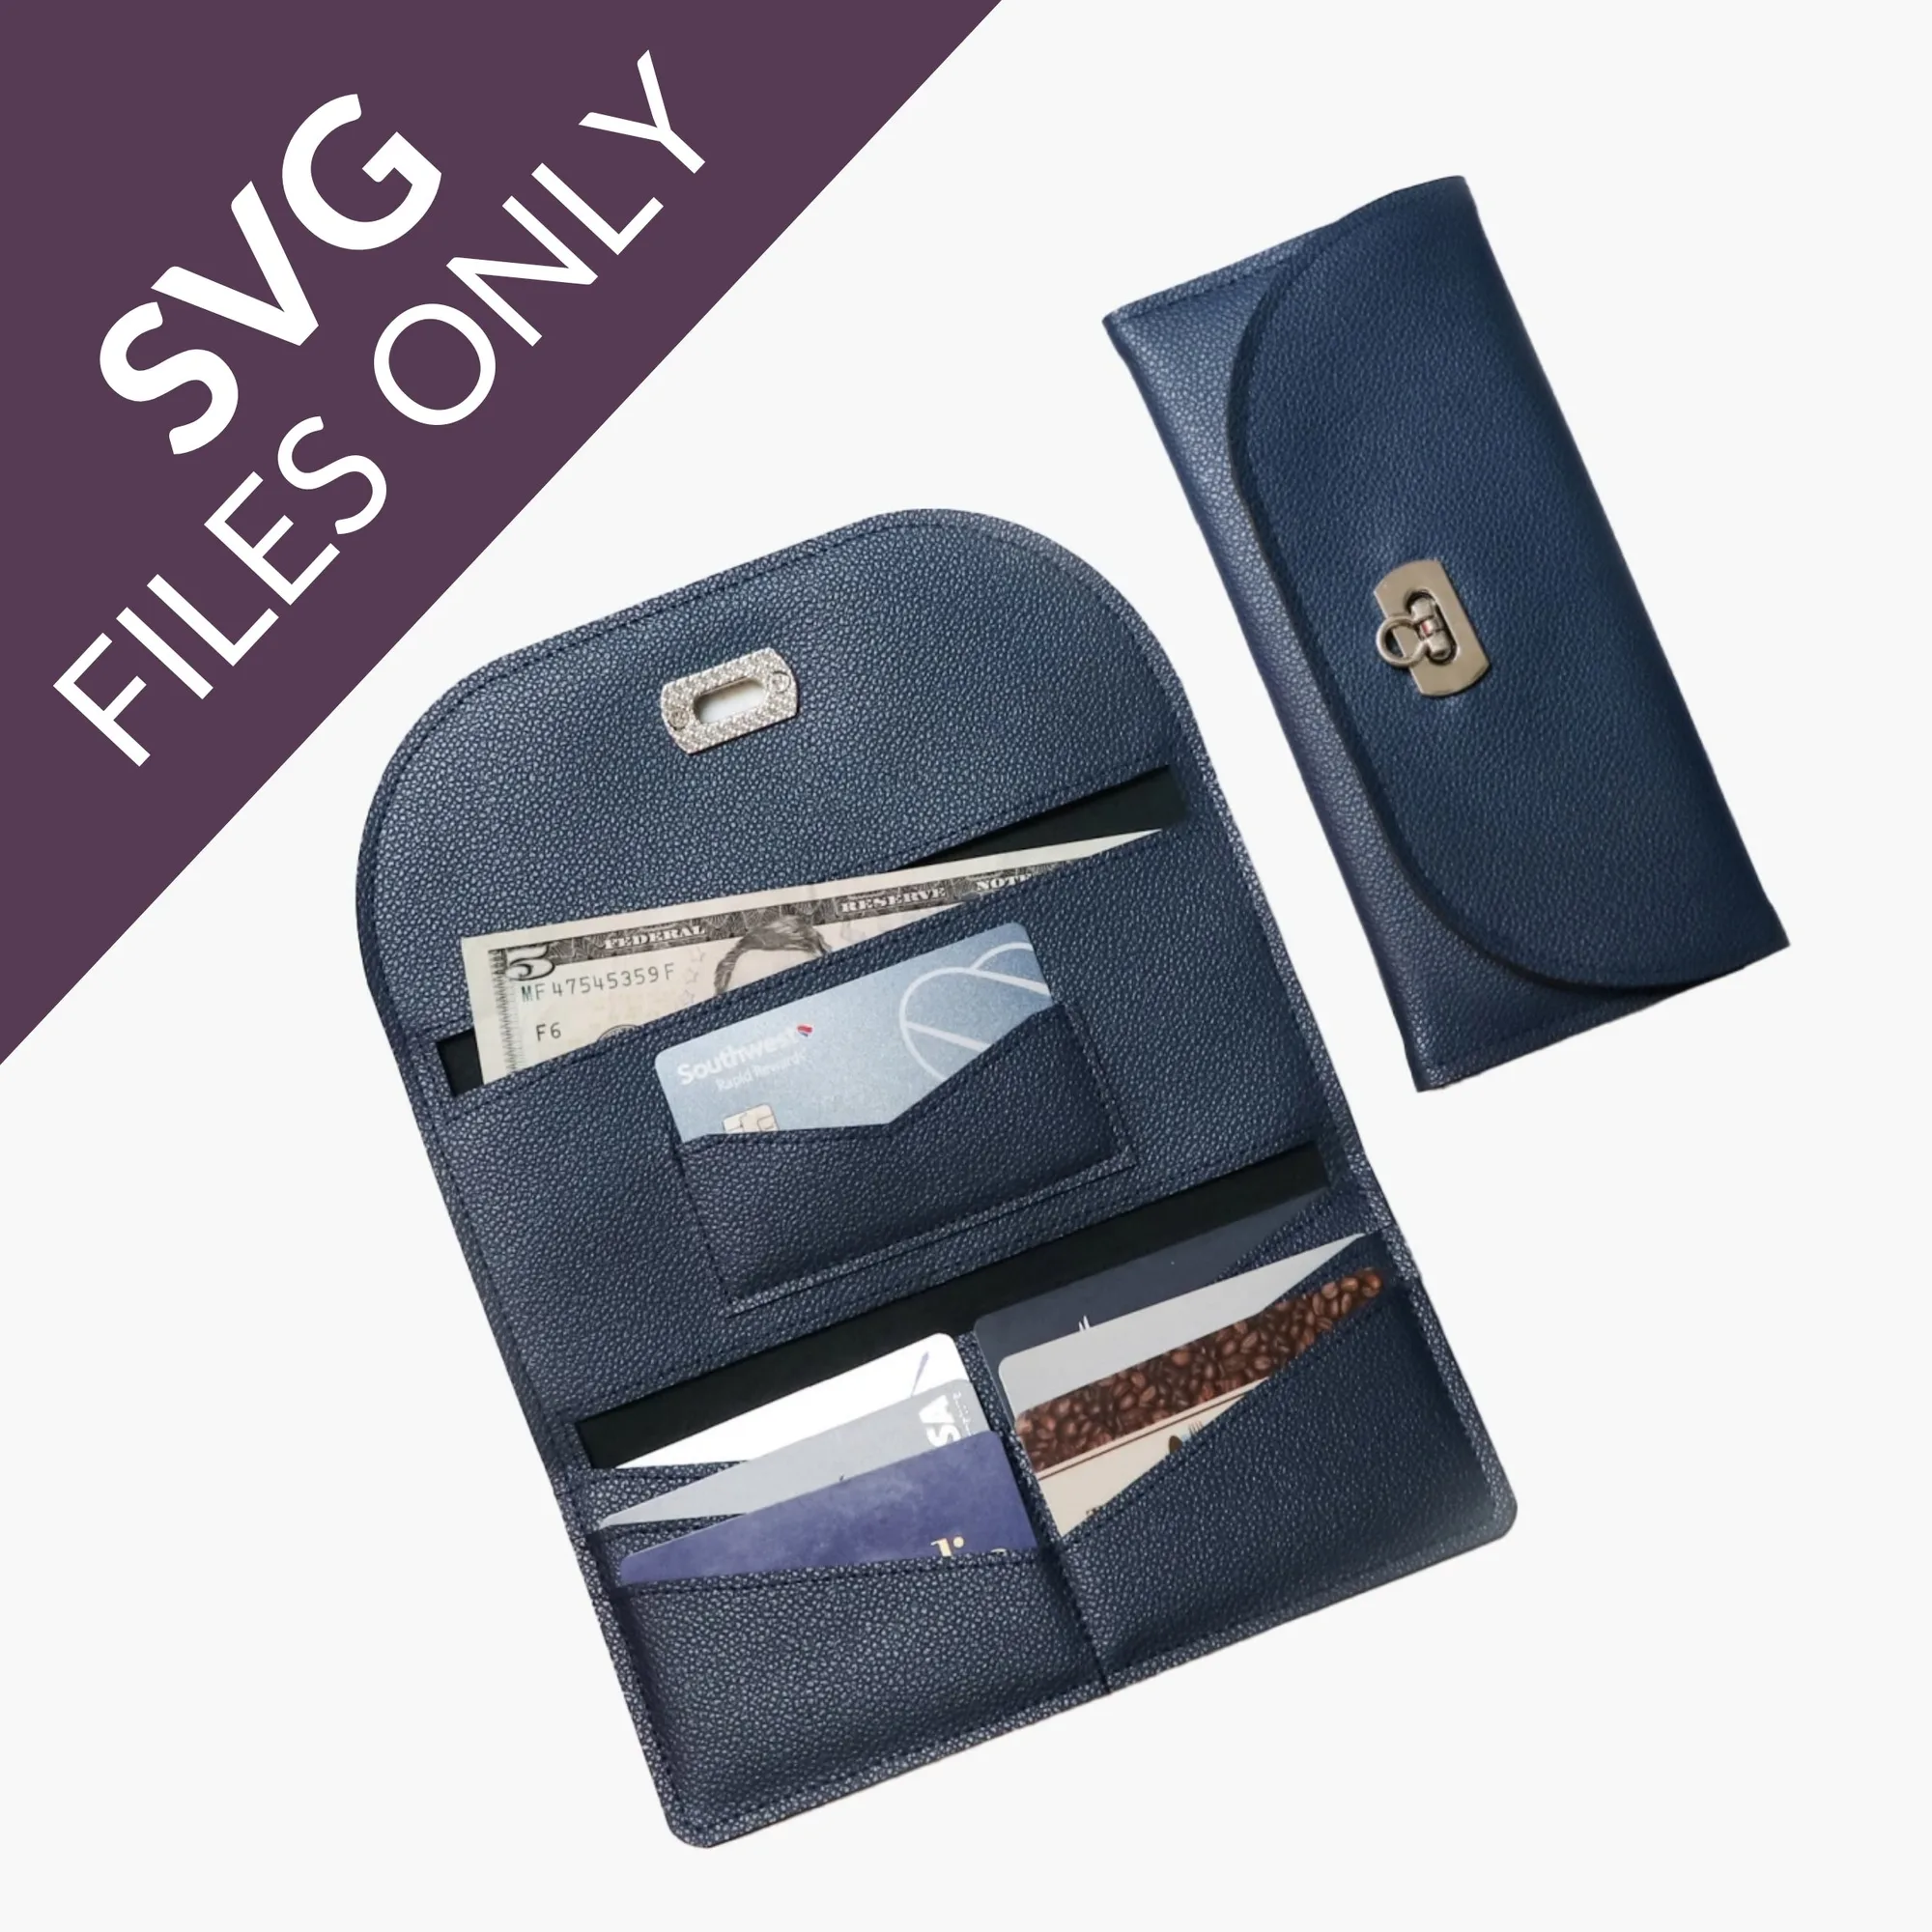
- SVG Files Lucky Penny Wallet: Lucky Penny Wallet SVG Files - no pattern included - please order the pattern separately. Included are SVG Files for the Lucky Penny Wallet for you to cut on your digital cutting machine. If you enjoy making wallets, these SVG files let you cut precise pieces with your cutting machine, saving time and ensuring accuracy.
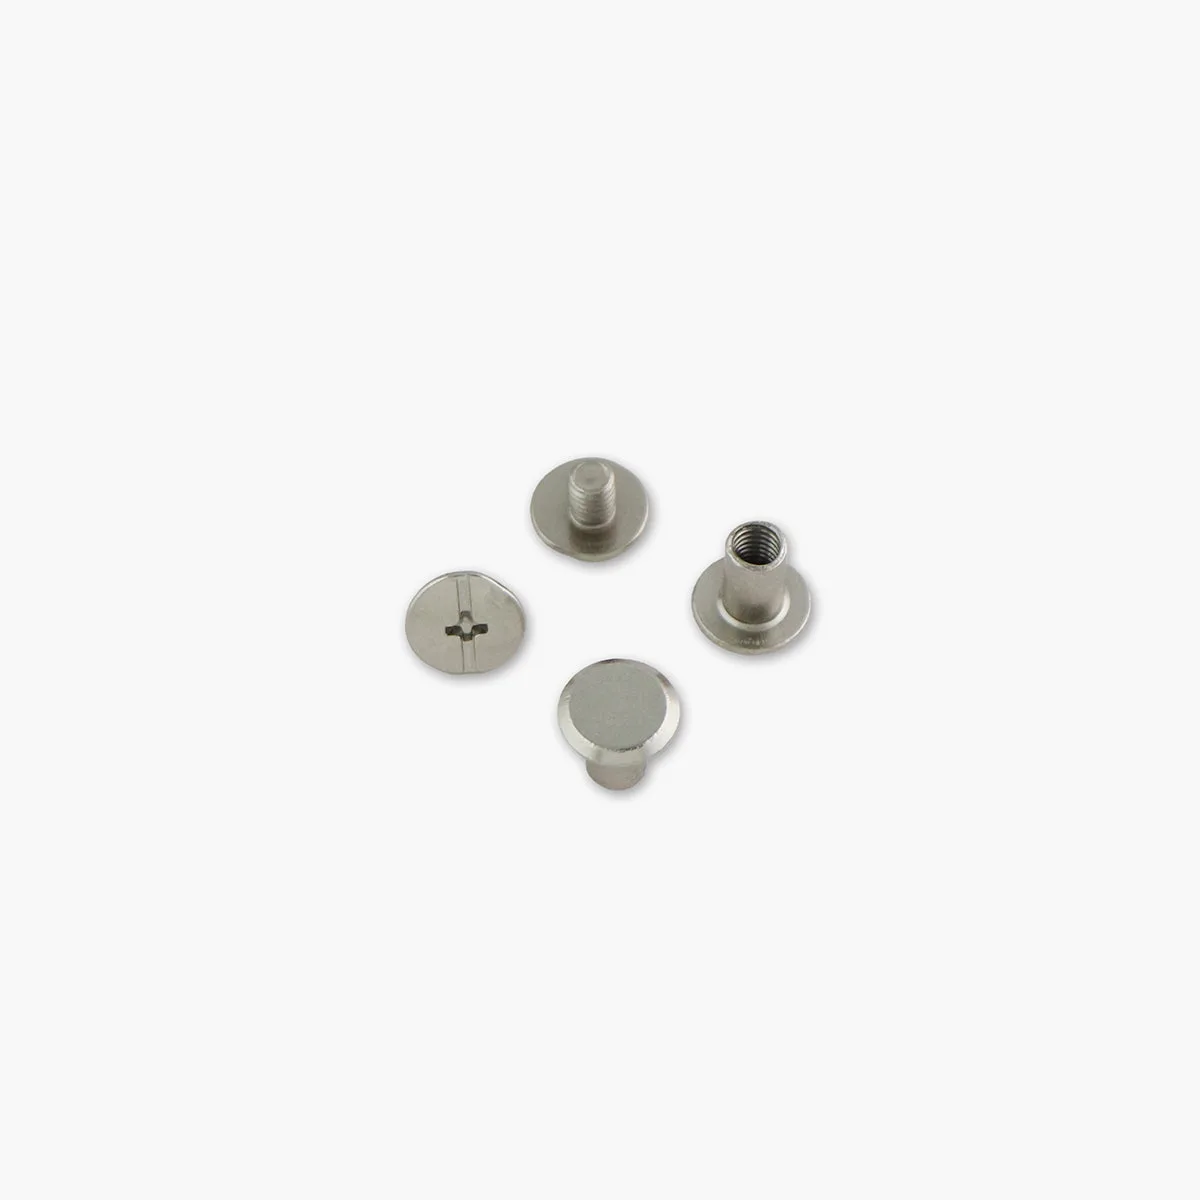
- 12 Medium 8mm Chicago Screws: Our Chicago Screws are perfect for securing straps, or thick areas on purses, backpacks, wallets, and more. These screws add a professional finish to your zippered bags, especially when attaching straps or hardware that needs extra durability.
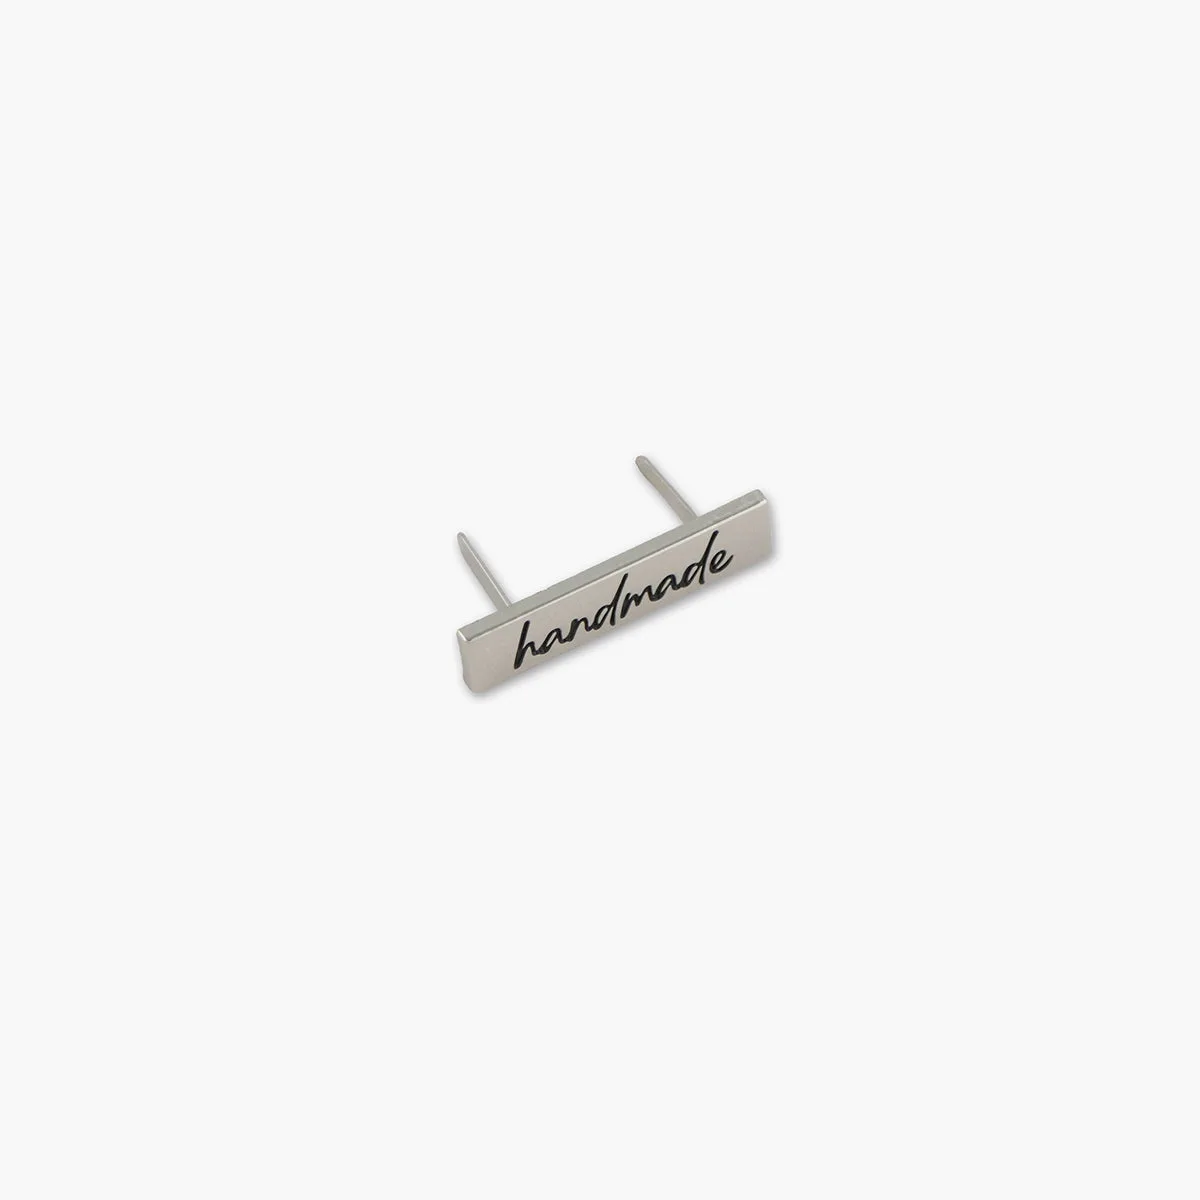
- Gellatio Handmade Label: Handmade labels are the perfect addition to your handmade purses, handbags, wallets and more! You can pair handmade labels with our coordinating hardware and zipper pulls for a professional look. Adding a personalized label gives your zippered creations a polished, branded look that makes them feel store-bought.
Using a zipper bundle opens up a world of sewing possibilities. Start with simple projects, practice your technique, and soon you'll be creating beautiful bags and accessories with confidence. Remember to take advantage of coordinating hardware and labels to elevate your finished pieces.