Quick Answer
Attach a baby bottle handle to your baby's bottle to give them a secure, ergonomic grip that supports independent self-feeding. Start with short, supervised sessions and let your baby practice holding the bottle on their own.
Why a Baby Bottle Handle Helps with Self-Feeding
Babies develop the fine motor skills to hold a bottle between 6 and 10 months, but their small hands often struggle to grip a smooth, wide bottle. A baby bottle handle provides a smaller, easier-to-hold surface that lets your baby control the angle and pace of feeding. This builds confidence and reduces frustration during mealtime transitions.
Not all handles fit every bottle. Look for a handle that is compatible with your bottle's neck size and material. The BIBS Baby Bottle Handle, for example, is designed to fit standard BIBS bottles and is made from soft, BPA-free silicone that is gentle on gums and easy to clean.
When to Introduce a Bottle Handle
Most babies are ready for a bottle handle when they can sit upright with minimal support and show interest in holding the bottle themselves. This usually happens around 6 to 9 months. Introducing it too early can lead to frustration, while waiting too long may make the transition harder.
Start with one or two feeding sessions per day. Let your baby hold the handle while you still support the bottle's base. Gradually reduce your support as your baby's grip improves. Always supervise your baby during bottle feeding to prevent choking or tipping.
Step-by-Step Guide to Using a Baby Bottle Handle
- Step 1: Choose the Right Handle and Bottle: Select a handle that fits your baby's bottle. Check the bottle neck diameter and material compatibility. The BIBS Baby Bottle Handle fits standard BIBS bottles and is made of soft, BPA-free silicone. Avoid handles that are too large or rigid for your baby's hands. A proper fit prevents slipping and ensures your baby can grip comfortably.
- Step 2: Attach the Handle Securely: Slide the handle onto the bottle neck before screwing on the nipple ring. Make sure it sits flush against the bottle and does not wobble. A loose handle can cause the bottle to tip or leak. Tighten the ring just enough to hold the handle in place without overtightening. Check the handle is firmly attached by gently tugging it before each feeding.
- Step 3: Fill the Bottle and Test the Flow: Prepare the bottle with your baby's usual milk or formula. Test the nipple flow by turning the bottle upside down. A slow, steady drip is ideal for self-feeding. If the flow is too fast, your baby may choke; if too slow, they may get frustrated. Always test the nipple flow before handing the bottle to your baby.
- Step 4: Let Your Baby Hold the Handle: Place the bottle in your baby's hands and guide their fingers around the handle. Let them bring the bottle to their mouth. Do not force the bottle. If they drop it, simply pick it up and offer it again. Short, positive sessions build confidence. Stay close and supervise. Never prop the bottle or leave your baby unattended.
- Step 5: Clean the Handle After Each Use: Remove the handle from the bottle and wash it with warm, soapy water. Rinse thoroughly and air dry. Most silicone handles are dishwasher-safe on the top rack. Regular cleaning prevents milk residue buildup and bacteria growth. Inspect the handle for cracks or wear. Replace if damaged.
Product Details
-
Baby Bottle Handle - Ivory: The Baby Bottle Handle - Ivory is priced at USD 4.28 (catalog comparison price USD 5.95). It offers an affordable, ergonomic grip that helps your baby hold the bottle independently, reducing spills and encouraging self-feeding.
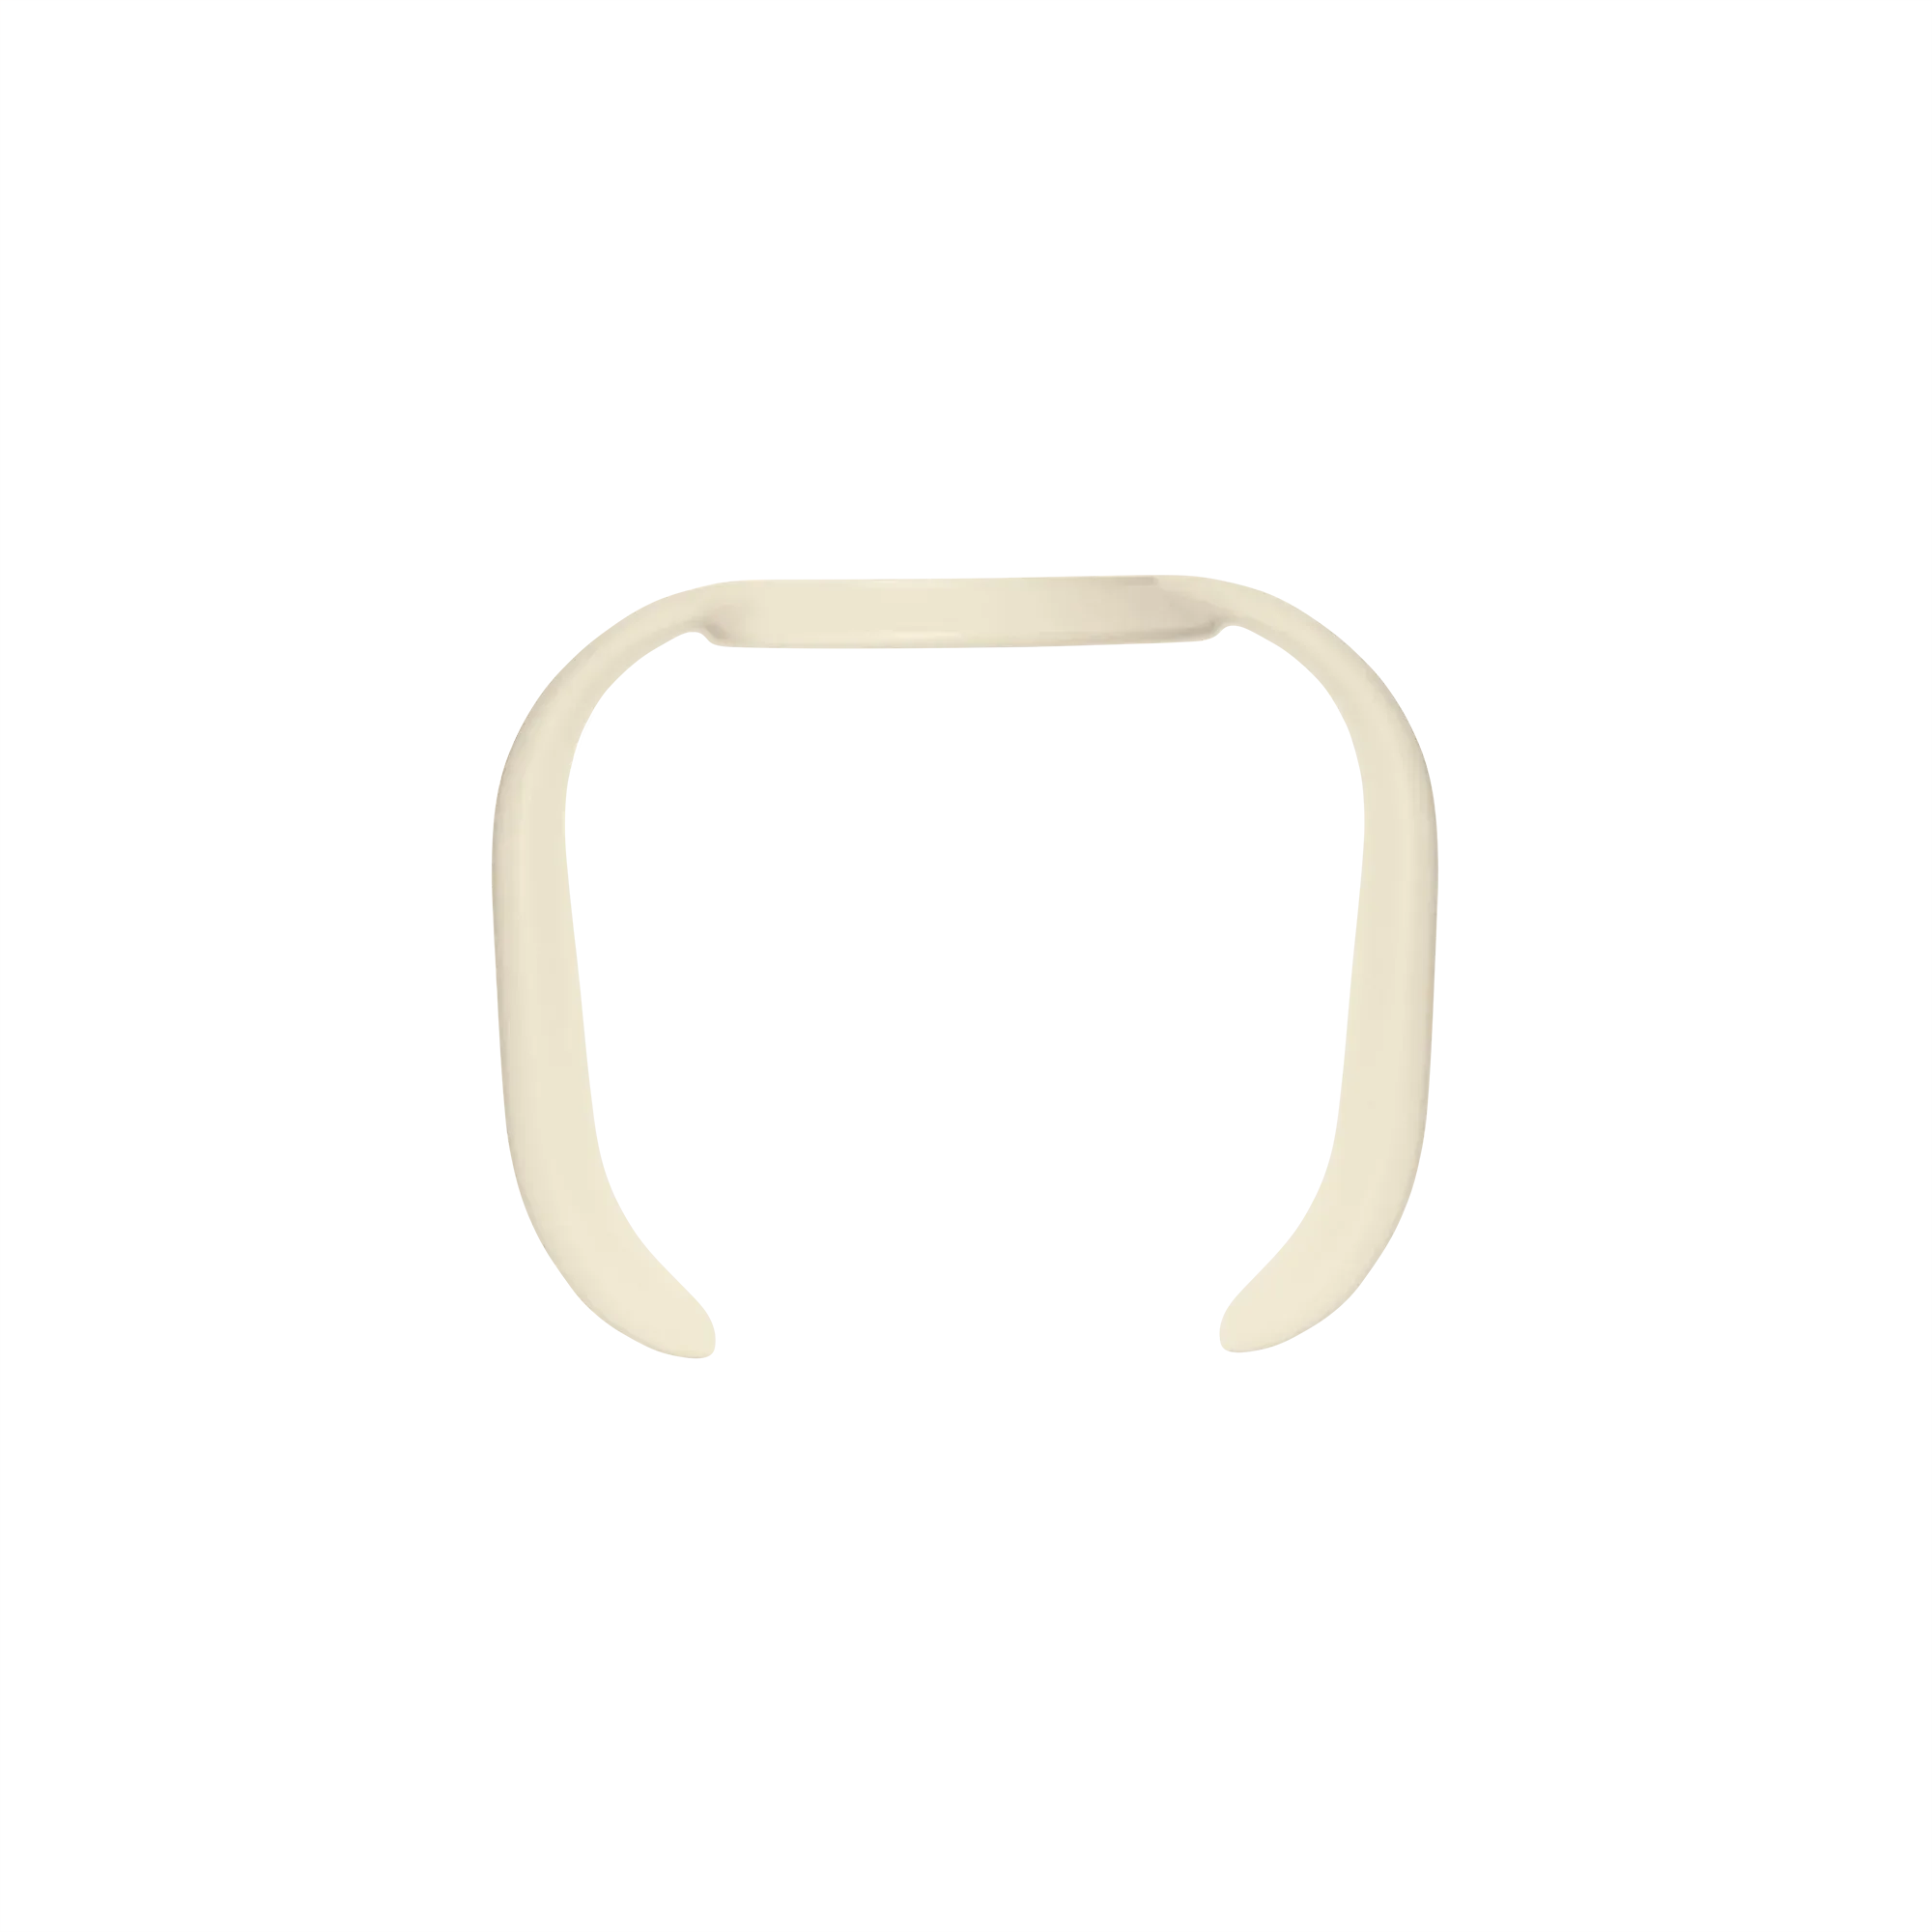
Baby Bottle Handle - Ivory