Quick answer
Put the cape on over a shirt you don't mind, fasten it snugly at the neck, and keep the collar outside the cape so hair can't slip underneath. Cut as usual, then shake the cape outdoors or into a bin, wipe it down, and wash it when it feels stiff or visibly dusty. A cape only works if the neck closure is tight and the fabric is shaken out before it goes back in the drawer.
What a cape actually solves in a home haircut
Most home haircut mess comes from two places: clippings that fall down the neck and clippings that stick to fabric. A cape handles both by giving hair a smooth surface to slide off and by covering the shoulders and chest completely. That matters whether you're trimming a partner's hair in the kitchen or cutting your own hair in front of a mirror.
A cape is not a substitute for a towel on the floor or a vacuum afterward, but it cuts the cleanup from a full sweep-and-vacuum job to a quick shake and wipe. If you cut hair weekly, that difference adds up.
Set up before you fasten anything
Decide where the hair will land before the cape goes on. Bathroom floors and hard kitchen floors are easier to sweep than carpet. If you're cutting your own hair, set your mirror and clippers within reach first, because once the cape is fastened you don't want to be stretching for tools with hair already falling.
Have a hand broom, a damp paper towel, and a trash bin nearby. A cape keeps hair off your clothes, not off the room, so the floor plan still matters.
Fasten the neck closure so hair can't sneak in
The neck closure is the part people get wrong. If it's loose, clippings slide down the gap and stick to your skin and shirt collar, which is exactly what the cape was supposed to prevent. Fasten it snug enough that you can still swallow and turn your head comfortably, but not so loose that you can slide two fingers under the front.
Keep the collar of the cape outside your shirt collar. Tucking the cape under a shirt collar creates a channel for hair to collect against your neck.
Work in sections and keep the cape clear
Cut from the bottom up and brush or blow loose hair off the cape as you go. If you let clippings pile up on the shoulders, they transfer to your hands, then to the client's face, then to the floor. A quick brush every few minutes keeps the surface working the way it should.
When you change clipper guards or switch to scissors, pause and shake the cape away from the body rather than over the person's lap.
Remove the cape without dumping hair on the person
Unfasten the neck first, then fold the cape inward so the hair is trapped inside. Carry it to a bin or outdoors and shake it out away from doorways and vents. If you shake it inside, you've just undone the last twenty minutes of protection.
Check the neck and ears with a damp cloth before the person stands up. That's where stray clippings hide even with a well-fitted cape.
Hair cutting cape care between cuts
Shake the cape after every use and hang it rather than stuffing it into a drawer. Wipe the inside with a damp cloth if it feels dusty or if you used product on the hair. Wash it when it starts to feel stiff, smells like hair product, or leaves a visible film.
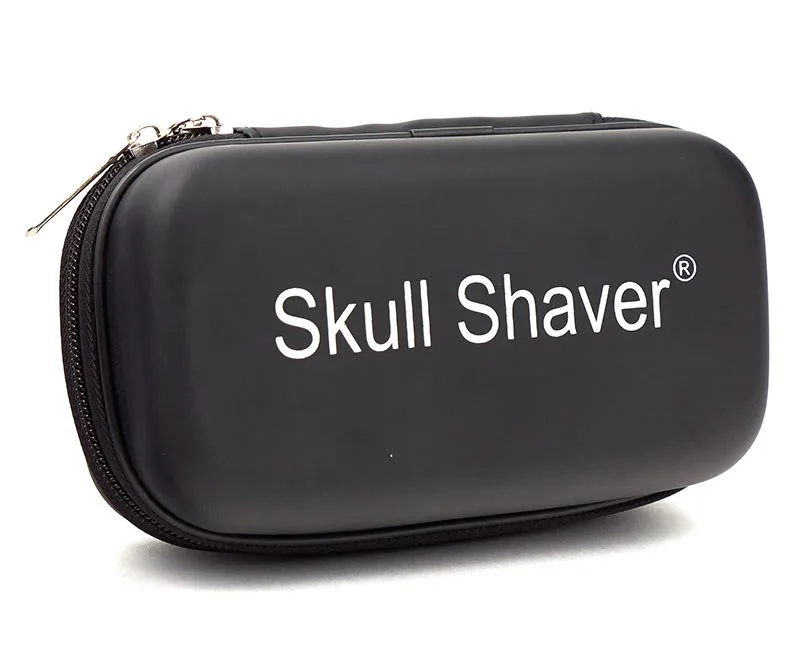
Follow the care instructions that come with your specific cape rather than assuming a machine wash is safe. Fabric type and closure hardware vary, and the catalog for the Skull Shaver cape doesn't state a washing temperature or drying method, so check the label before you commit it to a hot cycle.
Step-by-step: using your cape from setup to storage
- Pick the room and prep the floor: Choose a hard floor if you have one, and put your broom, bin, and damp cloth within arm's reach before the cape goes on. Common mistake: setting up after the cape is fastened, which means hair is already falling while you hunt for tools.
- Fasten the neck closure snugly: Close the cape so it sits comfortably but leaves no gap at the front of the neck, and keep the cape collar outside your shirt collar. Checkpoint: turn your head side to side. If the closure shifts or opens, tighten it before you start cutting.
- Cut in sections and clear the surface as you go: Work from the bottom up and brush loose hair off the shoulders every few minutes instead of letting it accumulate. Common mistake: letting clippings pile on the cape, which transfers hair back onto hands, face, and floor.
- Remove and shake the cape away from the body: Unfasten the neck, fold the cape inward to trap hair, then shake it into a bin or outdoors. Checkpoint: wipe the neck and ears with a damp cloth before the person stands up.
- Store clean and wash when needed: Hang the cape to air out after each use, wipe the inside when it feels dusty, and wash it when it stiffens or holds product smell. Follow the label's wash instructions; the product listing doesn't specify a temperature or drying method, so don't guess with hot water.
Cape facts worth knowing before you buy
- Barber’s Hair Cutting Cape | Premium Quality: The Skull Shaver Barber's Hair Cutting Cape is described as lightweight with full coverage around the neck to keep hair off your skin, and it's priced at USD 14.79 against a catalog comparison price of USD 19.99. Lightweight fabric is easier to wear through a full haircut, and the neck coverage is the feature that decides whether clippings reach your collar. The price gap makes it a low-risk first cape if you're moving from towels to a dedicated cover.