Quick answer
Use calliograph pens for planner calligraphy by mastering the dual-tip system, controlling pressure for thick and thin lines, and practicing basic strokes before full words.
Why calliograph pens work for planner calligraphy
Calliograph pens combine the flexibility of brush tips with the convenience of a pen, making them ideal for adding decorative writing to planners, journals, and bullet journals. The dual-tip design gives you two line widths in one tool, reducing the need to switch pens mid-project.
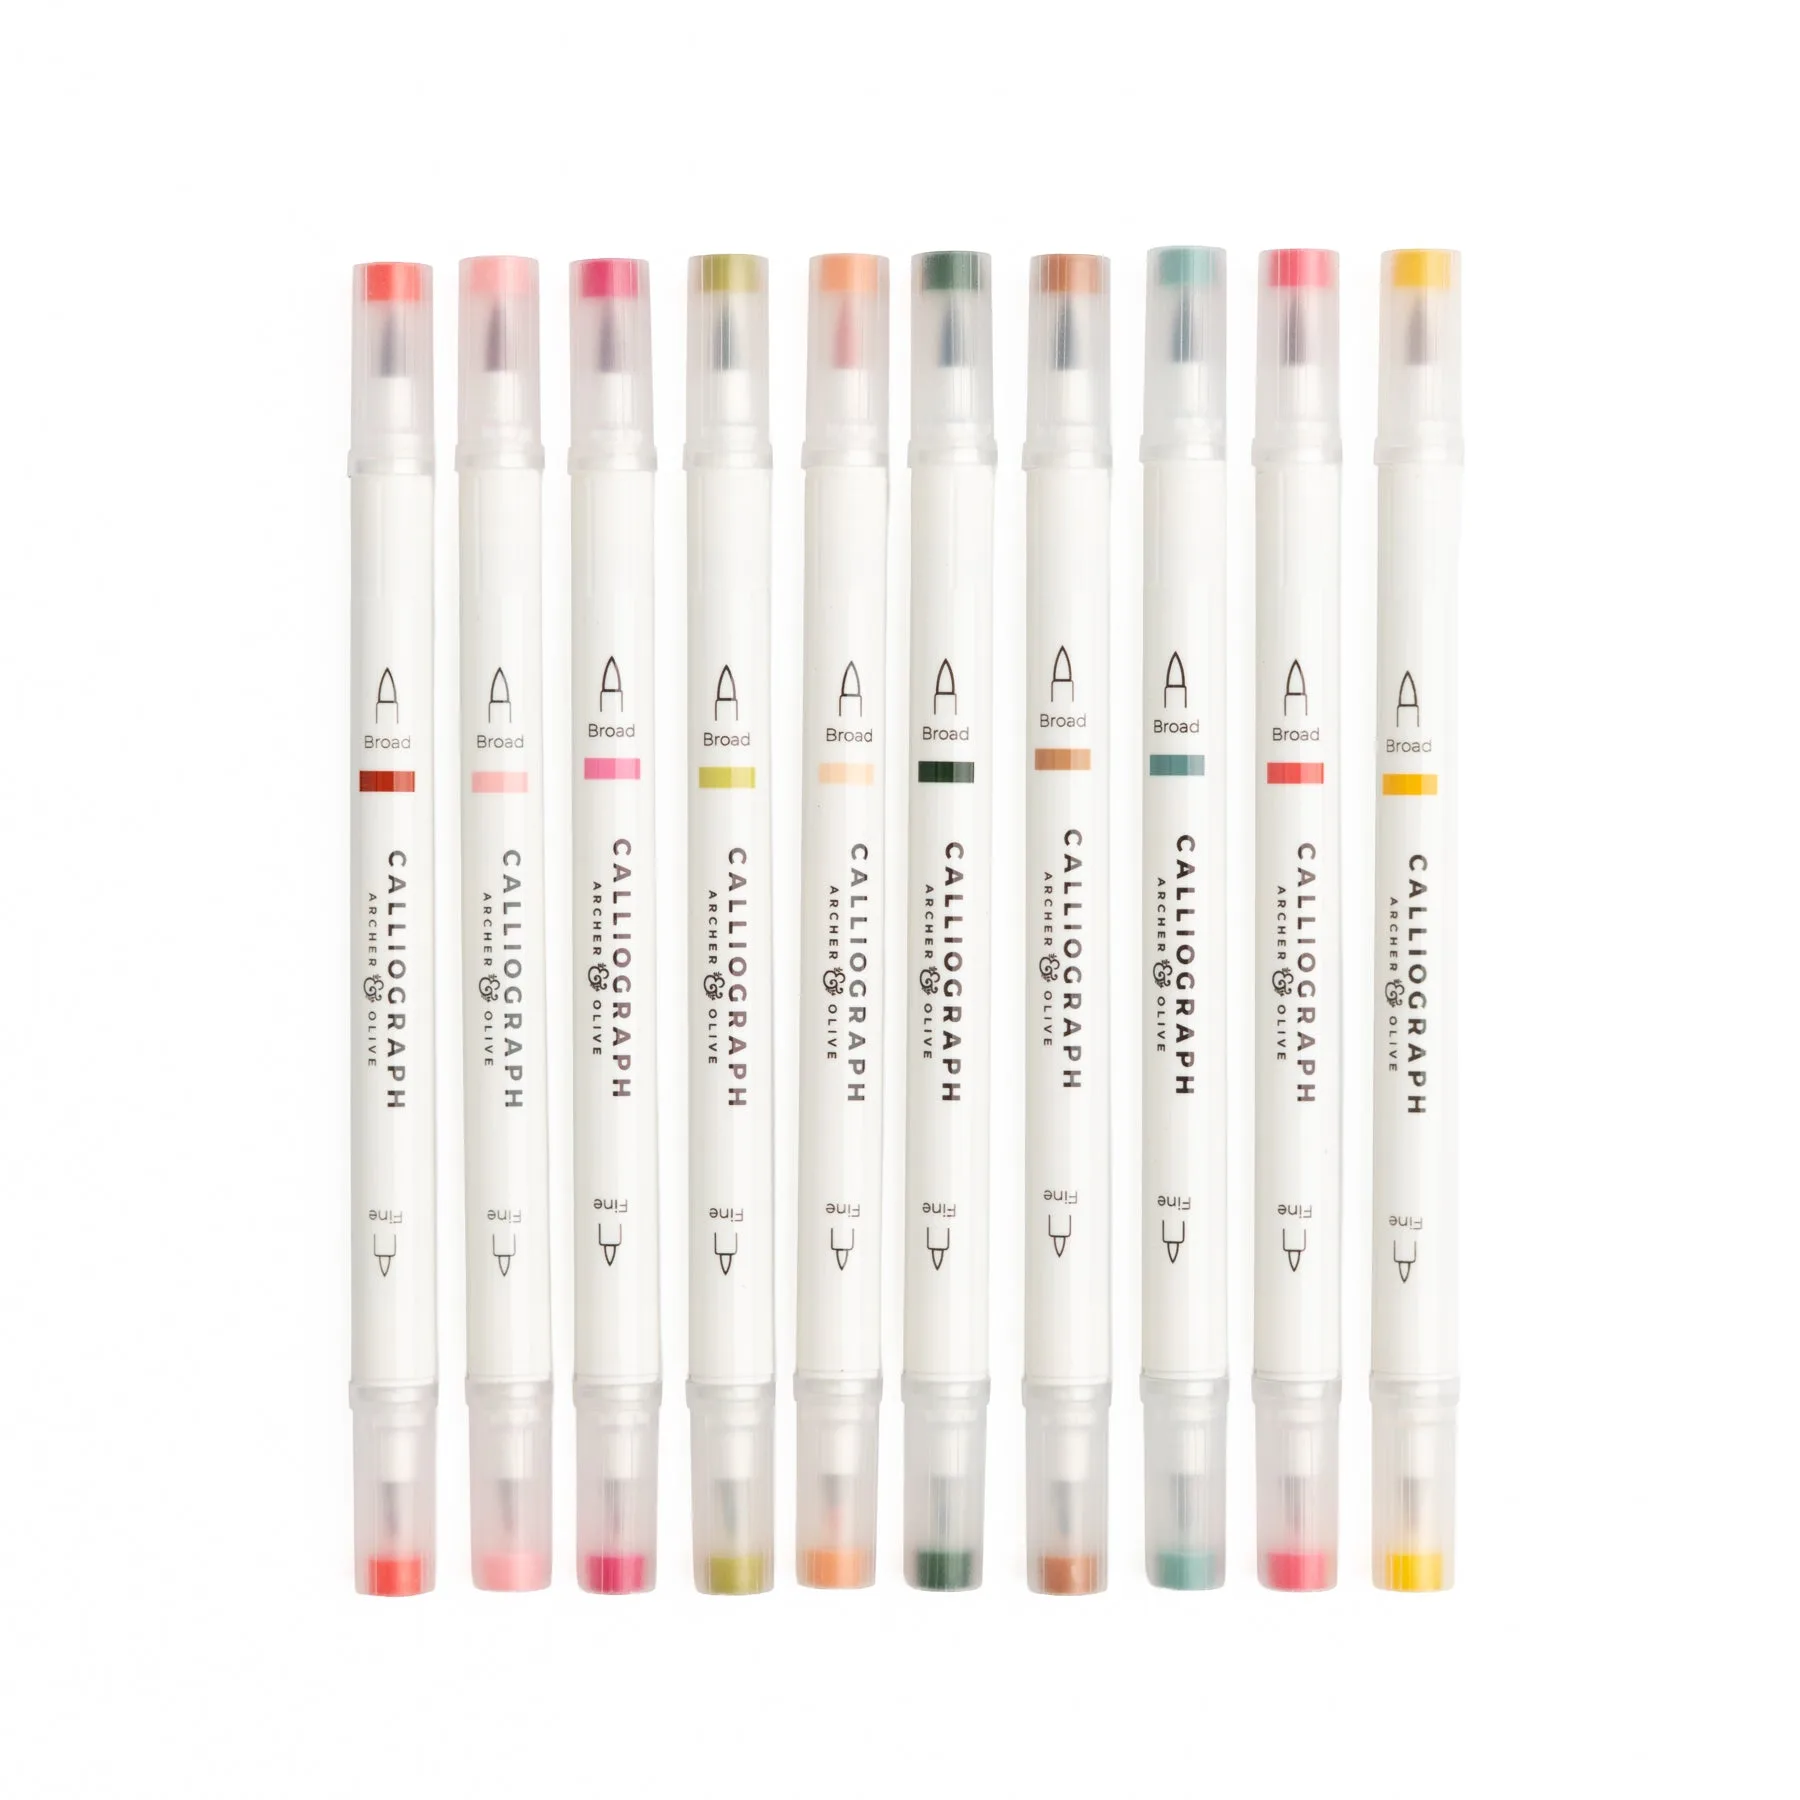
The Meadow & Vine Set of 10 Calliograph Pens offers a palette inspired by botanical and floral tones, which pairs naturally with garden-themed or nature-inspired planner layouts. The range of colors lets you match headers, dates, and accents to your weekly spreads without mixing inks.
Step-by-step: Calliograph pen calligraphy for planners
- Choose your tip and warm up: Start with the brush tip for practice. Hold the pen at a 45-degree angle to the paper. Draw basic up-and-down strokes on scrap paper to get a feel for the ink flow and tip flexibility. A common mistake is pressing too hard on the brush tip. Let the pen do the work; light pressure creates thin upstrokes.
- Practice pressure control for thick and thin lines: Apply light pressure on upward strokes and increase pressure on downward strokes. The brush tip spreads naturally under pressure, creating the signature calligraphy contrast. Repeat a simple word like 'hello' until the thickness feels consistent. If your lines look uneven, slow down and focus on one stroke at a time. Speed comes after consistency.
- Use the fine tip for accents and details: Switch to the fine tip for small embellishments like dots, underlines, or tiny flourishes. This tip works well for adding shadow lines or writing smaller text in tight planner spaces. Don't mix tips mid-word. Finish a word with one tip, then add details with the other to keep your lettering clean.
- Plan your layout before writing: Sketch a light pencil guideline for your header or quote. Mark where each word will go, especially if you're using multiple colors. This prevents crowding and keeps your calligraphy centered. Forgetting to leave space for descenders (like the tail of a 'y') is a common layout error. Add an extra line of spacing below your baseline.
- Let each layer dry before adding the next: Calliograph pen ink is water-based and can smudge if you layer colors or touch the page too soon. Wait 10–15 seconds between strokes, especially when using multiple colors in one word. If you smudge, let the ink dry completely, then use a white gel pen or correction pen to clean up the edge. Do not rub.
- Practice consistently with short daily sessions: Spend 5–10 minutes each day practicing a single letter or a short word. Focus on one style at a time, such as modern script or faux calligraphy, before mixing techniques. Skipping practice for several days can cause your muscle memory to fade. Short, regular sessions build skill faster than long, infrequent ones.
Product used in this guide
-
Meadow & Vine Set of 10 Calliograph Pens: The Meadow & Vine Set of 10 Calliograph Pens features dual-tip versatility for brush lettering, calligraphy, and journaling. The dual tips let you create both fine details and bold strokes with one pen, saving time and keeping your workspace tidy.
Meadow & Vine Set of 10 Calliograph Pens