Quick answer
Use a sharp blade, a self-healing cutting mat, and a quilting ruler, then cut away from your body with your free hand behind the blade. Retract or cap the blade after every cutting session. Replace blades as soon as they drag or skip instead of pressing harder.
A craft cutting knife is one of the most useful tools in a quilting room, but it is also the one most likely to cause a slip. The good news is that safe cutting is mostly about setup and hand position, not slow motion.
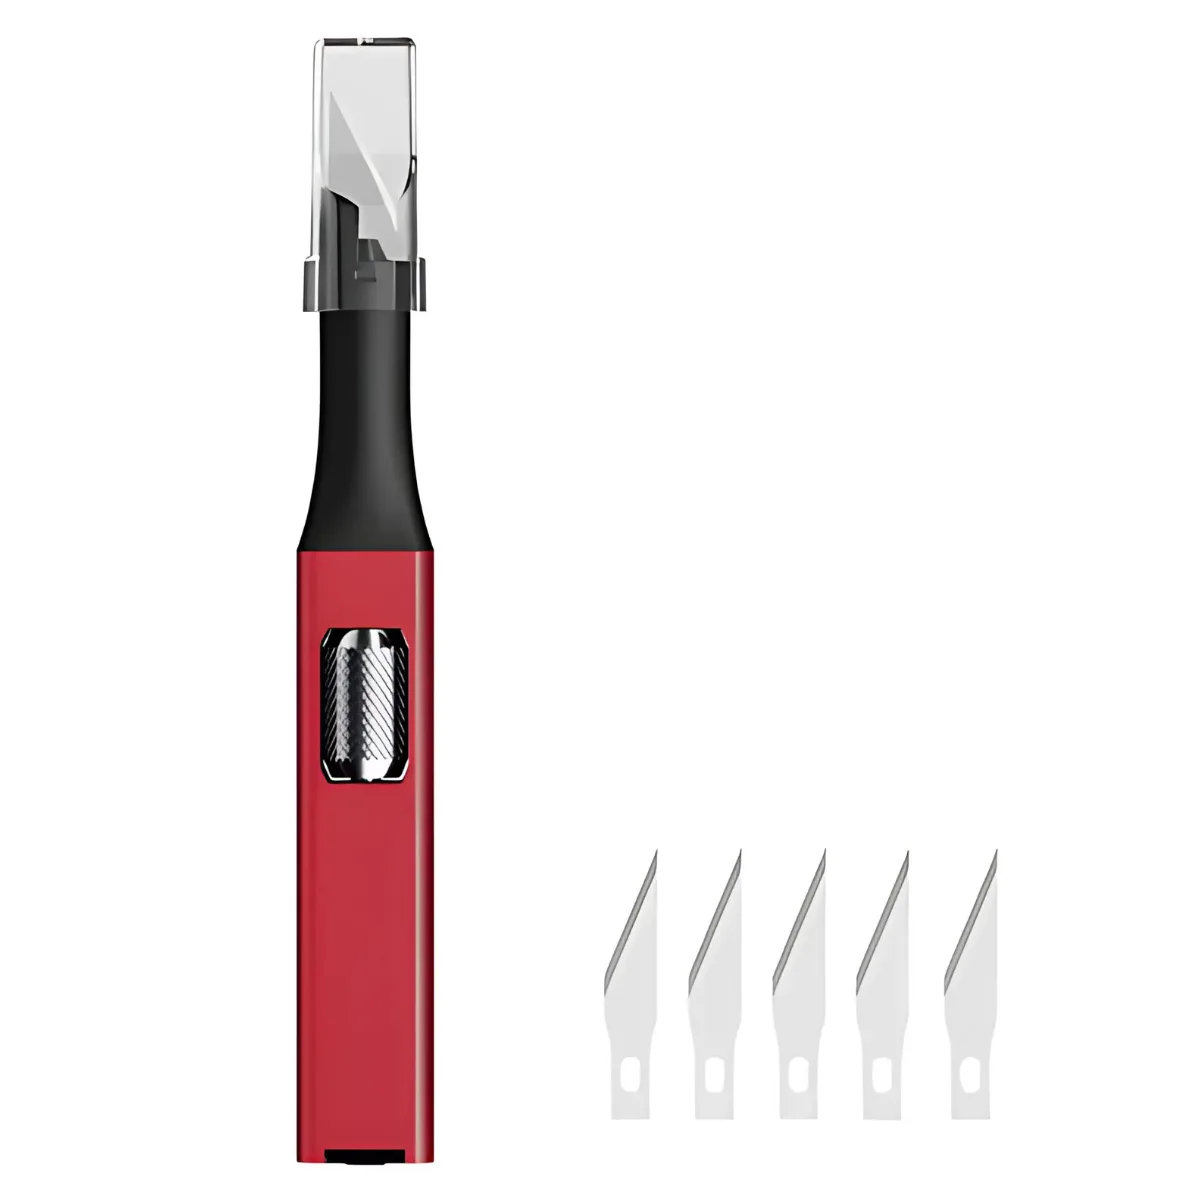
craft cutting knife
This guide covers the full process for cutting fabric with a craft knife: choosing the right blade, preparing your mat and ruler, making the cut, and storing the tool so it stays sharp and out of the way. Each step includes the mistake that causes most accidents and a checkpoint to confirm you are ready to move on.
Set up a safe cutting station before you touch the blade
Clear a flat, stable surface at roughly waist height. A self-healing cutting mat protects the table and keeps fabric from shifting. Keep your body square to the mat rather than reaching across it, and place the ruler on the side of the fabric you will hold. Good lighting matters more than speed, because you need to see the fabric edge and the ruler markings at the same time. If your workspace is cluttered, clear it first; a stray pin or scrap can shift the ruler mid-cut.
Keep children and pets out of the cutting zone, and never cut toward your lap or toward another person. If you are cutting very small pieces, work at the center of the mat so your hands stay away from the edges. A stable setup is the single biggest factor in craft knife safety.
- Use a mat larger than the piece you are cutting so the fabric never overhangs the edge.
- Stand or sit so your forearm can move in a straight line without hitting anything.
Choose the right blade and check it before cutting
Craft knives and rotary cutters use different blades for different jobs. A fresh, sharp blade cuts with light pressure, while a dull blade forces you to push harder, which is when slips happen. Inspect the blade for nicks, rust, or fabric fibers caught near the edge. If the blade drags, skips, or leaves a frayed edge, replace it before continuing. Keep spare blades in their original case, not loose in a drawer.
For most quilting cuts, a rotary cutter with a sharp blade is the safer choice because the guard covers the blade between cuts. A craft knife is better for trimming, fussy cutting, or detail work where a rotary cutter is awkward. Whichever you use, confirm the blade is locked in place before you start.
- Never test blade sharpness with your finger; cut a scrap of fabric instead.
- Dispose of used blades in a rigid container, not a trash bag.
Position your ruler, fabric, and hands correctly
Place the fabric flat on the mat with the edge you want to cut aligned to a mat grid line. Set the ruler on top and press down firmly with your non-cutting hand, keeping your fingers flat and away from the ruler edge. Your cutting hand should be behind the blade, and the blade should travel away from your body. If your hand feels cramped, reposition rather than forcing the cut.
For narrow strips, cut one at a time and move the ruler after each pass. Stacking too many layers can let the blade wander, and the ruler can shift if you press unevenly. Check that the ruler has not slipped before every new cut.
- Keep your non-cutting hand behind the blade path, never in front of it.
- If the ruler moves, stop and reset instead of chasing the line.
Make the cut with controlled, single passes
Apply steady, moderate pressure and cut in one smooth pass rather than sawing back and forth. Let the blade do the work; if you have to push hard, stop and replace the blade. Keep the blade perpendicular to the fabric so the cut edge stays straight. For long cuts, walk your hand along the ruler instead of overreaching.
After the cut, retract the blade or set the tool down with the blade facing away from you. Do not leave a craft knife open on the table between cuts, even for a moment. This habit prevents the most common quilting-room injury: a hand reaching across an open blade.
- Cut away from your body and away from your free hand.
- Stop immediately if the blade skips; a dull blade is more dangerous than a sharp one.
Store, clean, and maintain your cutting tools
When you finish, retract or cap the blade, then wipe the tool with a dry cloth to remove lint and fabric fibers. Store knives in a drawer or case where the blade is covered, and keep them separate from pins and scissors. Check the blade before each session and replace it at the first sign of dullness.
A few supporting tools make safe cutting easier. Sharp fabric scissors handle trimming tasks where a knife is not needed. Quilting pins hold pieces together so you are not cutting around shifting layers. Batting and fabric bundles should be stored flat so you are not fighting wrinkles at the cutting mat.
- Wipe blades dry; moisture causes rust and rust causes drag.
- Keep a small rigid sharps container near your cutting station.
Safe cutting checklist: step by step
- Clear and stabilize the cutting area: Set a self-healing mat on a flat, waist-height surface and remove pins, scraps, and clutter from the cutting zone. Checkpoint: the mat does not slide and the fabric lies flat.
- Inspect and load a sharp blade: Check the blade for nicks or rust, lock it securely in the handle, and keep spare blades in a case. Mistake to avoid: pressing harder on a dull blade instead of replacing it.
- Align fabric and ruler: Line the fabric edge with a mat grid line, place the ruler on top, and press down with a flat hand behind the blade path. Checkpoint: the ruler does not shift when you press.
- Cut in one controlled pass: Cut away from your body with steady, moderate pressure, keeping the blade perpendicular to the fabric. Mistake to avoid: sawing back and forth, which frays the edge and invites slips.
- Secure the blade immediately: Retract or cap the blade as soon as the cut is finished, and set the tool down facing away from you. Checkpoint: no open blade is left on the table.
- Clean and store the tool: Wipe the blade dry, dispose of used blades in a rigid container, and store the knife in a covered case or drawer. Next step: check the blade before your next session and replace it at the first sign of drag.
Tools that support safe cutting
- 8" Sewing Scissors For Fabric (3-Pack): Sharp and precise blades made for cutting fabric with ease, with comfortable ergonomic handles. Use scissors for trimming and detail work so you reach for the craft knife less often, reducing blade exposure.
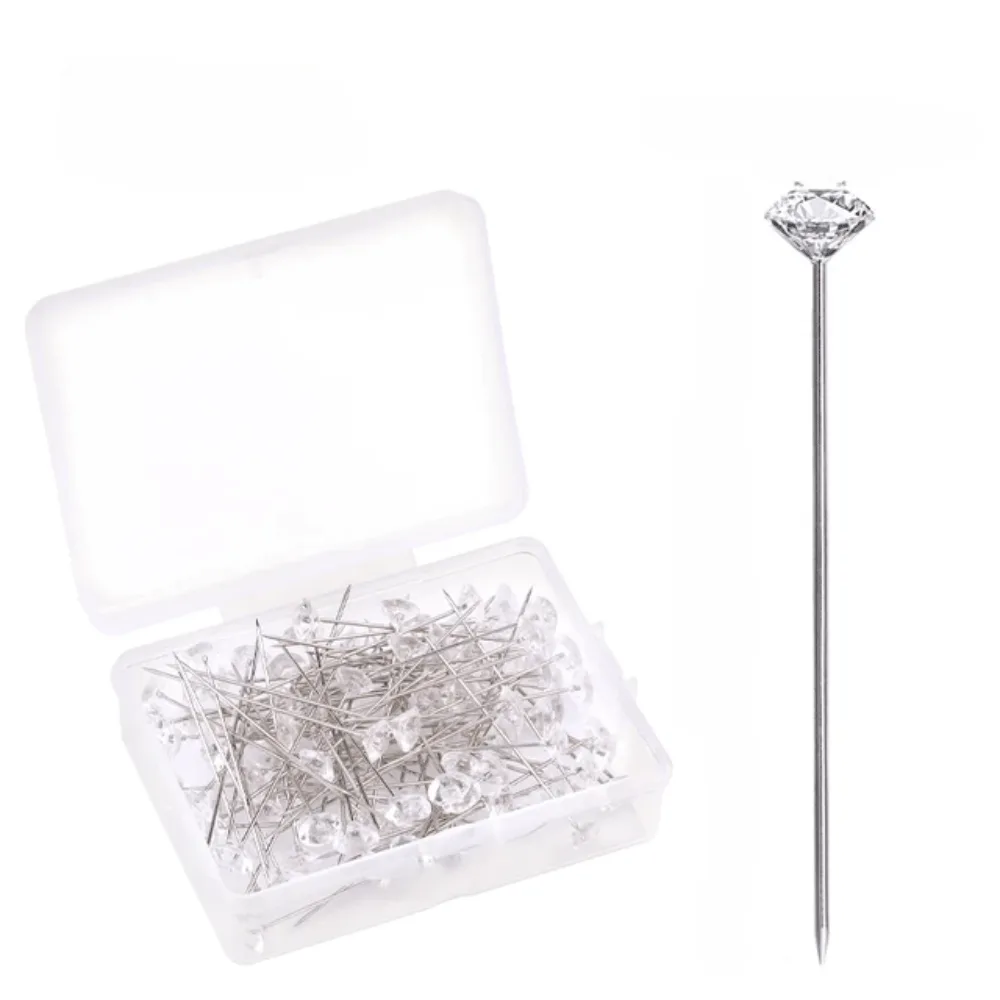
- Diamond Head Quilting Pins 50pcs: Available in multiple sizes including 38mm, 52mm, 55mm, and 64mm, designed for securing quilting work. Pinning layers before cutting keeps fabric from shifting, so you can make one clean pass instead of sawing.
- 46" x 36" Mid Loft 80% Cotton & 20% Poly Batting Quilter's Dream: 80% cotton and 20% polyester mid-loft batting with a smooth, soft finish. Storing batting flat and cutting it on a mat reduces wrinkles and keeps your blade path predictable.
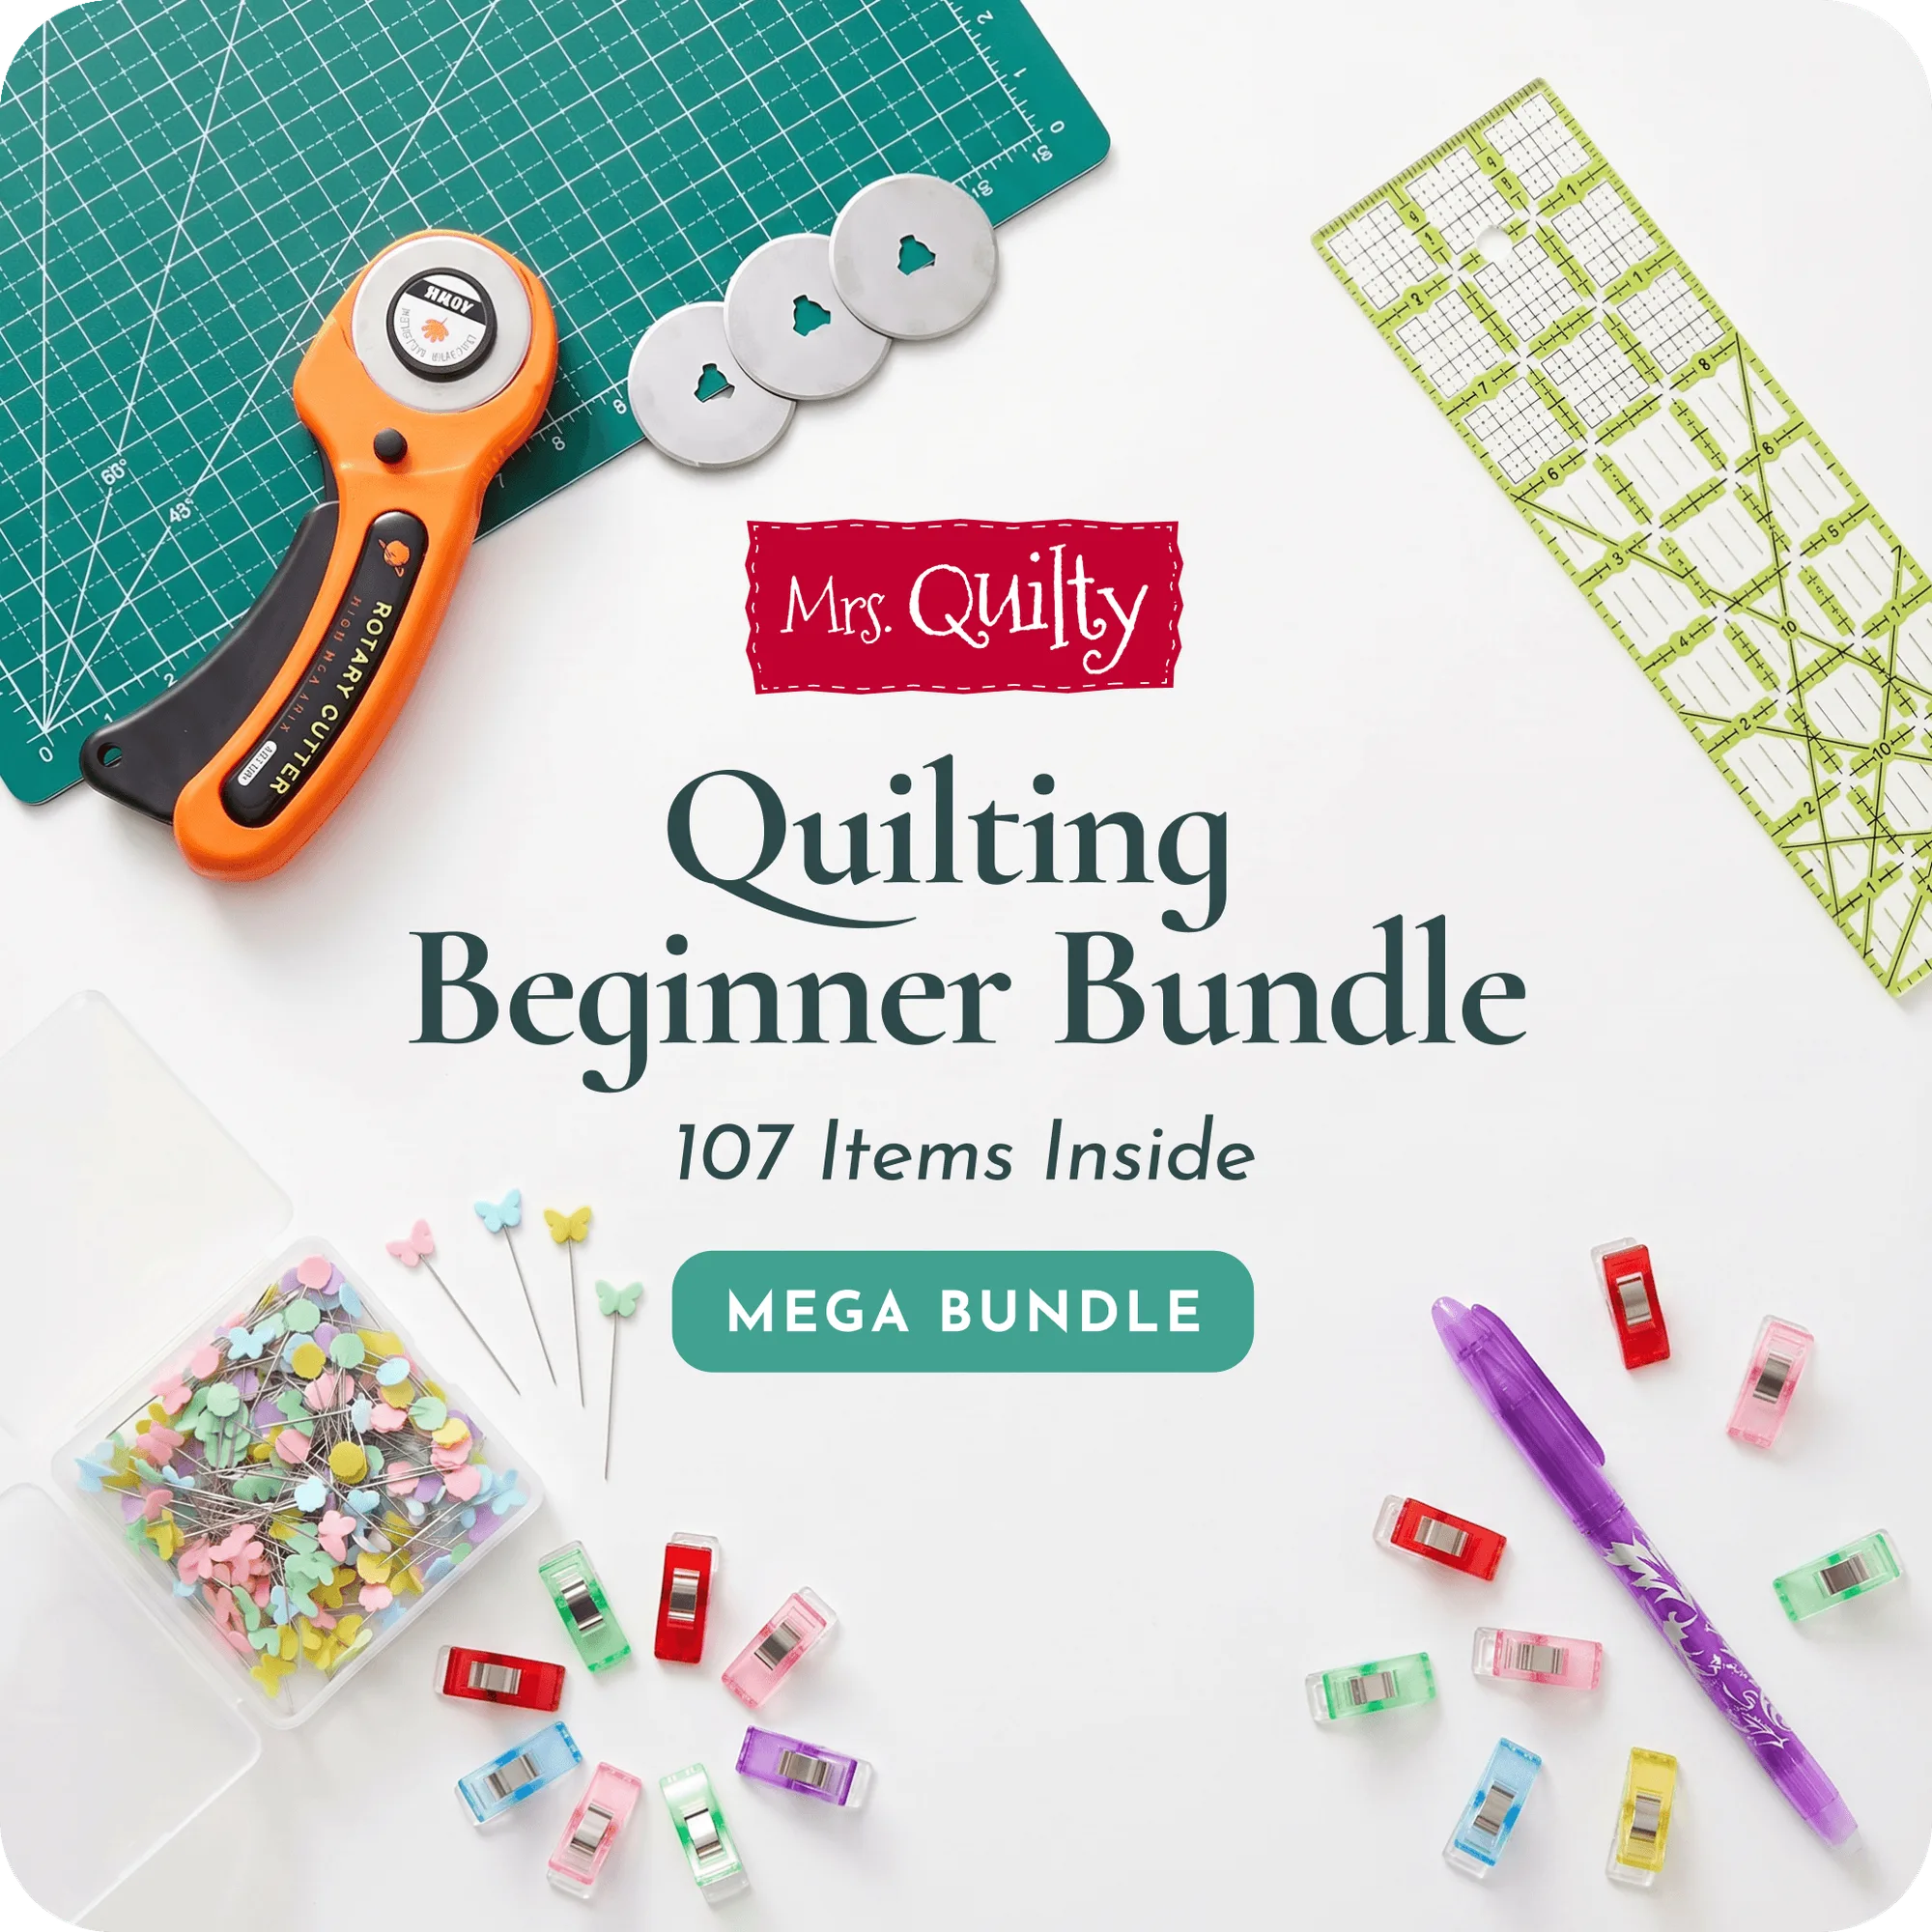
- Quilting Beginner Bundle - 107 Pieces: A 107-piece beginner quilting bundle priced at USD 49.98. A single bundle gives new quilters the core tools in one place, so you are not improvising with the wrong blade or mat.
Safe cutting comes down to a sharp blade, a stable mat, and hands that stay behind the cut. Set up your station, make one clean pass, and retract the blade every time. Those habits keep your fabric edges clean and your fingers intact.