Quick Answer
To use a derma roller safely at home, start with a clean face and a sanitized roller, then gently roll in multiple directions without pressing hard. Follow with a soothing serum and proper aftercare. Always use a fresh needle cartridge and avoid active acne or broken skin.
Derma rolling, also known as microneedling at home, can boost collagen and improve skin texture, but it carries risks if done incorrectly. This guide walks you through the essential steps to use a derma roller safely and effectively.
Before you start, know that derma rollers create micro-injuries to stimulate skin repair. That means hygiene and technique matter more than pressure. Let’s get into the step-by-step process.
Why Use a Derma Roller?
Derma rollers are handheld devices with tiny needles that puncture the skin’s top layer. This triggers your body’s natural healing response, boosting collagen and elastin production. Over time, regular use can help reduce the appearance of fine lines, acne scars, and enlarged pores.
However, results depend on correct usage. Using a roller with needles that are too long, pressing too hard, or rolling over active breakouts can cause irritation, infection, or hyperpigmentation. That’s why safety is non-negotiable.
- Always choose a needle length appropriate for your skin concern and experience level.
- If you have active acne or open wounds, wait until they heal before derma rolling.
Preparing Your Skin and Roller
Start by thoroughly cleansing your face with a gentle cleanser to remove makeup, oil, and dirt. Pat your skin dry. Then, disinfect your derma roller by soaking it in 70% isopropyl alcohol for about 10 minutes. Rinse with sterile water or saline and let it air dry on a clean towel.
Your skin should be completely dry before you begin. Some people apply a numbing cream, but for home use, it’s safer to skip it—numbing can mask pain and lead to over-pressing. You want to feel a light prickling sensation, not pain.
- Never share your derma roller with others—this is a personal hygiene device.
- If you have a roller with replaceable needle heads, consider using a fresh one for each session.
Rolling Technique: The Right Way
Hold the roller firmly and roll gently over the target area in four directions: vertically, horizontally, and diagonally both ways. Apply light, even pressure—you should not be pressing into the skin. Each area should be rolled no more than 2-3 times per session to avoid overdoing it.
Start with your forehead, then cheeks, chin, and nose. Avoid the delicate eye area and any active blemishes. For sensitive areas like the cheeks, you might want a shorter needle length. Always roll in short, controlled strokes rather than dragging the roller across the skin.
- If you feel sharp pain or see bleeding, you’re pressing too hard or the needles are too long for home use.
- Keep the roller moving—don’t hold it still on one spot.
Aftercare: What to Do Post-Rolling
Immediately after rolling, your skin will be red and sensitive. Rinse your face with cool water to remove any residual debris. Then apply a soothing serum or moisturizer—hyaluronic acid is a great choice because it hydrates without irritation. Avoid active ingredients like retinol, vitamin C, or acids for at least 24 hours.
For the next day or two, your skin is more susceptible to sun damage. Apply a broad-spectrum sunscreen with SPF 30 or higher every morning, even if you’re indoors. Also, avoid makeup for a few hours to let your skin breathe.
- Use a gentle, fragrance-free moisturizer to calm the skin.
- Skip exfoliating or using harsh scrubs for at least 48 hours.
How Often Should You Derma Roll?
Frequency depends on needle length. For needles 0.25mm or shorter, you can roll every 2-3 days because they only affect the epidermis. For 0.5mm needles, wait 1-2 weeks between sessions to allow collagen production. Needles longer than 0.5mm are not recommended for home use—they require professional training.
Consistency is key, but rest is equally important. Over-rolling can lead to skin thinning and irritation. Listen to your skin: if it still feels sensitive, wait longer.
- Start with a shorter needle length if you’re a beginner.
- Keep a journal to track your sessions and skin reactions.
Your Step-by-Step Derma Roller Routine
- Cleanse and sanitize: Wash your face with a gentle cleanser and disinfect your roller in 70% alcohol for 10 minutes. Checkpoint: Never skip sanitizing—dirty rollers cause infections.
- Roll gently: Using light pressure, roll in vertical, horizontal, and diagonal directions over each area no more than 2-3 times. Mistake to avoid: Pressing hard or rolling over active acne.
- Rinse and hydrate: Rinse with cool water and apply a soothing serum or moisturizer. Checkpoint: Avoid active ingredients like retinol for 24 hours.
- Protect from sun: Apply SPF 30+ sunscreen the next morning and for several days after. Mistake to avoid: Skipping sunscreen—your skin is extra sensitive to UV.
Tools That Complement Your Routine
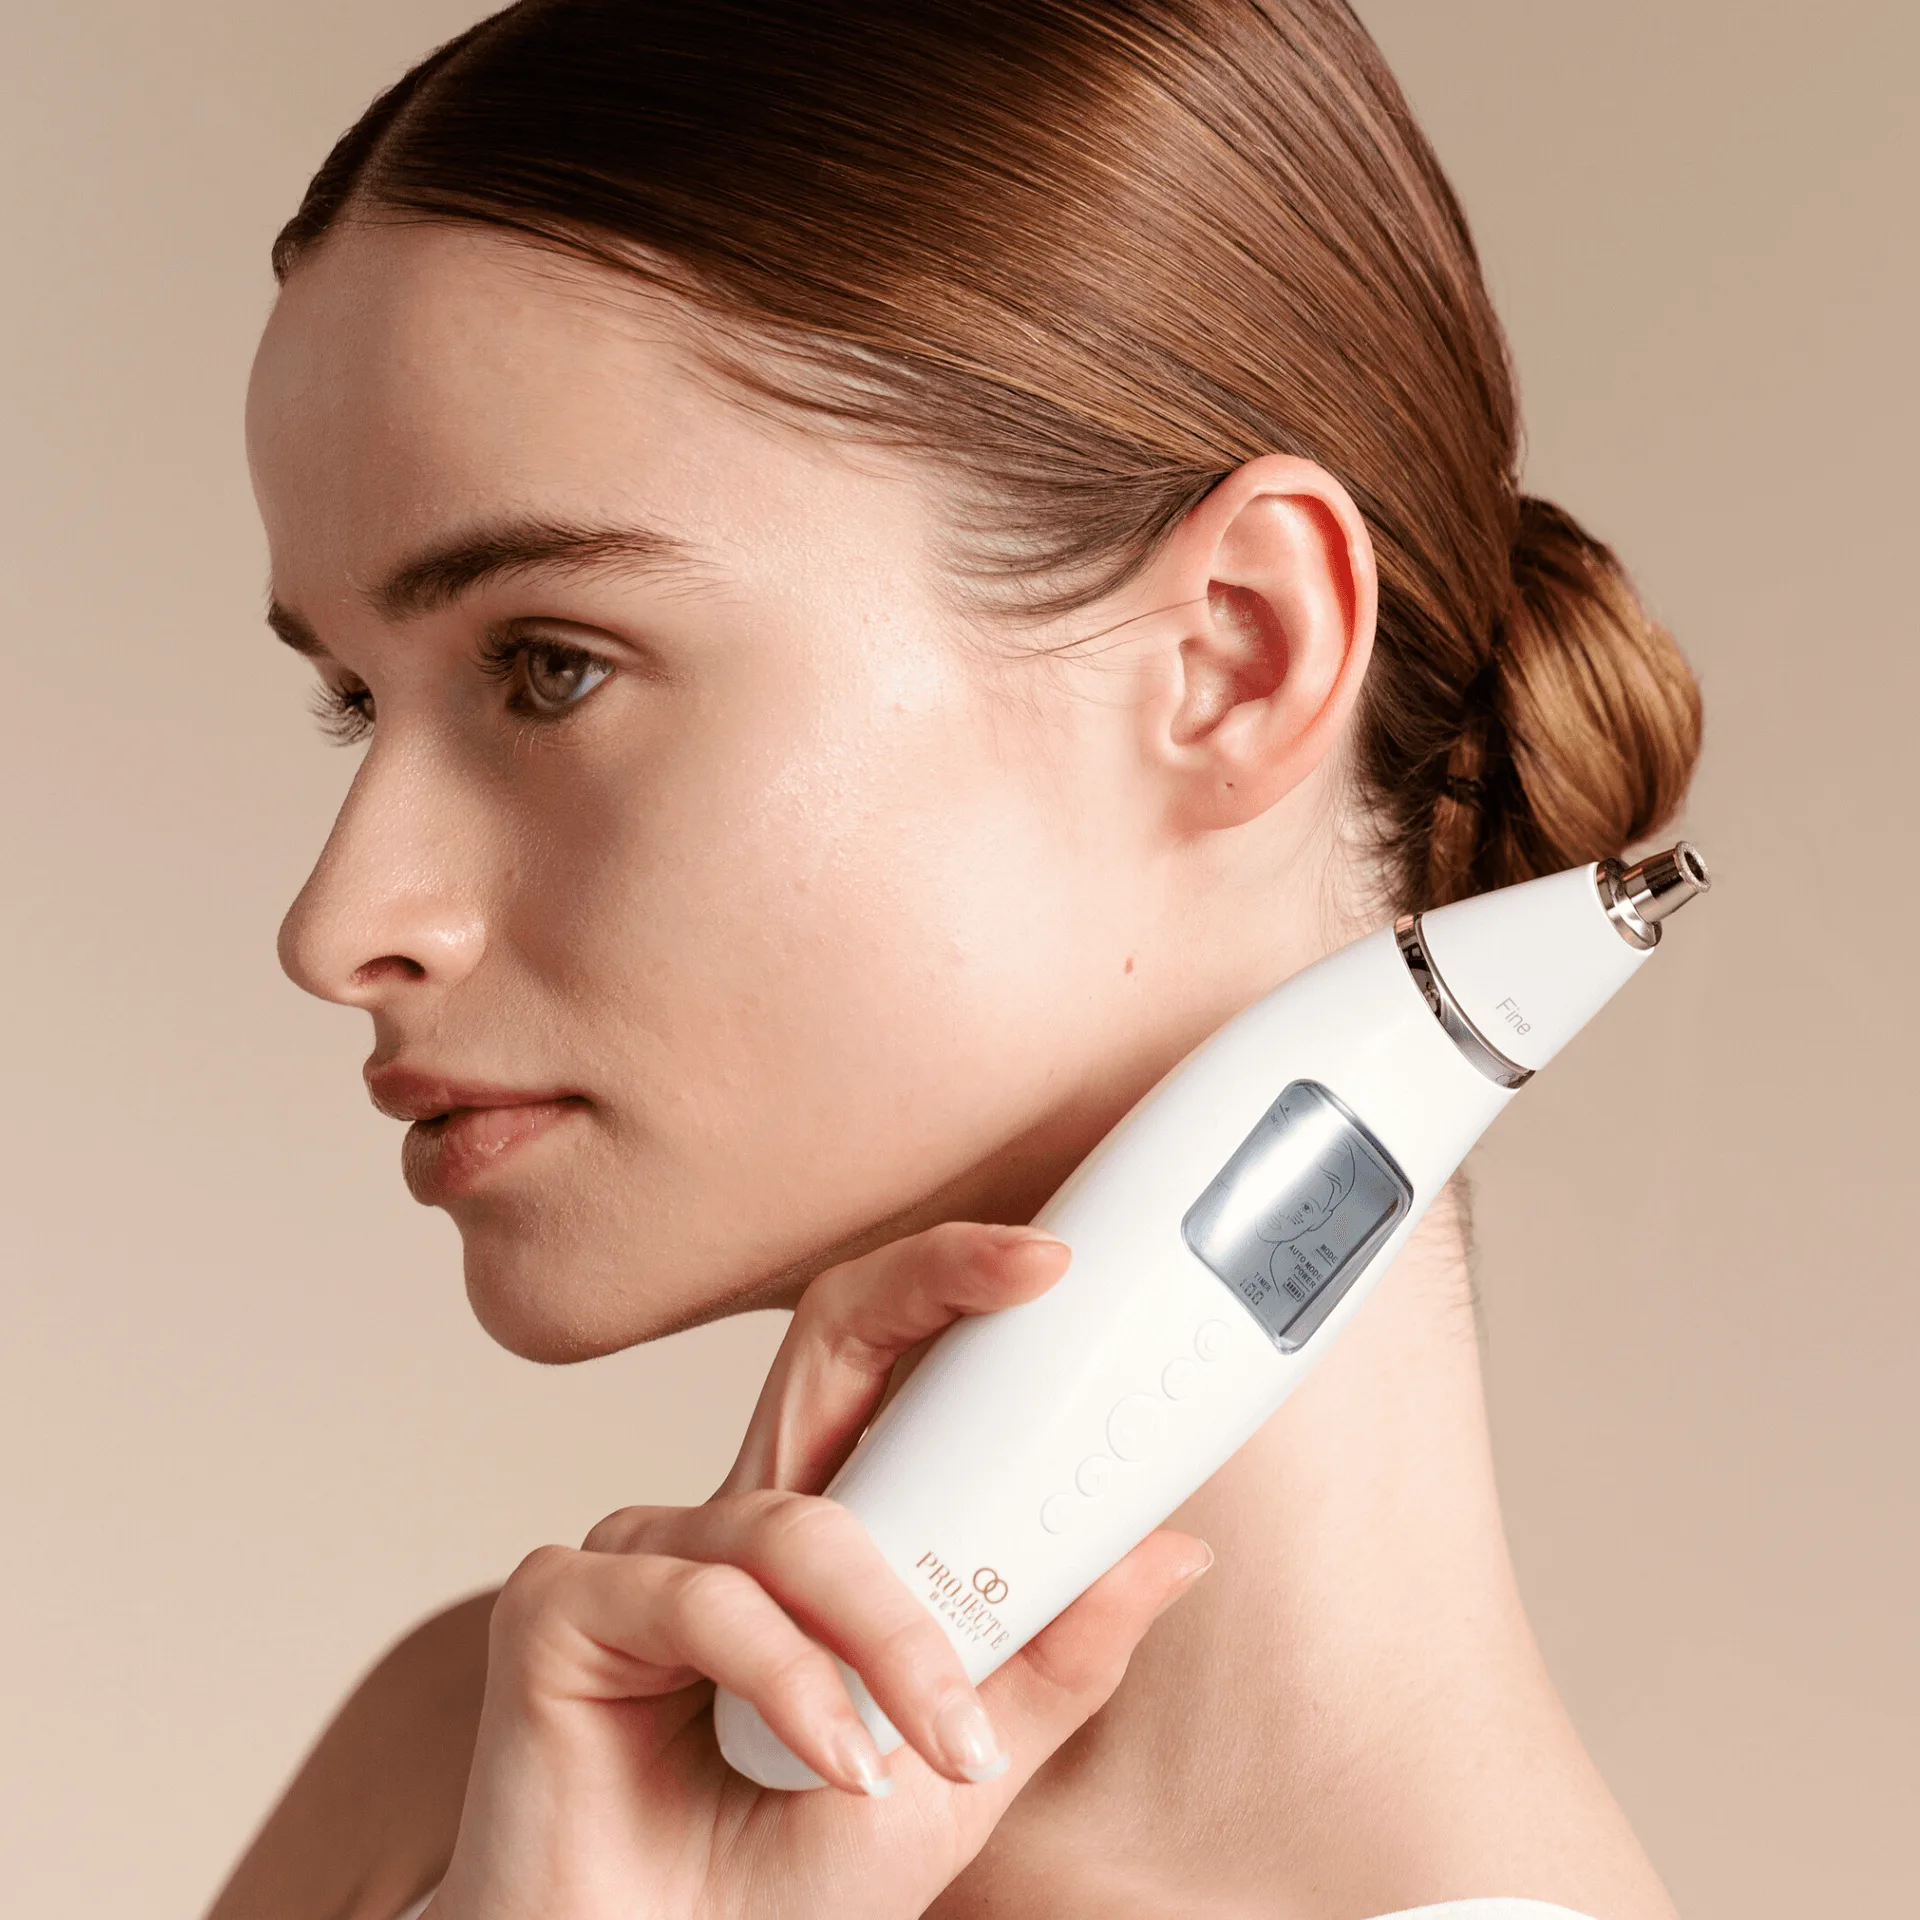
- Reinvo | Facial Microdermabrasion Wand: Diamond-encrusted tips slough away dead skin and instantly enhance the absorption of your favorite serums. After derma rolling, your skin is primed to absorb products. Using a microdermabrasion wand on non-rolling days can help maintain smooth texture and improve serum penetration.
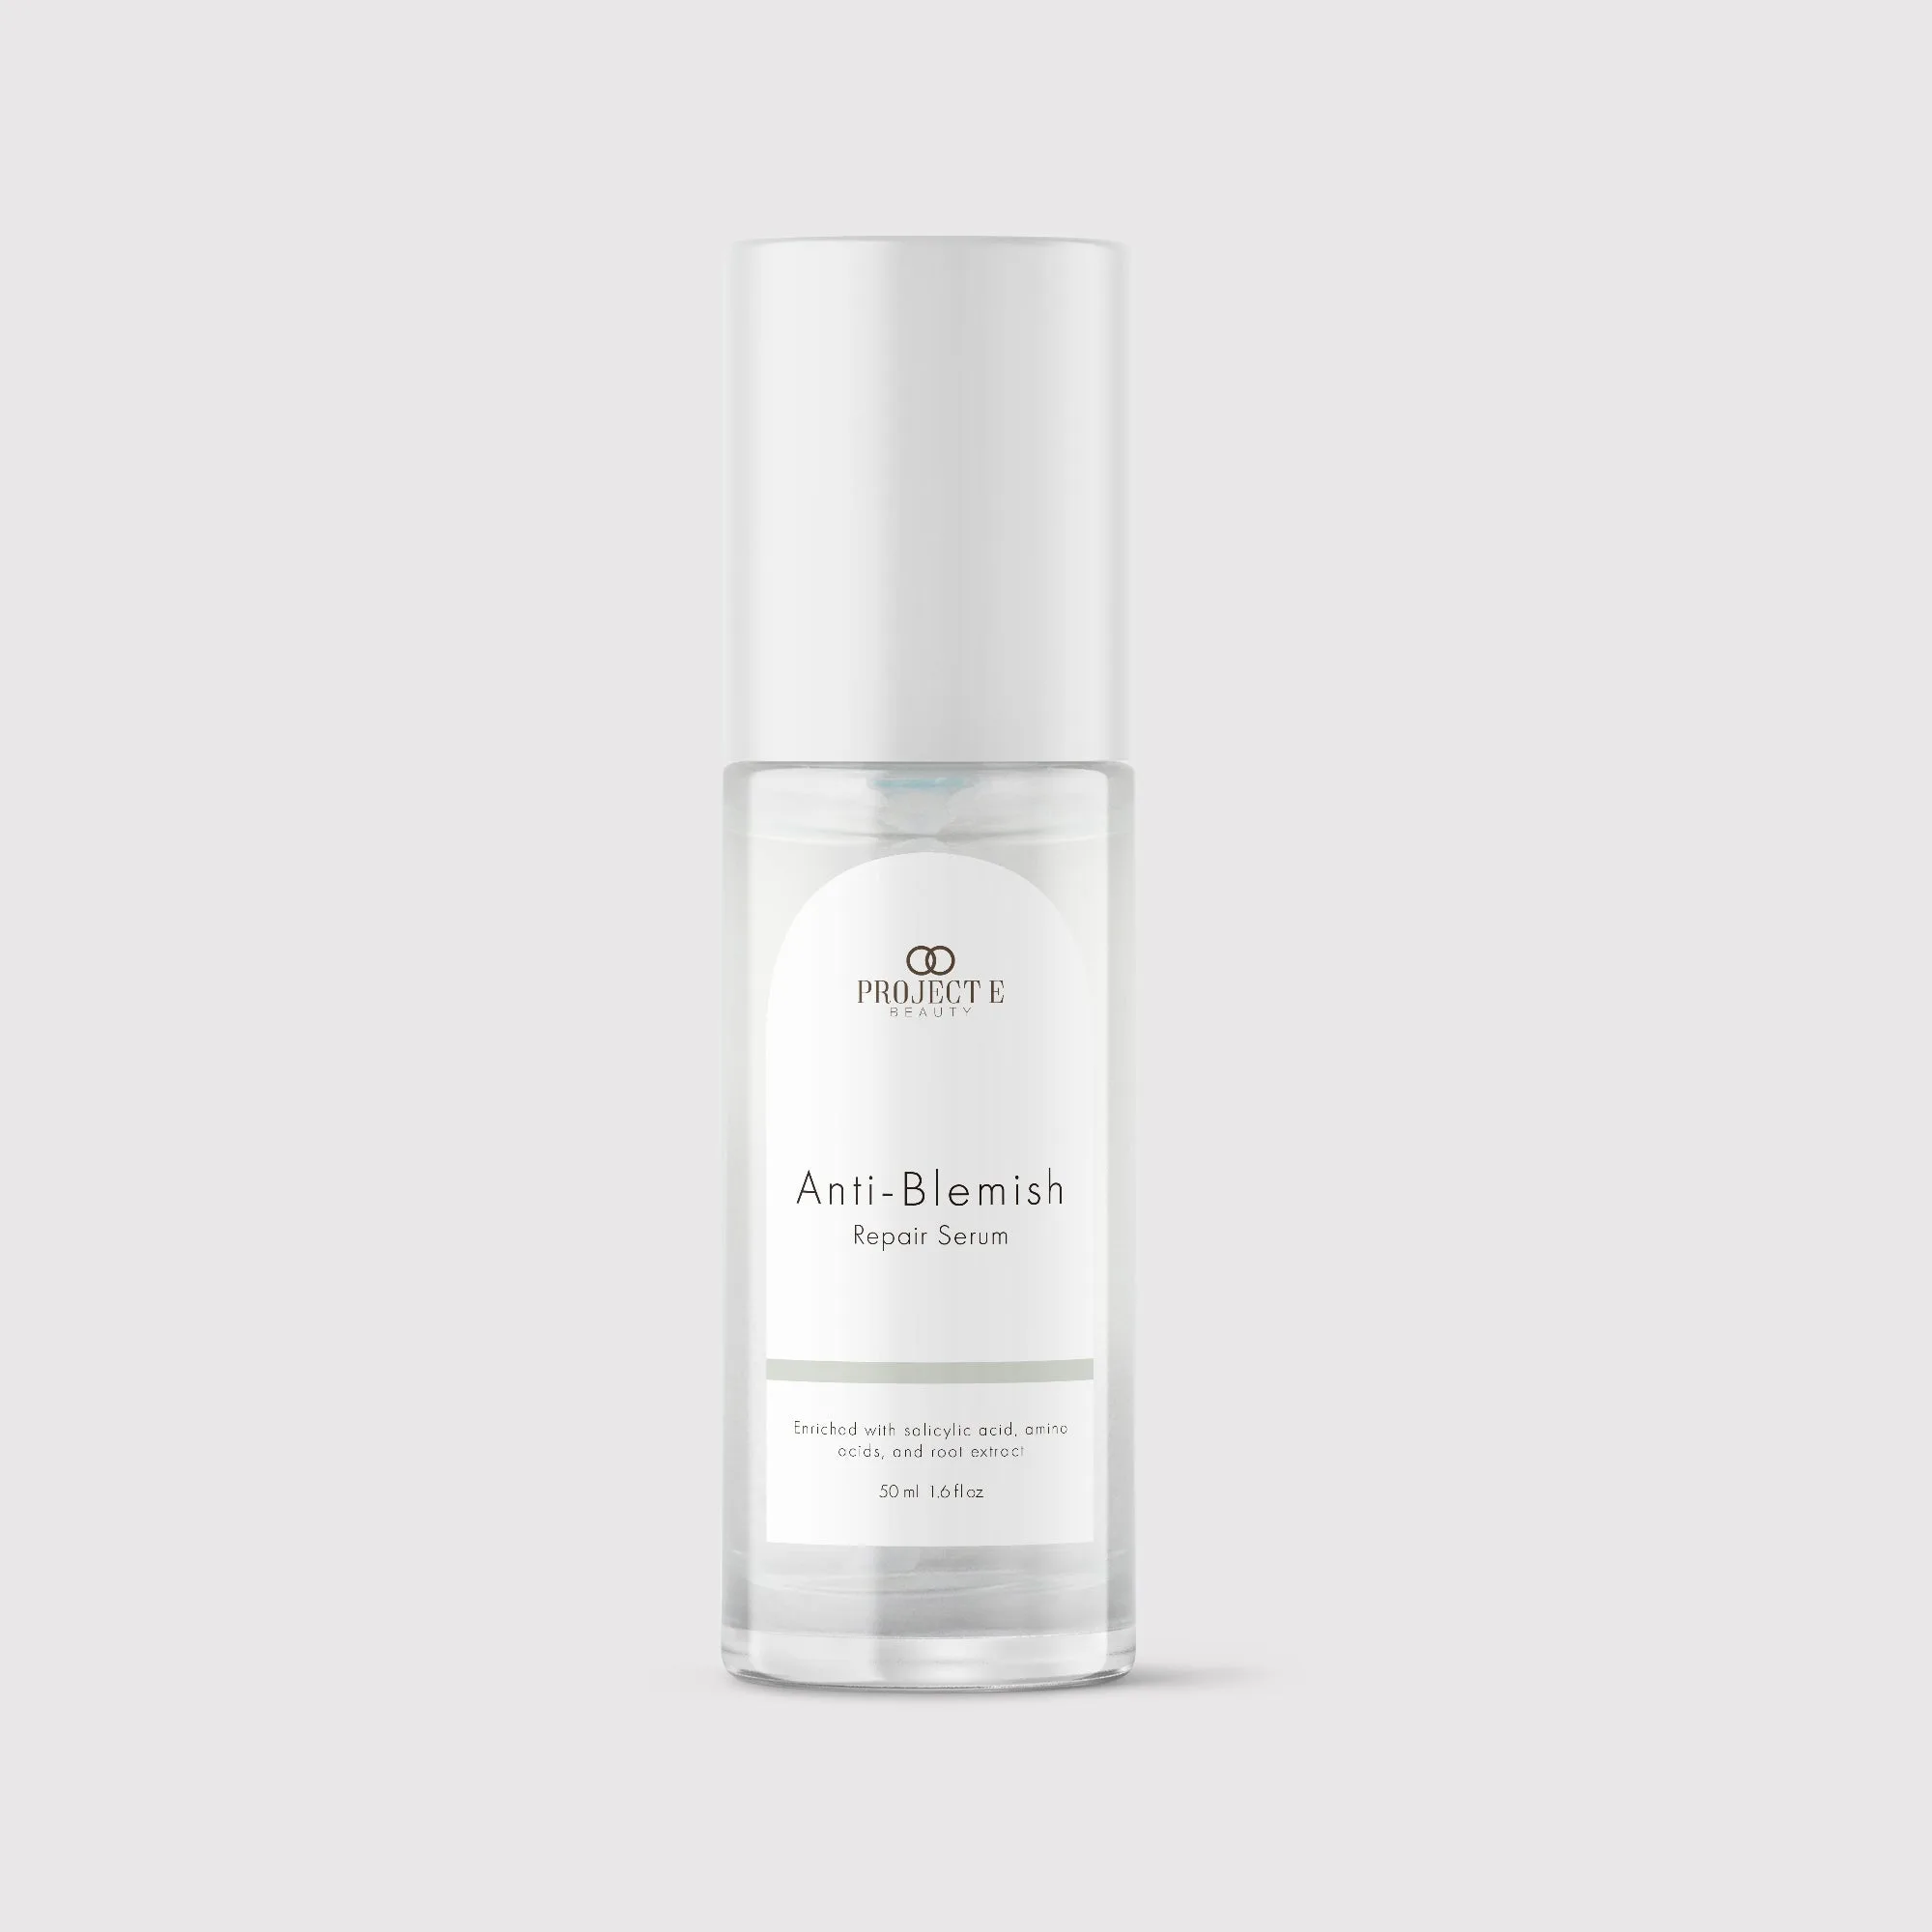
- Project E Beauty Anti-Blemish Repair Serum: Salicylic and amino acids target deep into the pores to prevent and clear acne breakouts. If you’re derma rolling for acne scars, this serum can be used on non-rolling days to keep pores clear. Avoid applying it immediately after rolling to prevent irritation.
Using a derma roller at home can be safe and effective if you follow the right steps. Start with shorter needles, keep everything sterile, and always listen to your skin. With patience and consistency, you’ll see improvements in texture and tone without the risks of improper use.